
Raspberry Lemon Roll
By Laila ·
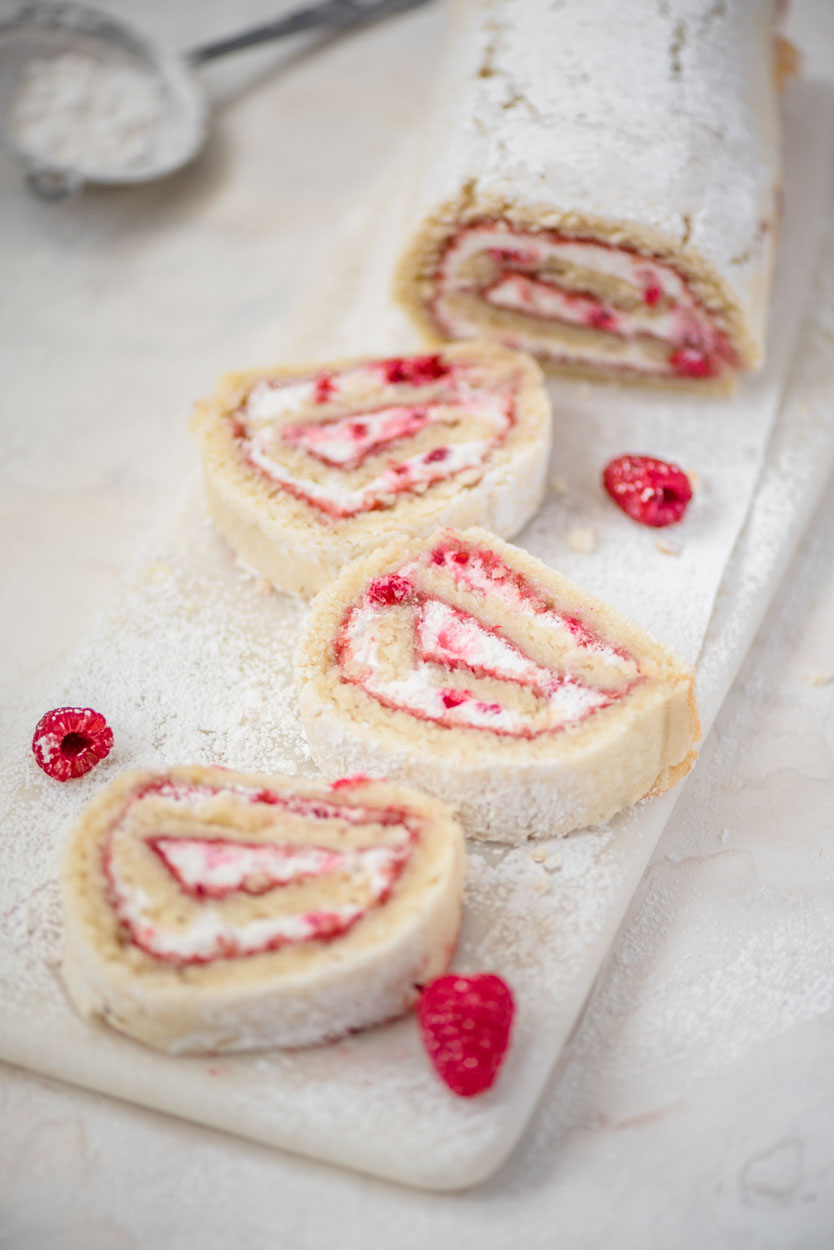
The perfect combination of a light and airy cake with a tart and sweet filling. This Raspberry Lemon Roll is free from dairy, egg, nuts, soy, sesame, mustard, and animal products. You're going to love how simple it is to make and better yet, how amazing it truly tastes!!
14….
That’s how many tries it took me to get to this truly AMAZING Raspberry Lemon Roll. 14 times!!!!
I thought about moving on but just couldn’t let it go.
With every batter I felt I was getting closer to perfect. I became obsessed… similar to when I attempted to make allergy free homemade marshmallows last year (I think I made close to 20 batches!). I’ve since put a big pause on that one.
But the real reason why I didn’t quit is because I wanted YOU to have the best raspberry roll that’s not only absolutely delicious, but is allergy friendly too!
This beautiful Raspberry Lemon Roll is free from:
dairy
egg
soy
peanut
tree nuts
sesame
mustard
animal products
Time for a confession…
I lied. To my husband that is! Don’t worry, I’d never lie to you guys ;)
I told him I made half the amount of raspberry rolls because I saw a vein protruding from his face when he saw rolls number 9 and 10 sitting on the counter and I thought this guy can’t handle the truth right now. What he doesn’t know won’t hurt him.
I obsess over recipes because I don’t post anything on here until I’m confident that you’ll achieve the same results I did. I take care of the guess work so you don’t have to… even if it means making 14 raspberry lemon rolls.
In the end, it was totally worth every cake roll… and the added weight to my midsection! Well, not so much the second part.
Don’t worry, nothing ever gets thrown out here. I gave some of the cake away, and turned others into different desserts. As in the picture below – mini cake balls and cake pops (will add to my insta stories!) Like Timbits.. only cuter! And waaaay tastier… and not fried. Big win!
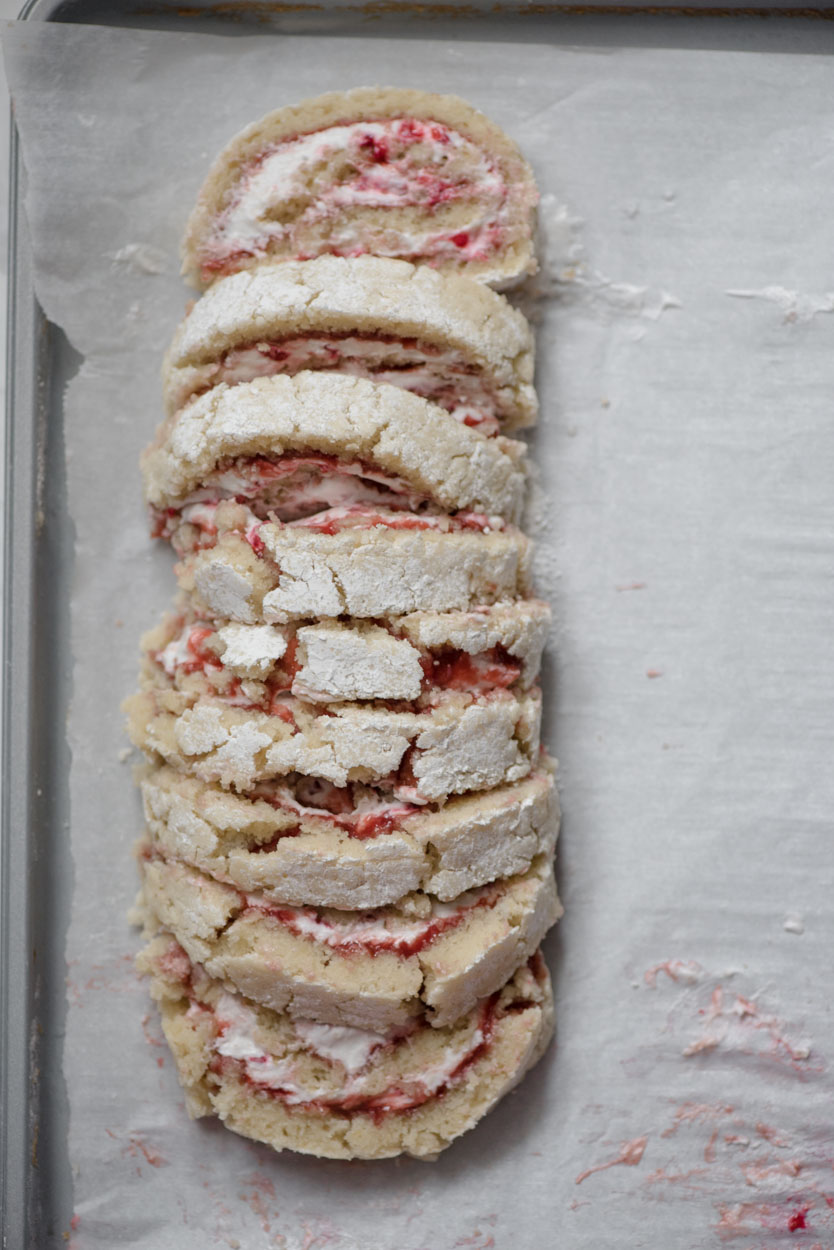
Clearly did not pass the test! Although it tasted phenomenal. So I turned this cake roll into….
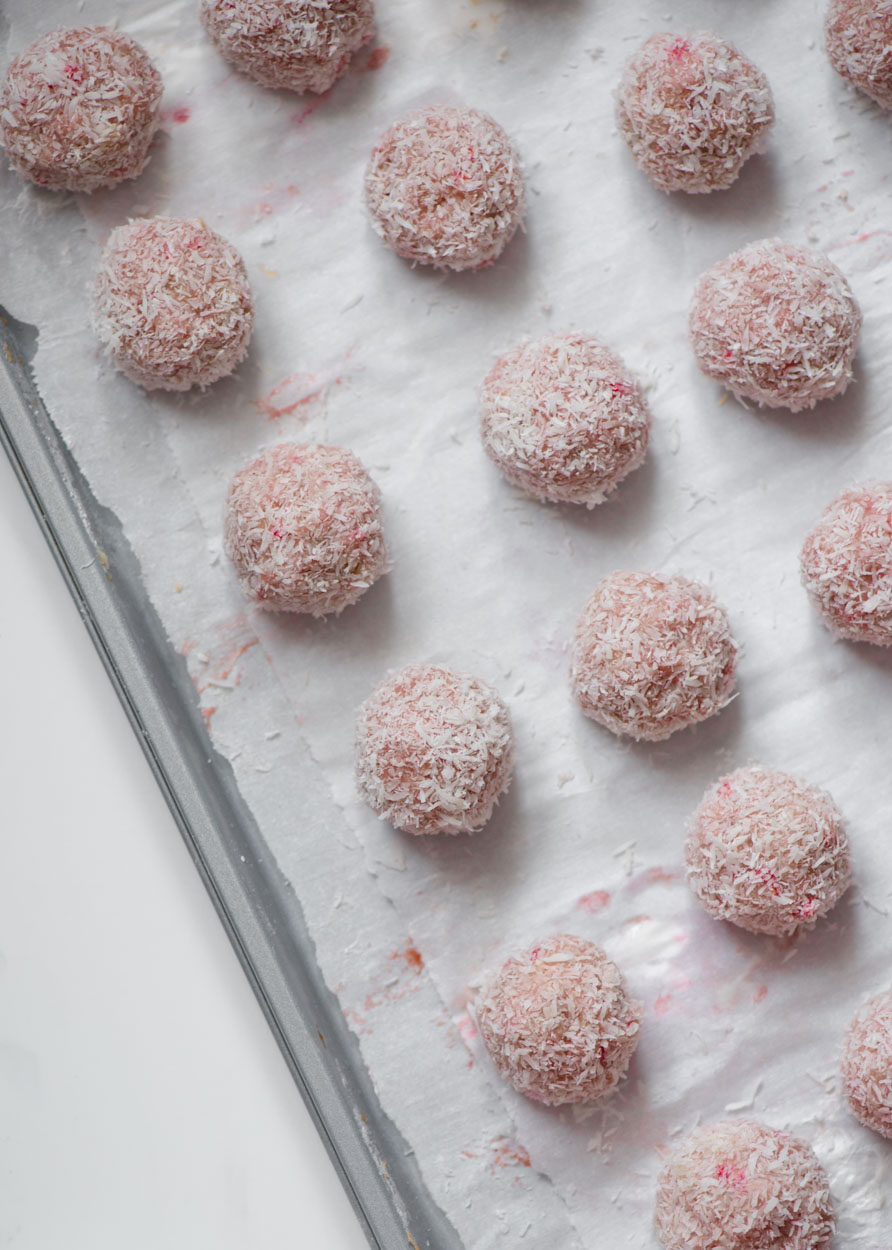
These totally adorable and totally awesome bites! How pretty. A completely different dessert :)
As you can imagine, I learned a lot from making this cake. Follow my tips/tricks/advice and you’ll have the mostest bestest Raspberry Lemon Roll on the planet!
This cake roll is great because the traditional method of roll, let cool, unroll, fill, re-roll isn’t applied. We’re skipping all of these steps. Because this is what will happen to your cake if you decide to pre-roll…
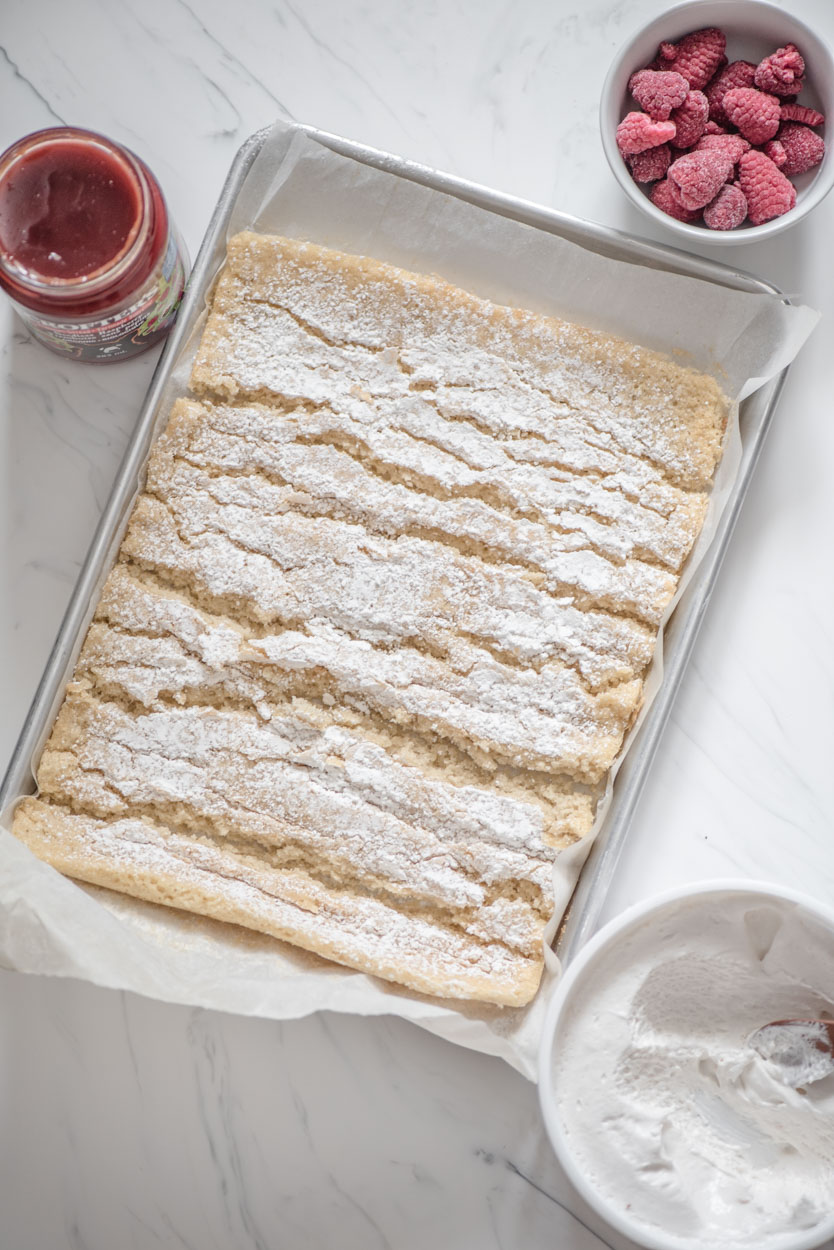
I prefer my filling to stay intact and don’t mind the few cracks on the outside. Not one bit!
Keep in mind that because there are no eggs in this recipe (which provide the stretch and binding), your cake will crack. There’s no way around it. So you’re going to have to embrace it as I have. I actually love all the lines and tears – it’s rustic looking; so beautiful with all its ‘flaws’. But don’t worry, it doesn’t crack to the point where your cake falls apart. See pic below for reference.
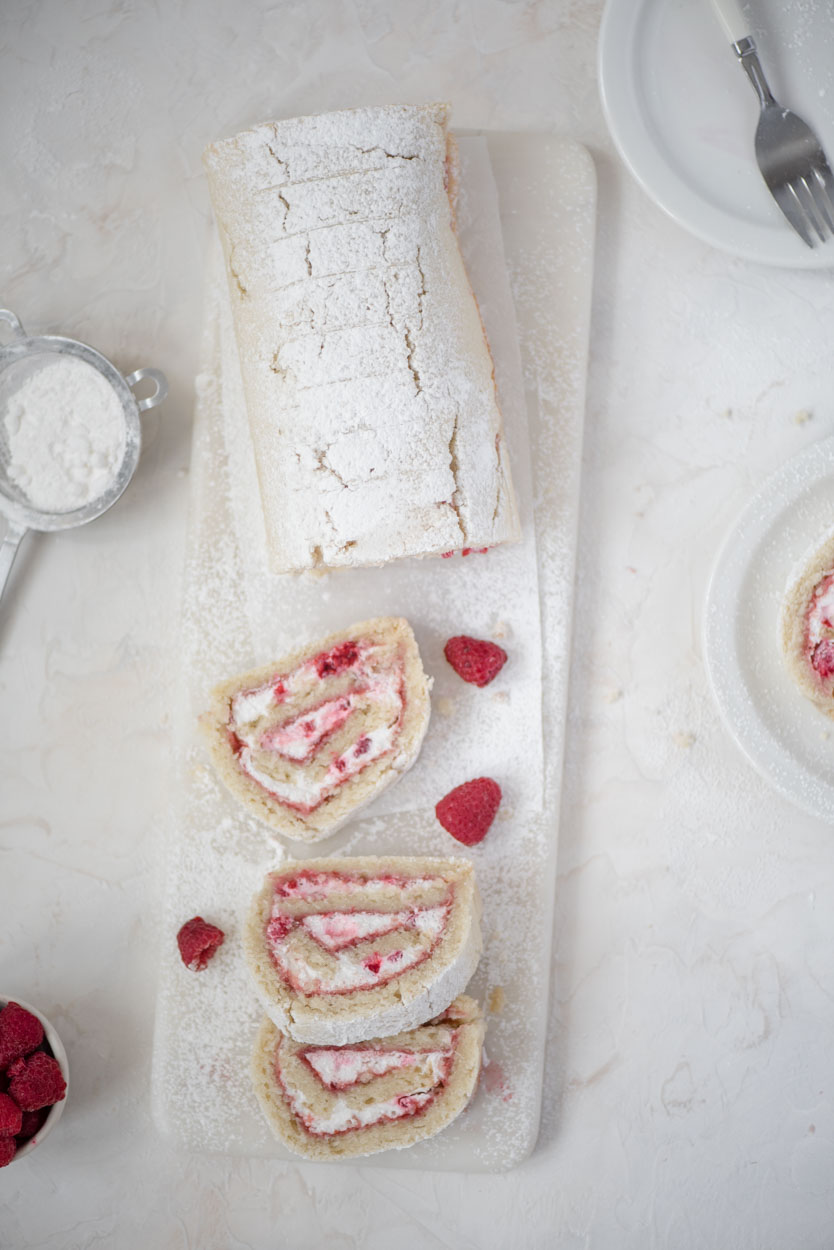
Another thing to note is even with the cracks, once you roll the cake and wrap it tightly with plastic wrap and refrigerate, your Raspberry Lemon Roll will fuse a bit on its own. So when you unwrap it, it’ll look even better than it did when you wrapped it. A generous dusting of icing sugar on top will take your eye away from the cracks.
Another solution…
And if they really bother you, then simply spread the entire top (and sides if you like) with allergy-friendly whipped cream, either homemade (yes!!) or store-bought. Top the cream with fresh raspberries and serve. Problem solved :)
The important thing is that it tastes friggin’ amazing. The cake is light and airy, melts in your mouth, spongy perfection. The filling is tart, sweet, and so super satisfying.
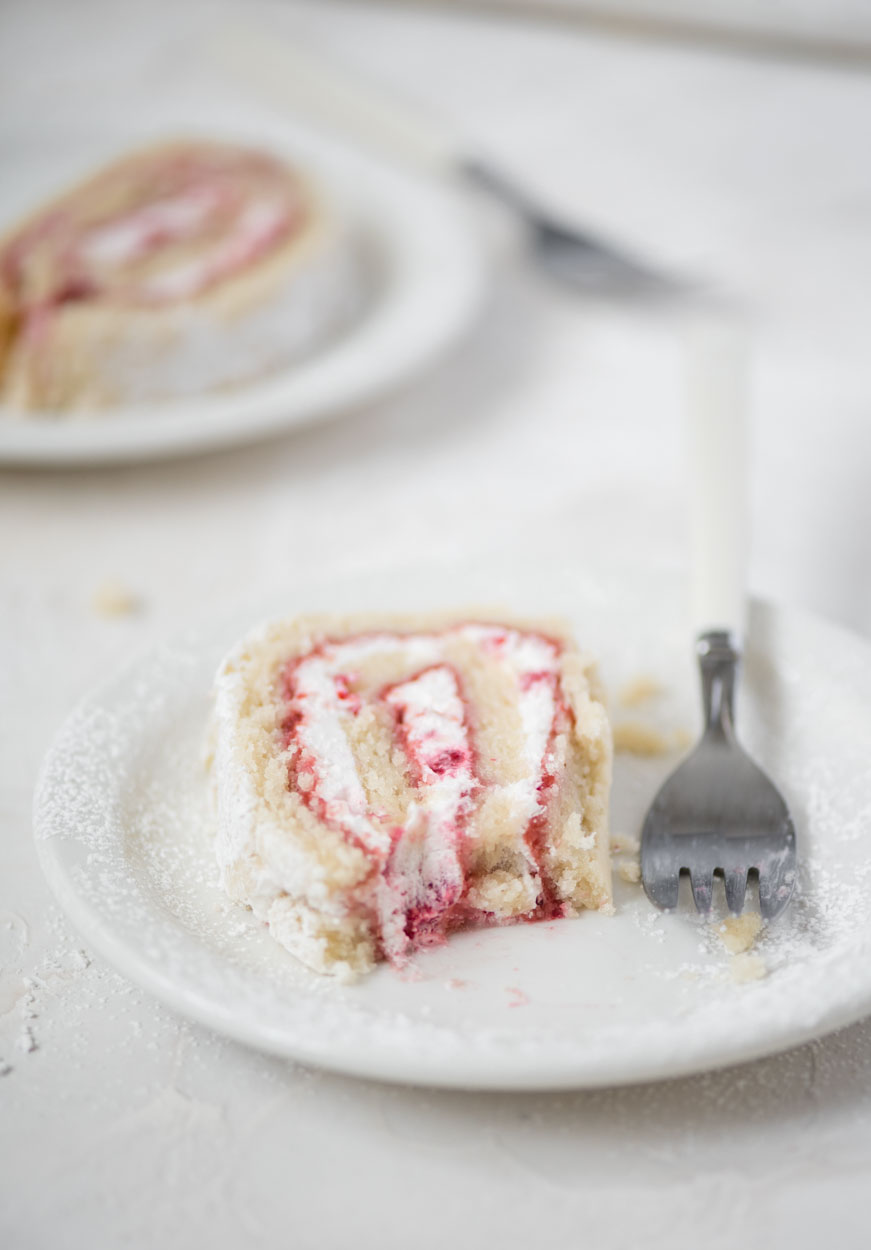
Can’t wait for you to try this cake at home. Remember to have fun and don’t stress about its aesthetics too much. With each roll you make you’ll get better and better at it. This is a fuss free, fun recipe that I know you’re going to love!
And as always, please rate and comment on this recipe and any others that you make here on NDNC. Your feedback helps others find the recipes so that more people can enjoy food that’s healthier, simple to make, allergy friendly, and delicious.
Connect with me on social too! On instagram and facebook :)
Happy baking! xx
Recipe
Raspberry Lemon Roll
The perfect combination of a light and airy cake with a tart and sweet filling. This Raspberry Lemon Roll is free from dairy, egg, nuts, soy, sesame, mustard, and animal products. You're going to love how simple it is to make and better yet, how amazing it truly tastes!!
- Prep
- 5 mins
- Cook
- 15 mins
- Total
- 20 mins
- Serves
- 12 slices
Ingredients
Filling
Dusting
Instructions
- 1Preheat oven to 375F. Lightly grease a 10"x15" baking sheet and line with parchment paper. Set aside. For the filling: In a small bowl, add raspberry jam and lemon juice and whisk vigorously until fully combined and smooth. Set aside. Have your whipped cream ready. Set aside in the fridge until ready to use.
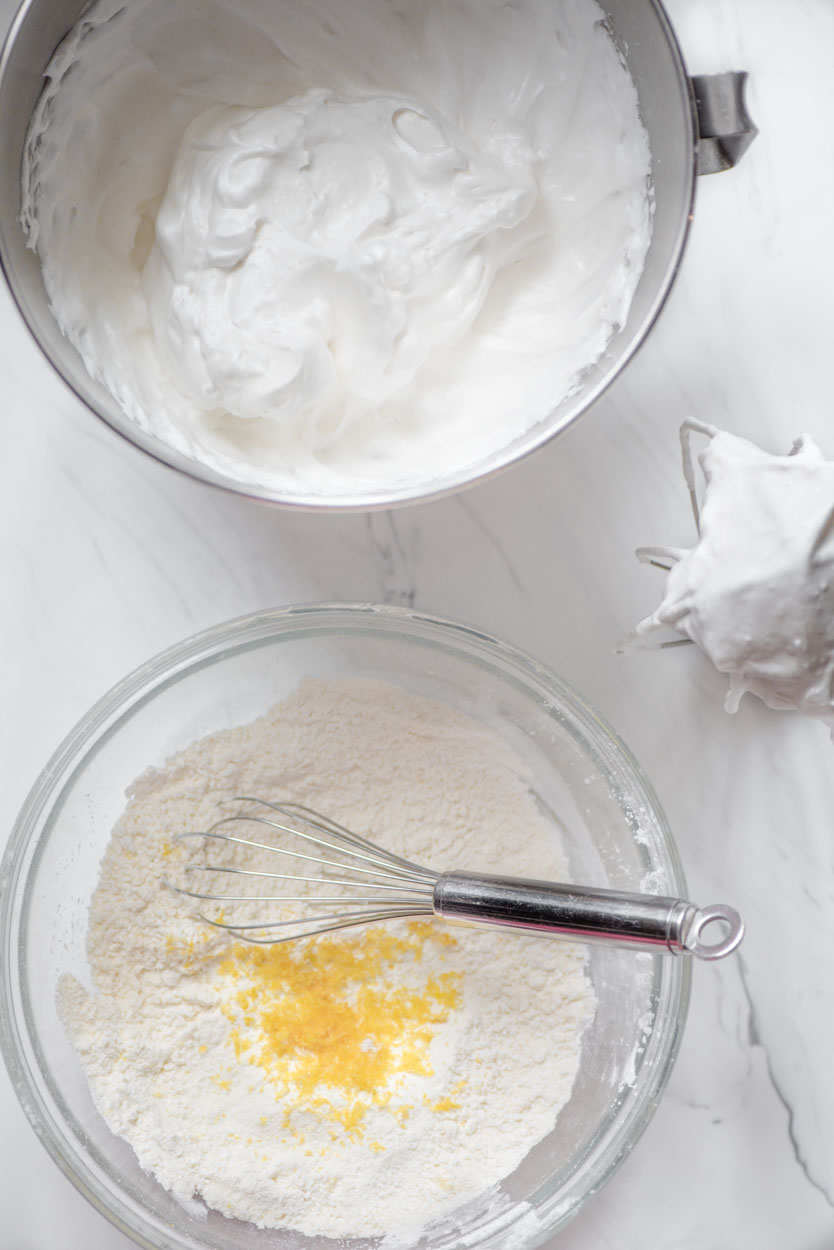
- 2In a stand mixer fitted with the whisk attachment, whip the chickpea brine on high until light and foamy - about 2-3 minutes.
- 3Add 6 tablespoons of sugar, one tablespoon at a time to ensure your sugar is well incorporated. Wait 30 seconds or so before you add the next tablespoon and so on.
- 4Continue mixing until your foam is now a beautiful glossy white meringue! Once you achieve this stage, add the lemon juice and whisk 30 seconds more to incorporate it into the meringue. Turn mixer off. Set aside.
- 5In a medium sized bowl, sift together and mix well your dry ingredients: flour, corn starch, baking power, baking soda, salt. Add the remaining 2 tablespoons of sugar and the lemon zest and whisk a few more times to combine.
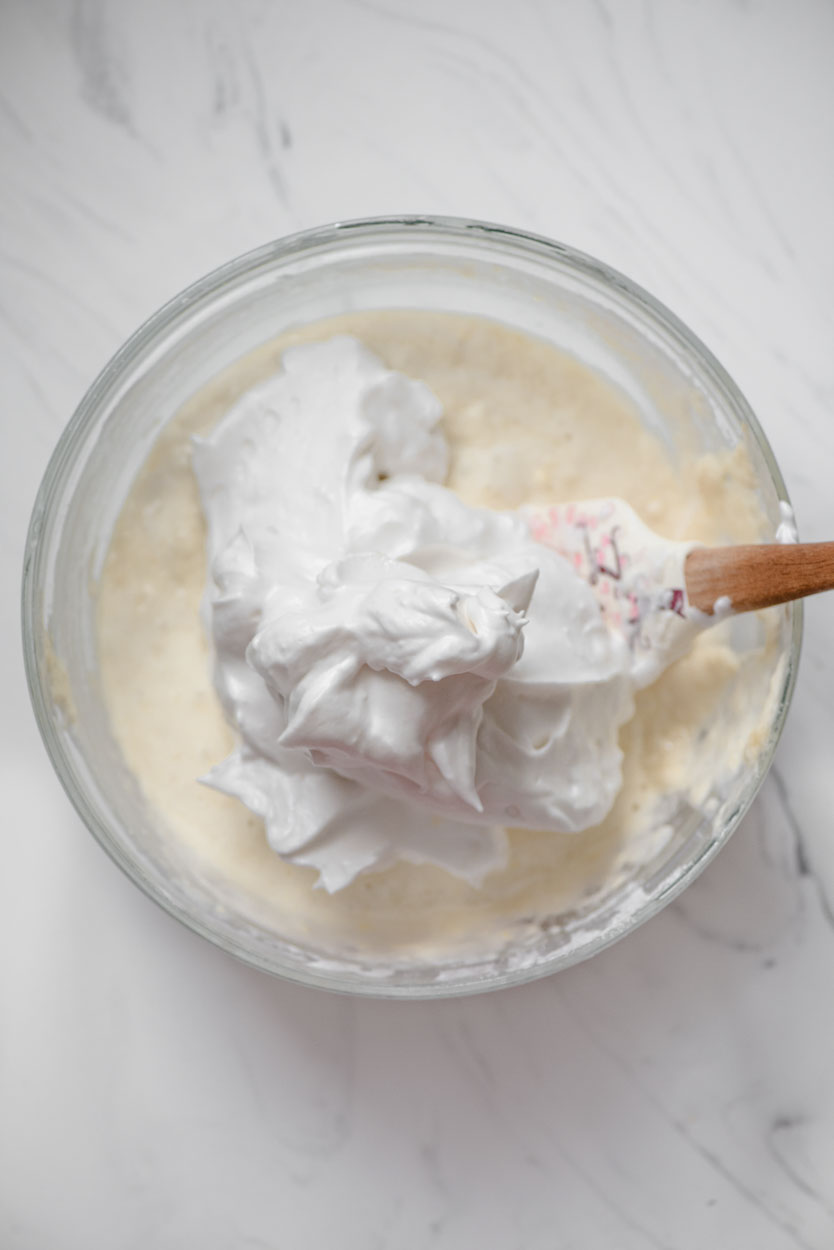
- 6Then, add the water, oil, and about 1/3 of the meringue to the dry ingredients, and using a spatula, fold the ingredients together until batter is smooth.
- 7Next, add remaining meringue and gently fold into the batter until it's fully incorporated, completely smooth and silky.
- 8Pour and spread the batter onto the lined baking sheet, making sure it's as even as possible (use an offset spatula to help you with this). Tap hard/drop the pan a few times on the counter to remove as many air bubbles as possible. Then place in the preheated oven and bake for 15 minutes. While the cake is baking, have a slightly larger size parchment paper cut and generously dusted with the icing sugar/cornstarch mixture. Set it on the kitchen counter.
- 9Once cake is done, remove from oven, and wait a couple of minutes then flip the cake onto the prepared parchment paper, be swift and careful when flipping! You have to be quick so you don't break the cake since it'll be warm.
- 10Once it's flipped, gently remove the parchment paper on top and discard, then allow it to cool slightly, about 15 minutes, until it's at room temperature when touched. Slightly warm is ok.
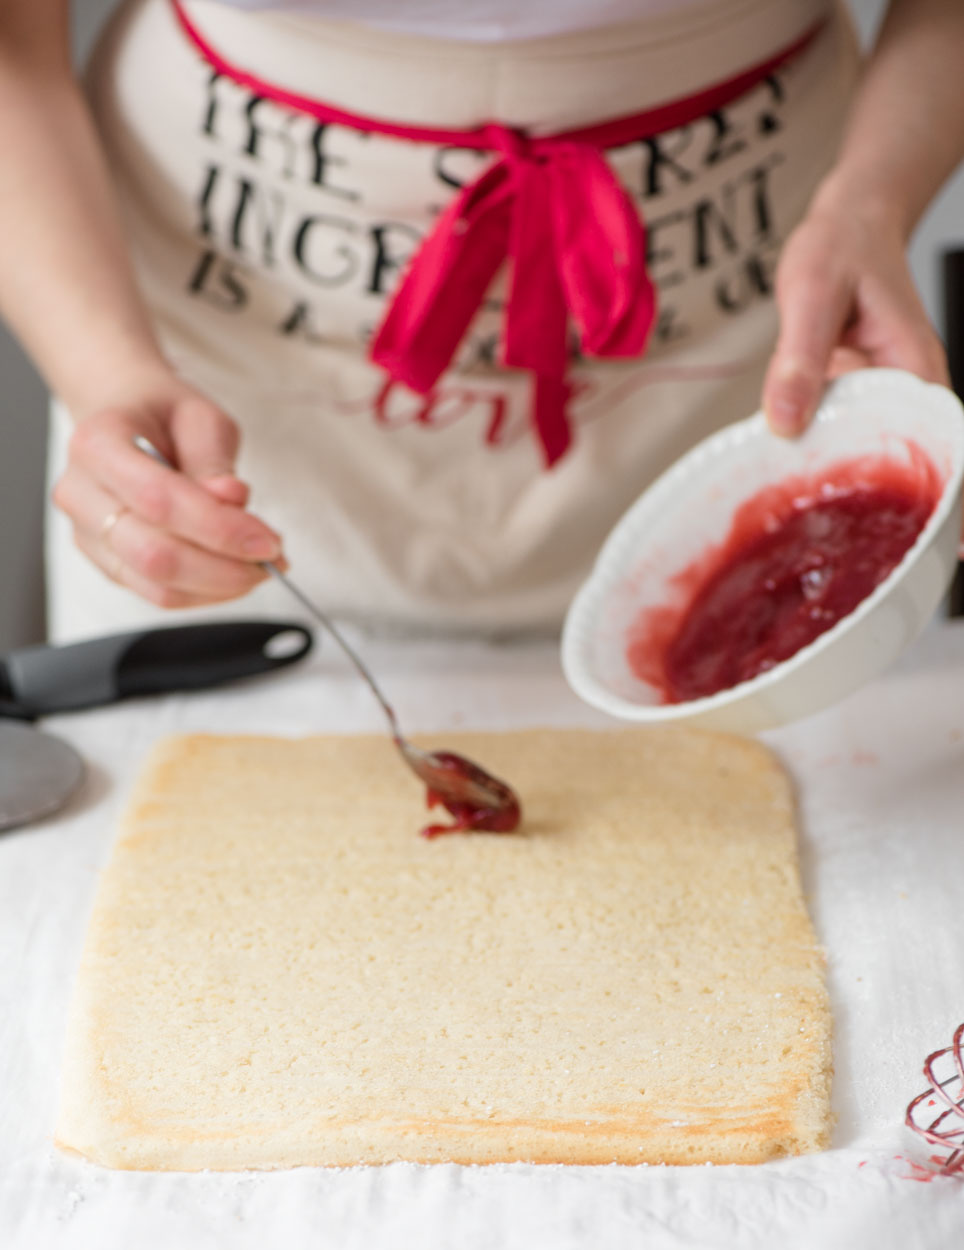
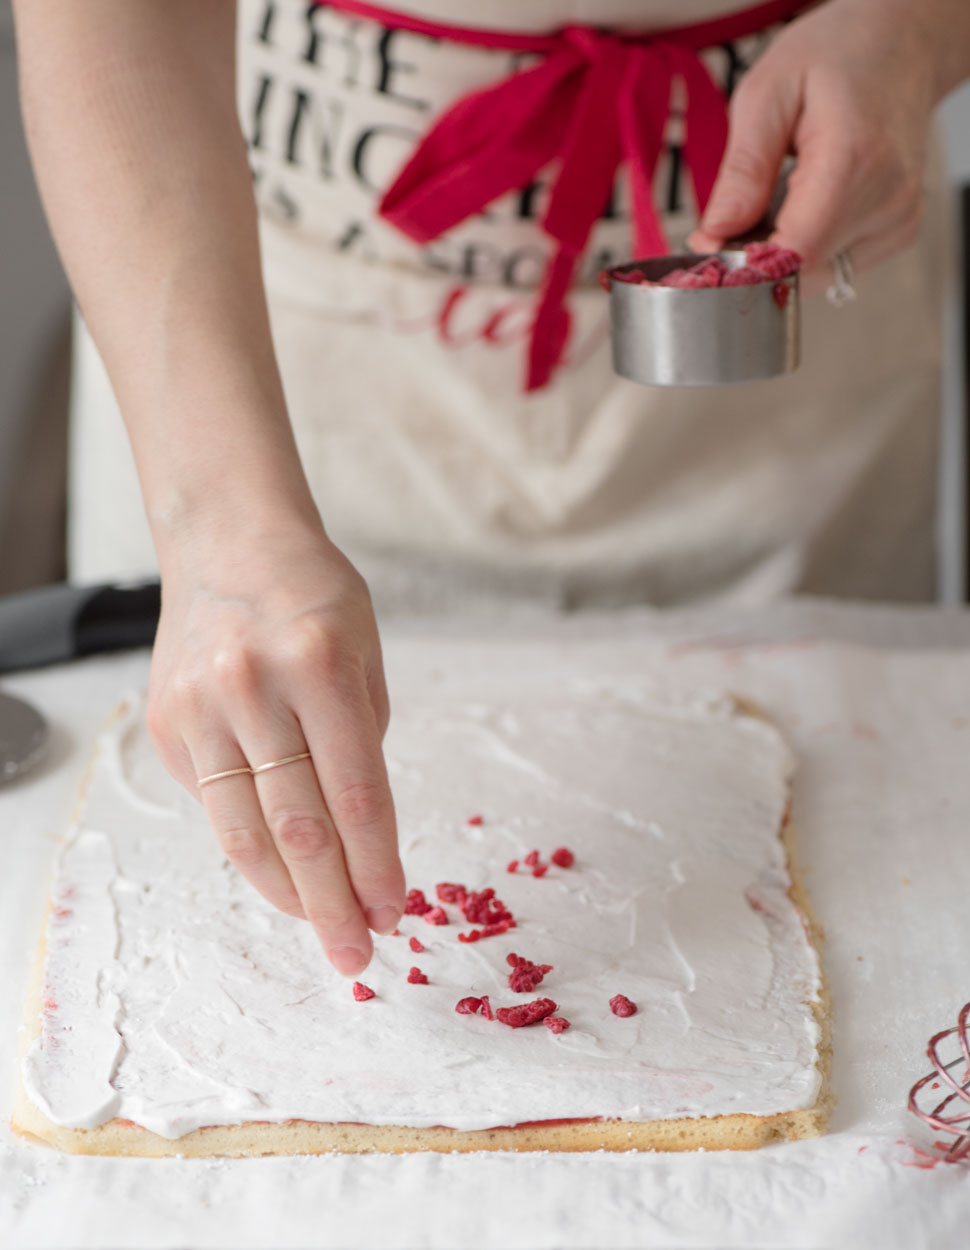
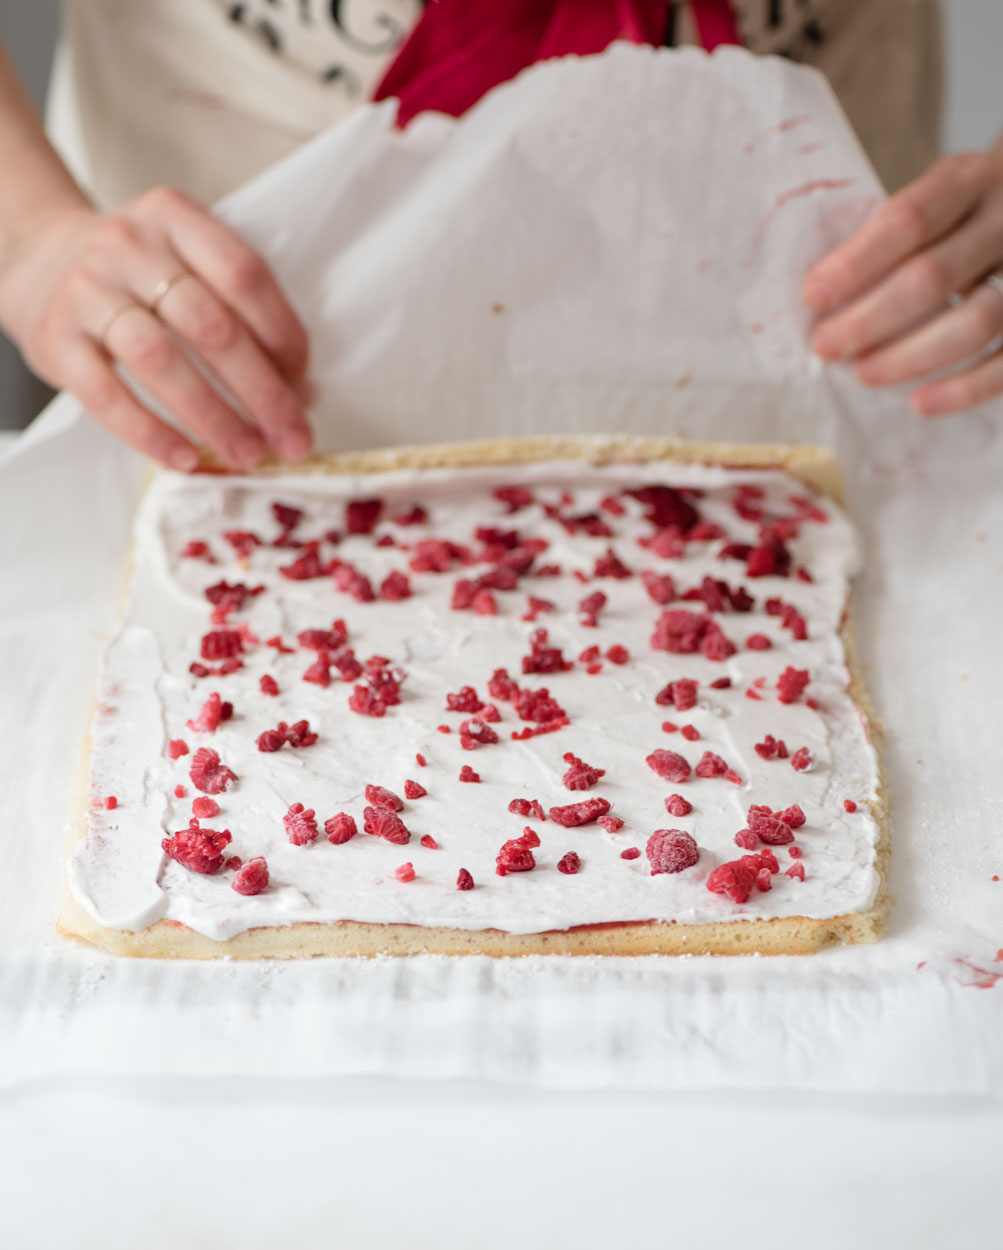
- 11Spread the jam all over the cake, followed by the whipped cream, leave about an inch from the end of the cake away from you. Sprinkle the raspberry pieces all over the whipped cream, crushing the berries in your hand as you go.
- 12Taking the ends of the parchment paper, using them as guide, gently start folding your cake, try to make it a tight roll. The tighter the more structure your cake will have and the prettier it will look.
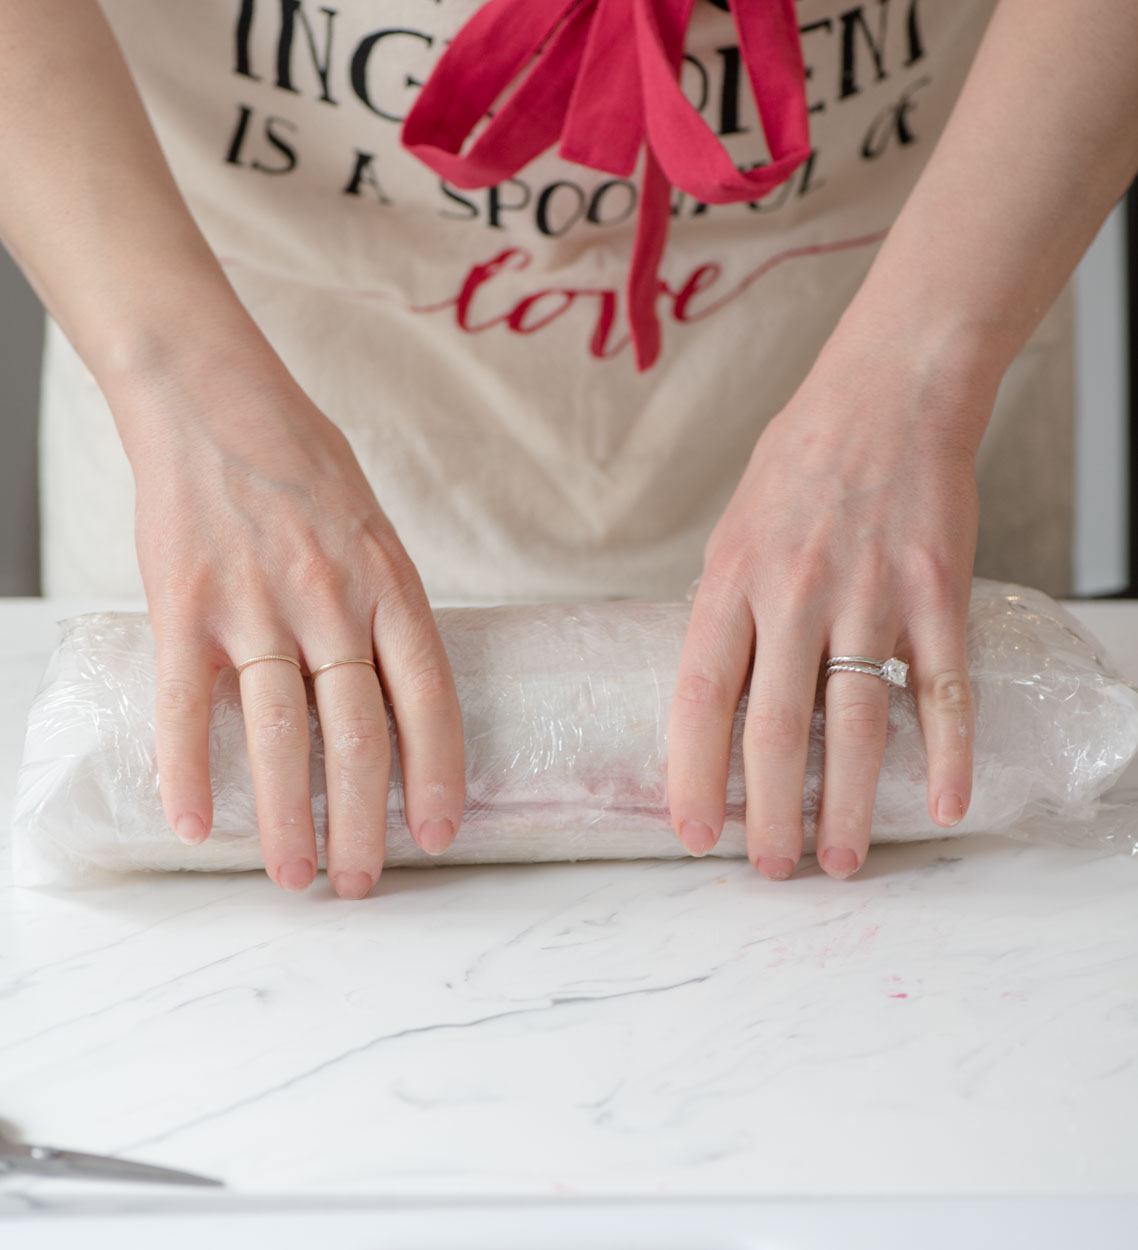
- 13Trim excess parchment paper, and use a plastic wrap to wrap the cake tightly once again, and shape and smooth the cake with your hands once the cake is wrapped. Place in the fridge and allow it to set.
- 14When ready to serve, remove the cake from the fridge, remove the plastic wrap and carefully peel the parchment paper off. Set it on desired serving plate, dust generously with icing sugar, cut into even pieces, and enjoy!!
Notes
Always remember, every oven heats a bit differently. 15 minutes in the oven is the sweet spot for this recipe. But if you're unsure about your oven, check doneness at the 12-13 minute mark by inserting a toothpick in the cake. If it comes out clean, you're set. If batter sticks to the toothpick then keep it to 15 minutes. Unlike my Chocolate Swiss Roll , I decided to flip this cake because it looks a lot prettier than its underside. You don't see the bubbles and it just looks neat and more presentable. Remember to work with the cake while still slightly warm. Try not to let it cool too much (room temp is good) because you want it to be pliable when rolling. Cracks in this cake are good and encouraged! Don't worry if you end up with multiple tears, keep in mind that once you slice the cake, it won't matter. I used frozen raspberries because it's readily available and I have it in the freezer ready for me when I need it. Plus they're easier to crush in your hands as you're sprinkling over the whipped cream. But feel free to use fresh raspberries or other berries if you like, like strawberries. It'll all taste great! I also used a ready made whipped coconut for this recipe to keep it simple. I found it easier to handle and it was one less thing to have to make :) The brand I used is So Delicious CocoWhip . But of course, feel free to use homemade whipped coconut! I don't have a recipe ready yet, but once I do i'll be sure to share it with you. Most important: have fun with this recipe! If it doesn't turn out looking perfect the first time, enjoy the taste anyway, and/or take inspiration from what I did and turn them into cake balls! I'll share a quick post with pictures about it soon :) Setting time: 2 hrs Calories: 215 kcal