
No Bake Gingerbread Poppers
By Laila ·
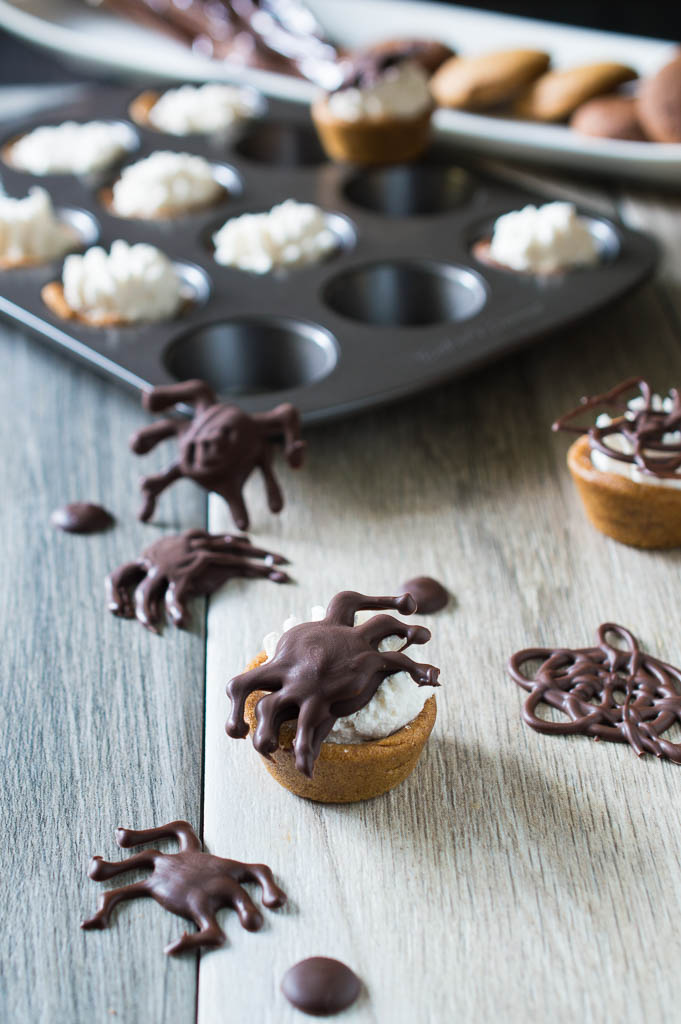
A simple no bake dessert that's effortless to put together, requires only a few ingredients and 5 minutes of your time! Perfect for last minute guests or anytime you need to satisfy your sweet tooth!
I got up at 6 a.m. to get ready for our road trip to Munsur’s hockey game – prepping foods, making sure his gears’ ready.
With food allergies at home, sometimes finding fun foods to snack on can be challenging.
Enter these No Bake Gingerbread Poppers. I called them poppers because you can literally just pop the whole thing in your mouth :D
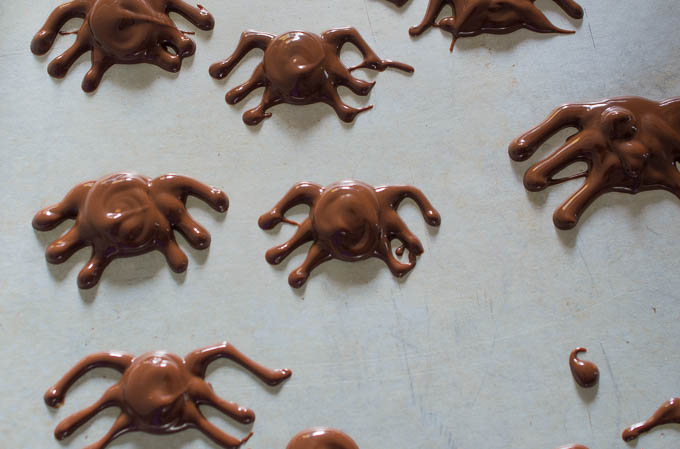
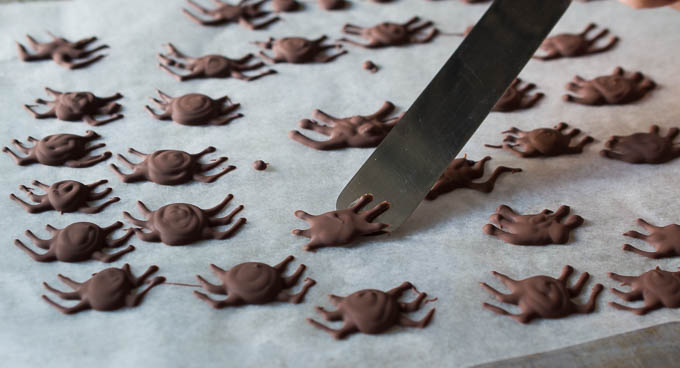
In the spirit of Halloween coming up, I wanted to make something simple and fun for the kids {and us adults} to enjoy. My willpower and I aren’t friends, more acquaintances.
These poppers were a hit! Who knew I wouldn’t mind spiders… so long as they’re made of chocolate and totally edible!
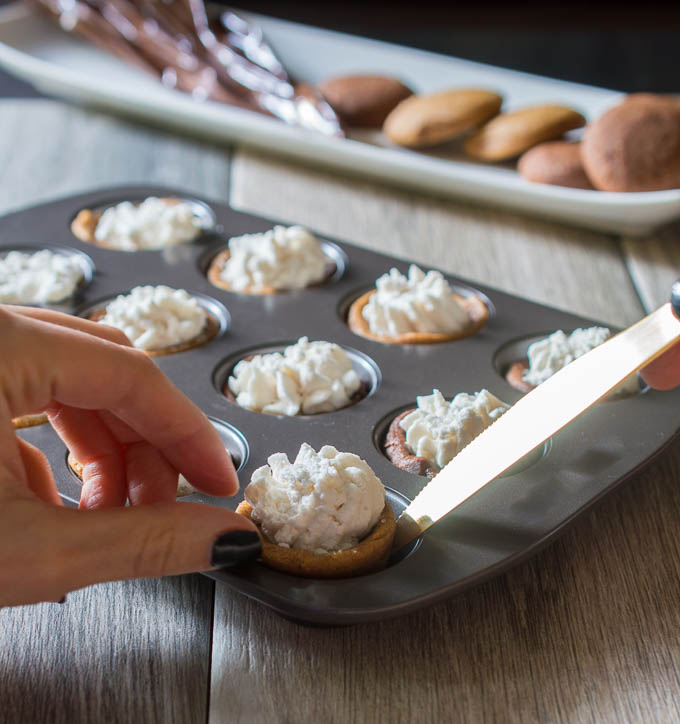
You’ll need soft cookies for this recipe and the ones I used are made by Enjoy Life. Use whatever you have that you can shape into the muffin tins easily without them breaking or crumbling. And also be sure to double up on this recipe because I guarantee these little cups will disappear faster than you can say “boo” ;)
For everyone participating in Halloween this year, have a safe and happy one! Be sure to read the labels from the candies you get, and when in doubt, throw it out! You don’t want to take any chances. Hope you’ll take part in the Teal Pumpkin Project like my family has the last couple of years. It started as a wonderful initiative that has now become a worldwide movement to help make a safer, happier, and more inclusive night of trick-or-treating for all the little ones with food allergies. xx
Recipe
No Bake Gingerbread Poppers
A simple no bake dessert that's effortless to put together, requires only a few ingredients and 5 minutes of your time! Perfect for last minute guests or anytime you need to satisfy your sweet tooth!
- Prep
- 5 mins
- Total
- 5 mins
- Serves
- 12
Ingredients
Instructions
- 1Melt 3/4 cup of the chocolate chunks on a double boiler, or in a microwave in 30 second increments, until chocolate melts.
- 2Add oil, and stir to incorporate.
- 3Remove from heat and add remainder of the chocolate chunks into melted chocolate. Allow it to sit for a few minutes before you stir the chocolate, then stir until chocolate is smooth and silky. Allow to cool a little before handling.
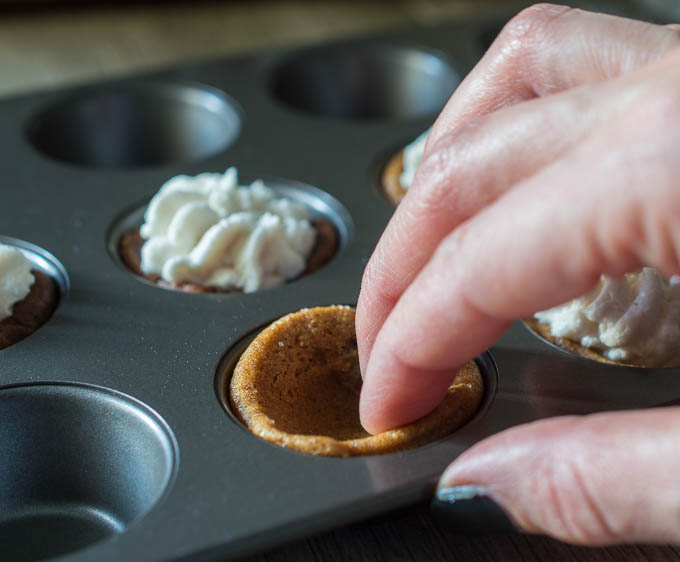
- 4In the meantime: remove cookies from package and press down firmly on each cookie into the cavity of the mini cupcake tin. Shape cookies into cups.
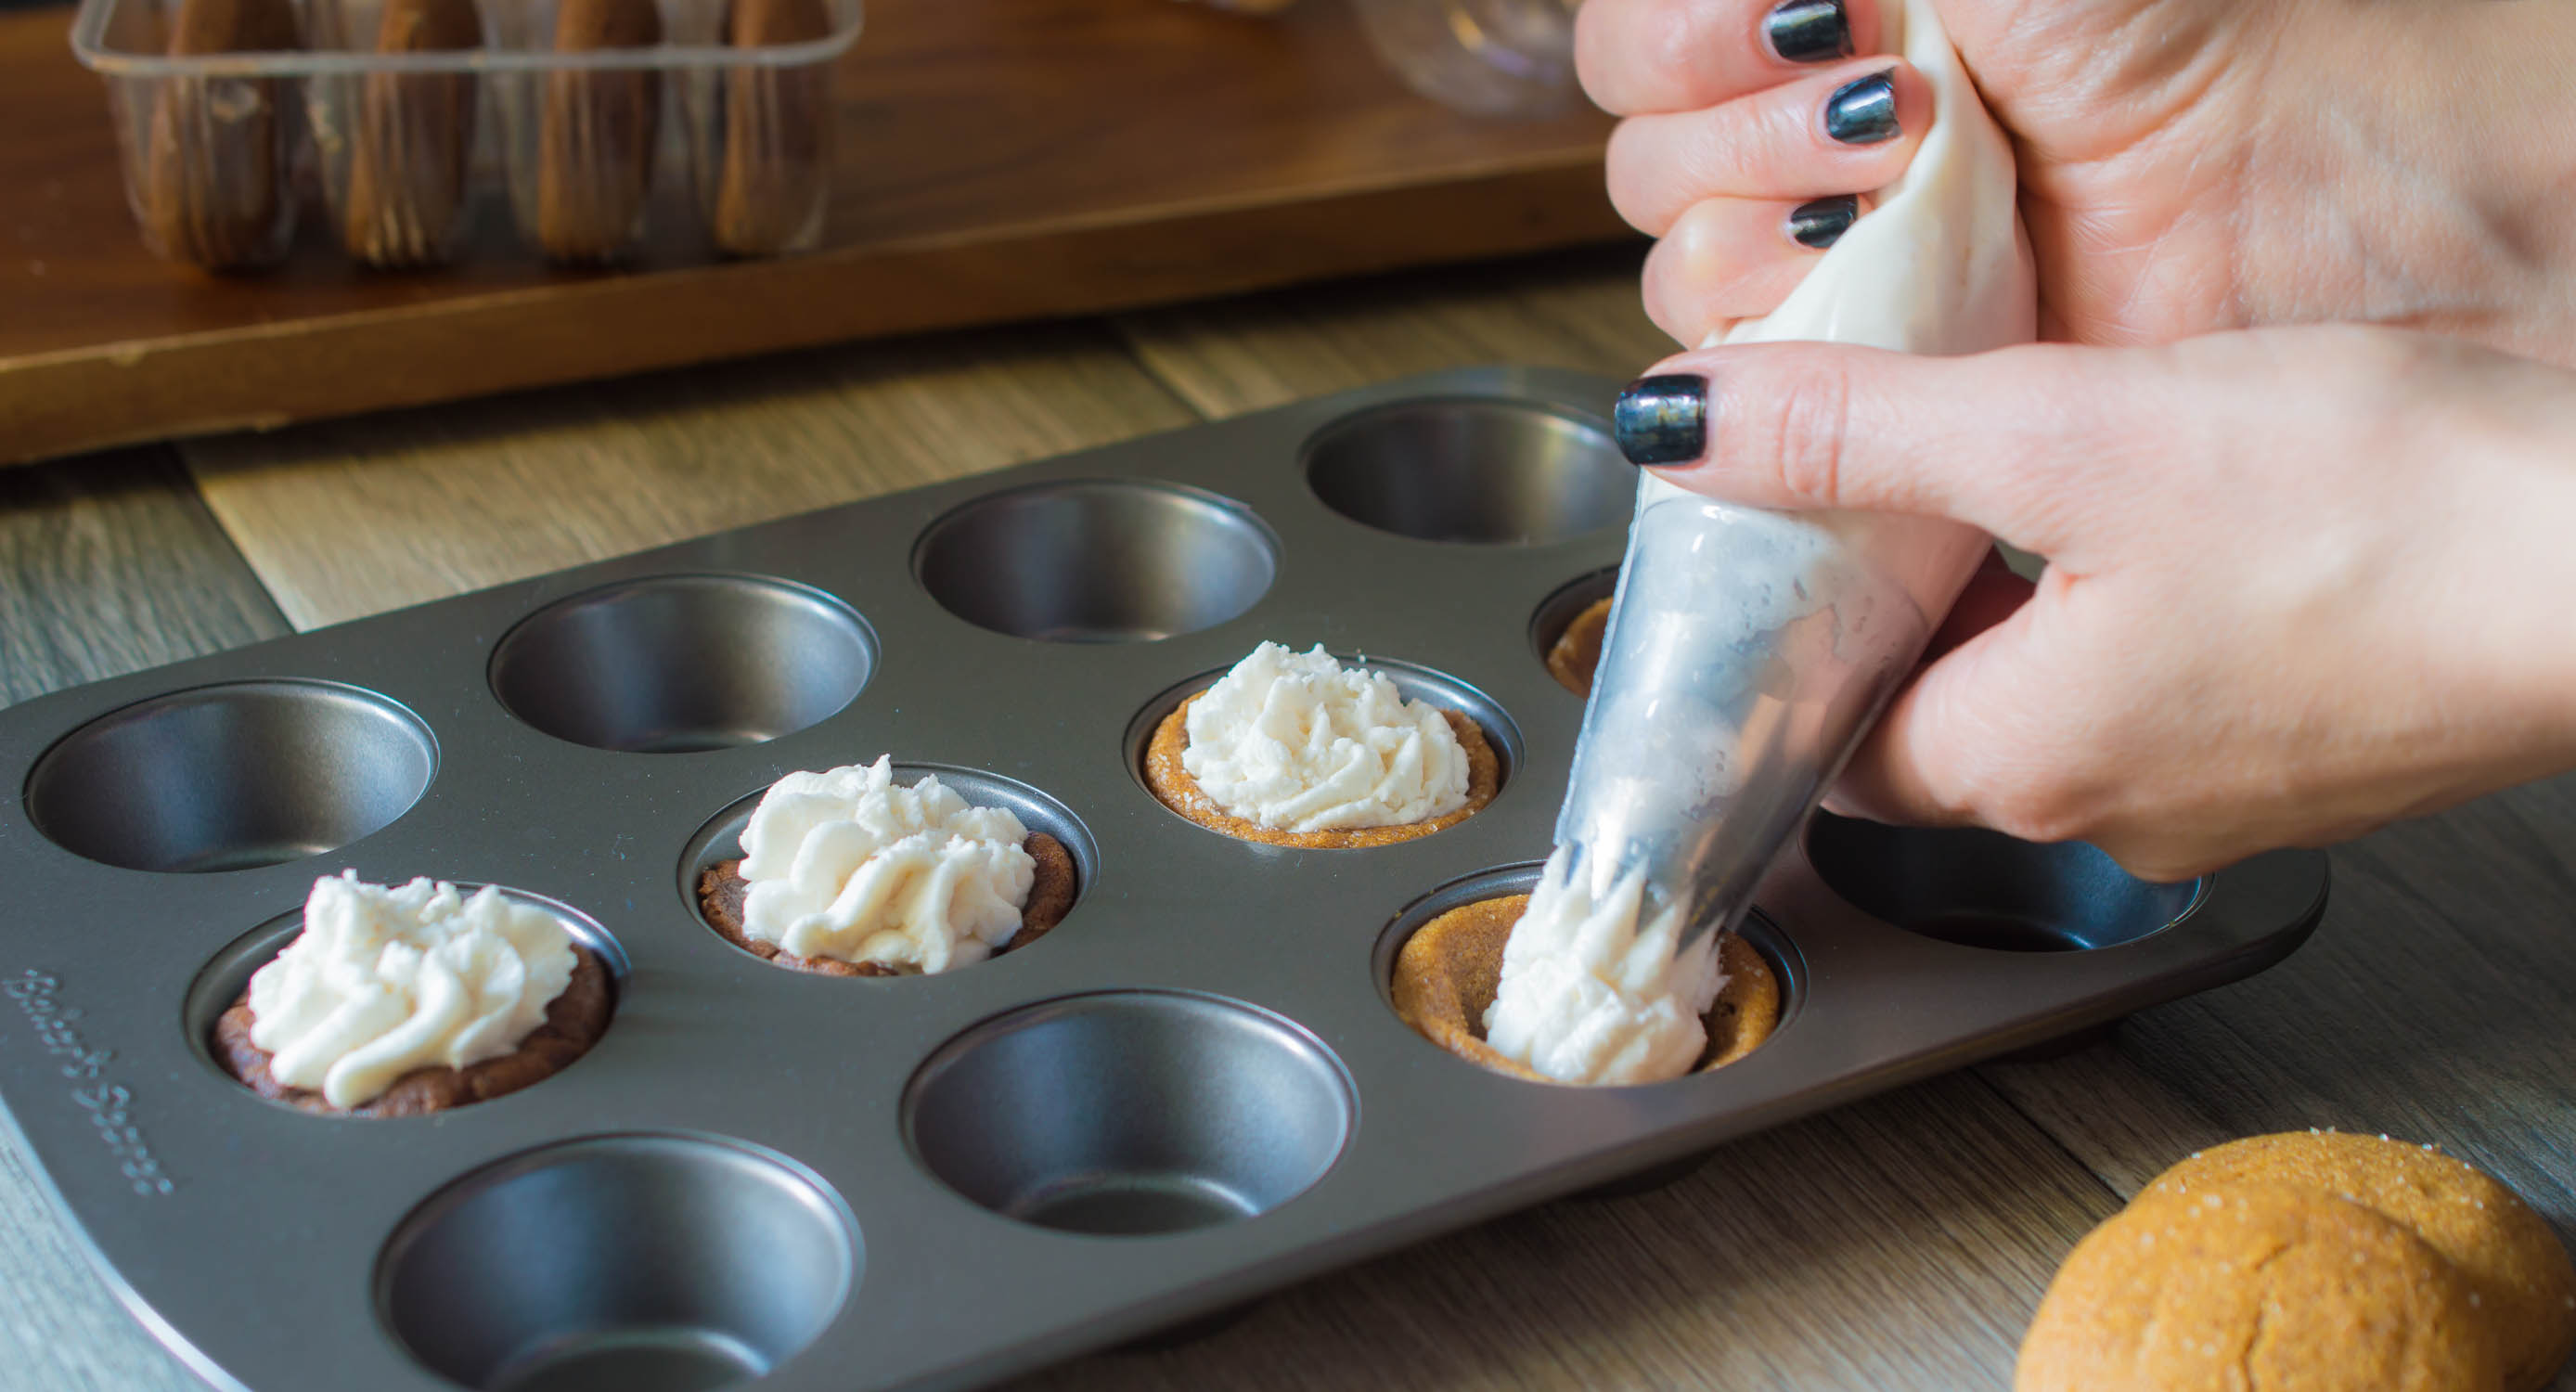
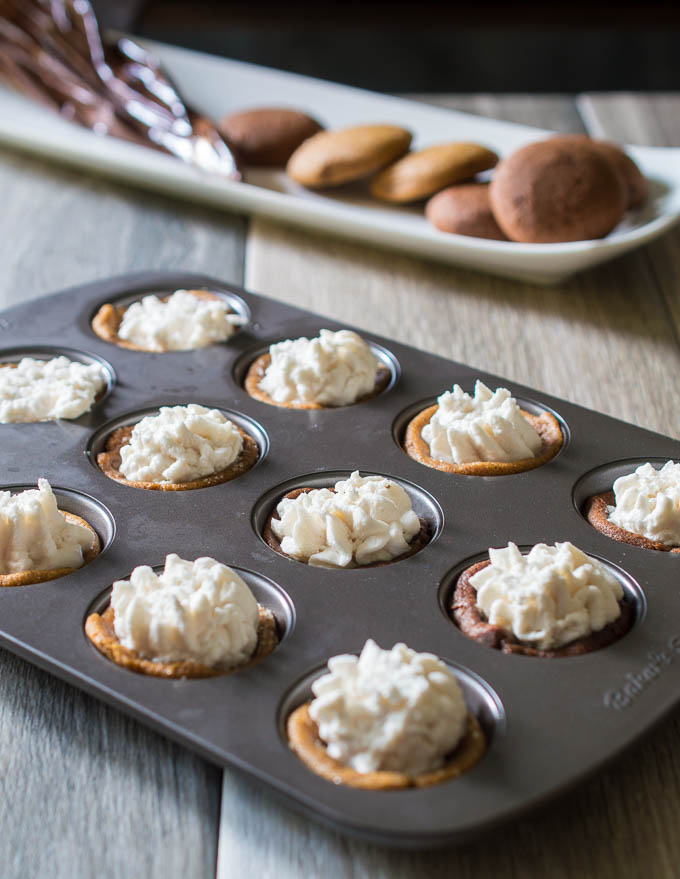
- 5Next, using a piping bag or a spoon (or an aerosol can), dollop/pipe a tablespoon or two worth of whipped topping into each cookie cup. Place in the fridge to keep consistency of whipped topping.
- 6Once chocolate is slightly cooled, drop into a piping bag or the like, and cut a small hole at the tip so you can pipe. Have a baking sheet lined with wax/parchment paper.
- 7Now, make designs of choice - I attempted to make spiders for Halloween, but feel free to make whatever design your heart desires...bring out the inner artist in you ;)
- 8Once you've finished doodling your chocolates, place baking sheet in the freezer for a couple of minutes to allow shapes to set.
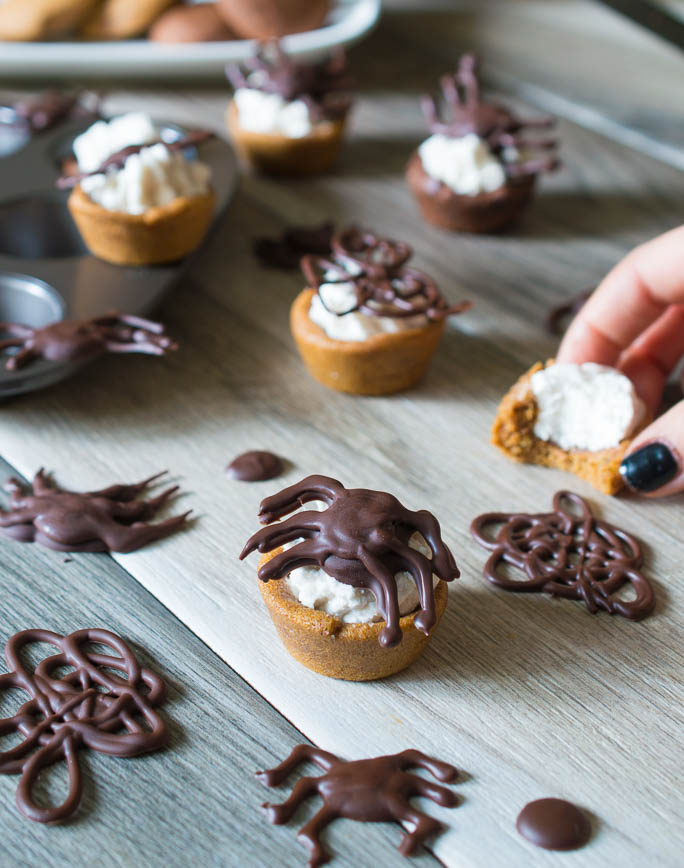
- 9Remove chocolate shapes from freezer, and remove cups from the fridge, and assemble by placing a chocolate spider (etc) on top of your whipped topping.
- 10Enjoy immediately or return to the fridge until ready to serve. Store any remaining cups in the fridge in a lidded container.