Balooza
By Laila ·
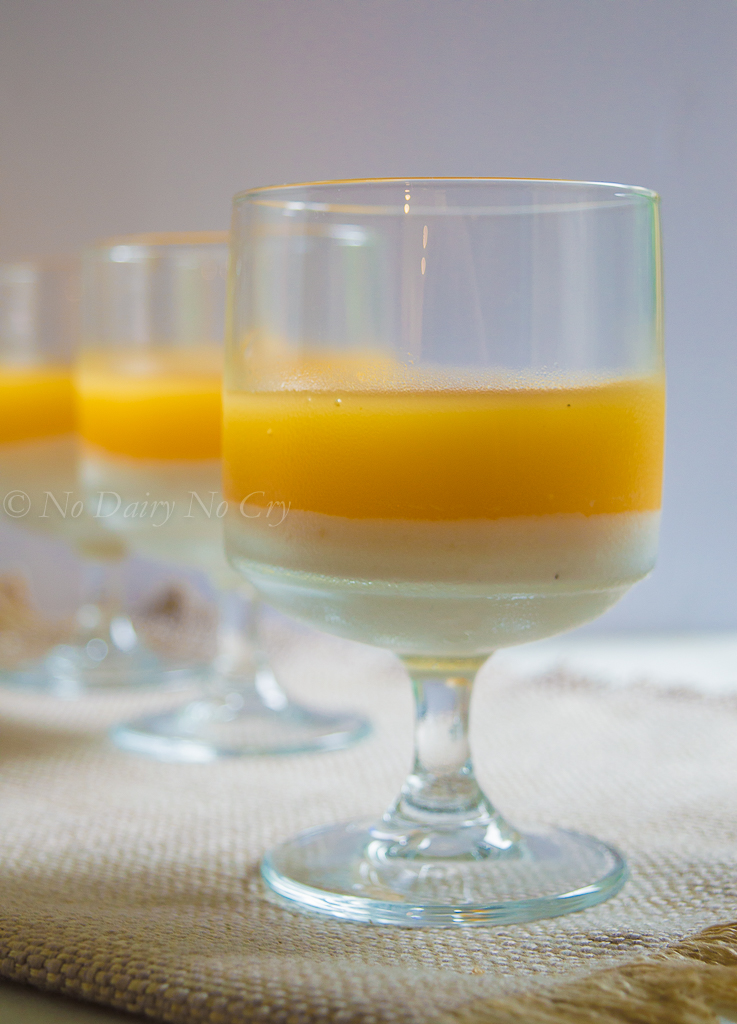
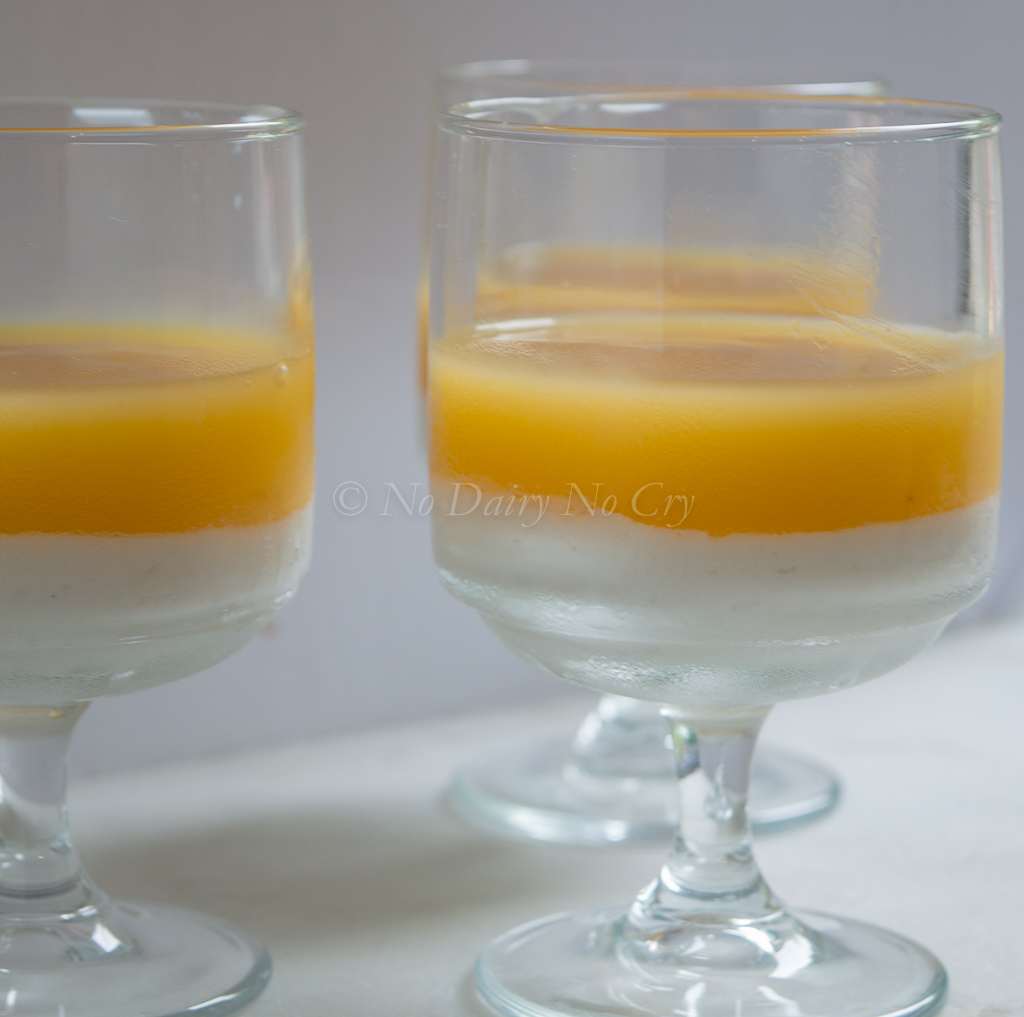
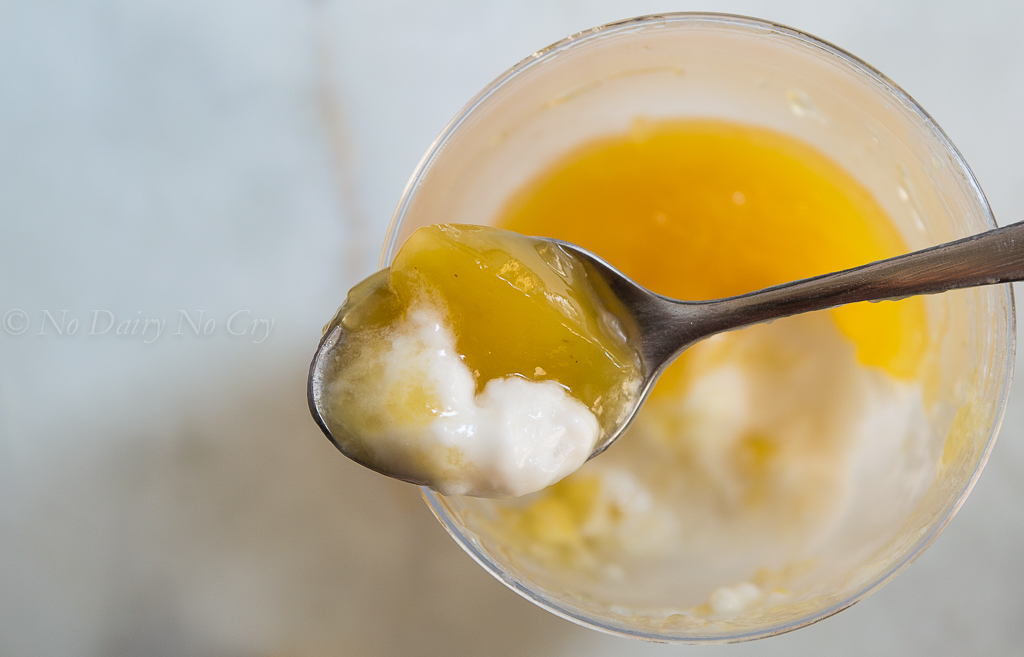
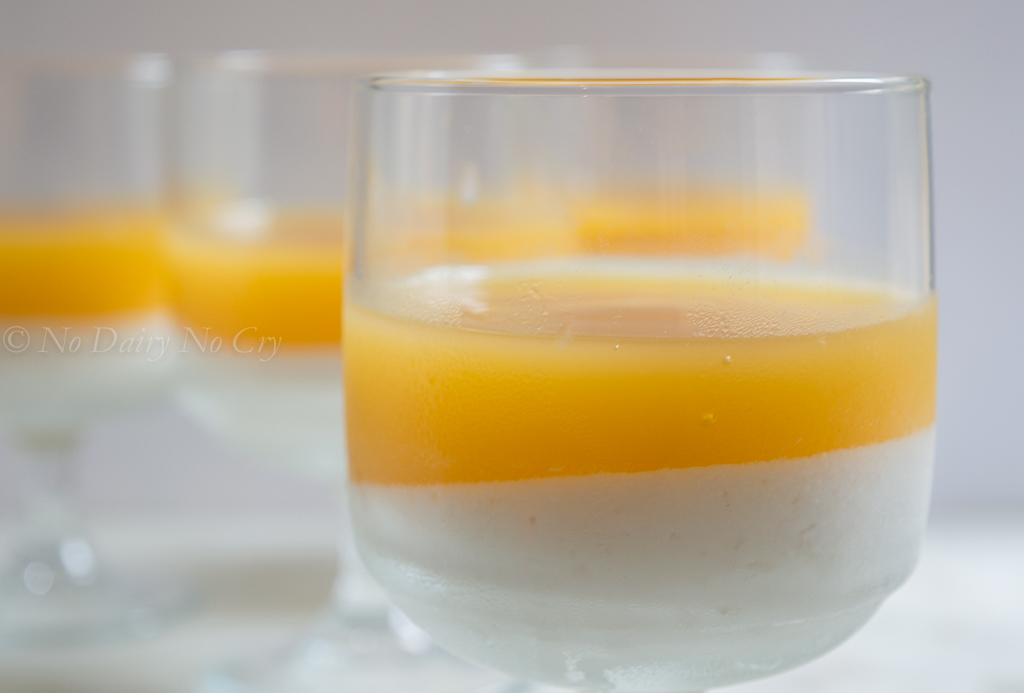
A delicious take on the Syrian classic consisting of two layers, a coconut pudding layer and a mango jello layer. Absolutely delightful!
Balooza is a classic dessert unique to Syria. It’s composed of two layers, rice pudding and an orange ‘jello’ layer. It is so delicious I can’t begin to describe to you how amazing it is! However, you wouldn’t be able to enjoy this delicacy if you have an intolerance or an allergy to dairy since Balooza contains dairy…until now! Yes I’ve done it once again and made a vegan version of this incredible dessert!! And my twist on this classic dessert will leave you reaching for more!
You are most welcome. But save your thank yous until you’ve actually tried it. I’d made them for Munsur’s SK graduation and everyone loved them! And there is no exaggeration in that statement! I had a nice woman looking for me that night just to comment on my Balooza (she had asked what it was prior to having one and I explained to her what it was and asked her to let me know what she thought of it) Not knowing she would actually follow through with my request, she told me how much she absolutely loved this dessert and wanted to know on the spot exactly how I made it!
The combination of coconut and mango is heaven! And for many of us who observe the beautiful month of Ramadan, its taste closely resembles that of the popular ‘Amaredeen’ drink made primarily from apricot paste; traditionally enjoyed in many homes during this month. Absolutely delicious!
Hope you enjoy this dessert not just during Ramadan, but afterwards too! It’s a snap to prepare and it’ll wow anyone who tries it. I promise :)
Recipe
Balooza
A delicious take on the Syrian classic consisting of two layers, a coconut pudding layer and a mango jello layer. Absolutely delightful!
- Cook
- 10 mins
- Total
- 3 hrs
Ingredients
For the Milk Layer
For the Mango Layer
Instructions
Milk layer
- 1In a small bowl, combine cornstarch with cold water and stir until completely dissolved. Keep stirring for a few seconds if it initially resists dissolving. Set aside.
- 2In a Dutch or French oven, combine coconut milk and sugar over medium-high heat. Stir continuously until the milk comes to a boil.
- 3Add the cornstarch mixture and orange blossom water while stirring vigorously. Once the milk thickens, remove the pot from the heat and let cool slightly before pouring.
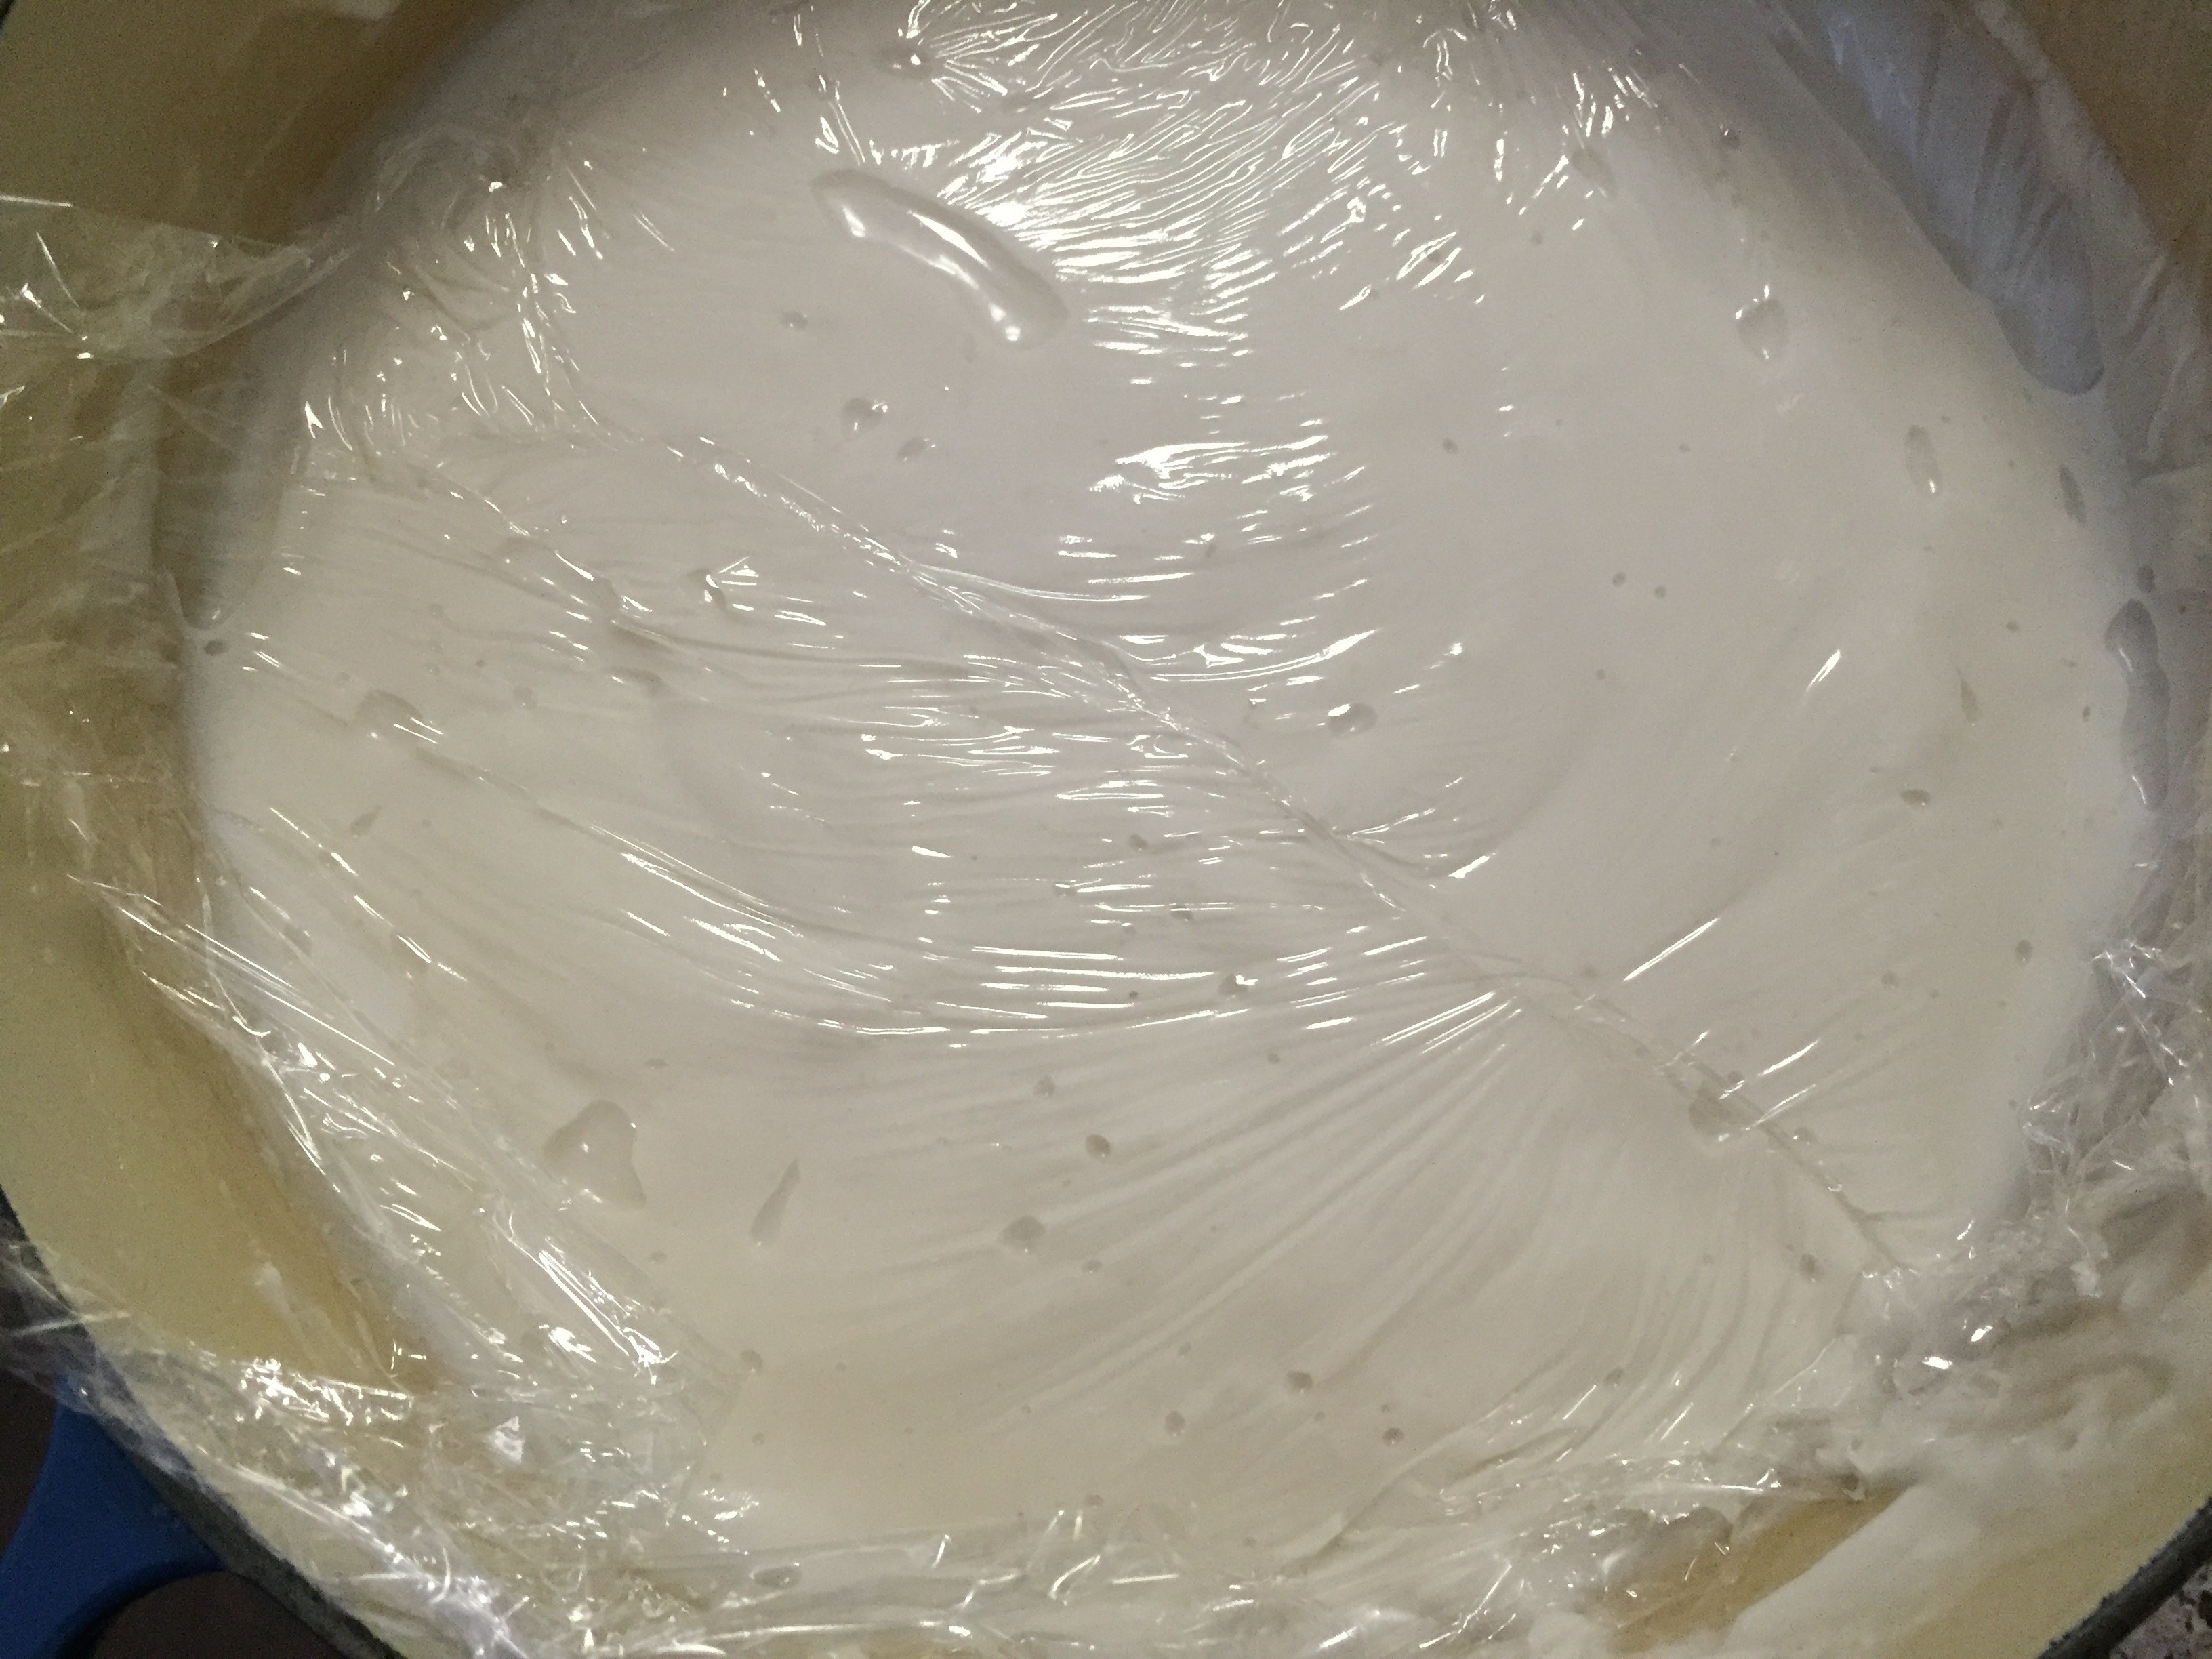
- 4Place plastic wrap directly on the surface while cooling to prevent a skin from forming; remove before pouring. If any small cornstarch lumps remain, pass the mixture through a sieve before pouring.
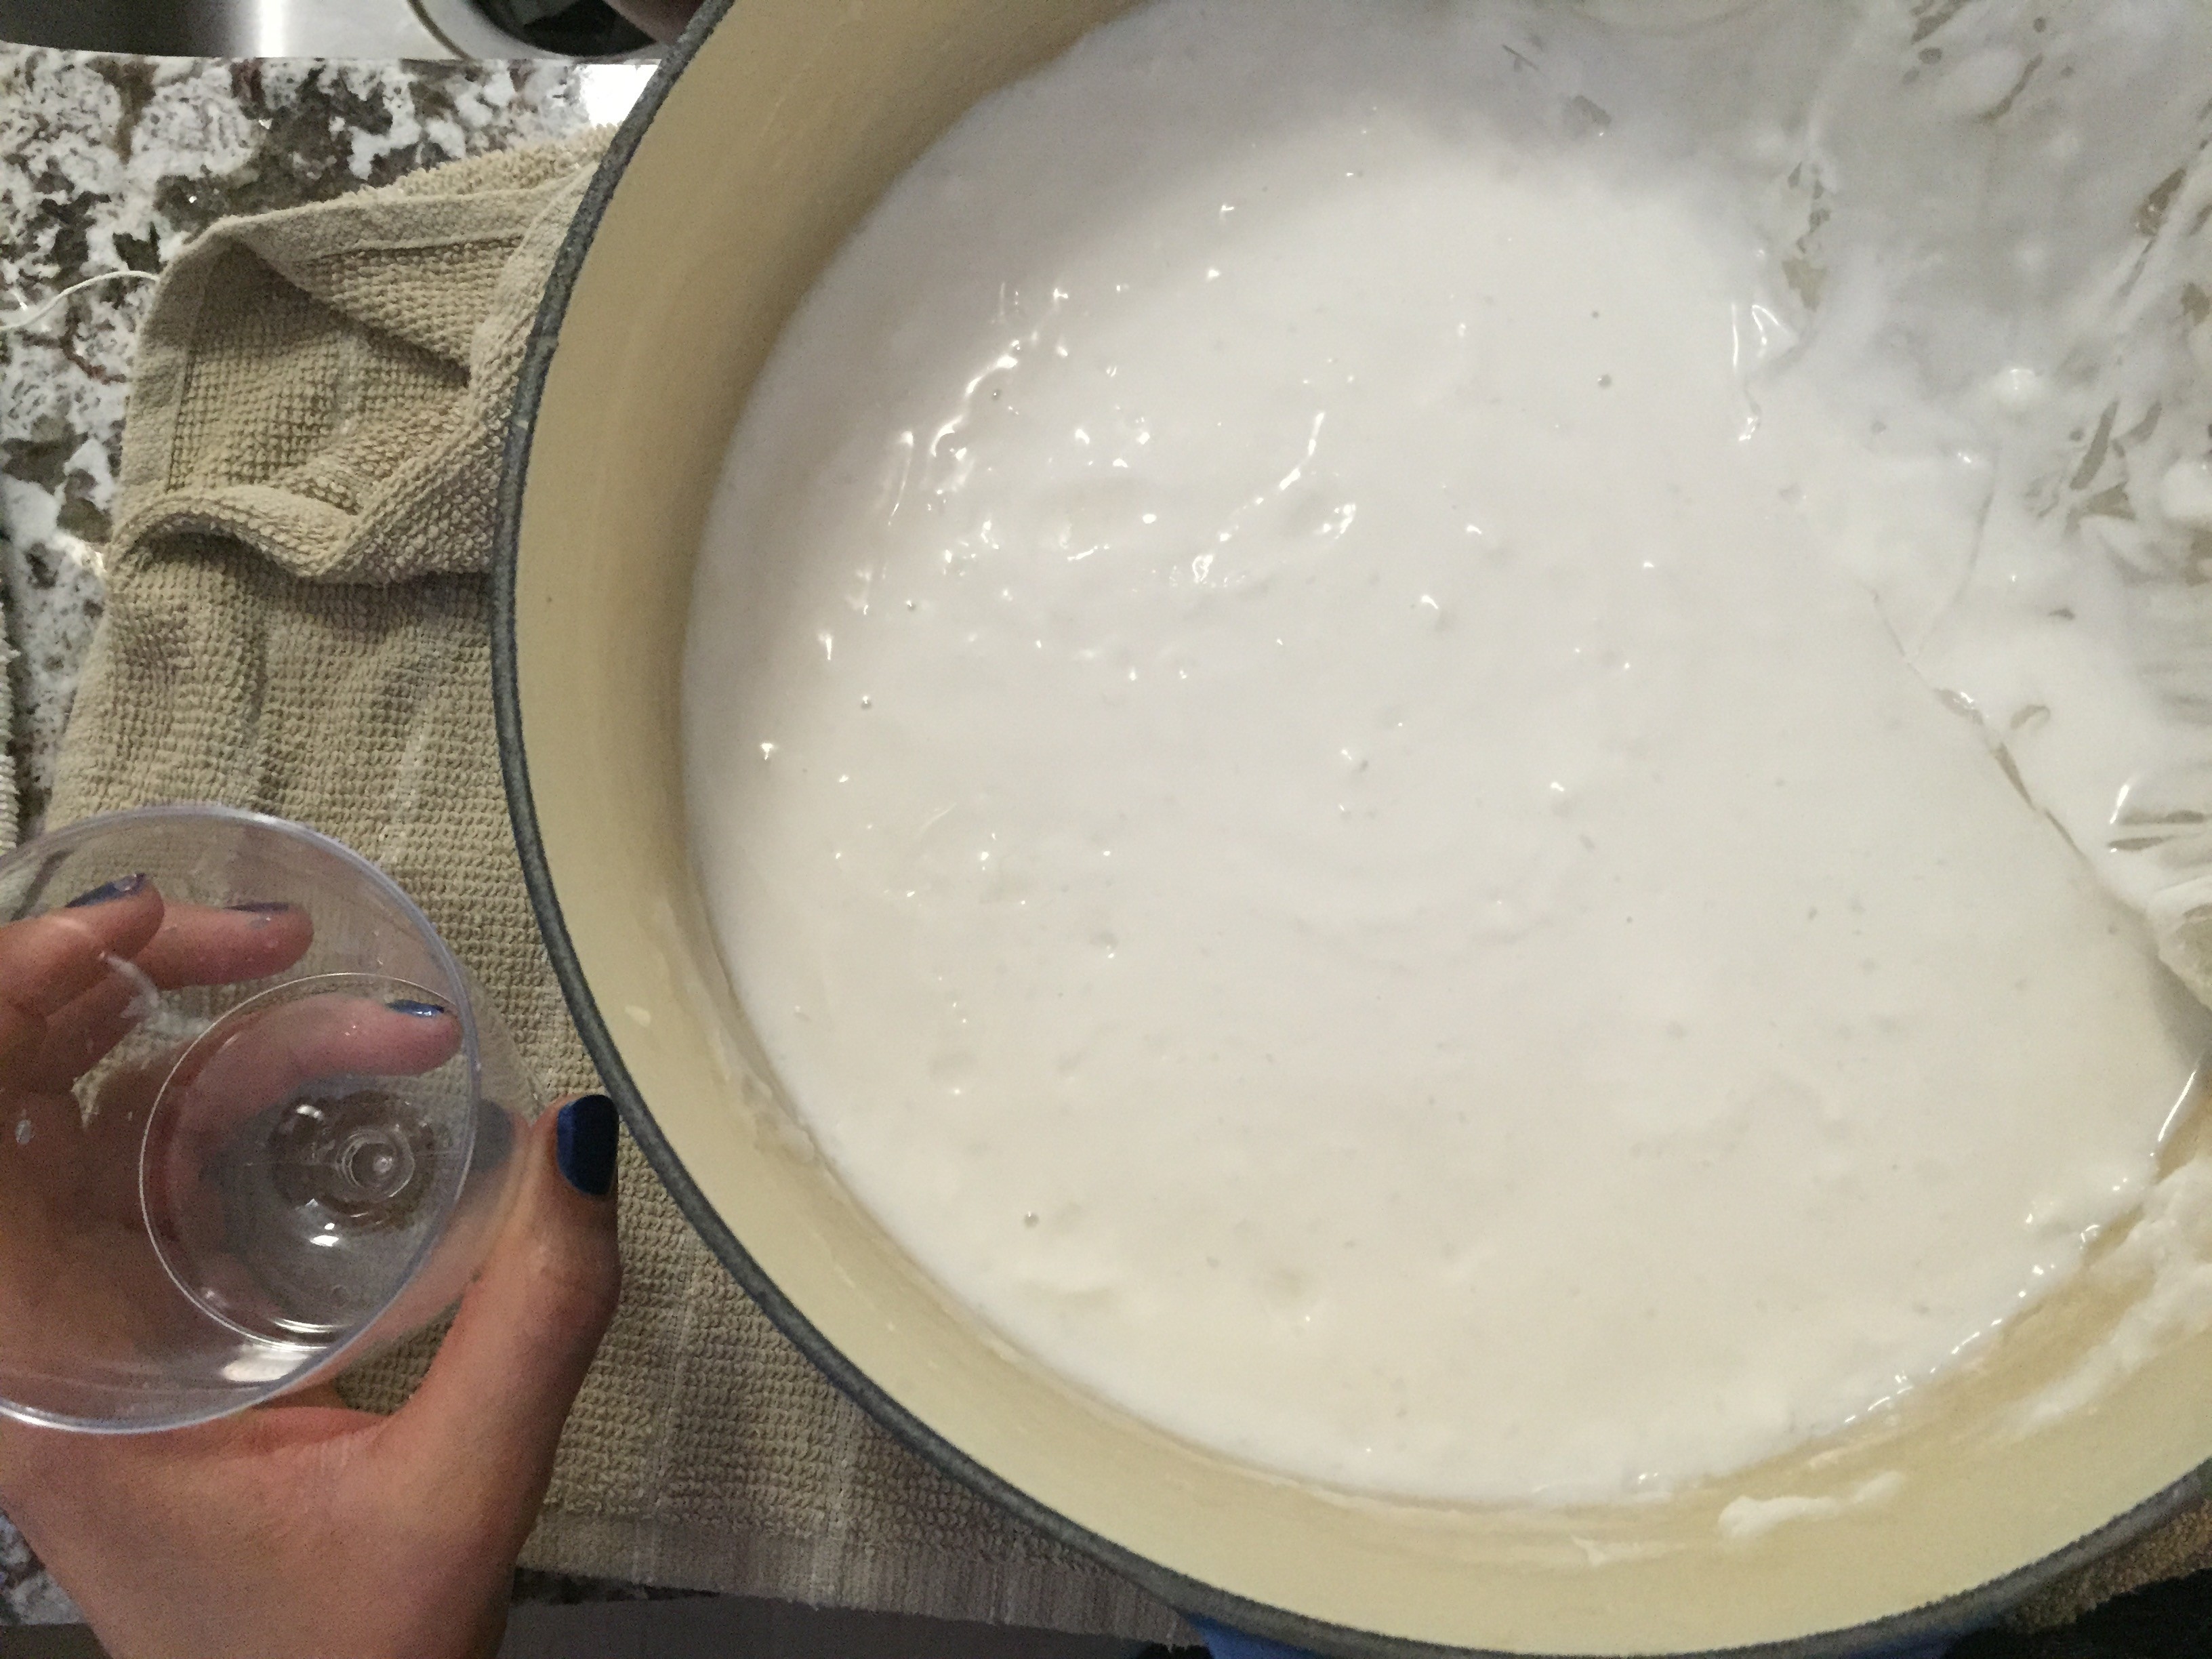
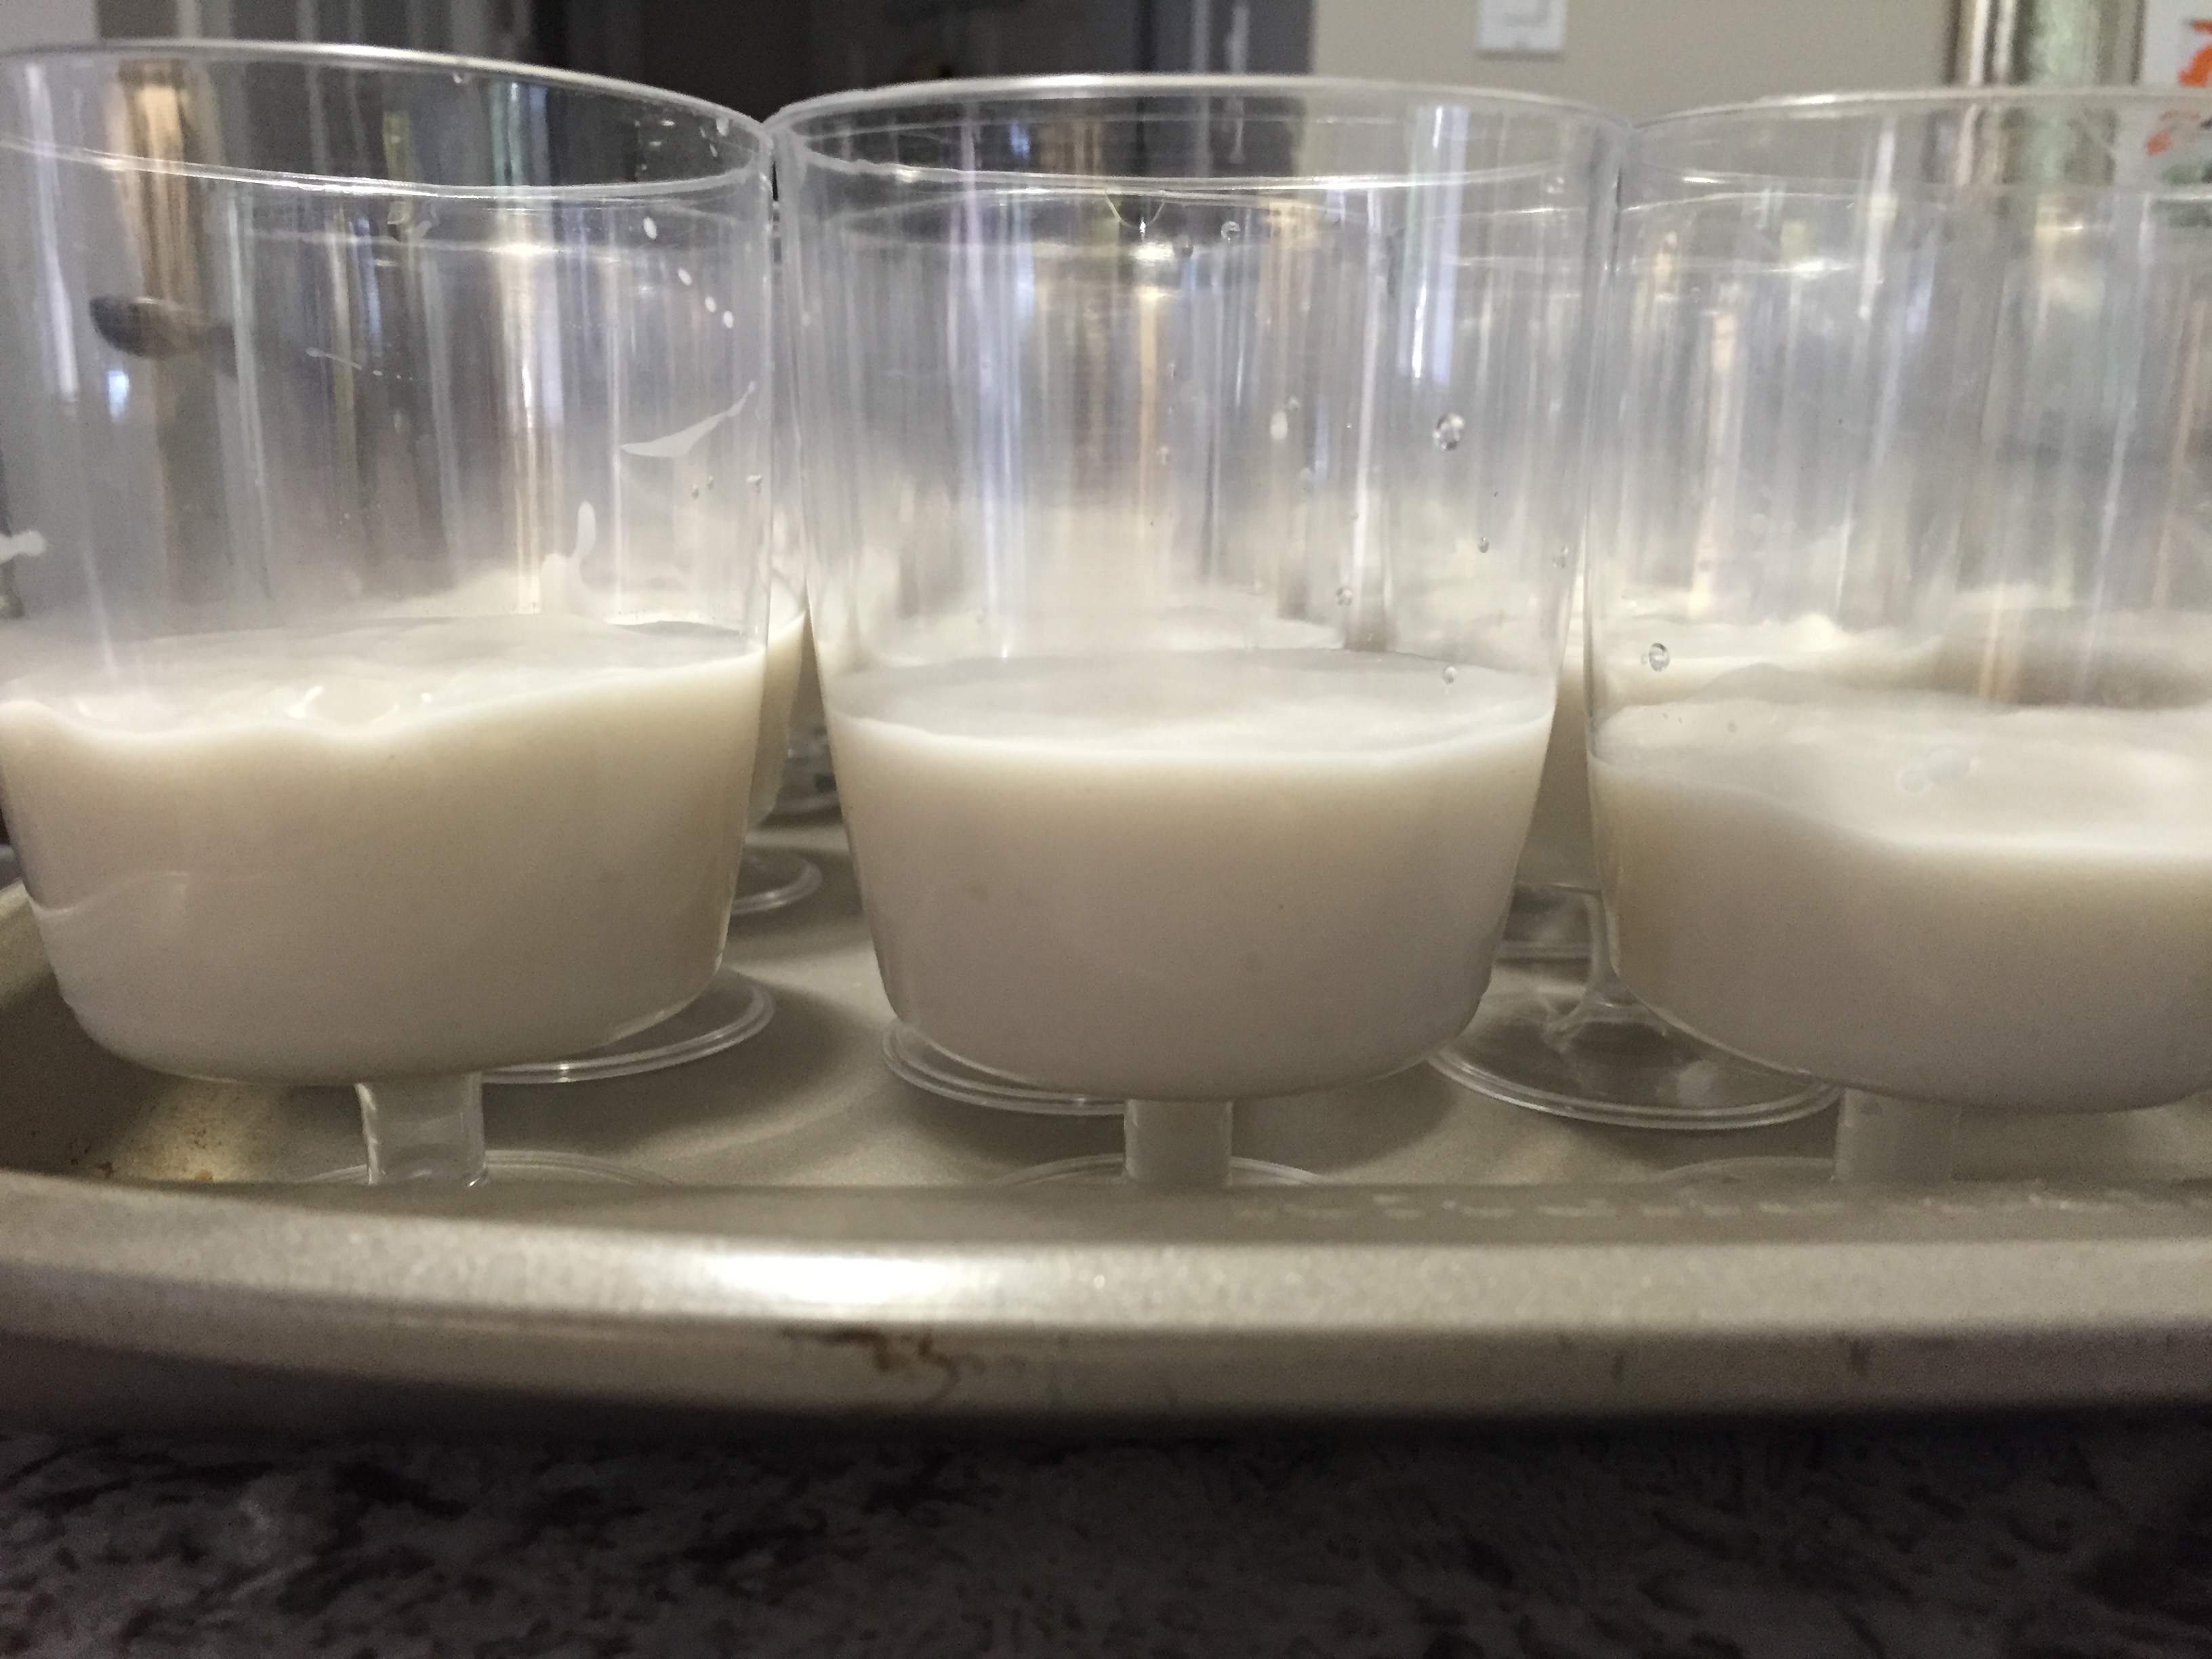
- 5Pour some of the milk layer into each cup or bowl. Refrigerate for at least 30 minutes or until set. Prepare the mango layer while the milk layer sets.
Mango layer
- 1In a small bowl, dilute cornstarch with water and set aside.
- 2In another pot or Dutch oven, combine juice with sugar and bring to a rolling boil.
- 3Add the cornstarch mixture, stirring continuously until the juice thickens, about 1 minute. Turn off the stove, remove the pot from the heat and let cool.
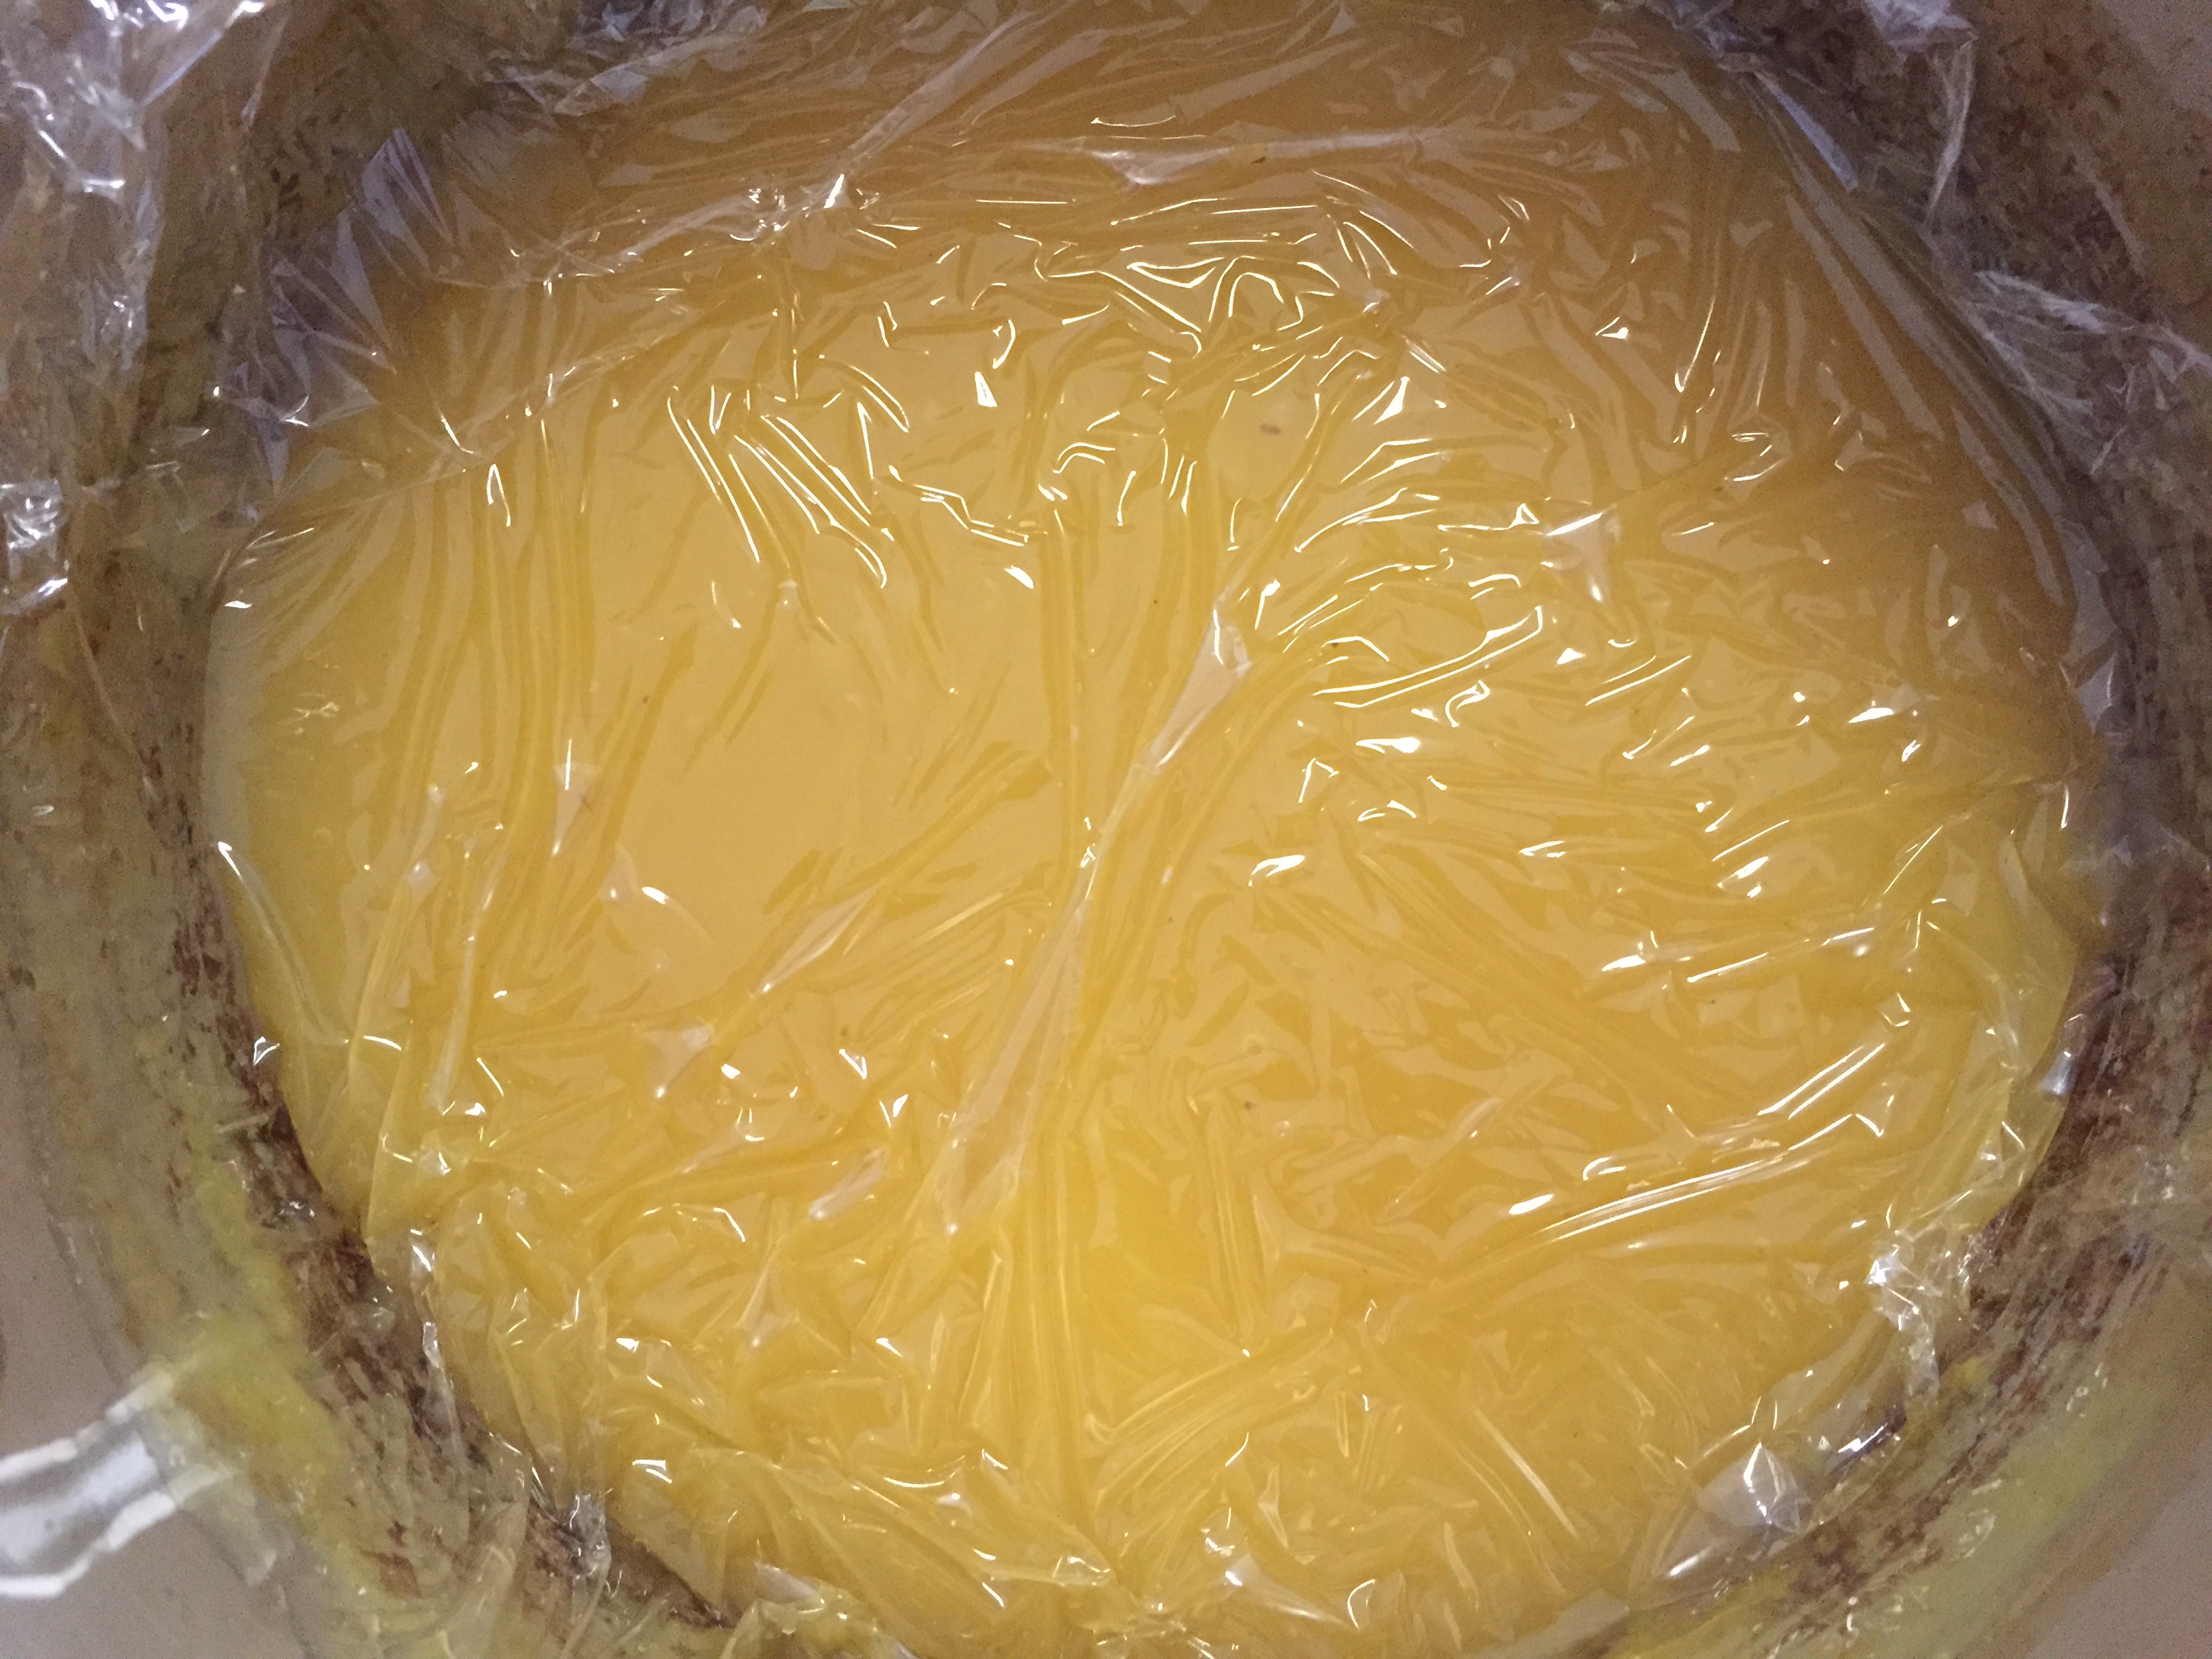
- 4To speed cooling, place the pot in a sink filled with ice-cold water. To prevent a skin from forming, place plastic wrap directly on the surface and remove before pouring. If any small cornstarch lumps remain, pass the mixture through a sieve before pouring.
Assembly
- 1Gently jiggle the milk layer to check that it has a somewhat jello-like consistency, then add the mango layer, using approximately twice as much as the milk layer.
- 2Return the filled glasses or bowls to the refrigerator for at least 1 hour to cool and set completely. Gently wiggle a glass or bowl: if the dessert moves like jello, it is ready; otherwise, let it set longer. Leave it refrigerated longer for a better set.
Notes
The total time factors in cooling and setting time too.
Instructions
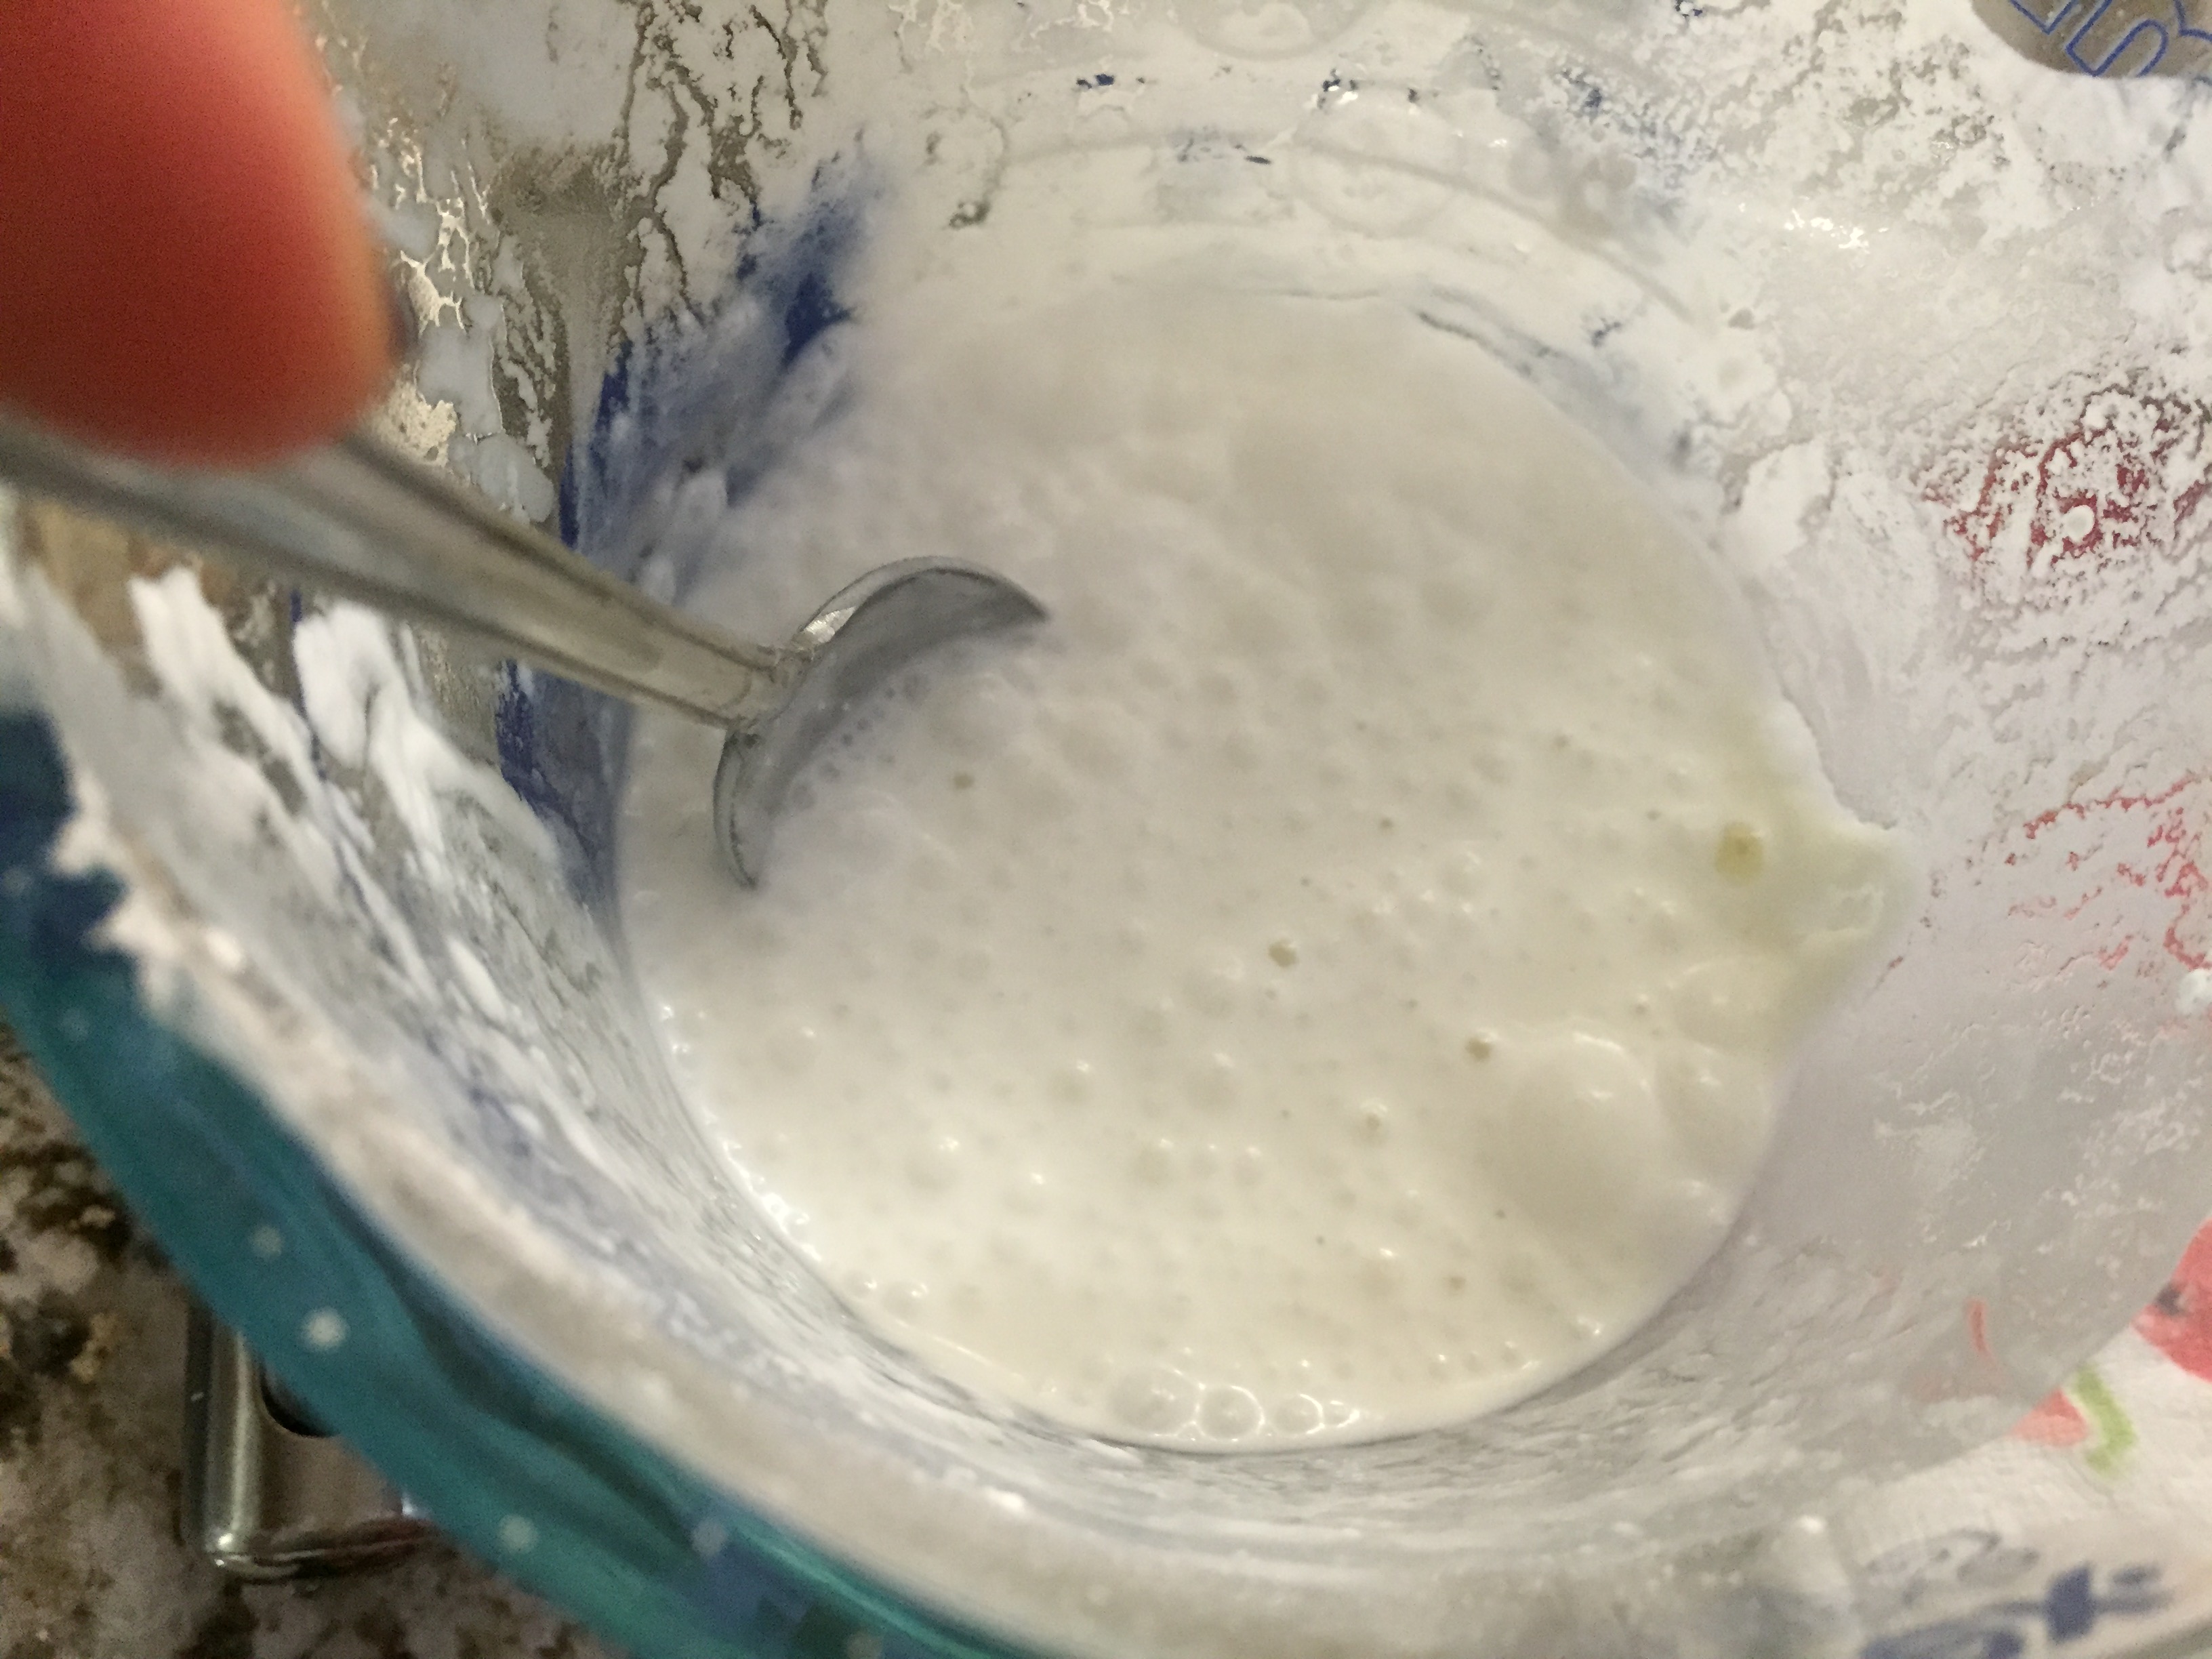
1. In a small bowl, combine cornstarch with cold water and stir until cornstarch has completely dissolved. It might seem difficult to get it to dissolve at first but keep at it for a few seconds and you will notice the resistance suddenly change. Set aside.
2. Starting with the milk layer, and using a dutch or french oven, add coconut milk and sugar over medium high heat. Stir continuously until milk comes to a boil.
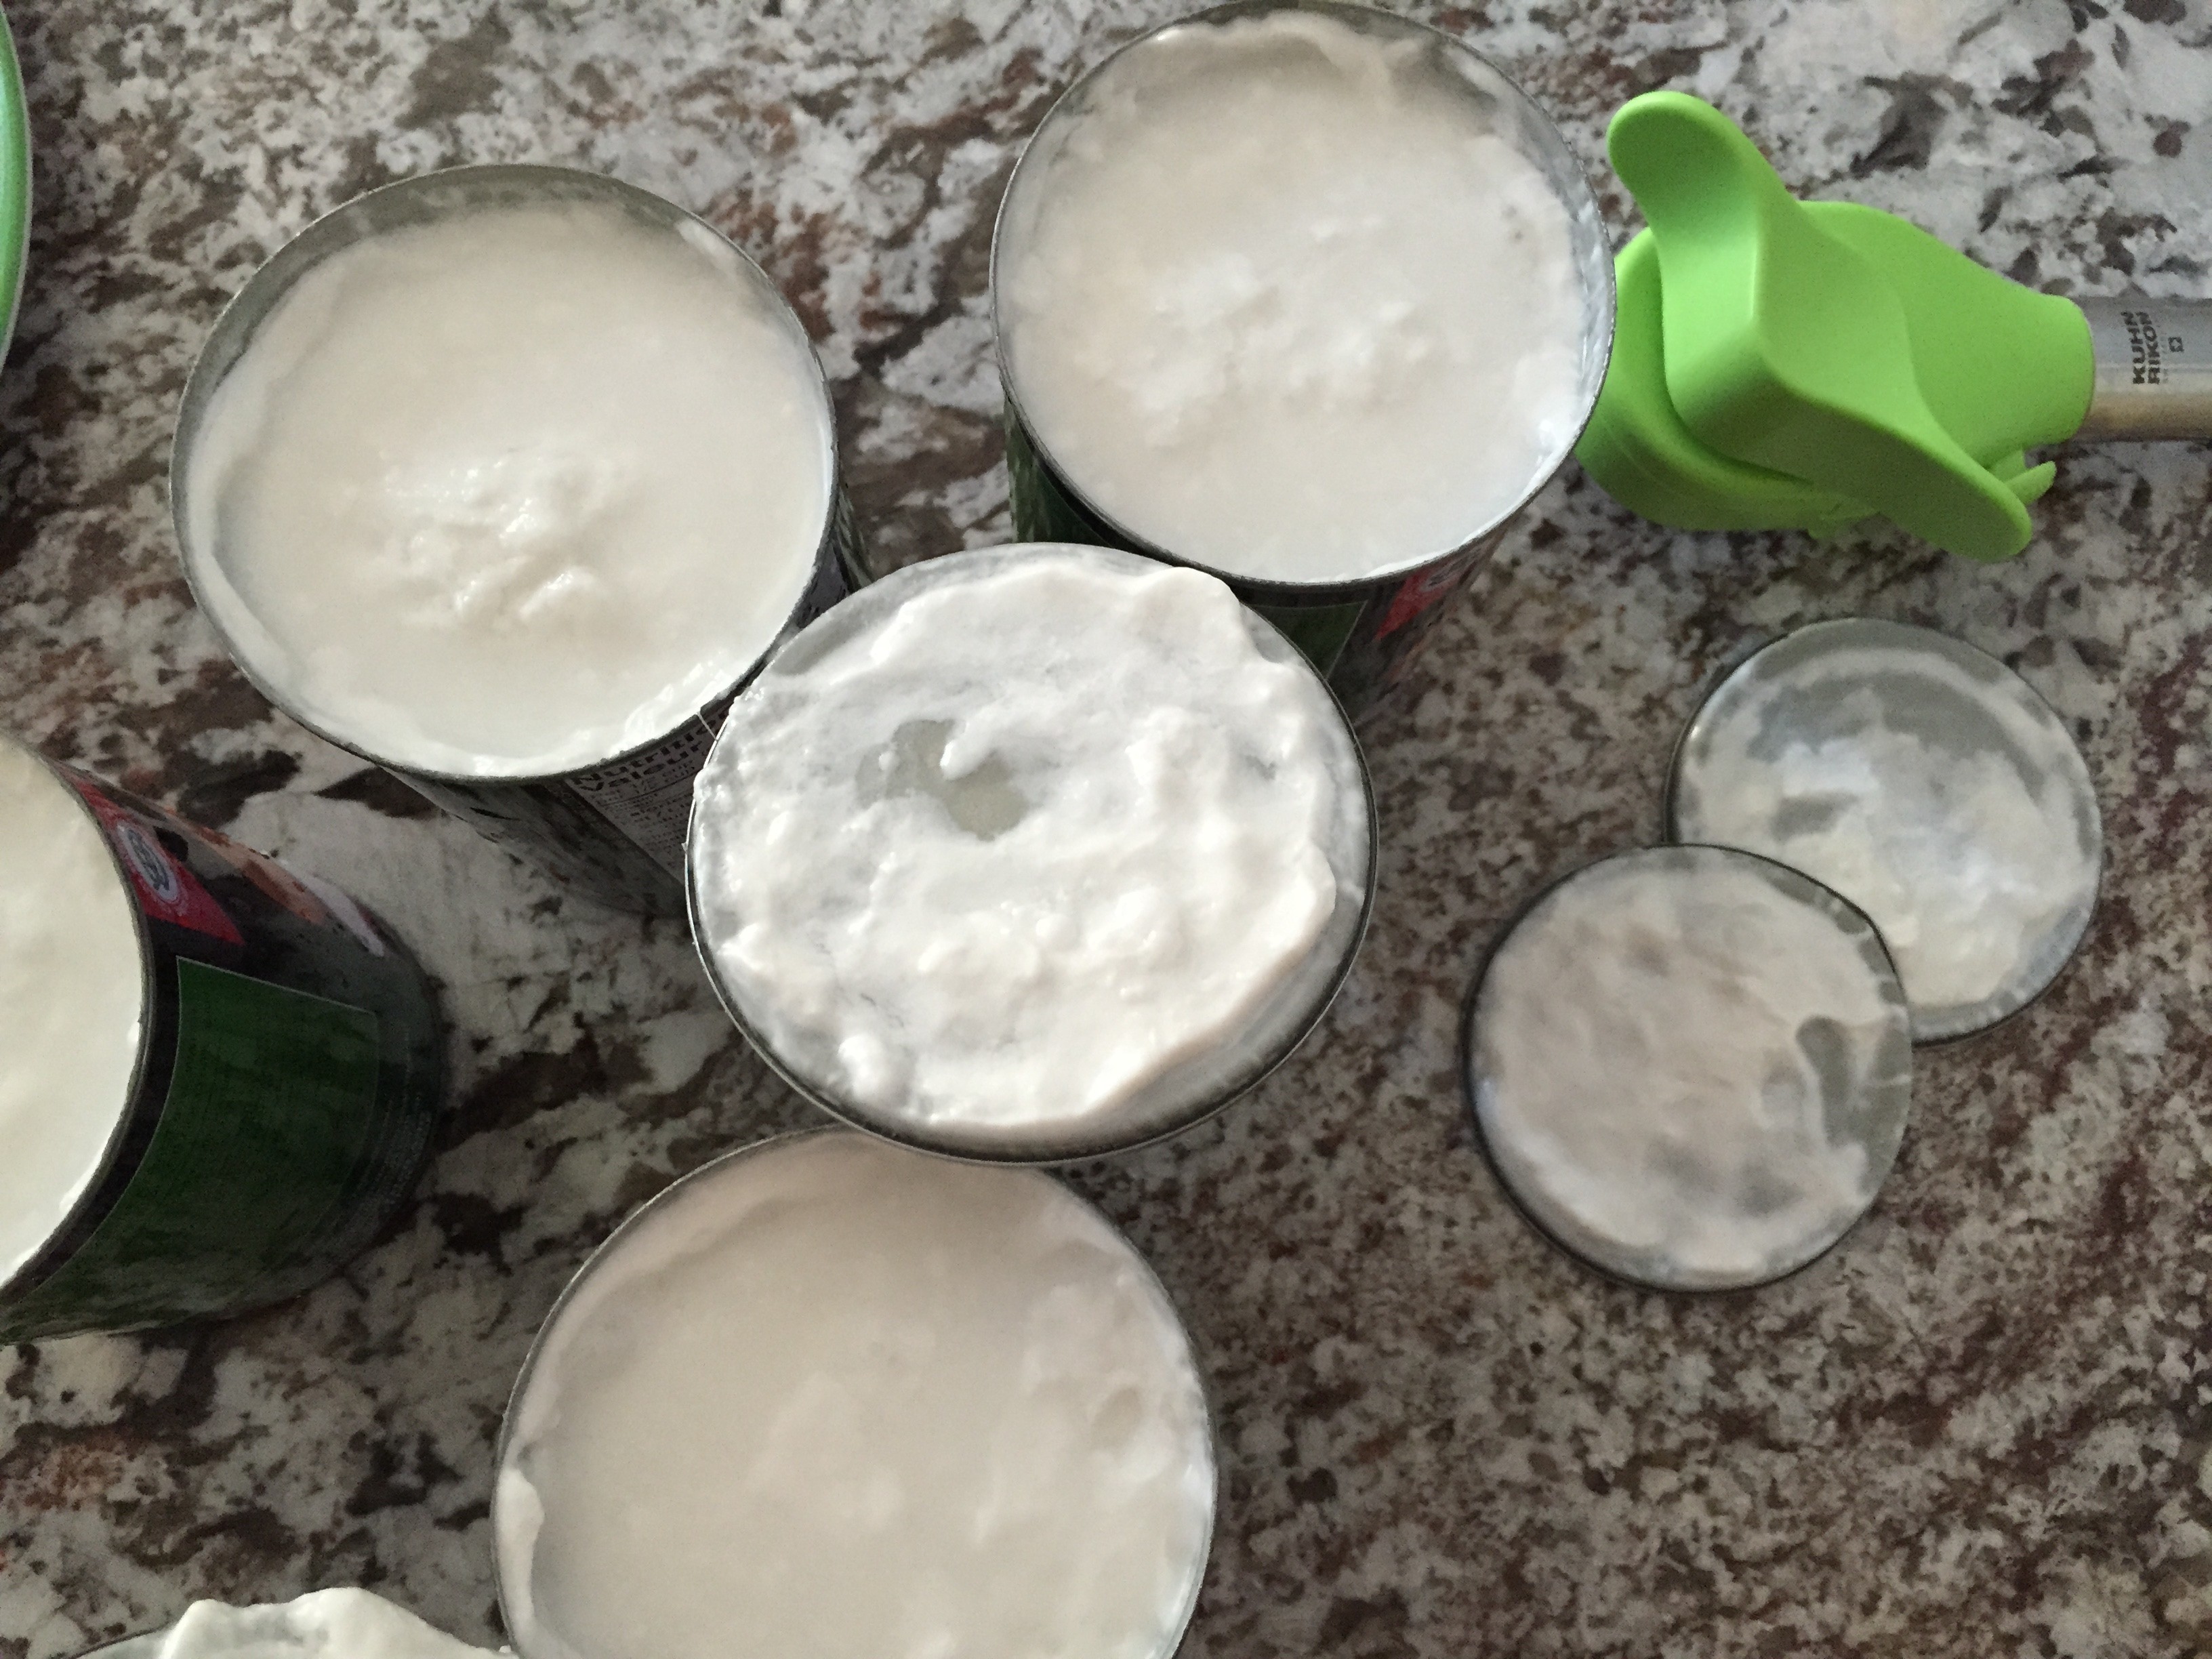
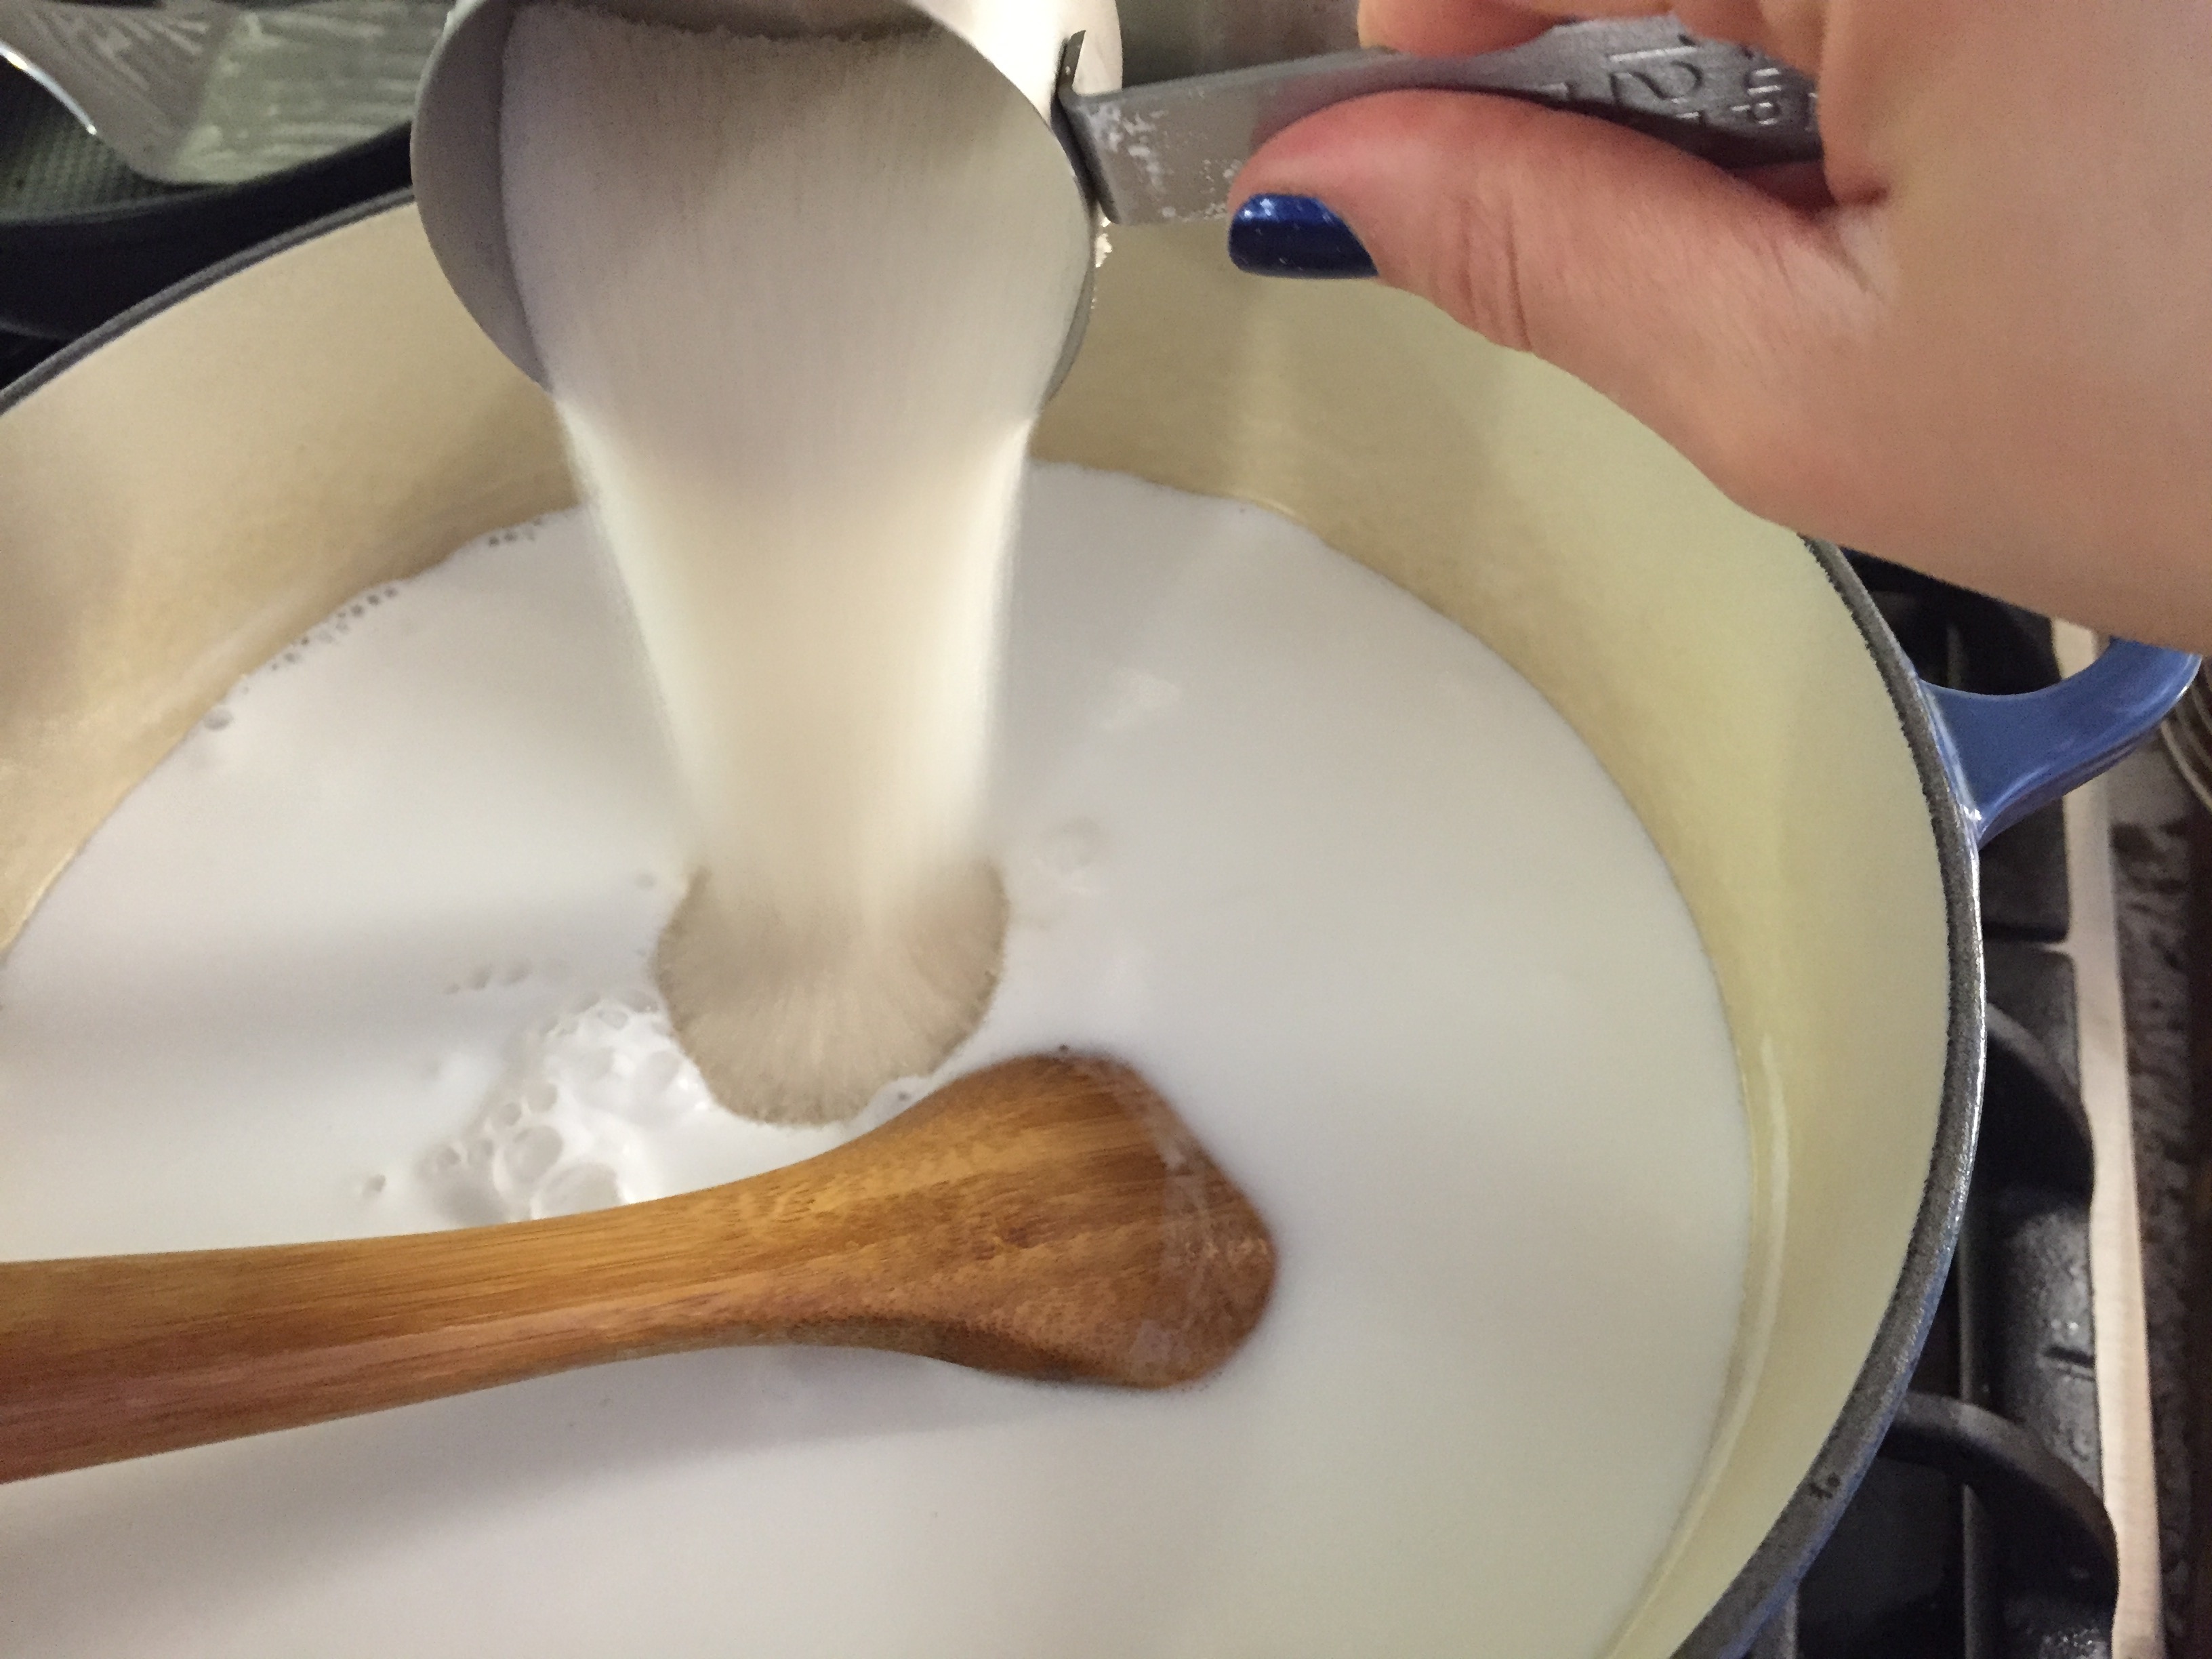
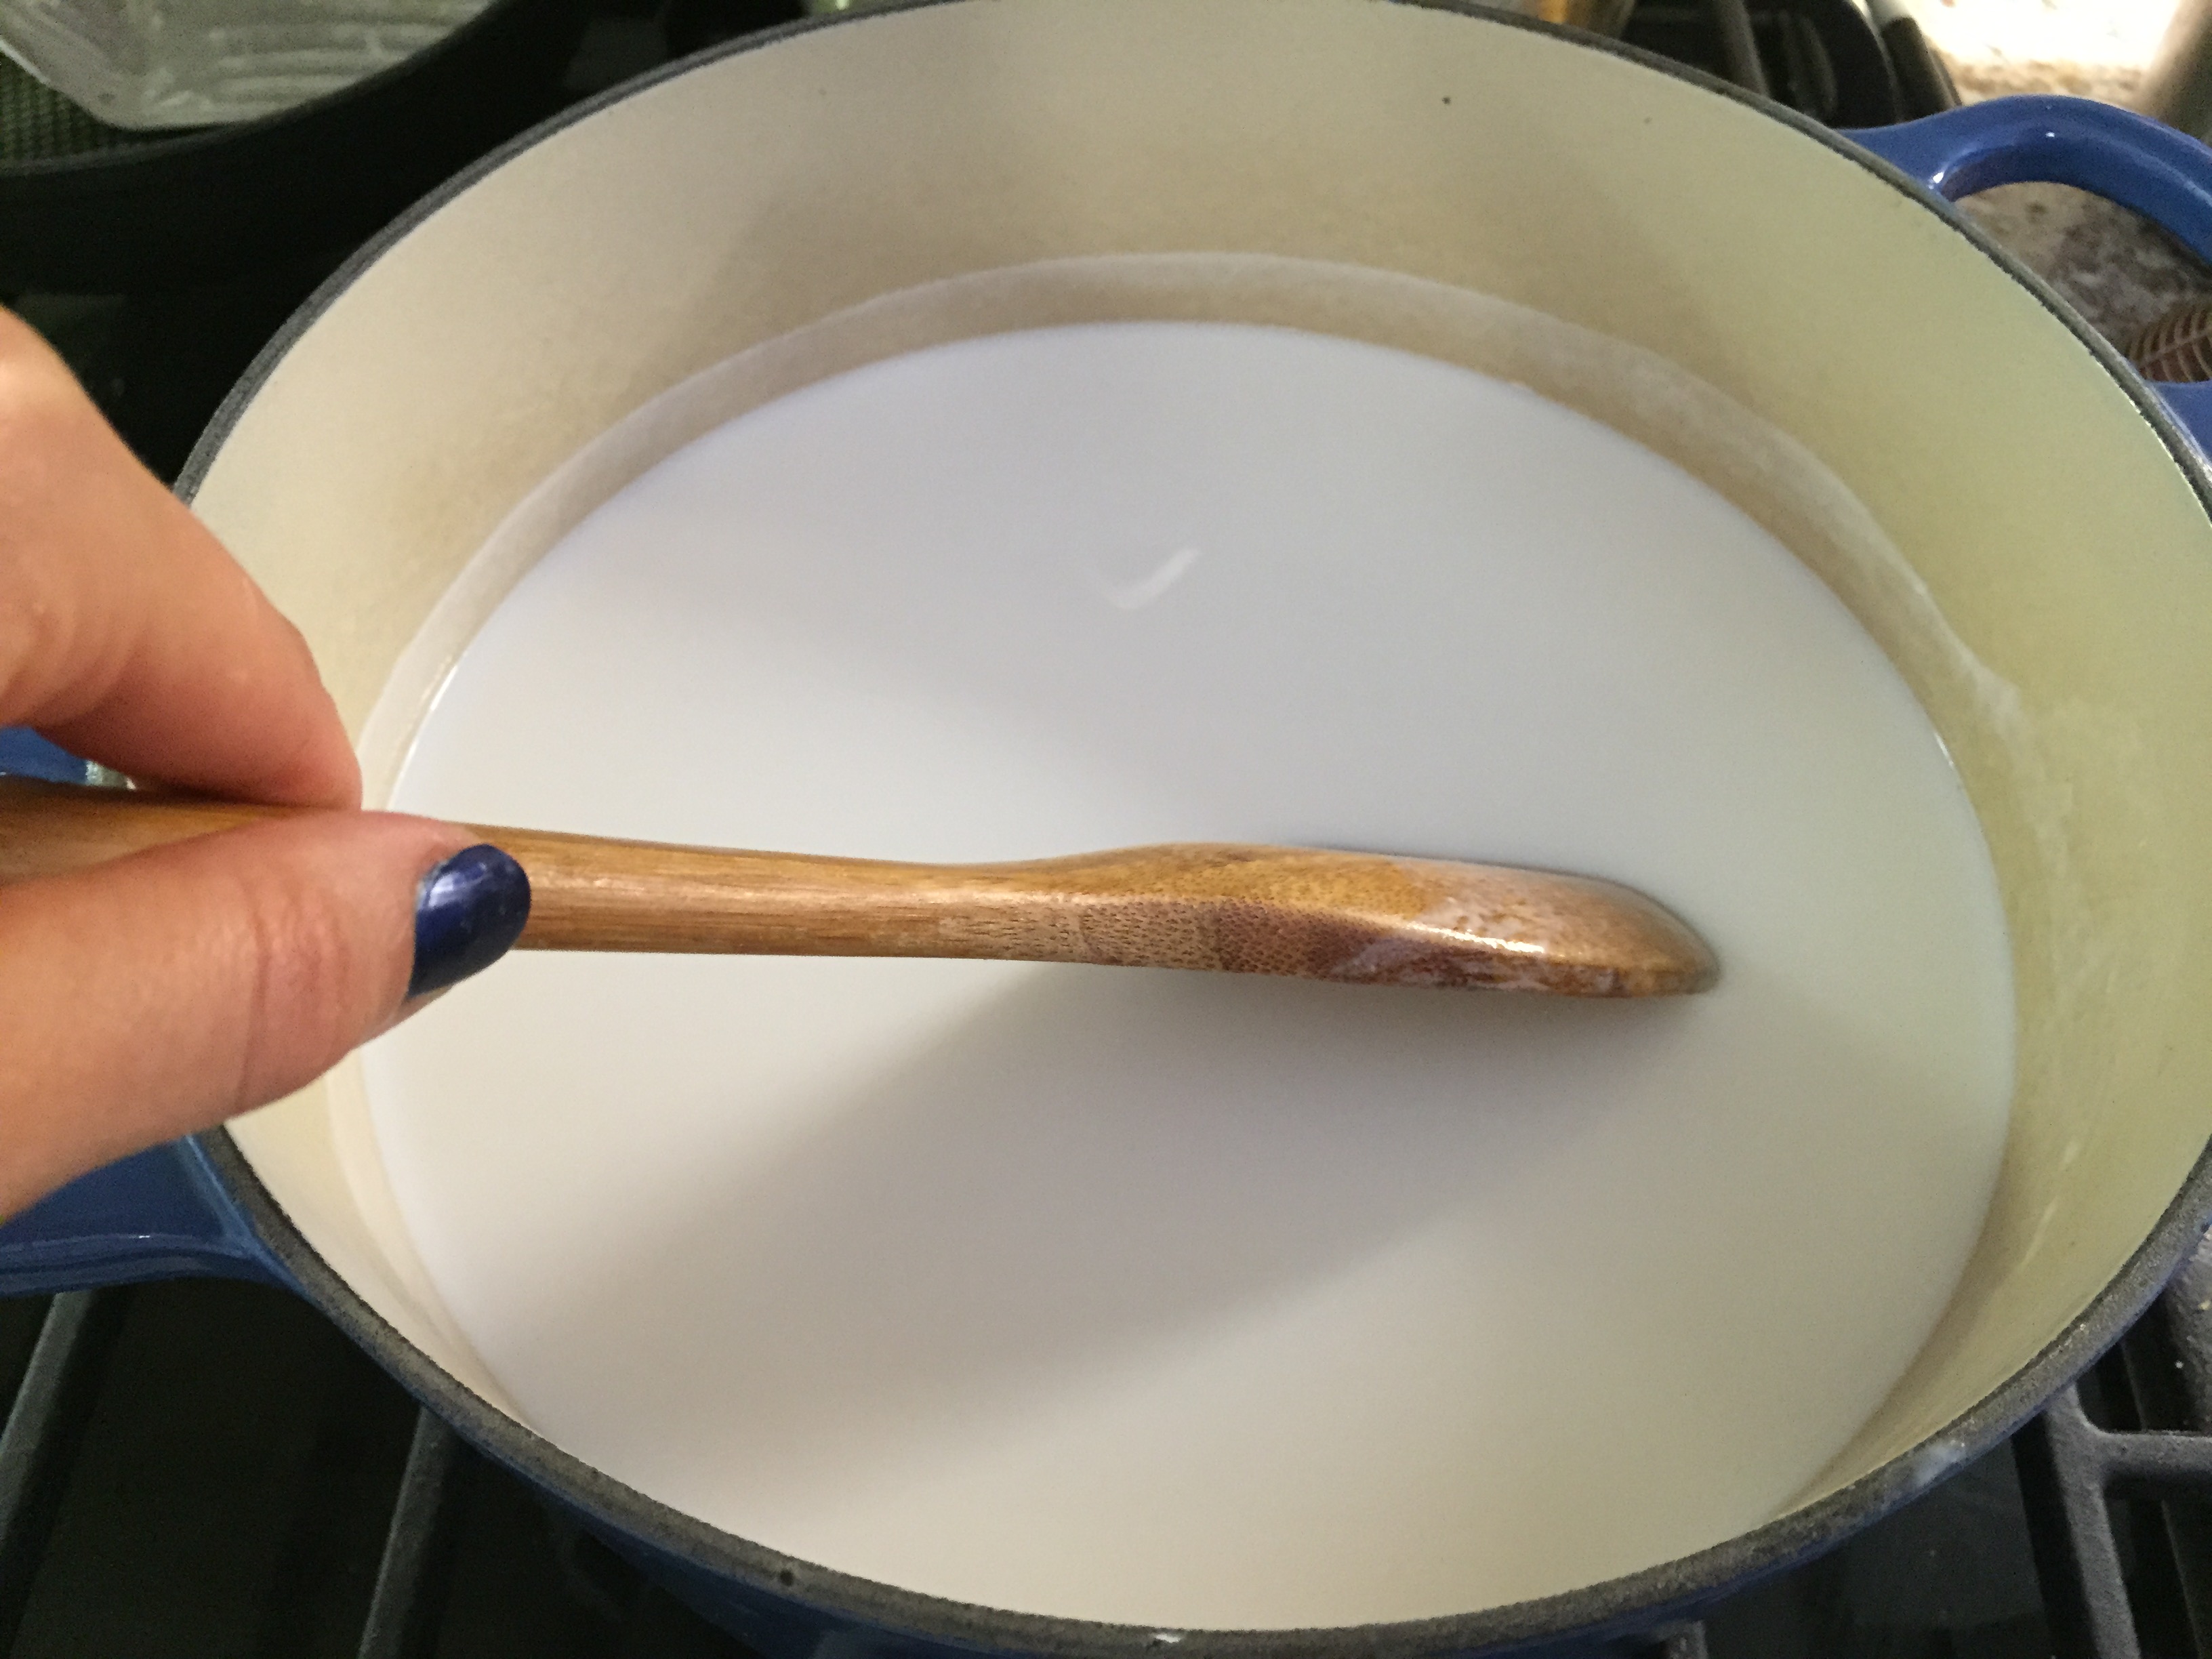
3. Once milk is boiling, add cornstarch mixture and orange blossom water while vigorously stirring the milk. You will notice the milk suddenly thicken up, remove pot off of heat at this point and let cool slightly before pouring into designated bowls or cups.
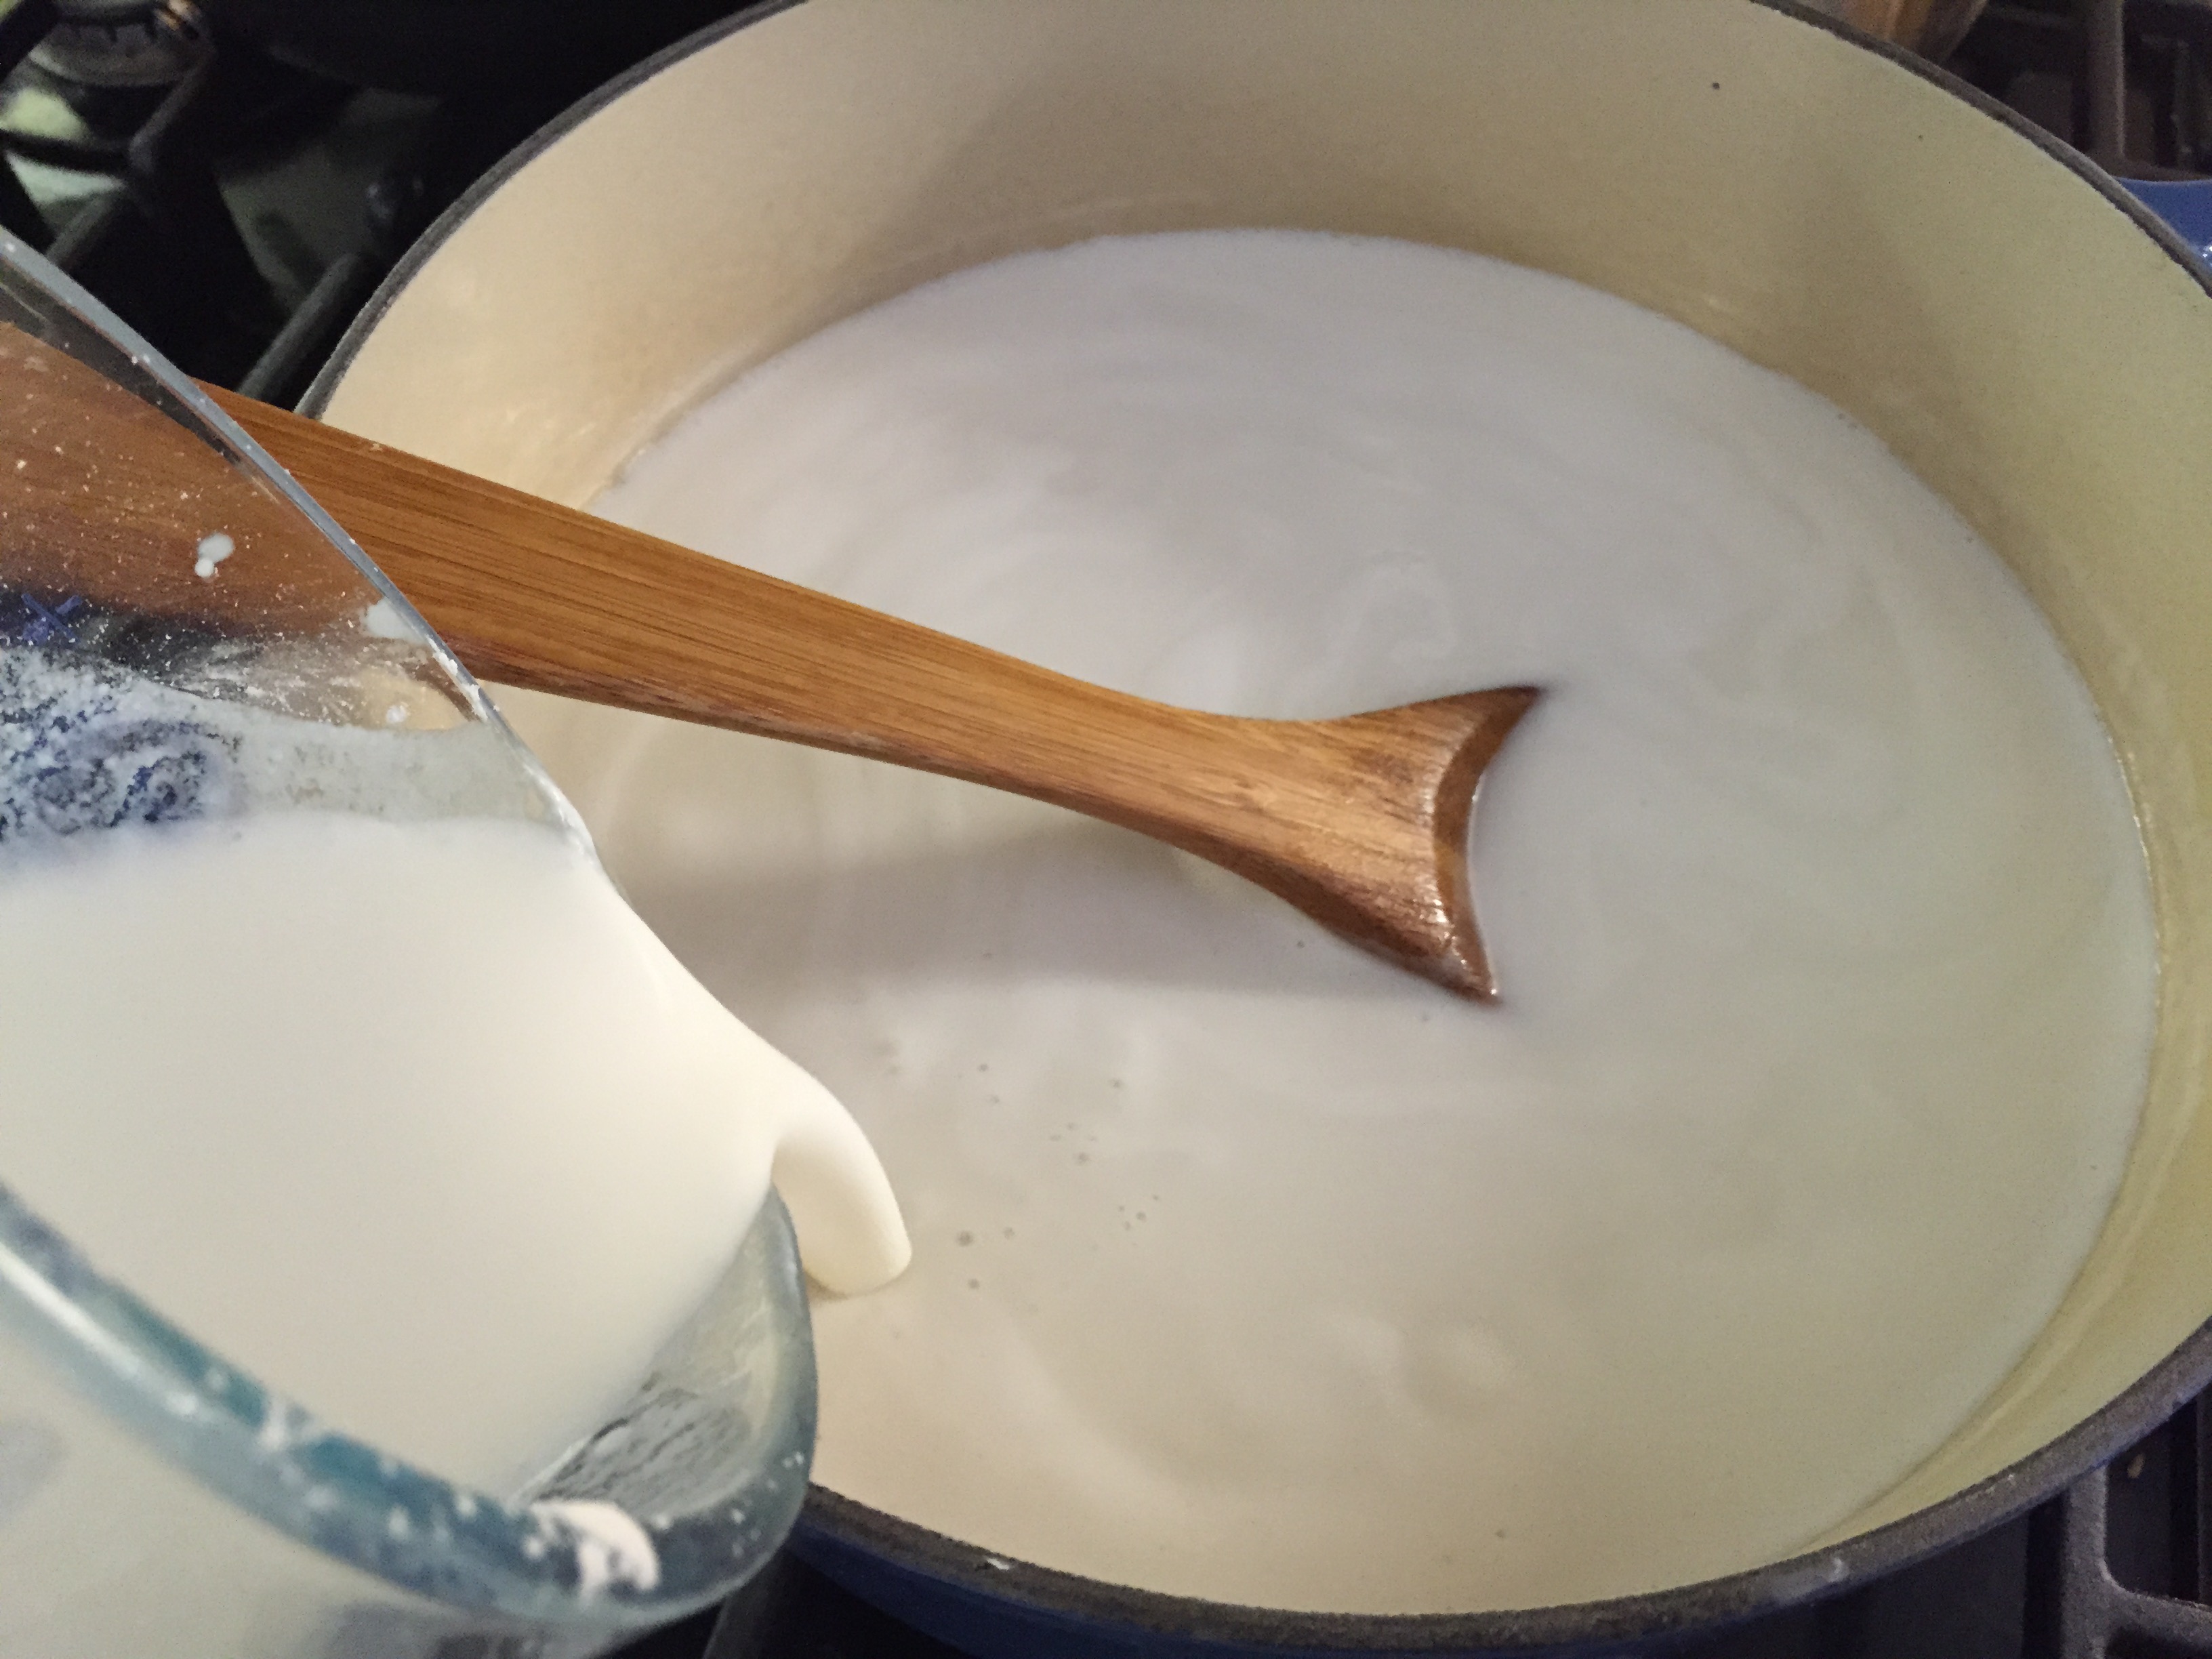
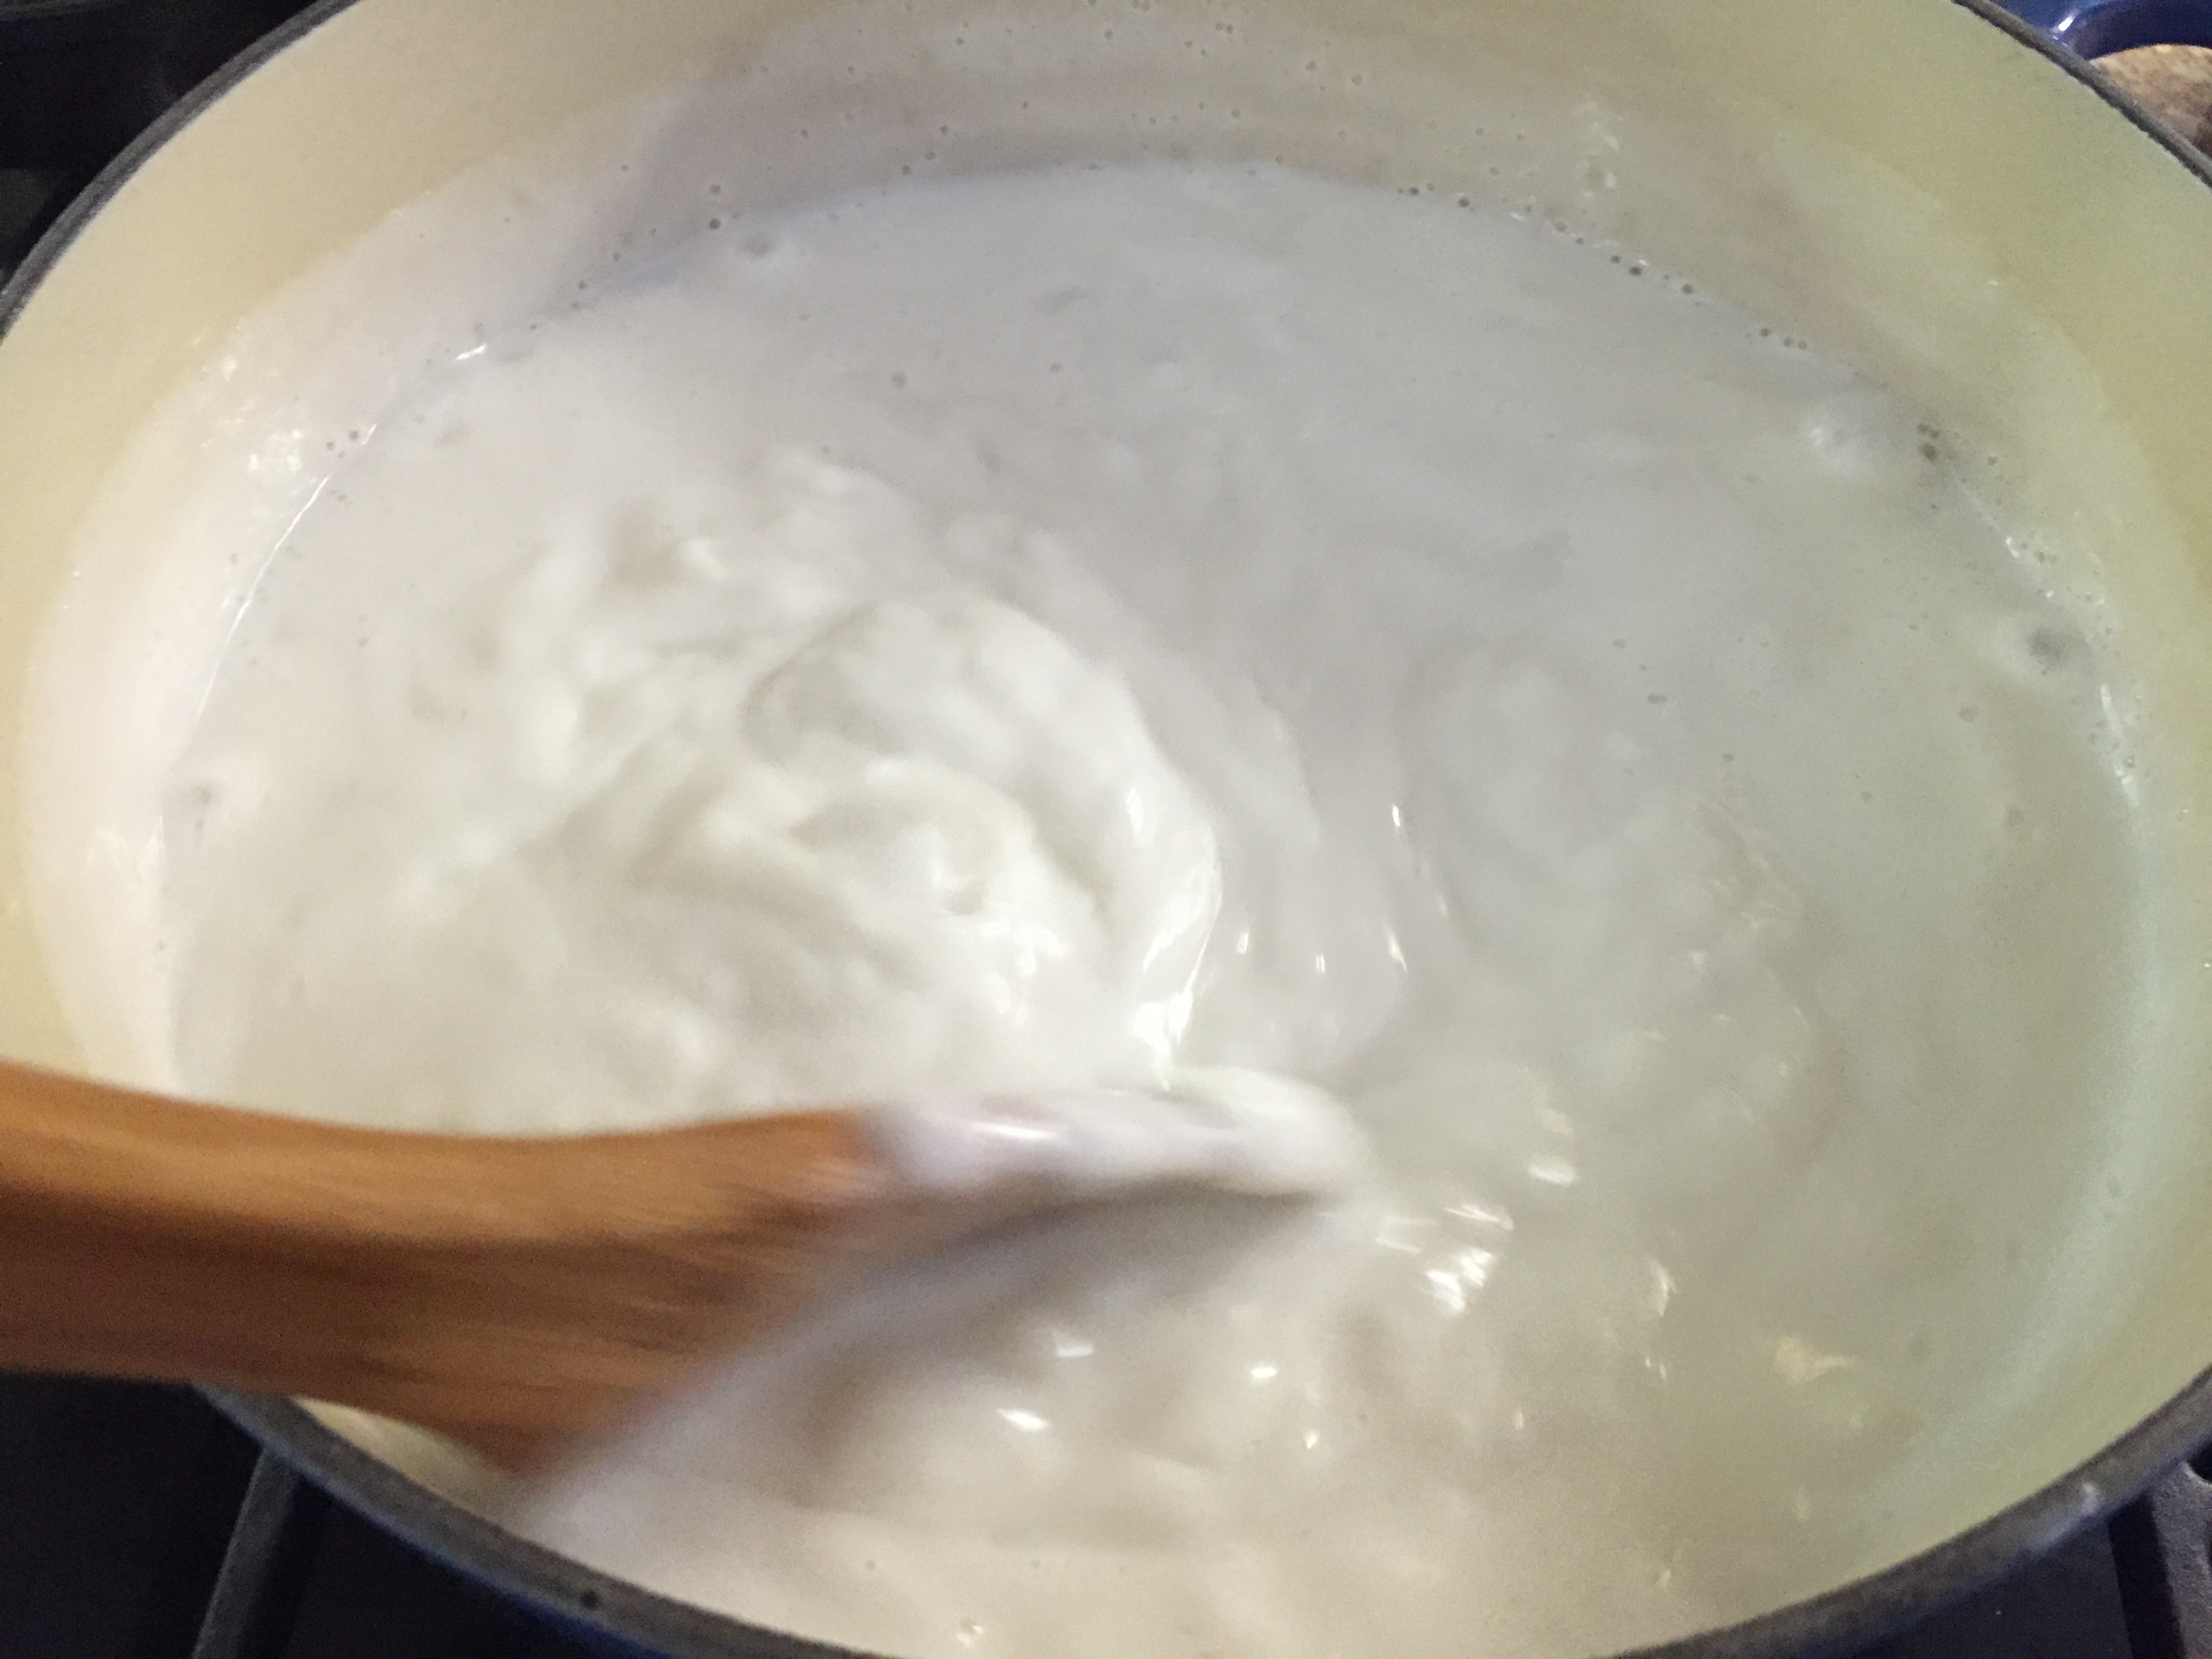
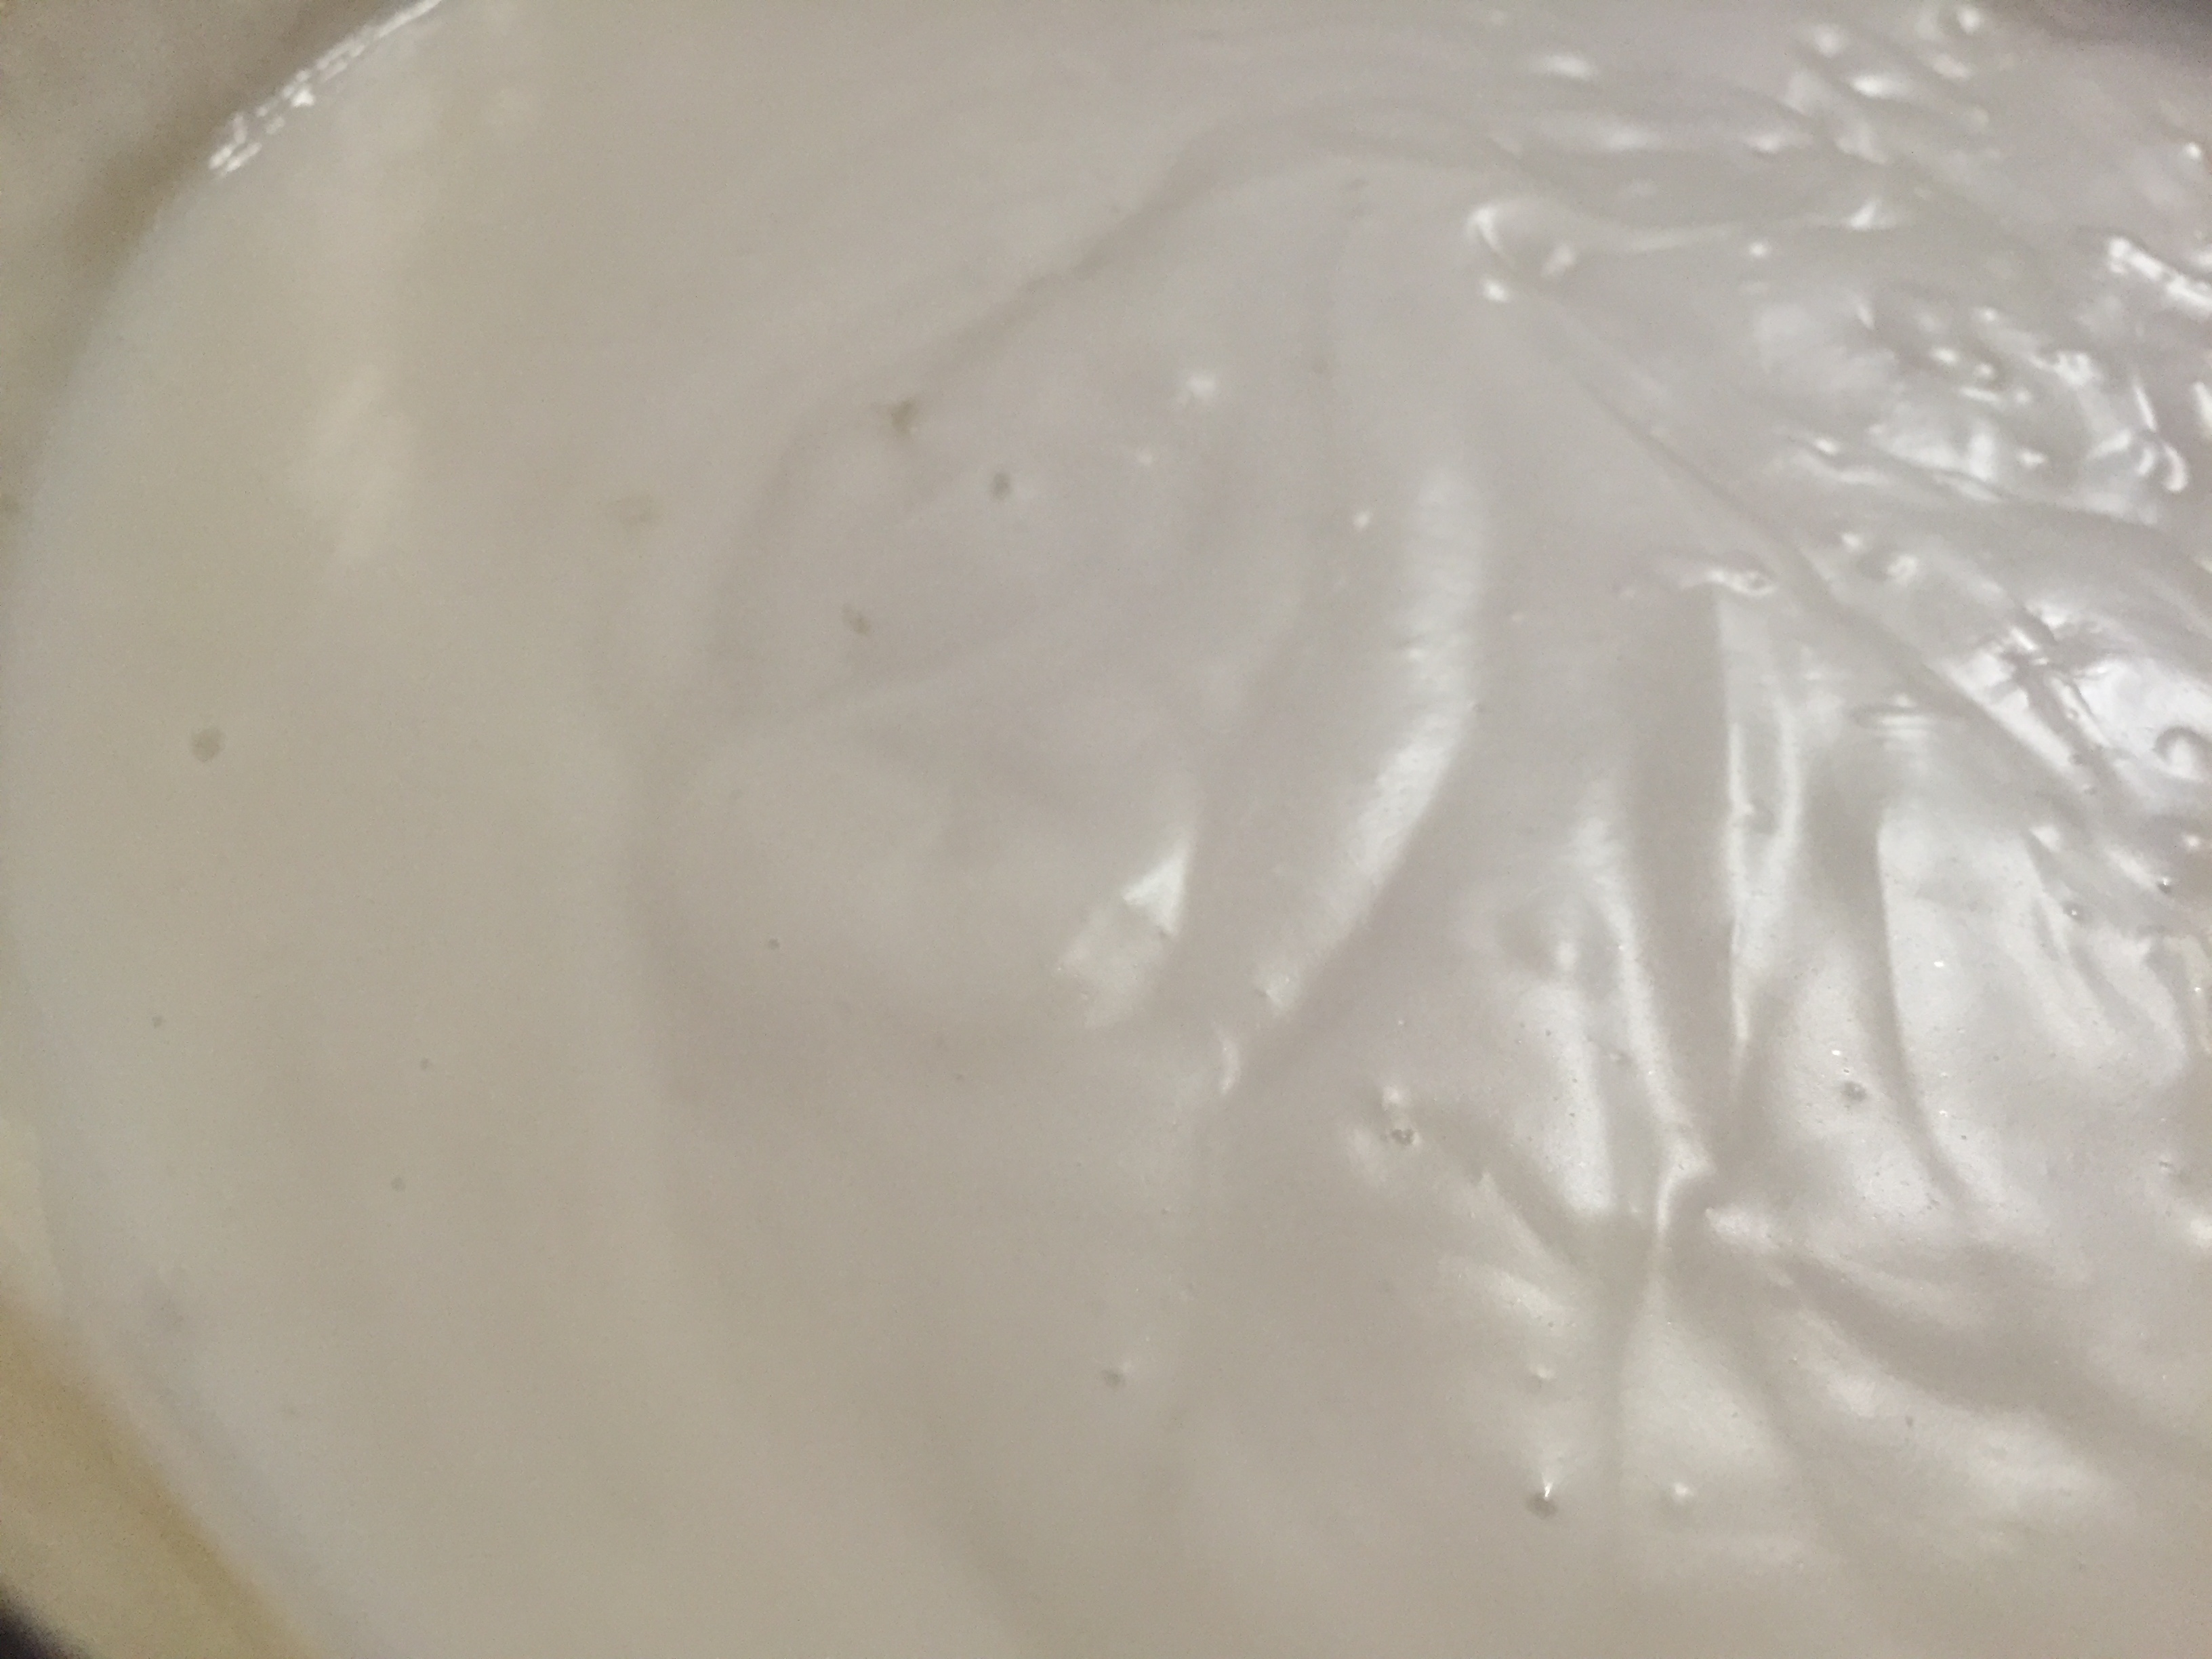
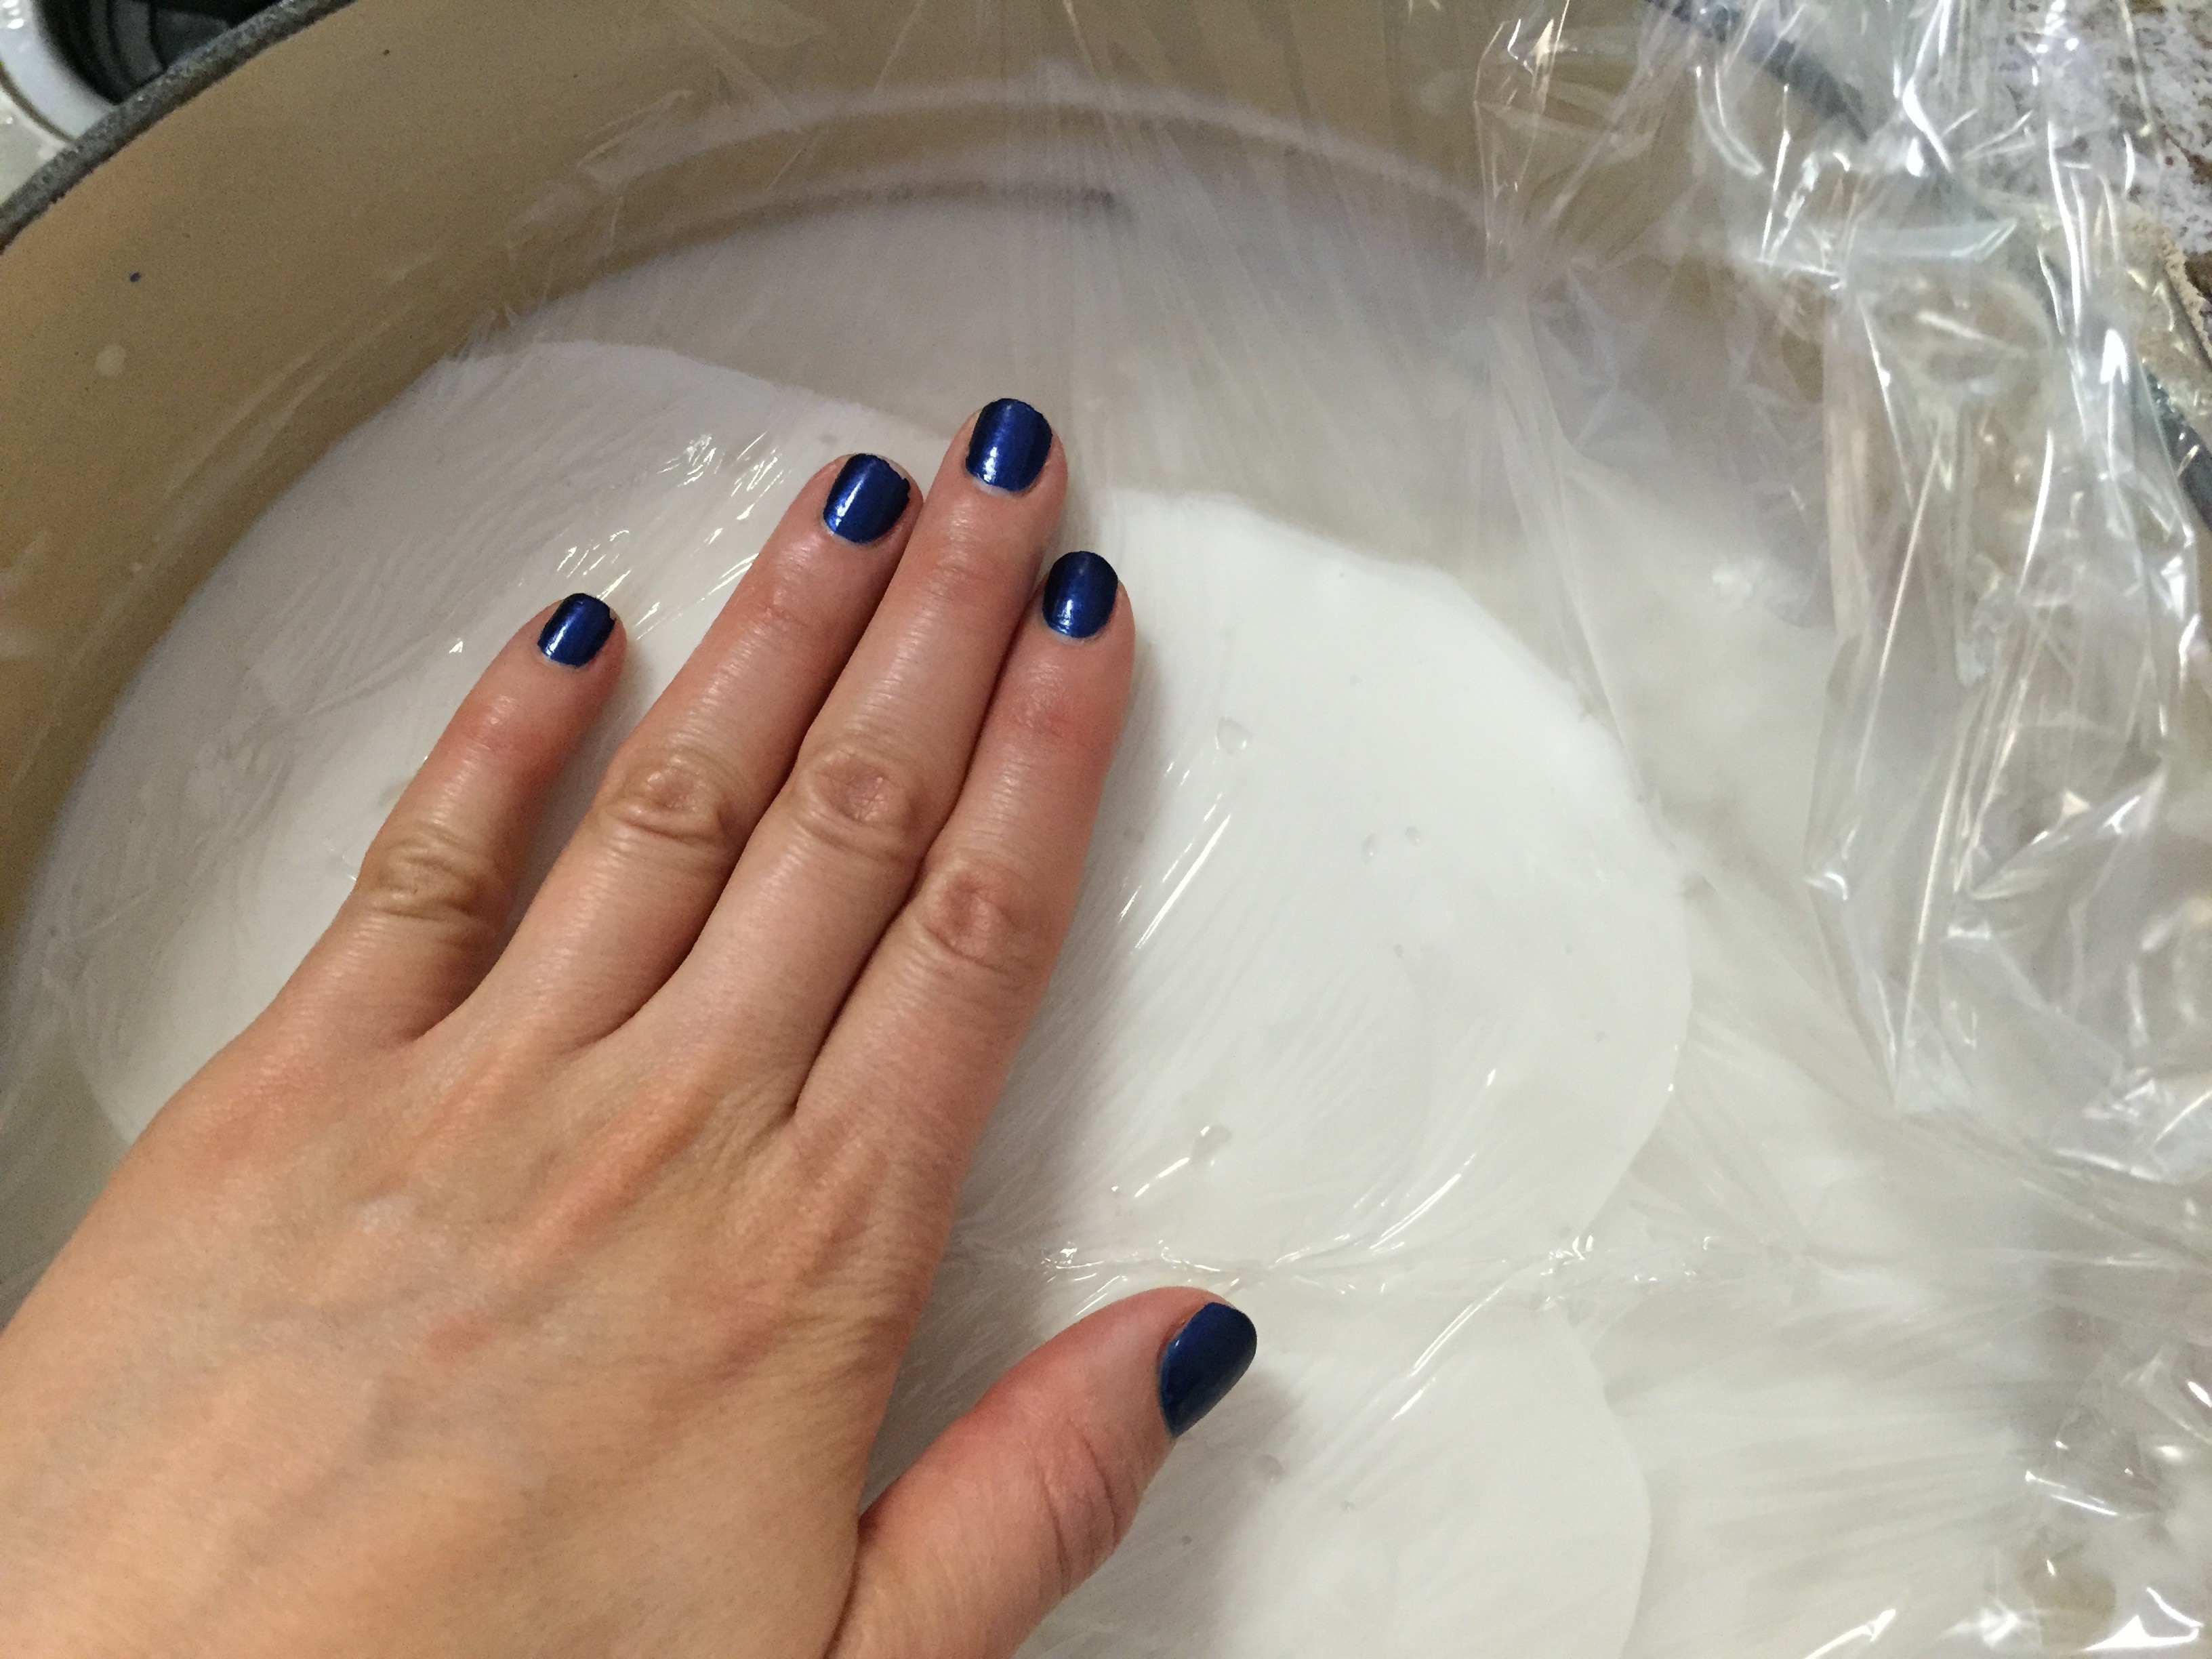
Tip #1: To avoid getting a ‘skin’ on top of your milk and mango layer while cooling, place a Saran wrap directly on top, as shown below. Remove once cooled enough to pour into desired bowls/glasses.
Tip #2: If you find you’re left with small lumps of cornstarch in either your milk or mango layer, use a sieve prior to pouring in desired dish to get rid of the pieces.
4. Pour some of the milk layer into each cup or bowl, as shown. Let cool in the fridge for at least 30 minutes or until it sets.
While milk layer is setting, prepare the mango layer.
5. In a small bowl, have cornstarch diluted with water and ready to use. Set aside.
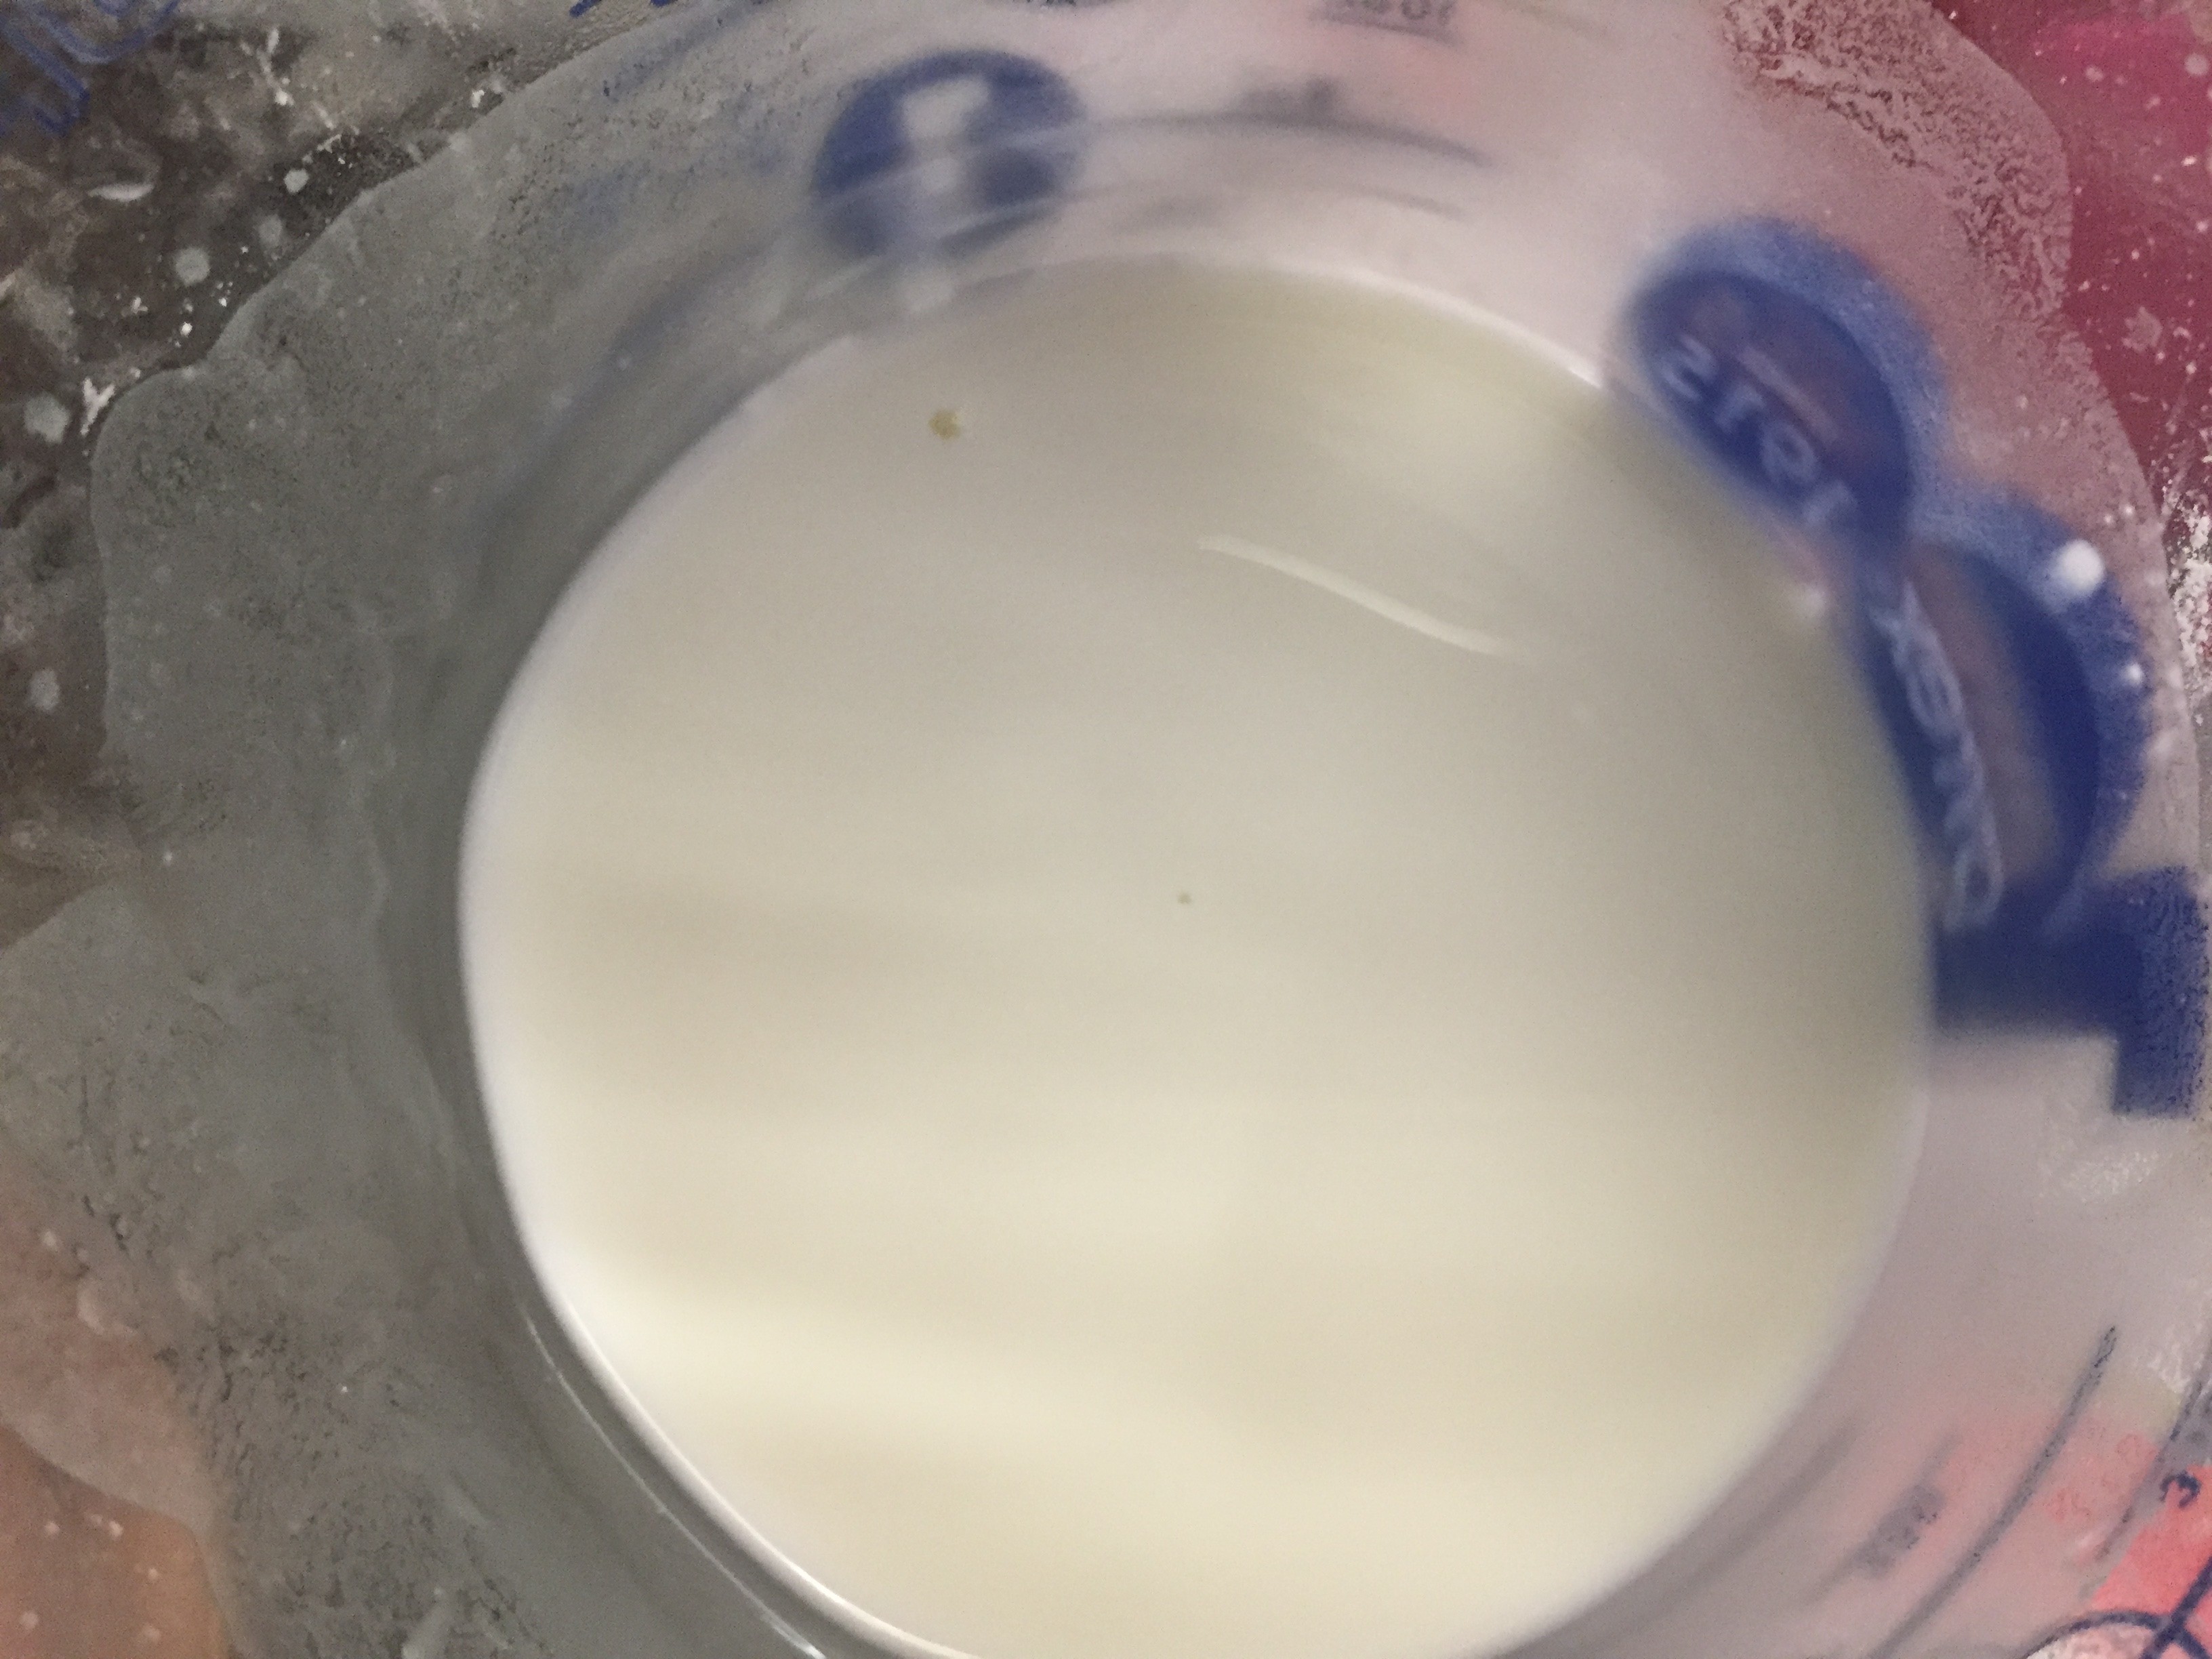
6. In another pot/dutch oven, combine juice with sugar and bring to a rolling boil.
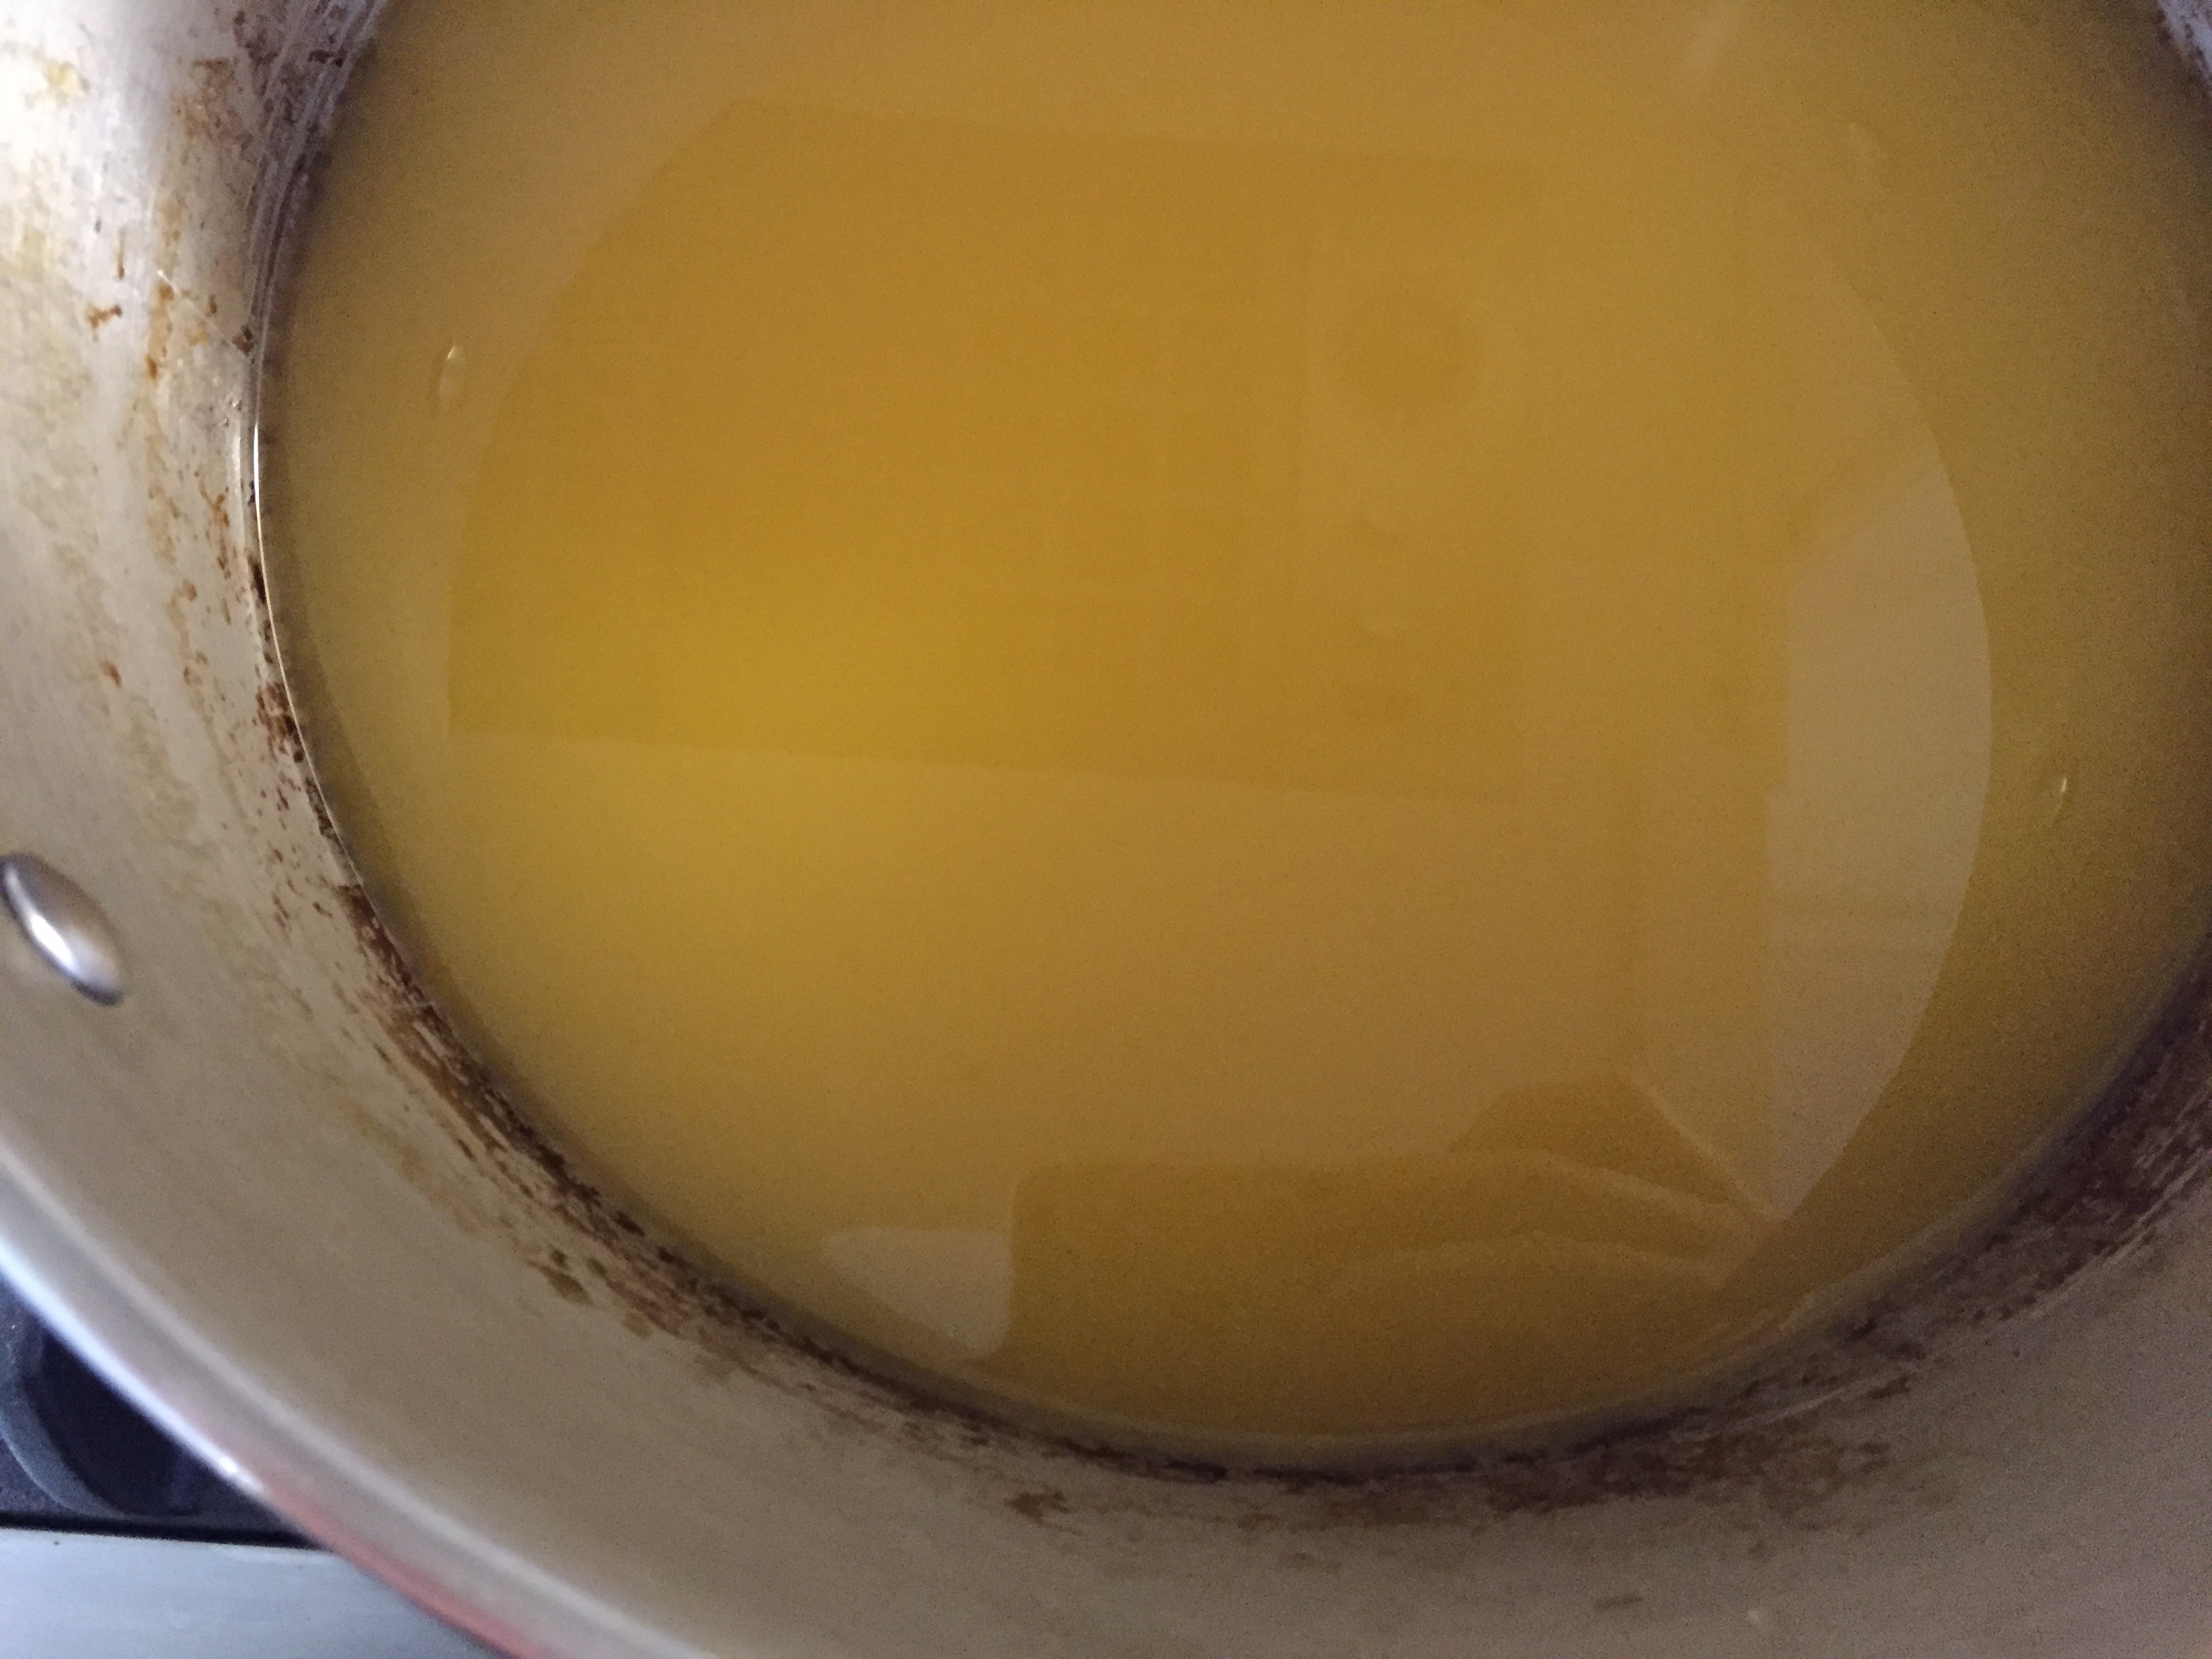
7. Once juice is boiling, add cornstarch mix stirring continuously until you feel juice thicken – about 1 minute, at which point you’ll want to turn the stove off and remove pot from heat. Let cool.
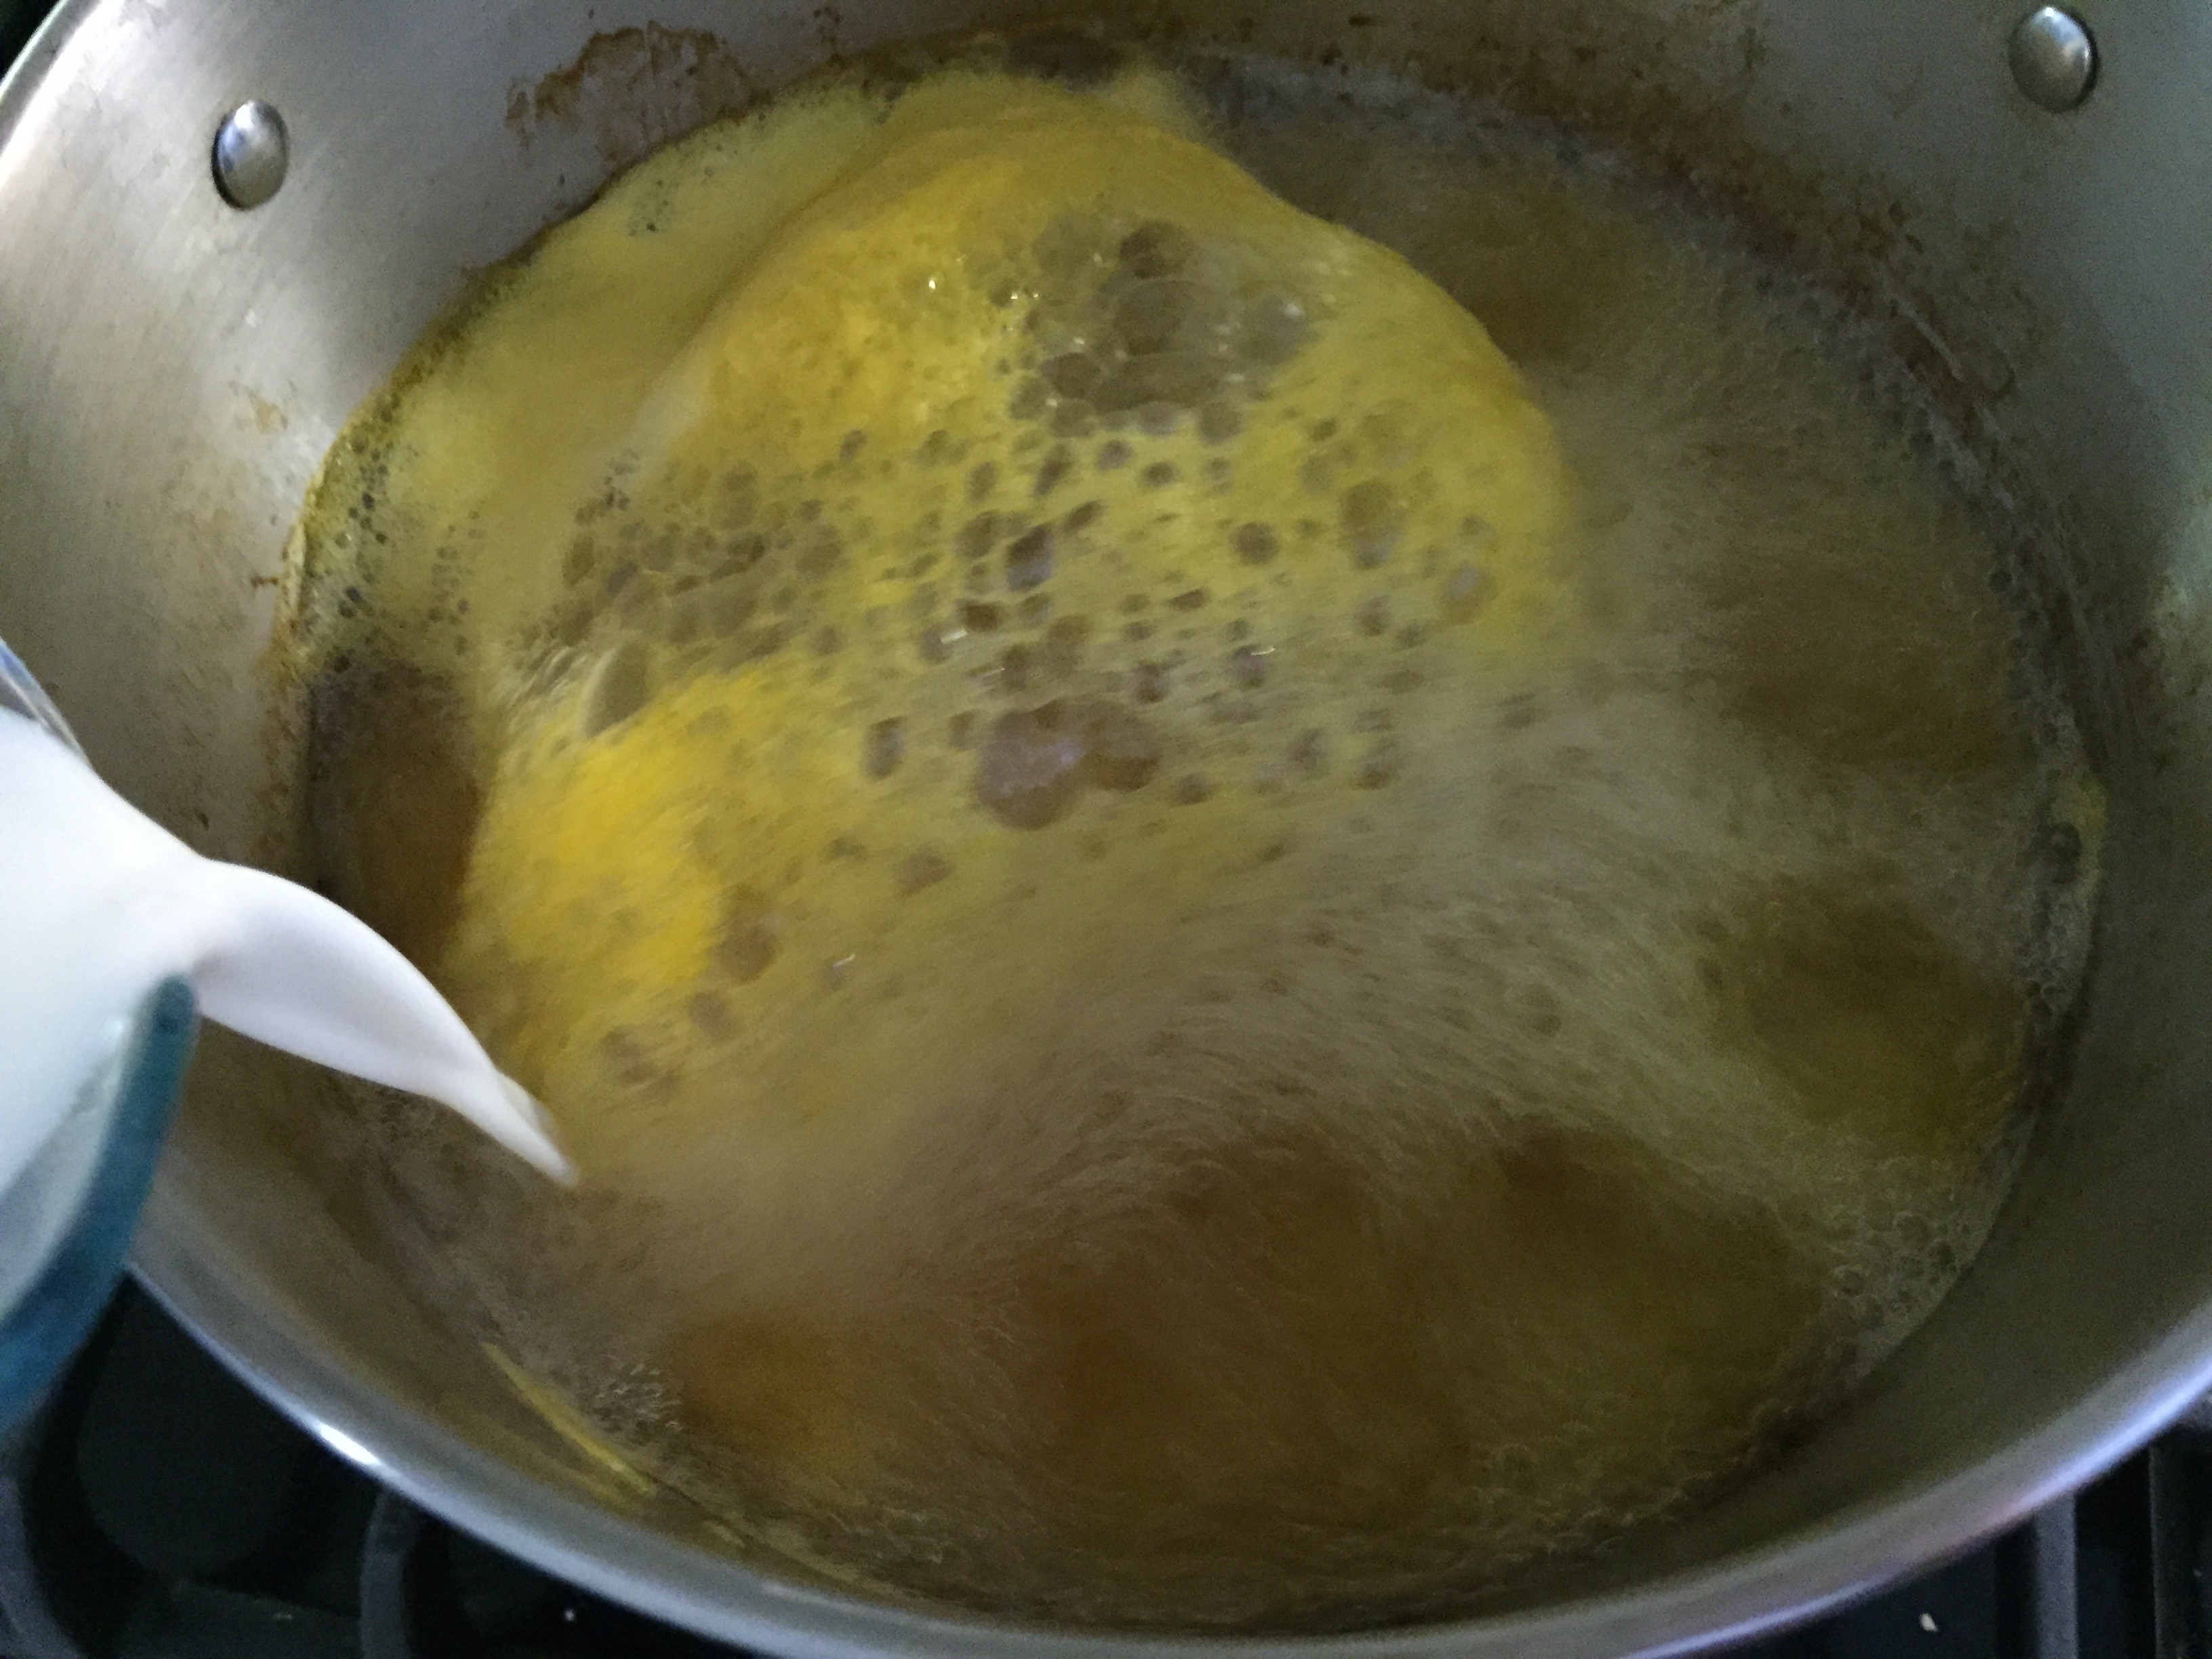
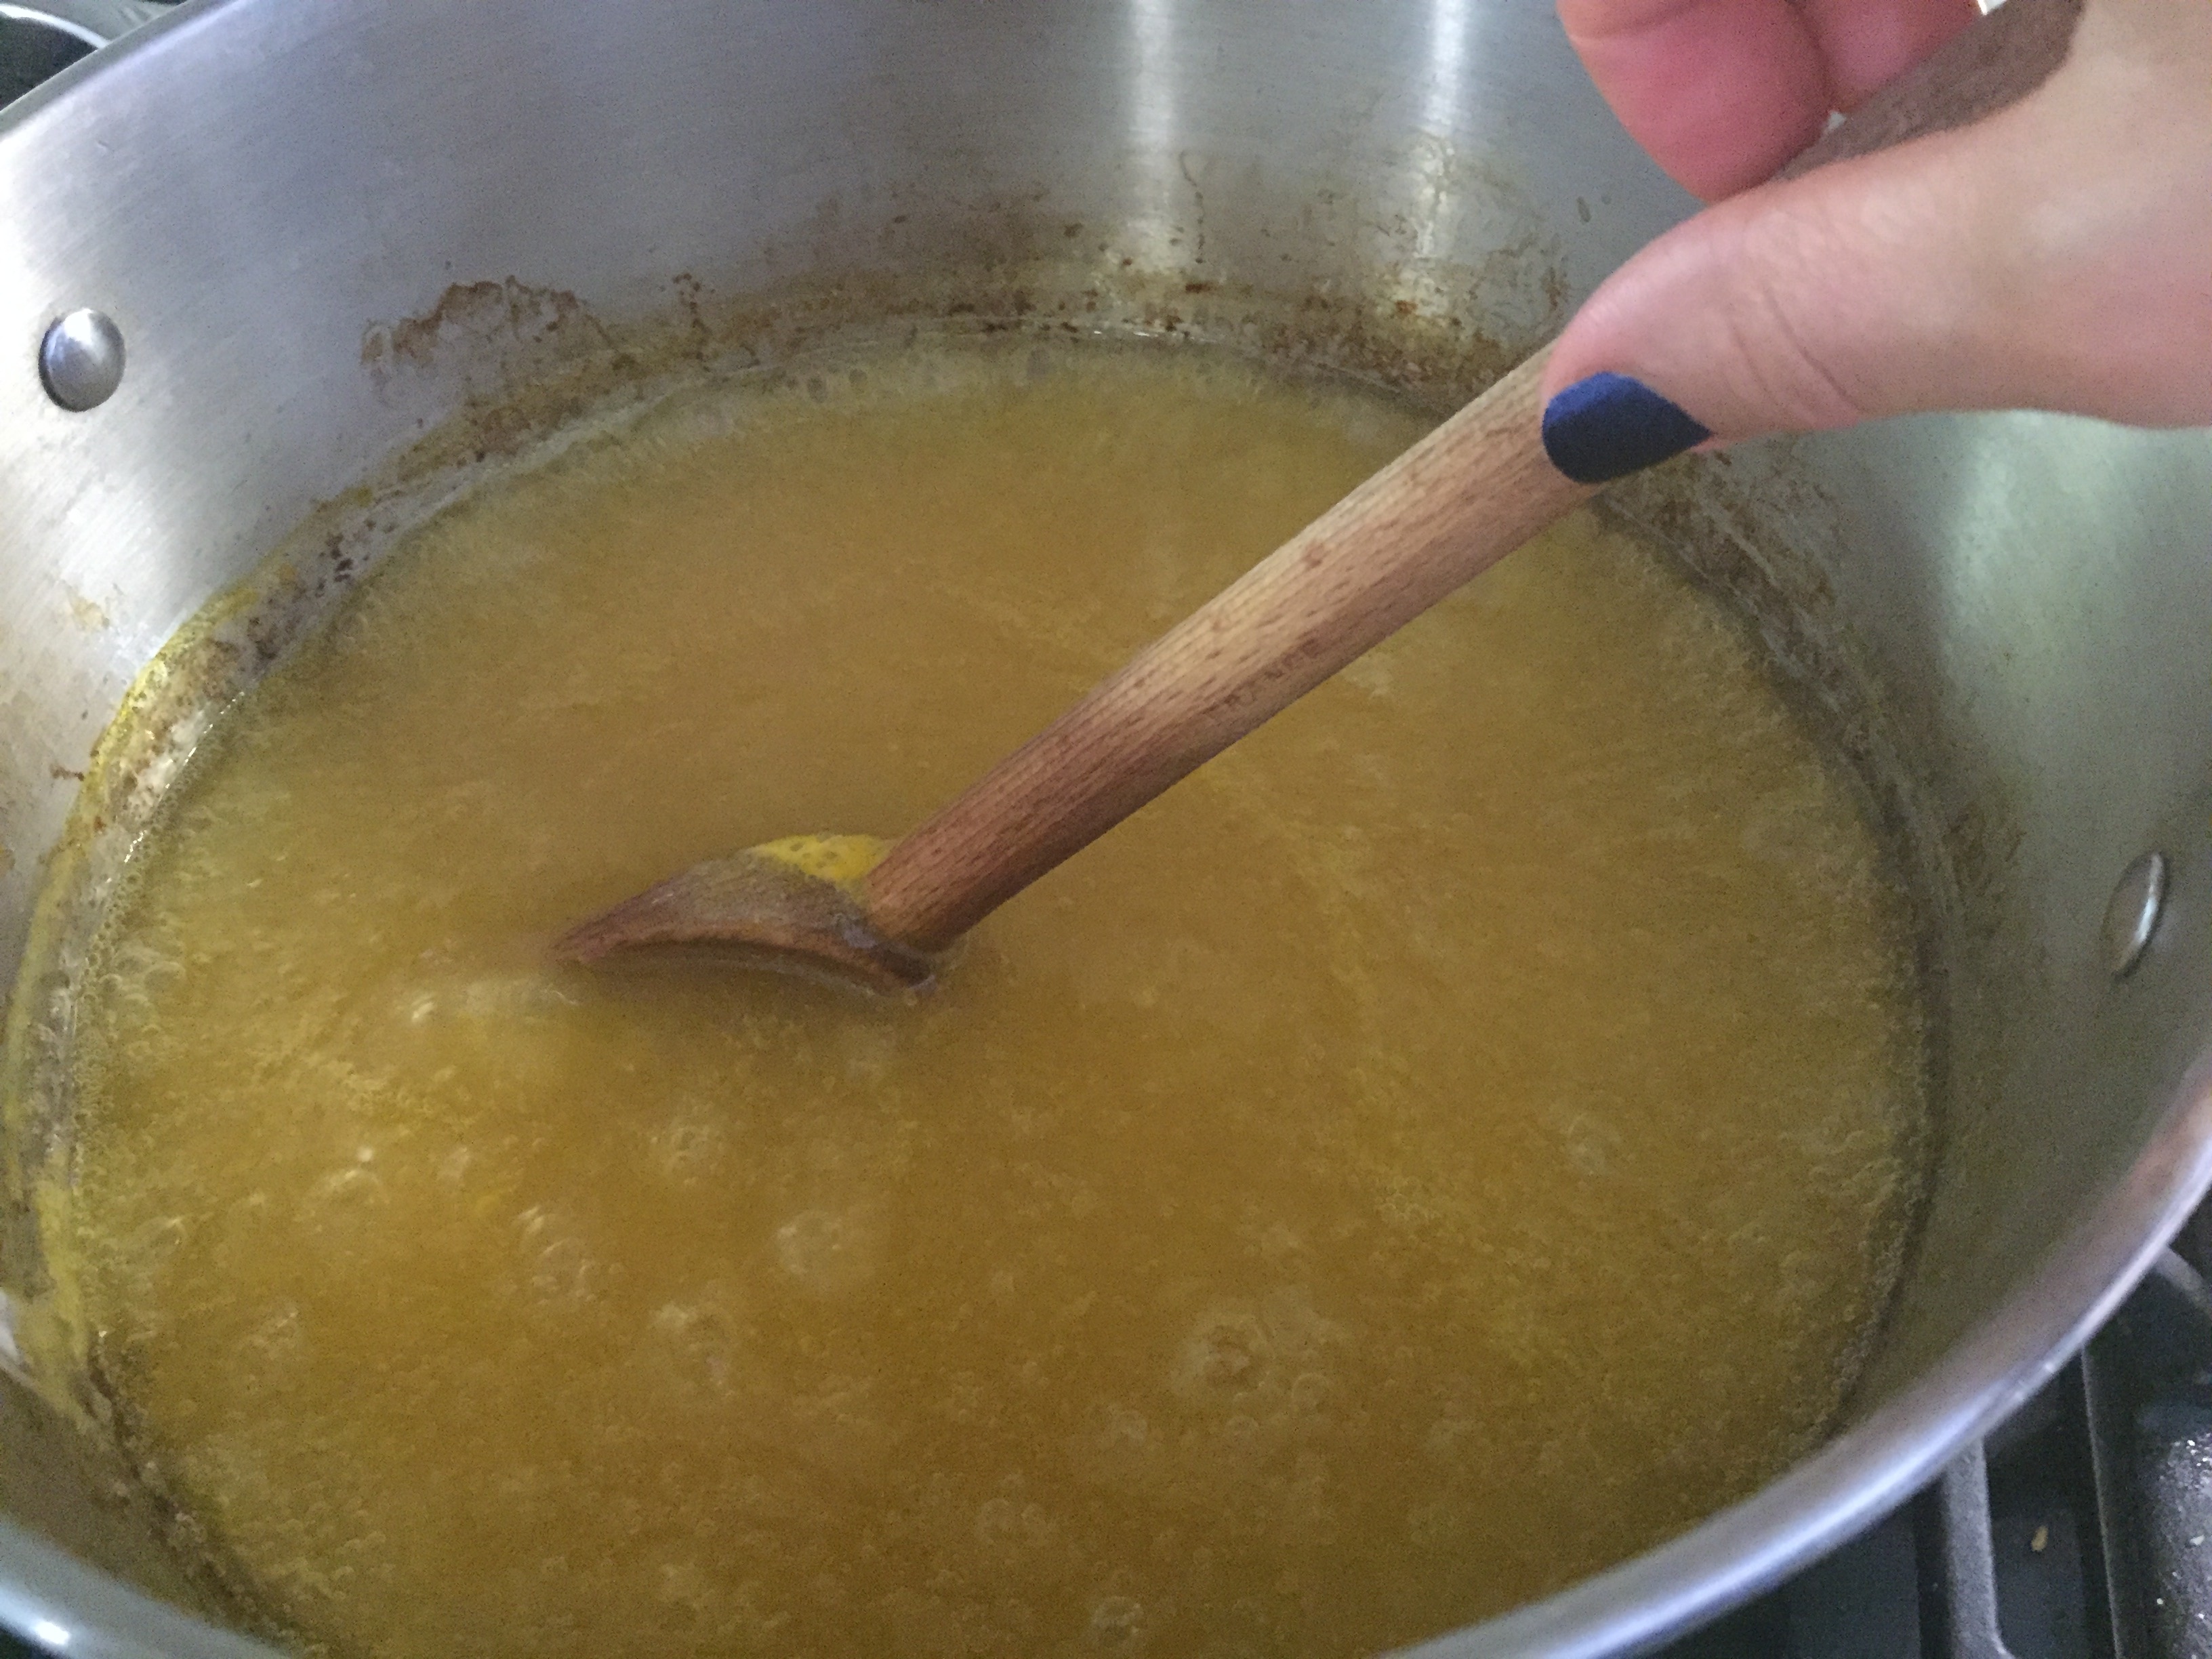
Tip: to speed up the cooling process, I fill my sink with ice-cold water and dunk my pot in to help it cool much quicker! If you’re in no rush, then you may skip this tip/step.
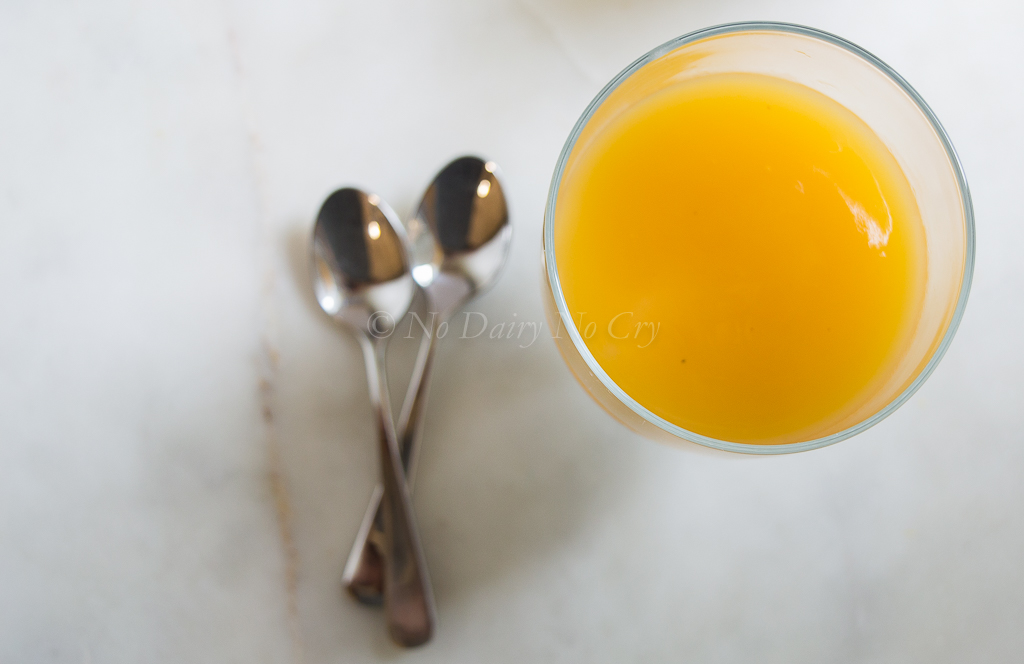
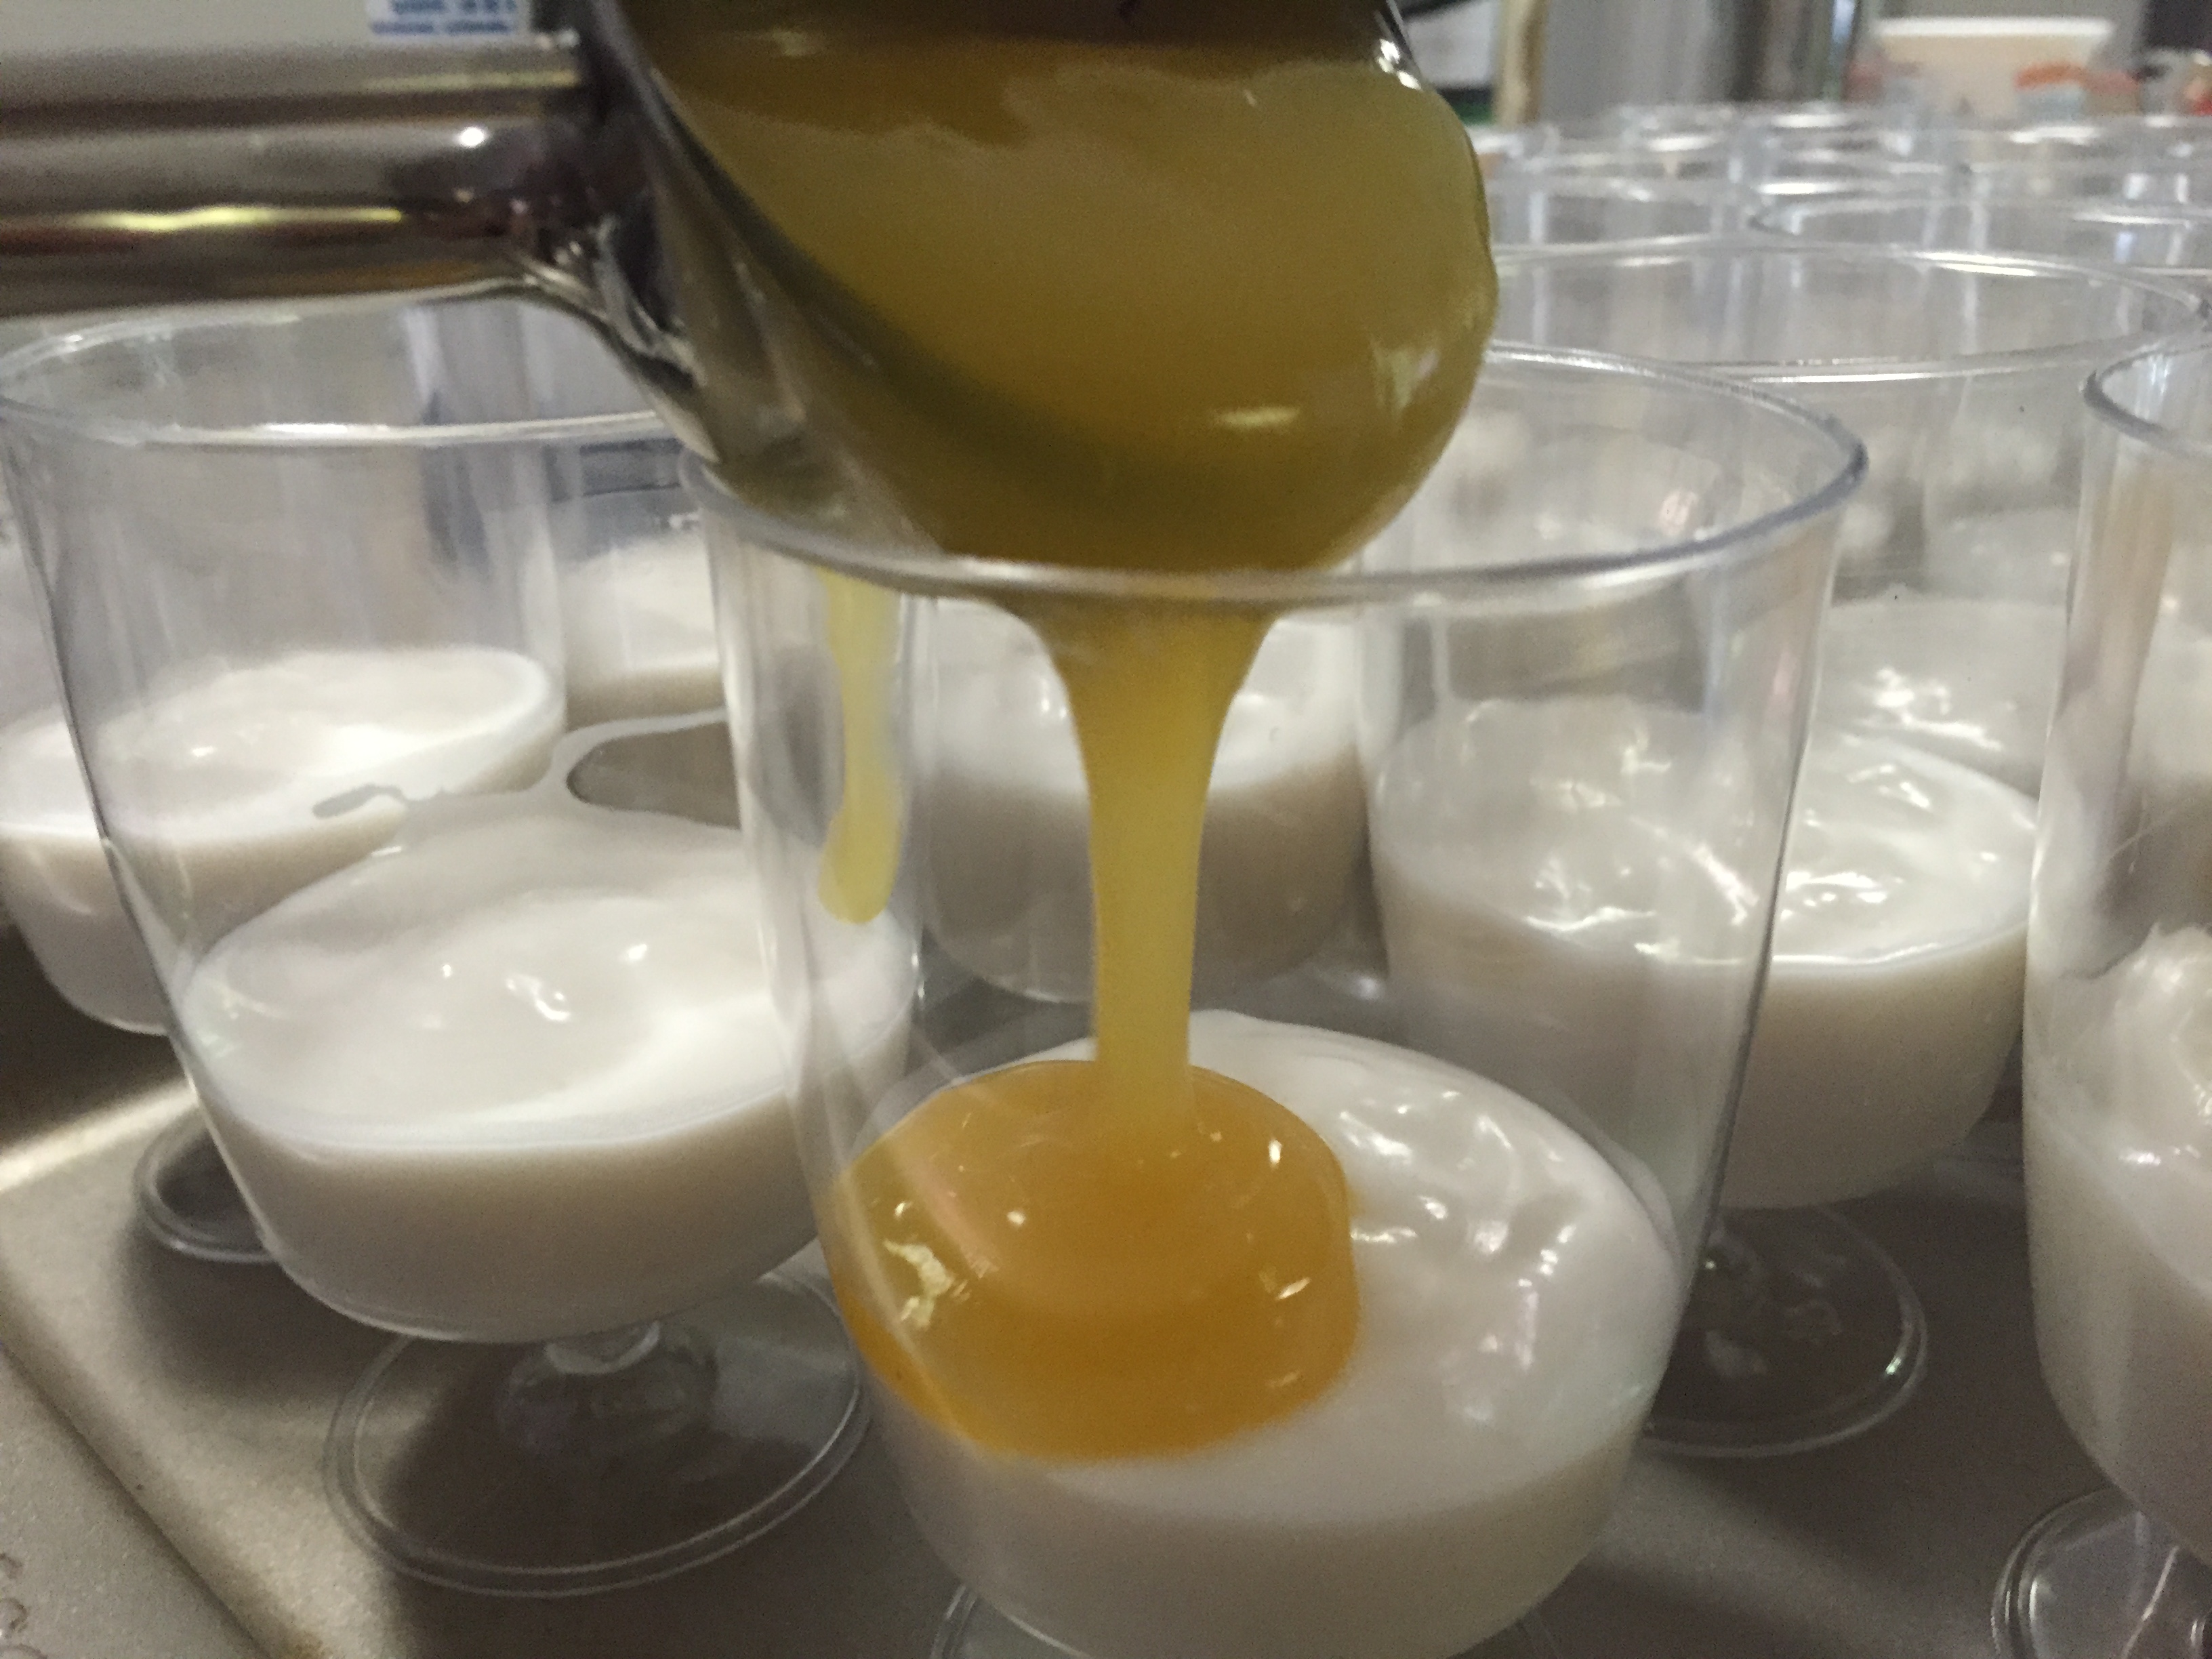
8. When you jiggle the milk layer and see that it has somewhat of a jello consistency, add the mango layer to it. Add approximately twice the amount as the milk layer, as shown below.
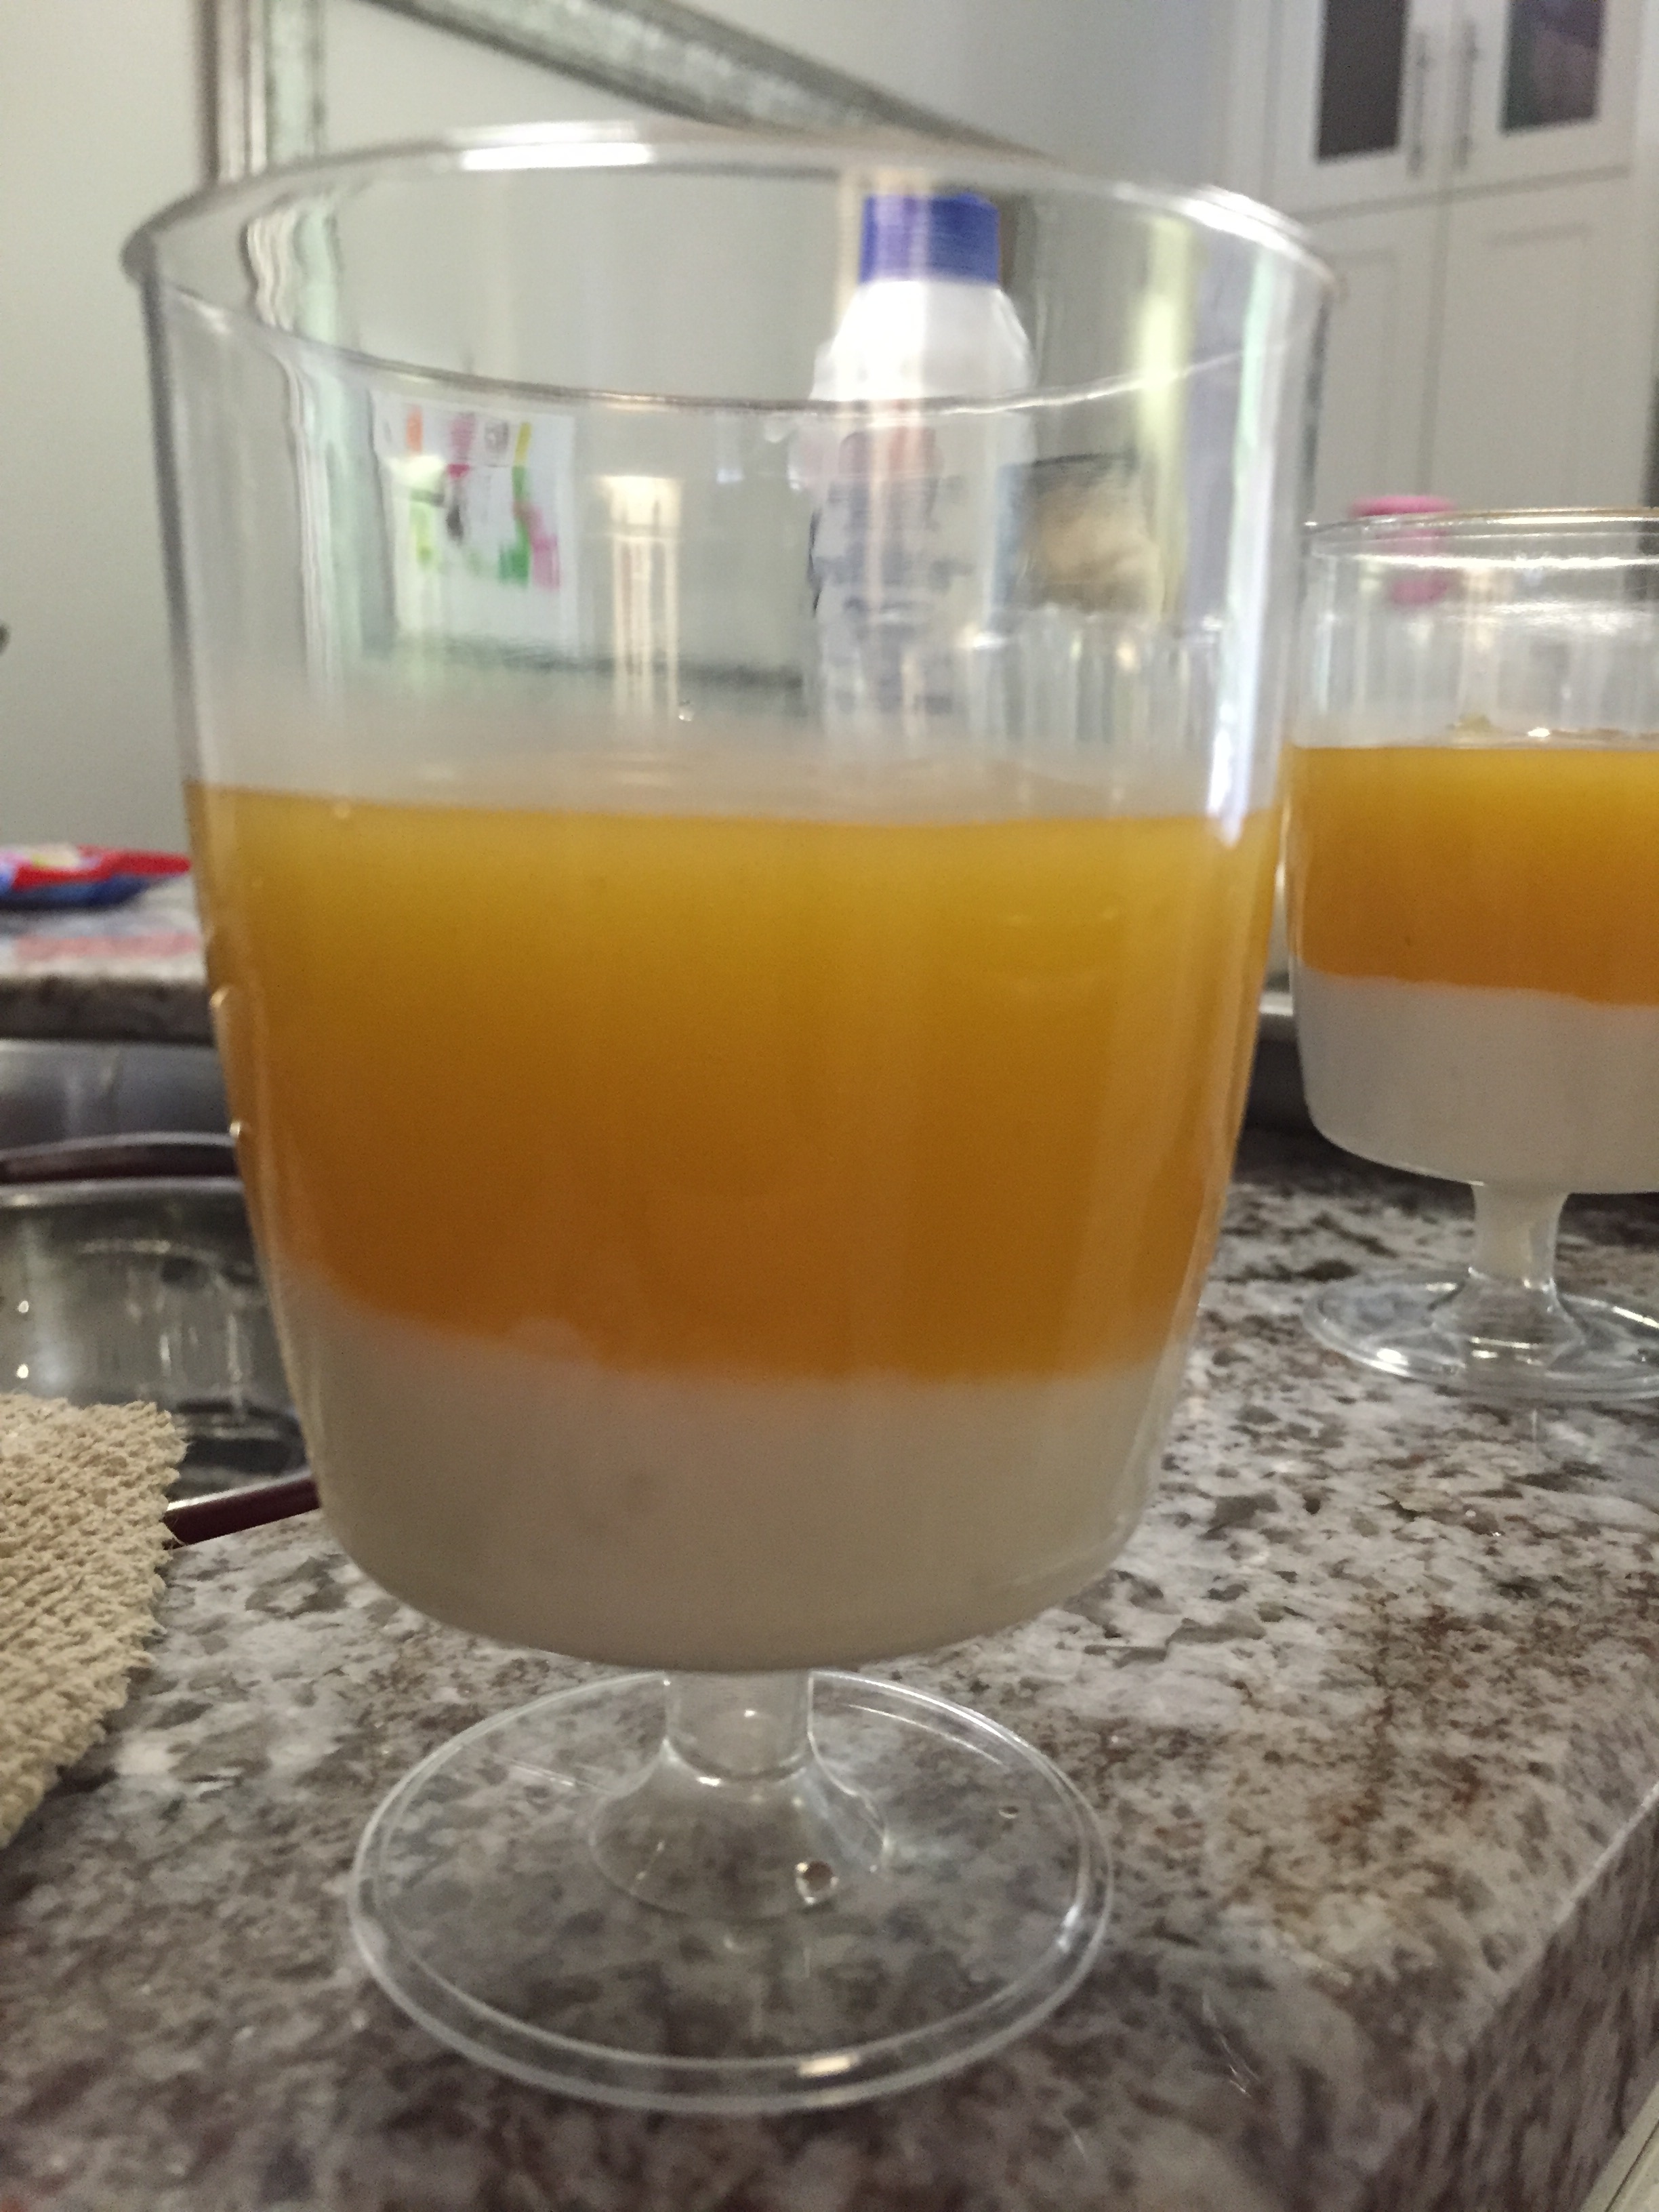
9. Once you’ve topped all of your glasses/bowls, return to the fridge to cool and completely set, at least 1 hour.
TiP: The test once again is to wiggle your glass or bowl slightly to see how much movement there is. If it displays similarly to jello, then you’re good to go, and if not, give it a bit more time to set. I find the longer it sits in the fridge to set, the better. But again, you really only need it to set just enough that you can break into it (sort-to-speak) and enjoy it!
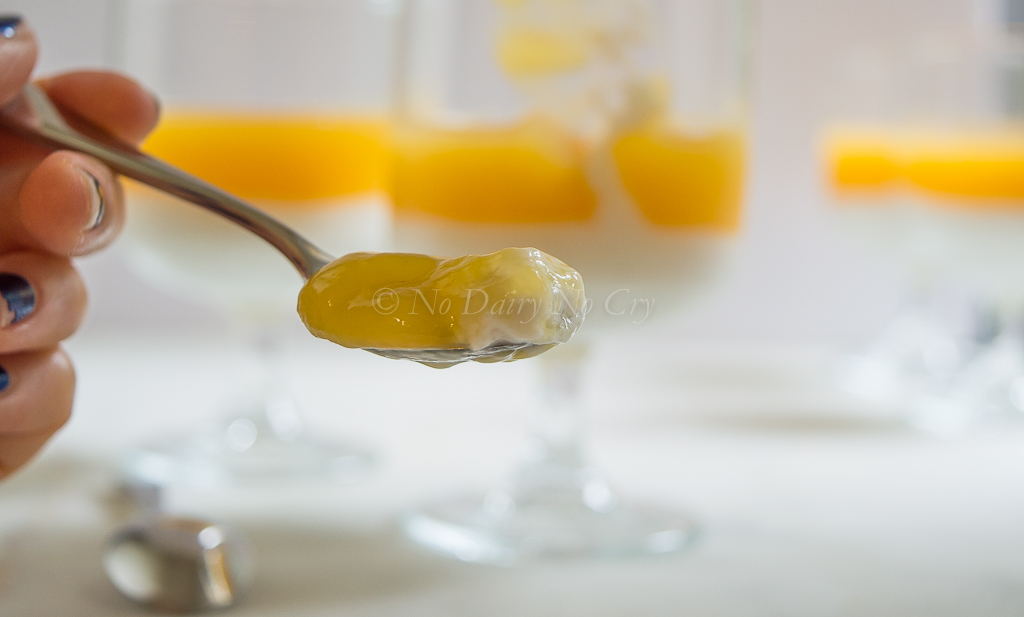
Voilà! You have an amazing dessert that is quite simply one of the best things you will ever experience :)
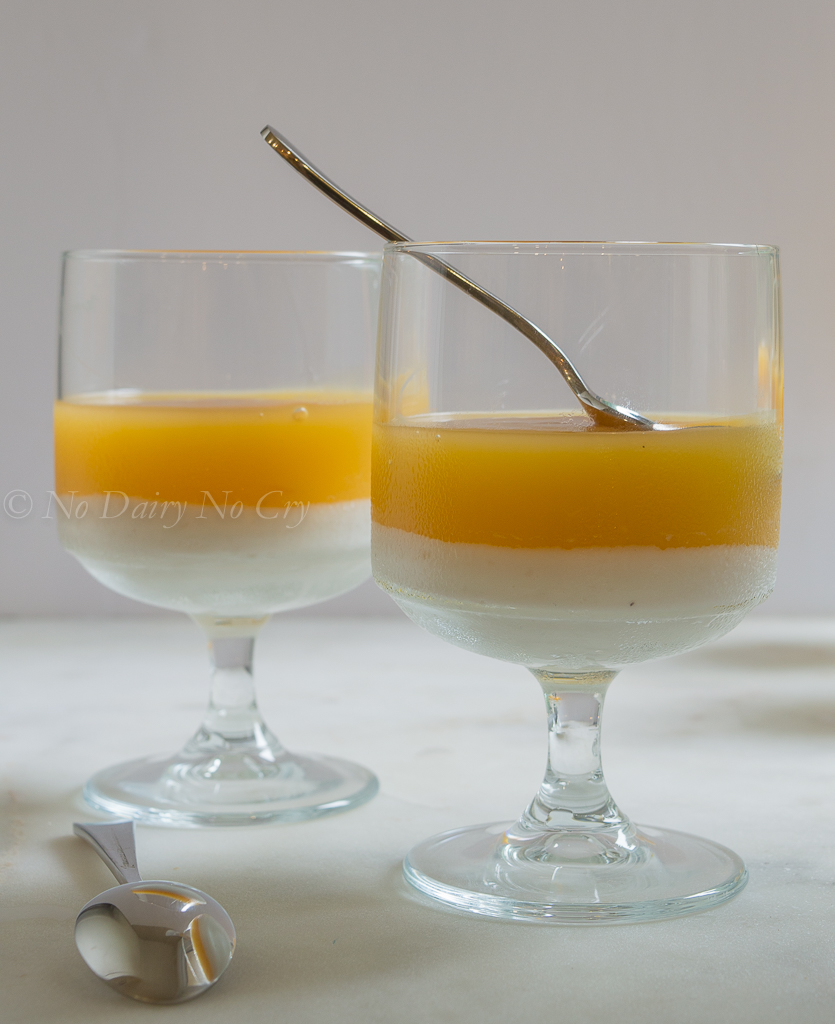
Hope you enjoy a part of my culture which I have and always will cherish.
Bon appétit! xo