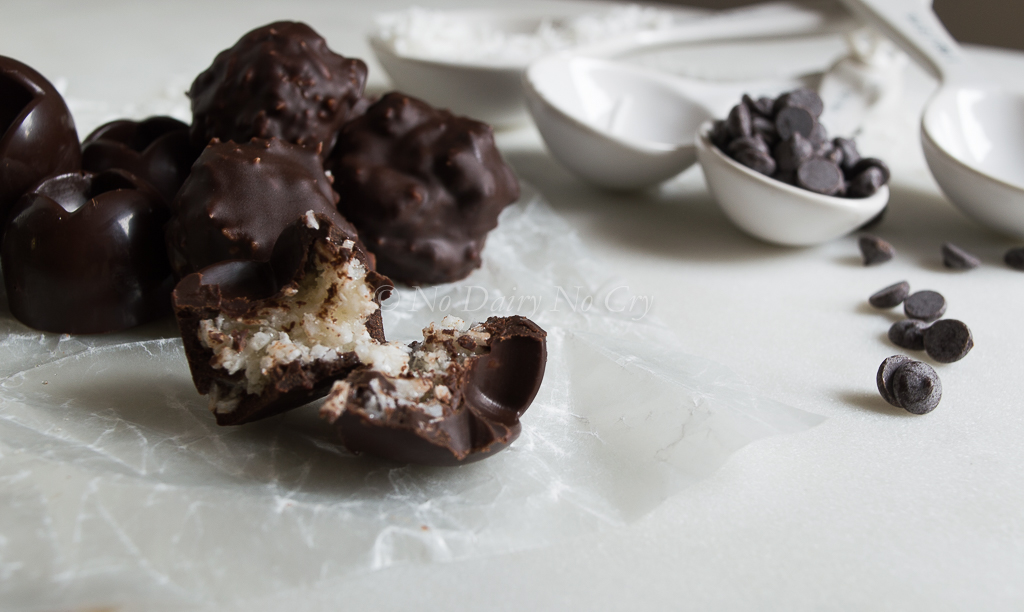
Vegan Chocolate Coconut Bites
By Laila ·
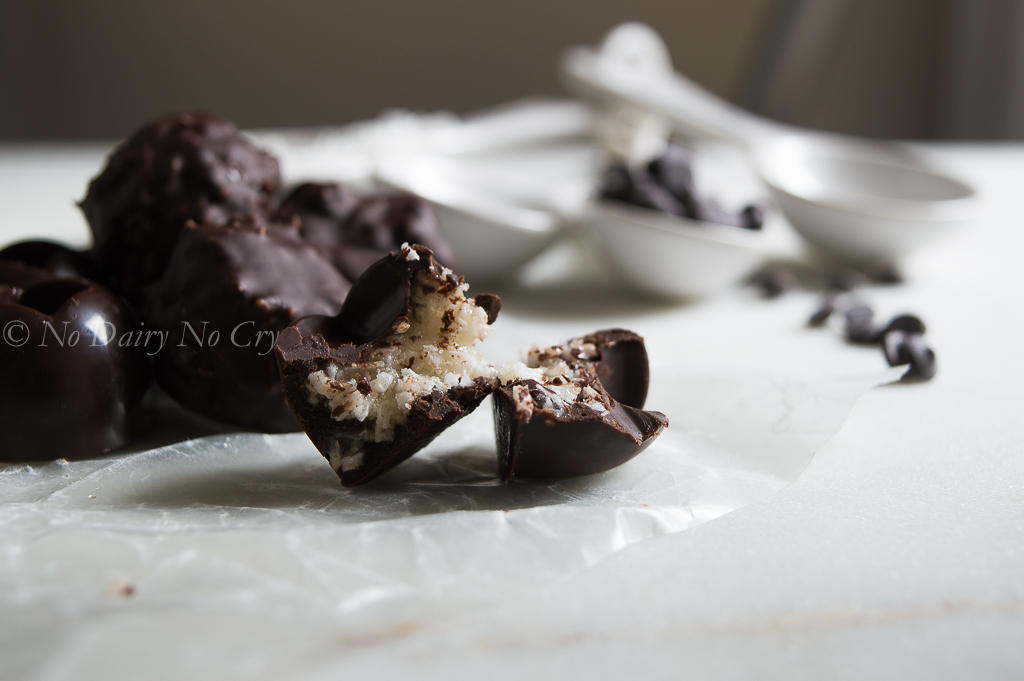
A delightful combination of dark chocolate and coconut to excite your senses!
I helped my mom this past week prepare for my sister’s baby shower. It went really well! So much good food (of course!) and great company. I had decided to make these delectable Vegan Chocolate Coconut Bites for Friday’s guests.
My sister received beautiful gifts and her little peanut is going to be one handsomely dressed little guy!
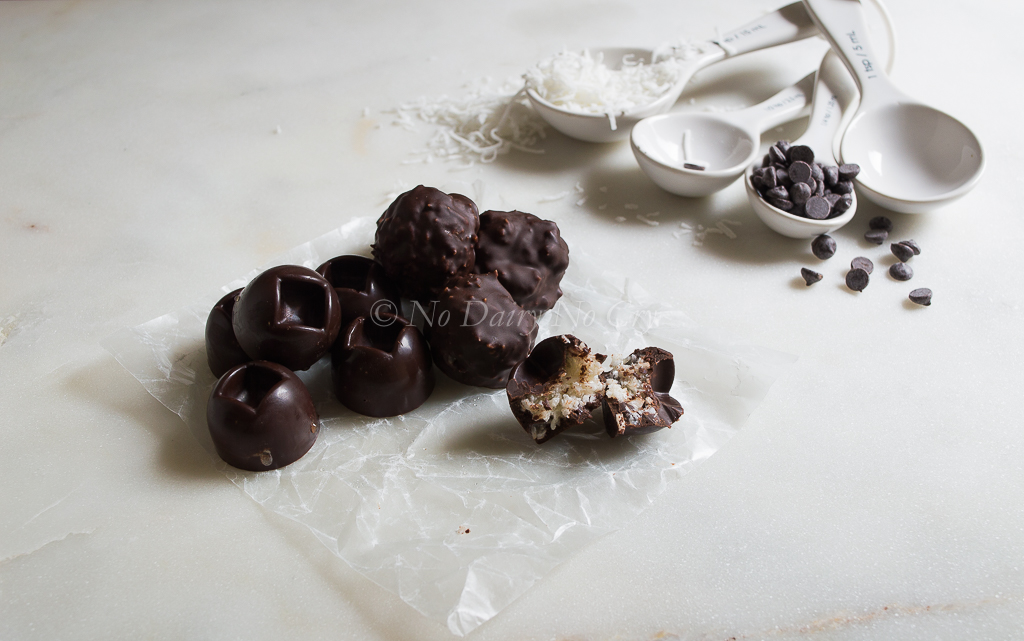
These bites are easy to make and take minutes to prepare! I used a few moulds and made several free-handed ones to show you both ways to make them. But I love the way chocolate looks when it’s been moulded…so polished and clean looking. I buy my moulds at Homesense (HomeGoods for my American followers). They’re quite inexpensive too, and the finished product is a spectacular one!
Recipe
Vegan Chocolate Coconut Bites
A delightful combination of dark chocolate and coconut to excite your senses!
- Prep
- 10 mins
- Total
- 30 mins
Ingredients
For the Chocolate Layer
For the Coconut Filling
Instructions
Chocolate
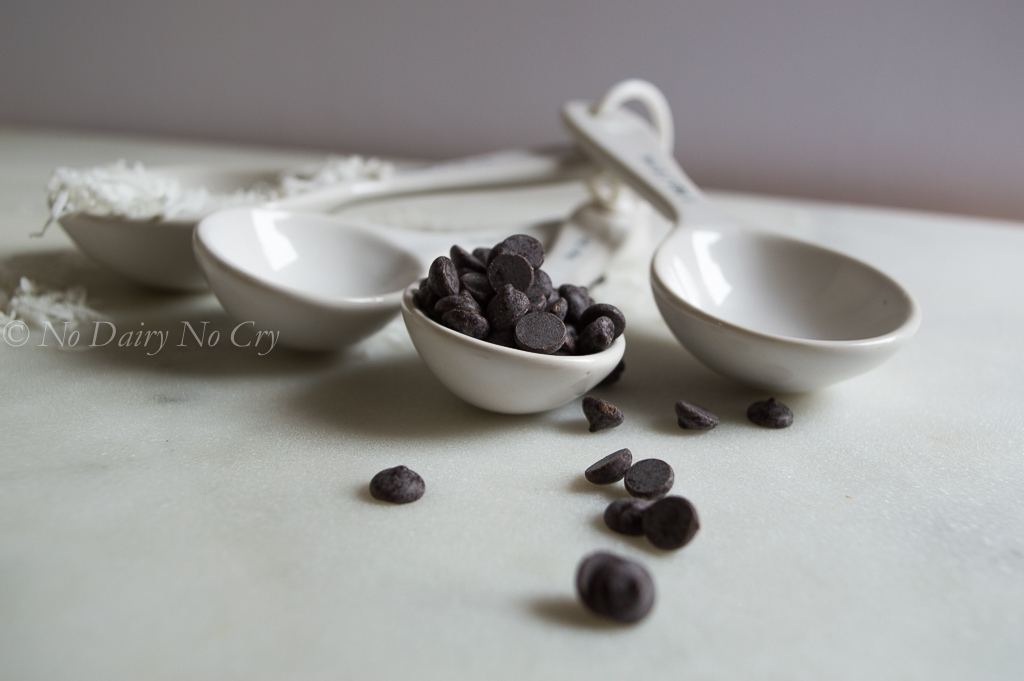
- 1Melt chocolate chips in a double boiler. Once the water starts to boil, reduce heat to simmer and stir the chocolate until melted and smooth.
- 2Add coconut oil and continue stirring until the oil is emulsified with the chocolate. Set aside.
Filling
- 1Mix coconut shreds with honey/agave syrup in a bowl until well combined.
- 2Add coconut oil and mix well, ensuring it is fully incorporated into the coconut mixture.
Moulded bites
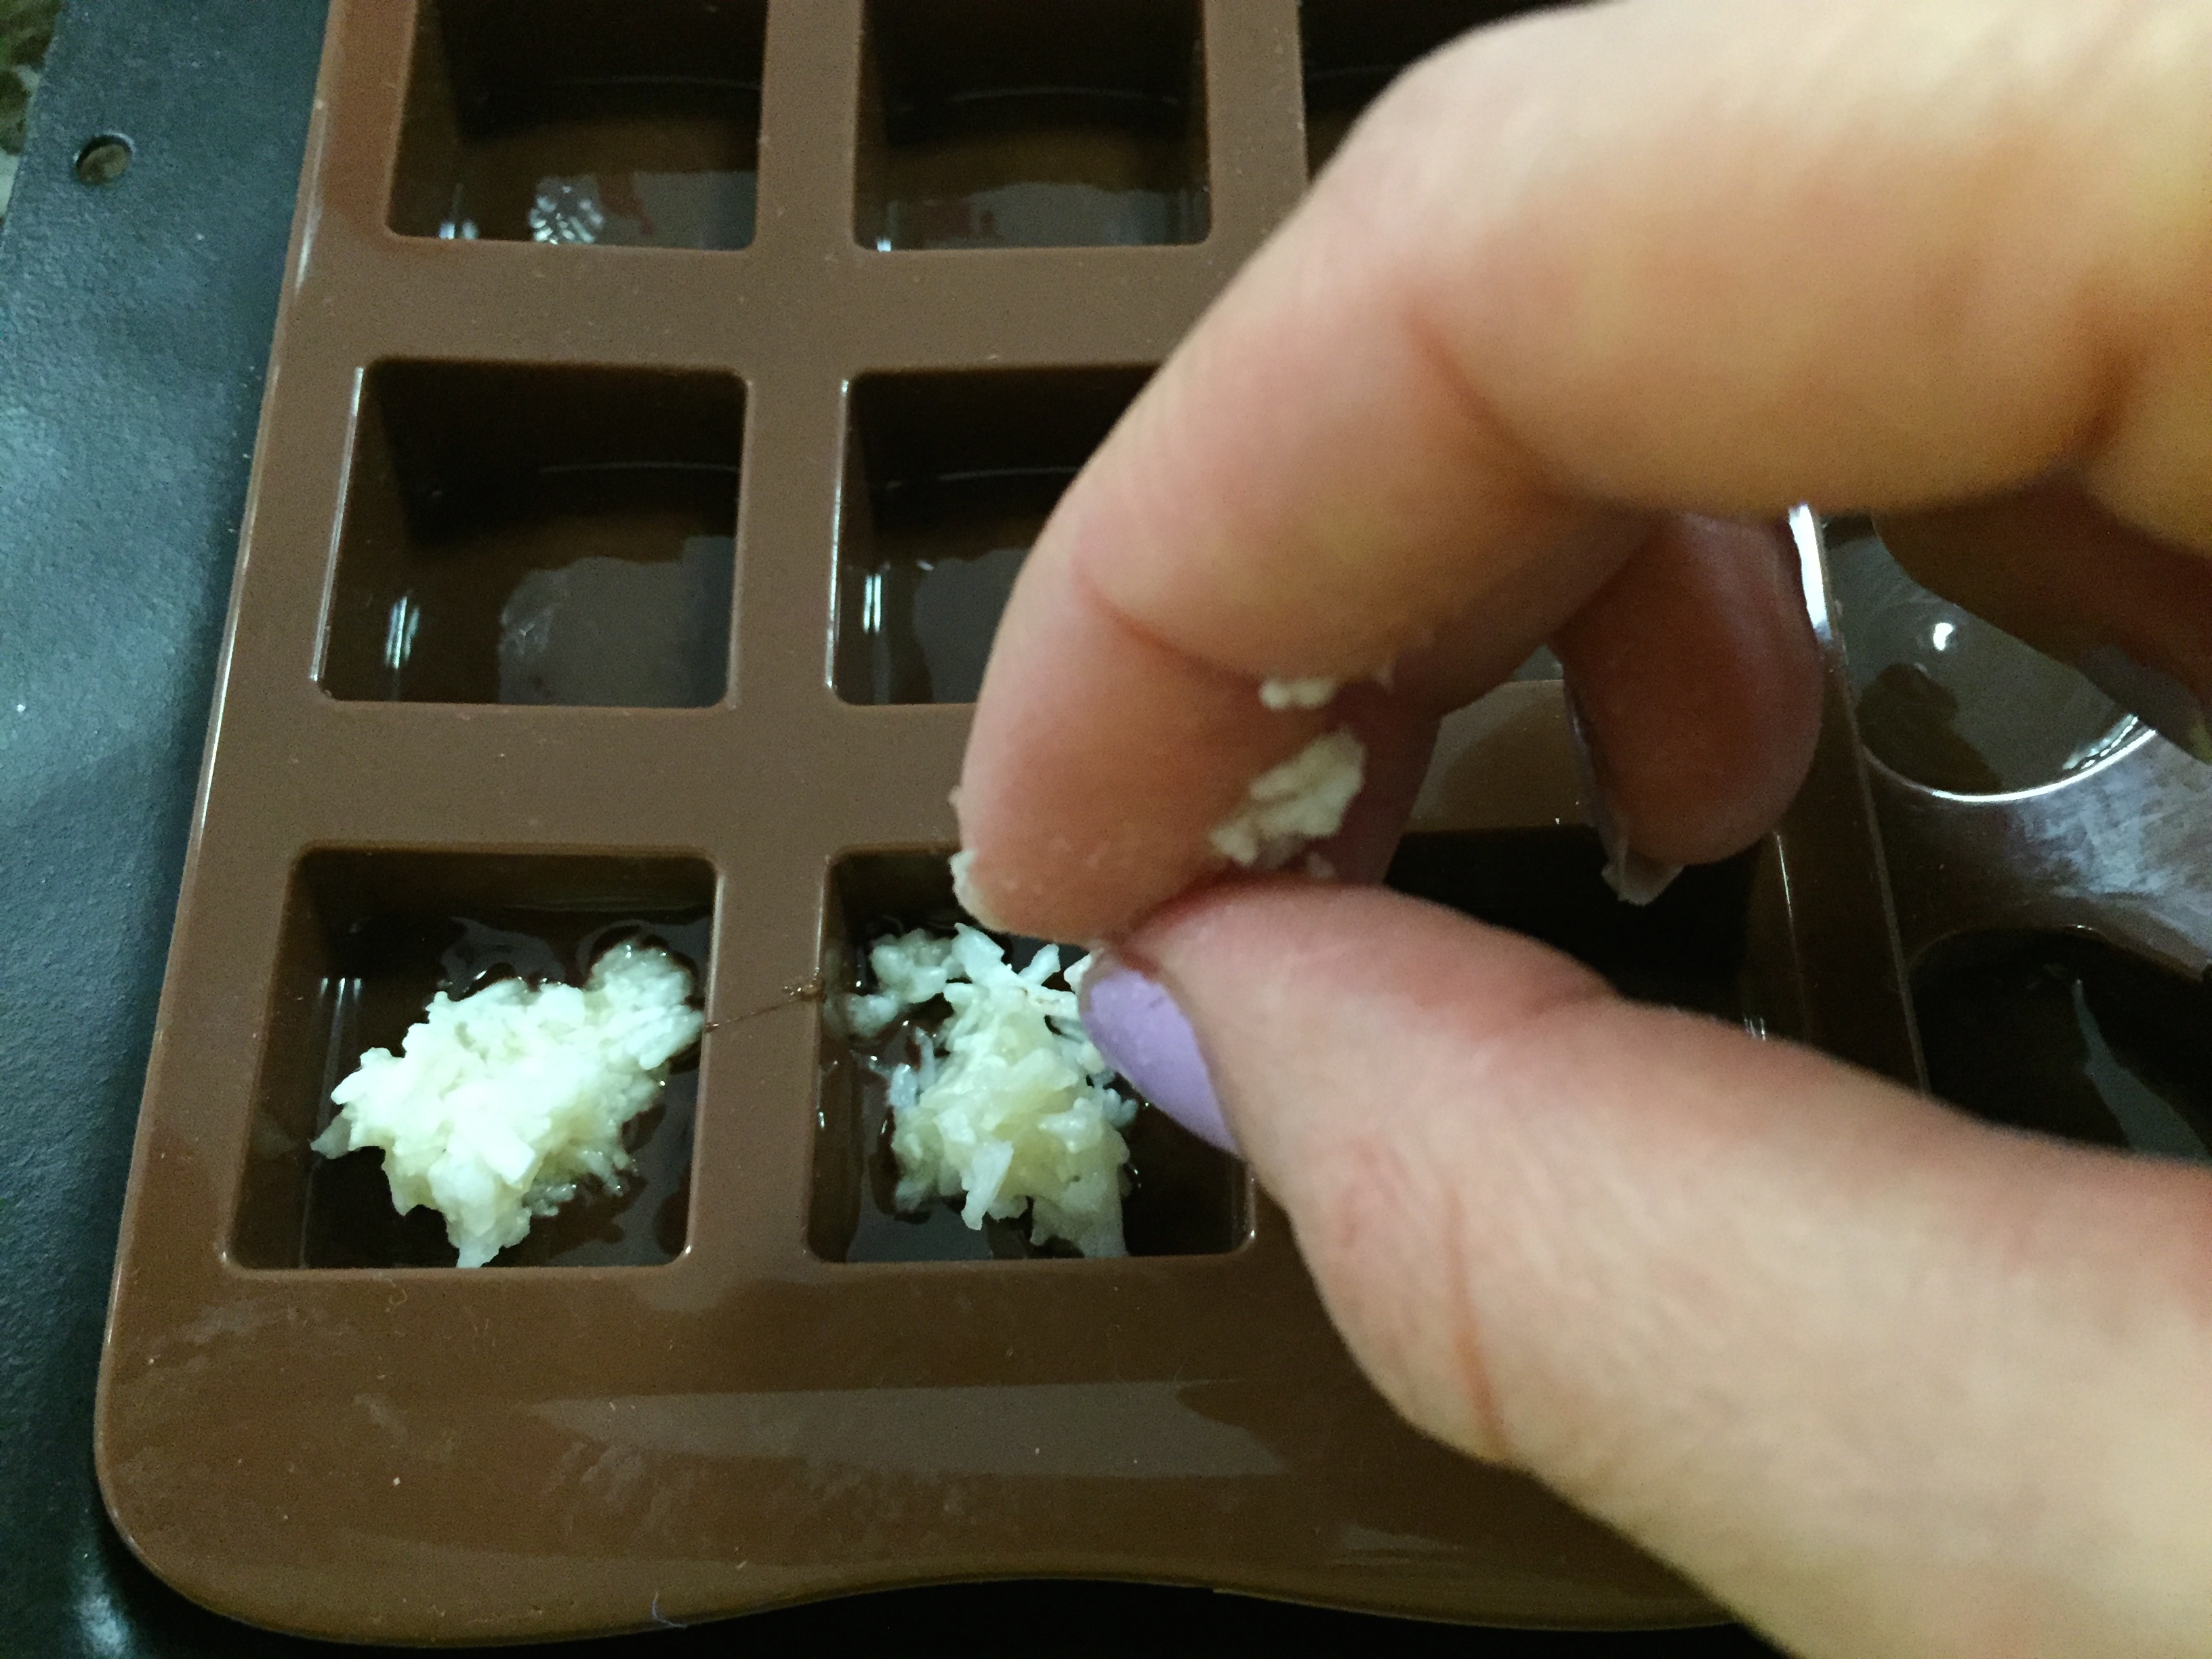
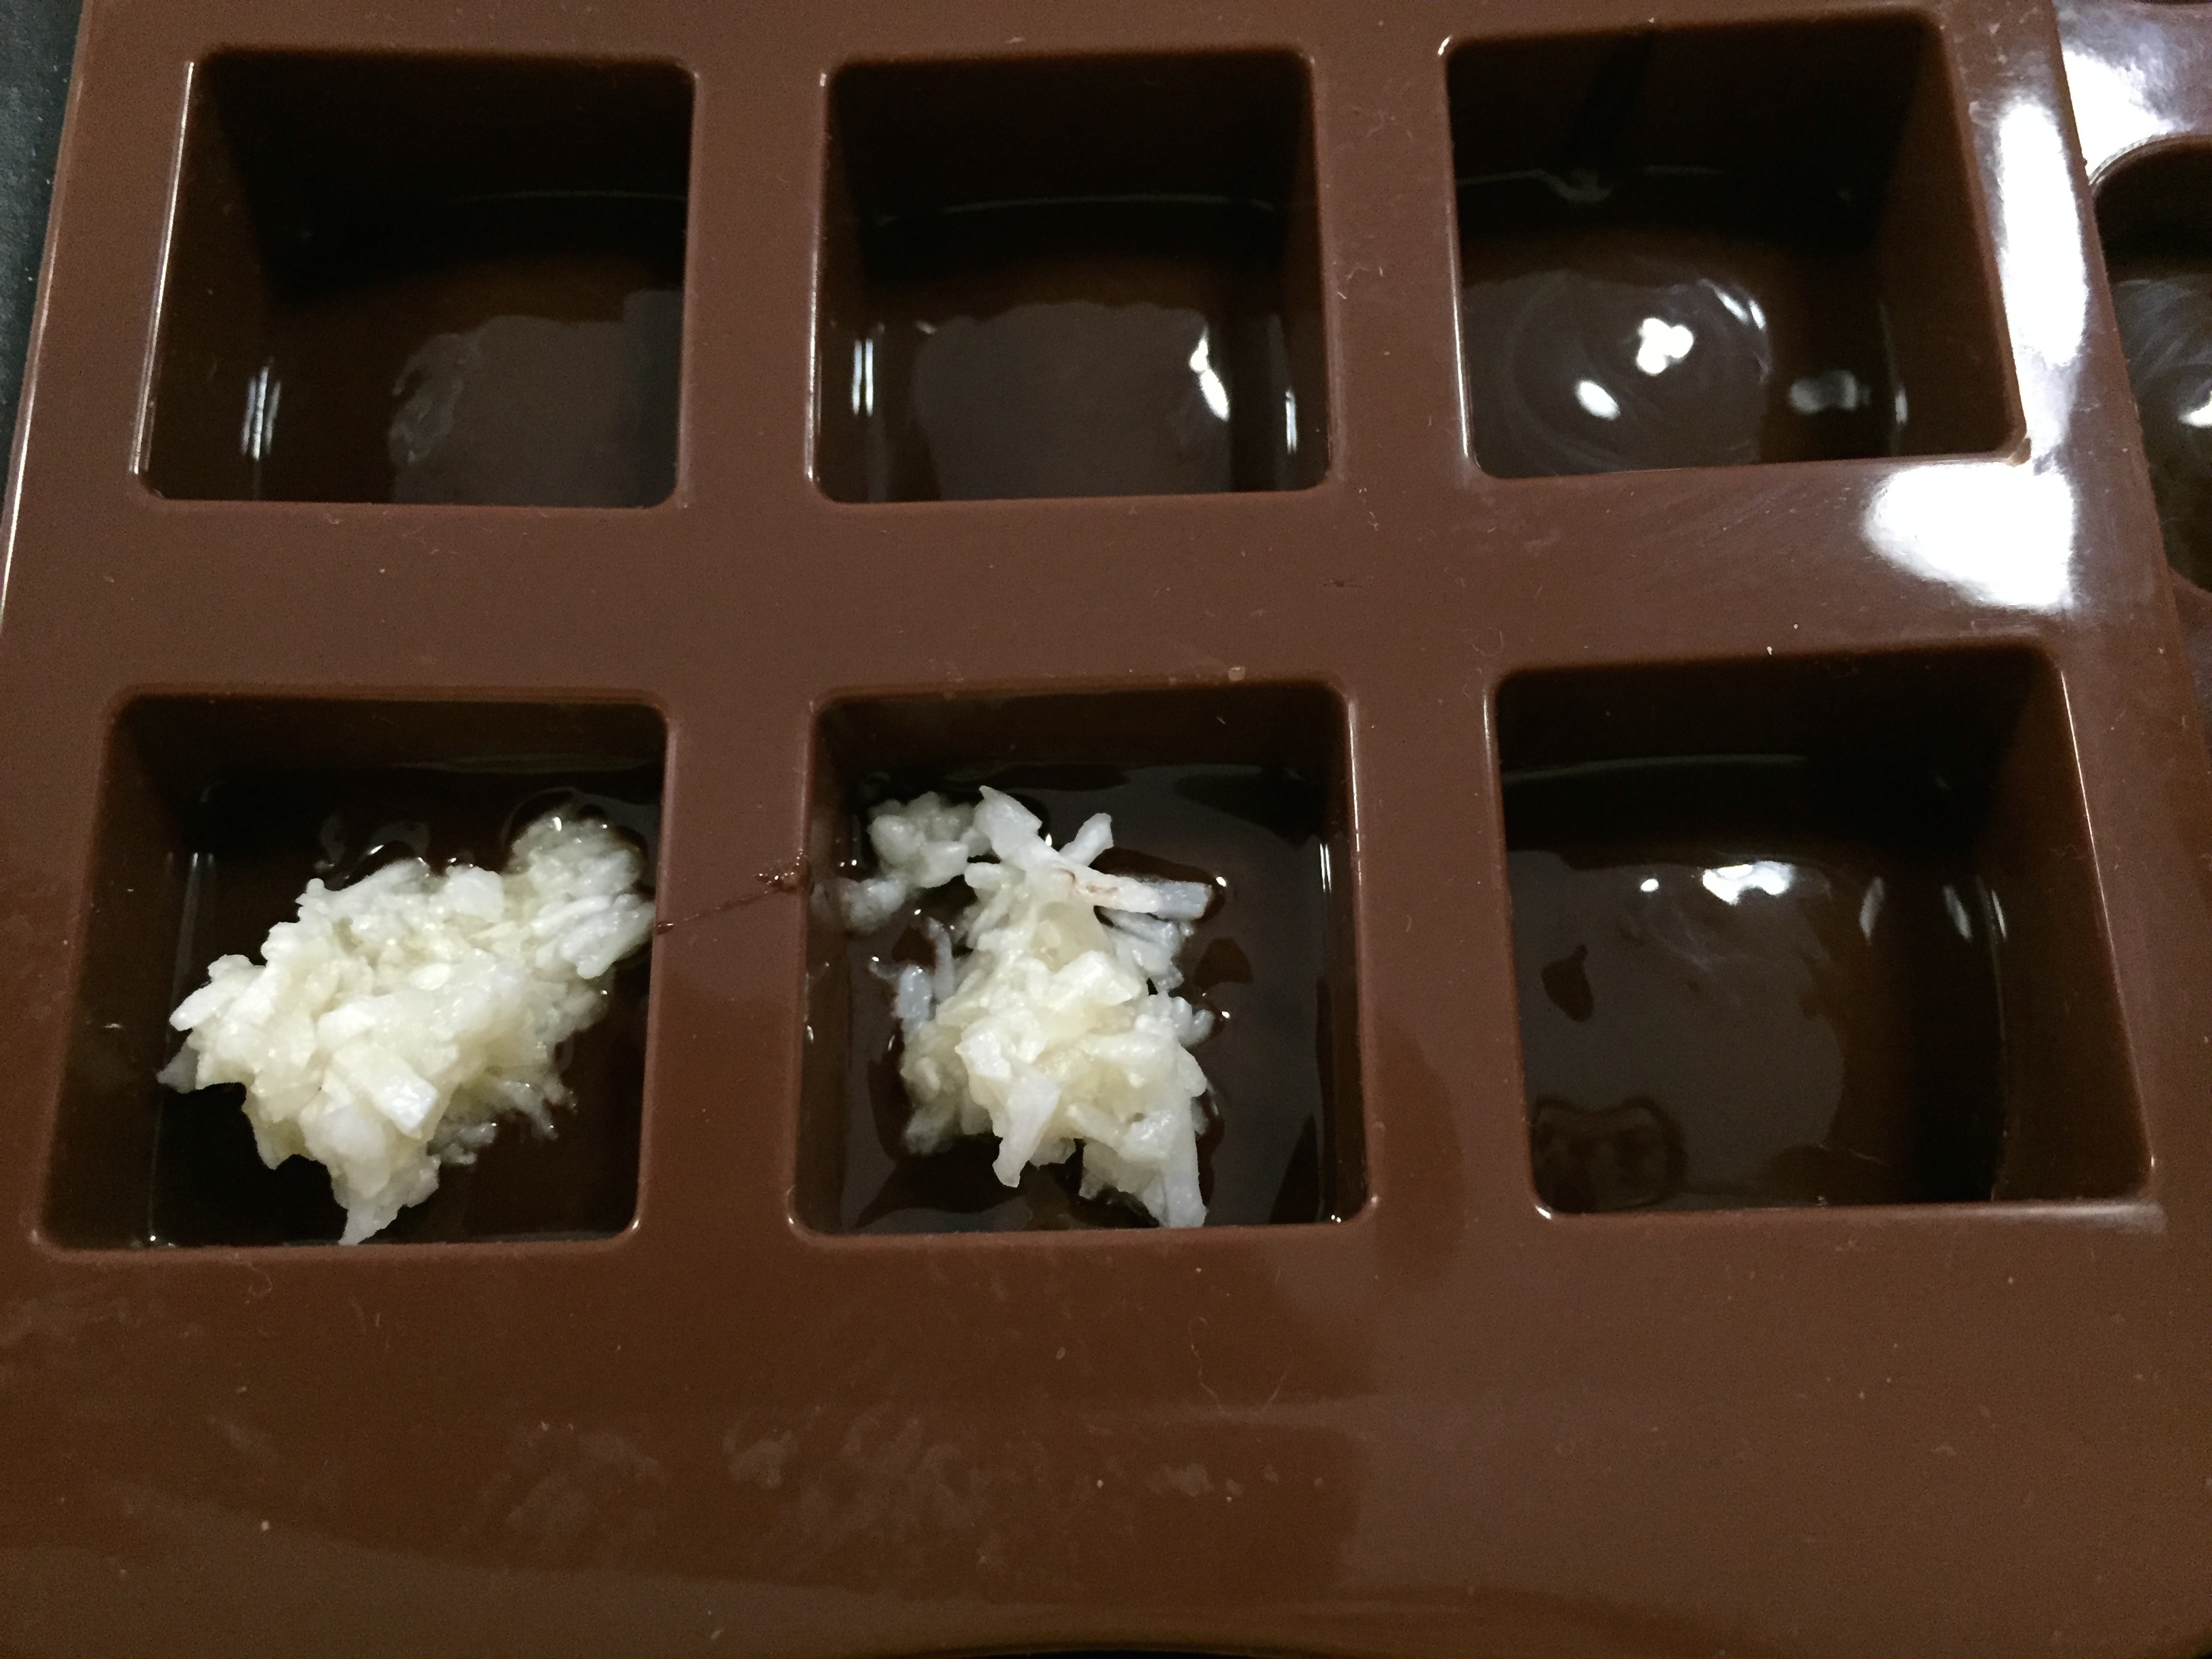
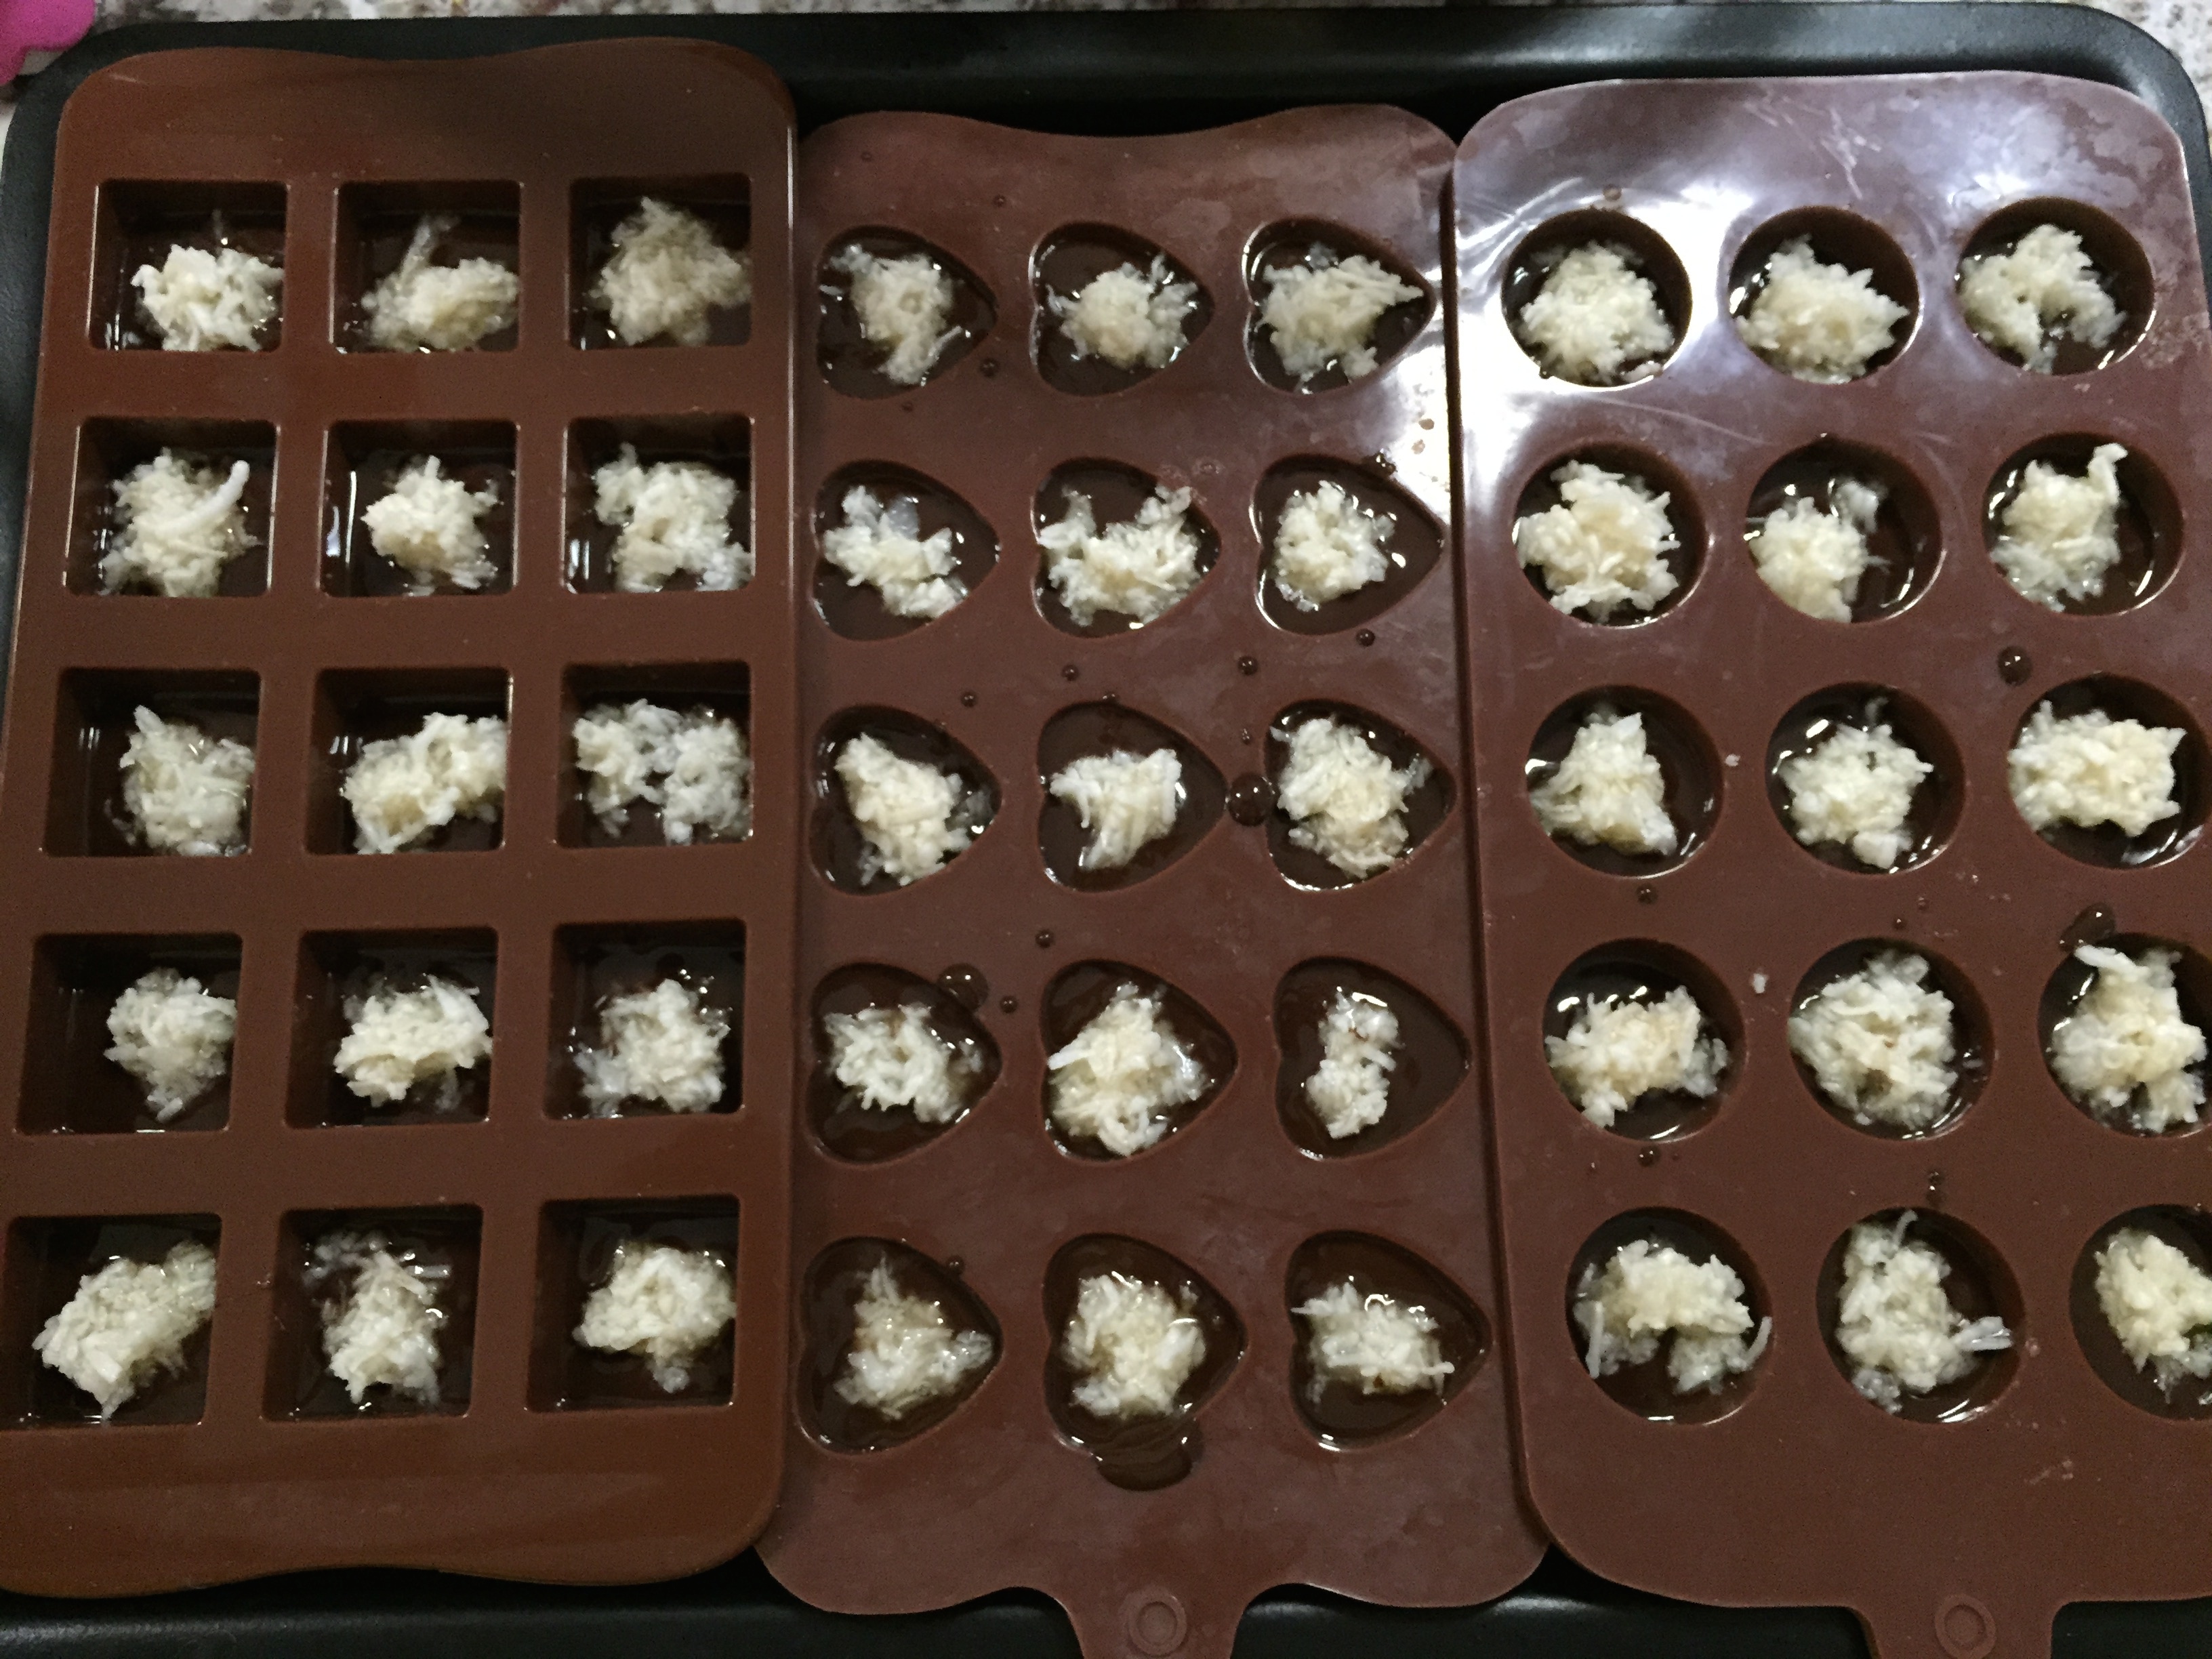
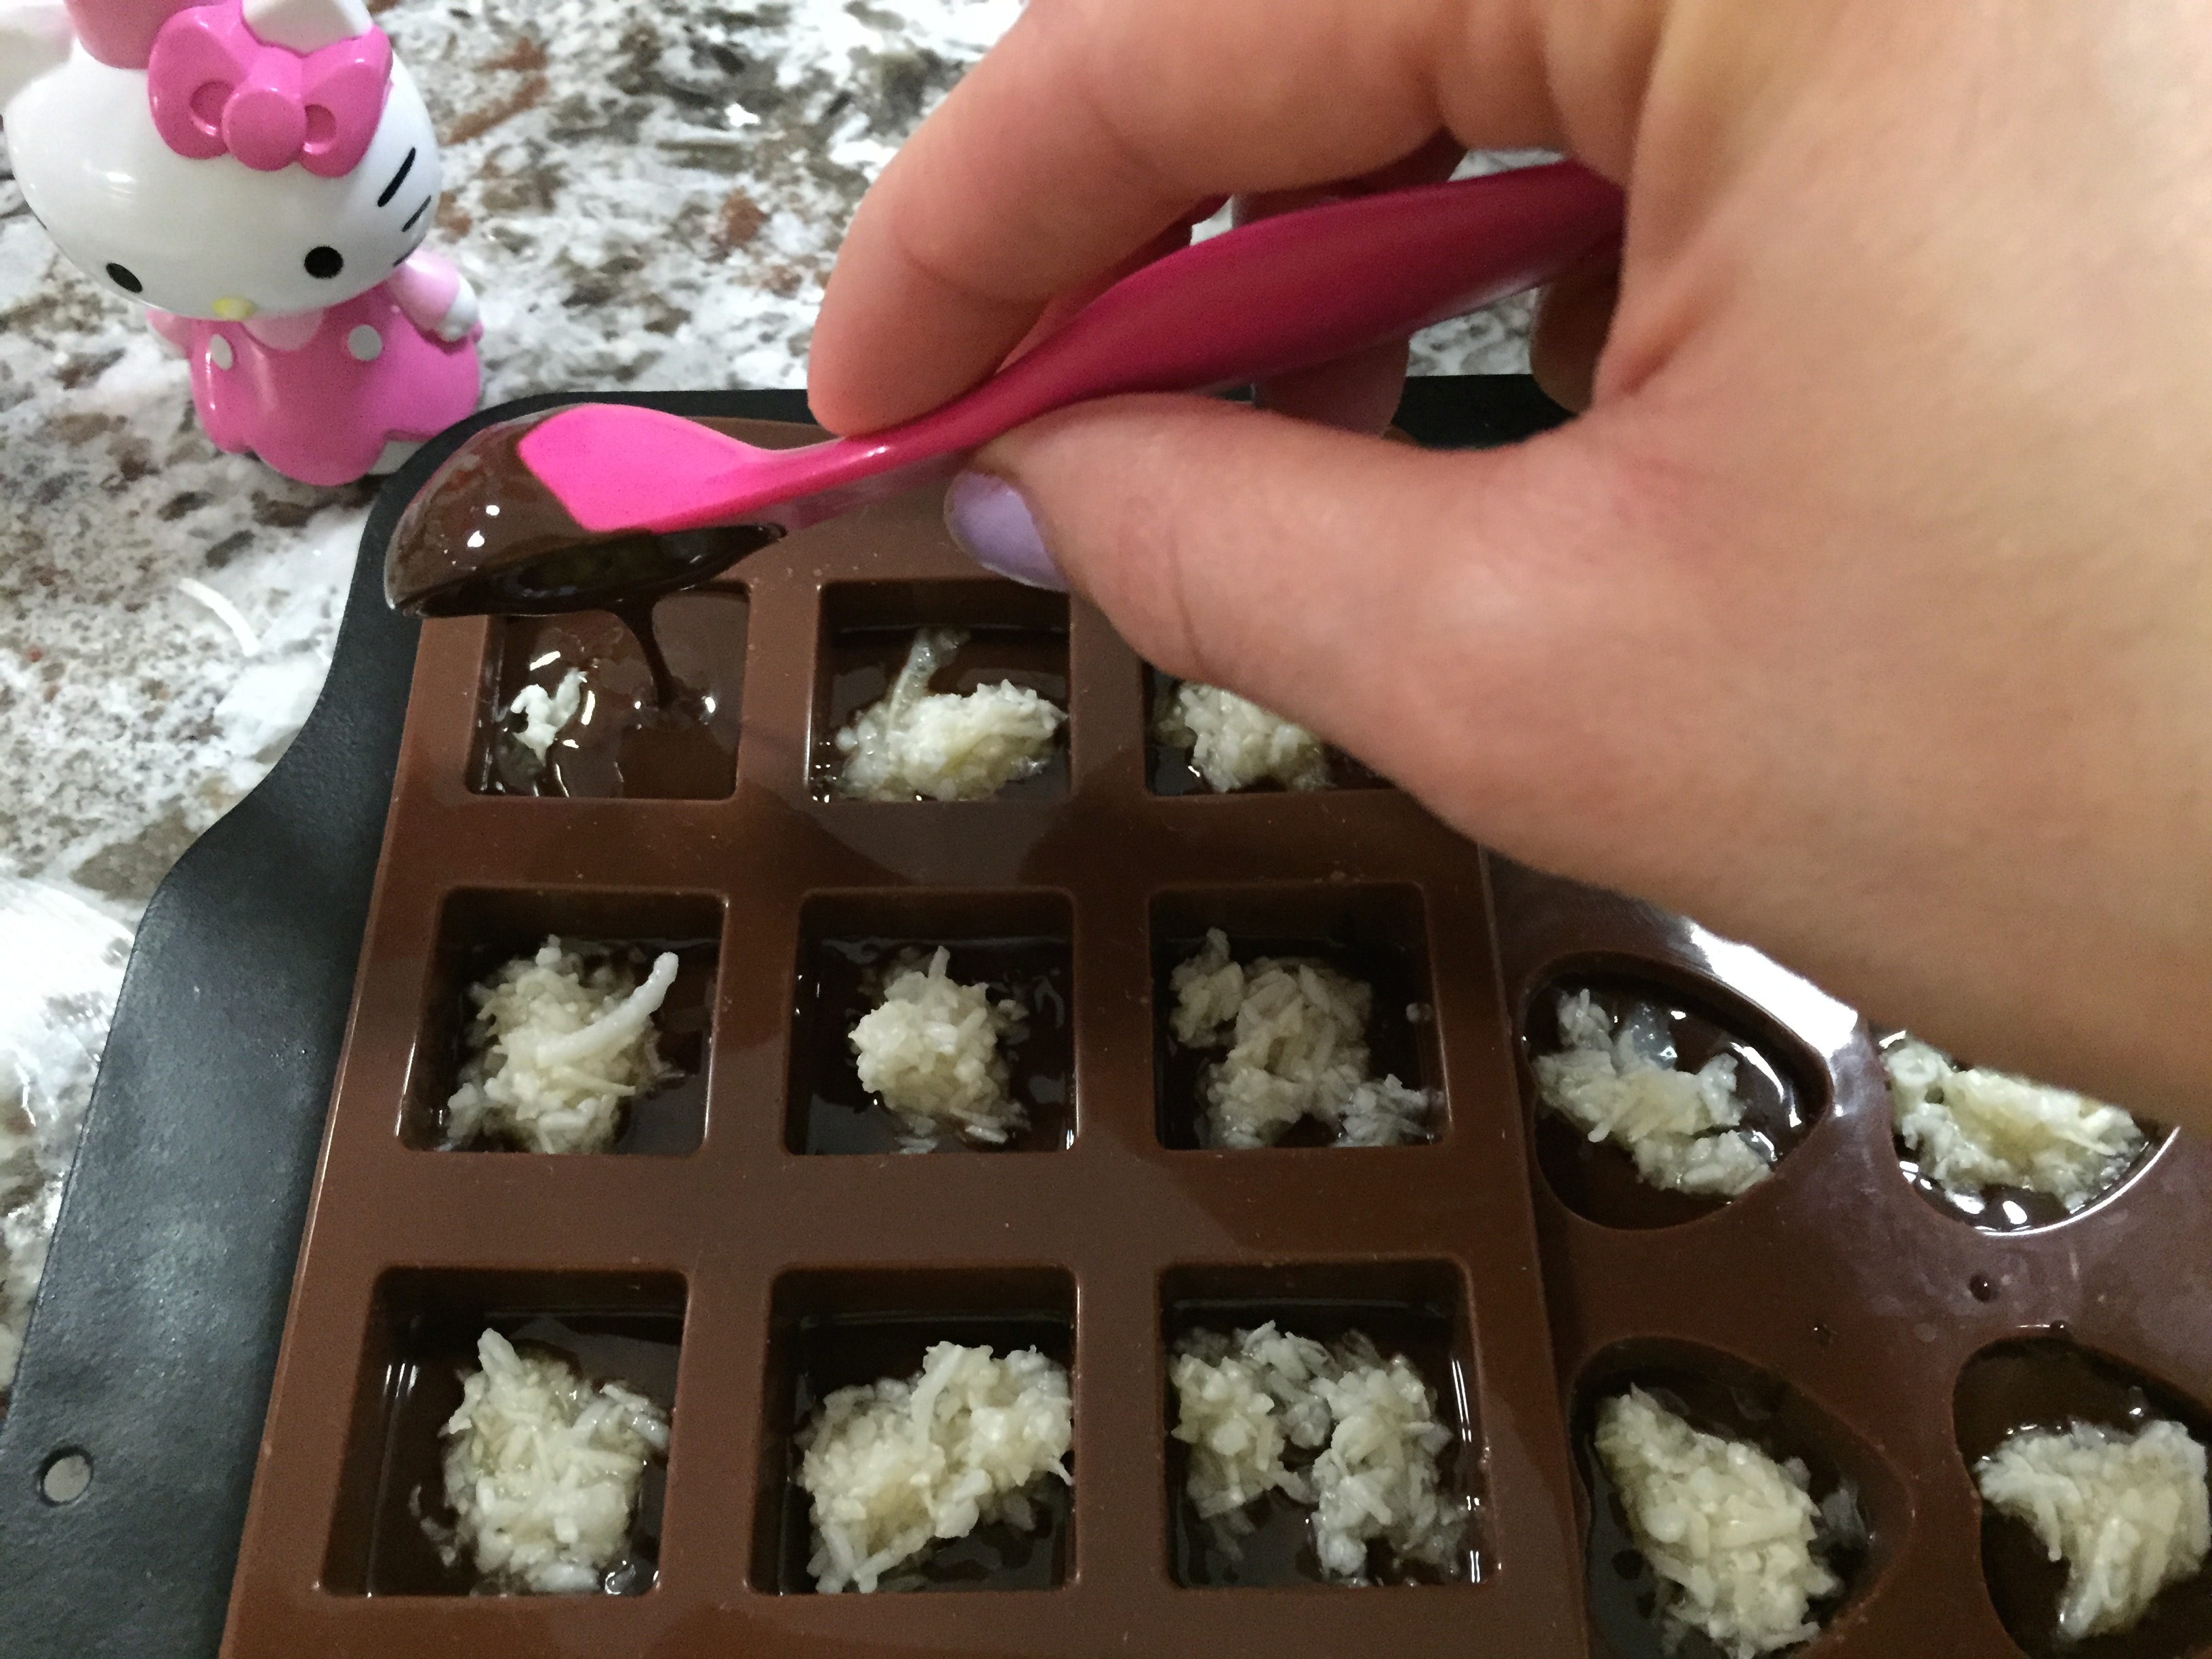
- 1Add a teaspoon of chocolate into each mould cavity. Place a small amount of coconut filling on top, then finish with another teaspoon of chocolate per cavity to seal in the coconut.
- 2Place in the freezer for 20 minutes, until the chocolate is hardened and set. Alternatively, refrigerate for approximately 40 minutes until the chocolate sets.
Free-hand bites
- 1Shape the coconut mixture into small balls and set on wax paper. Use parchment paper if you do not have wax paper, but prefer wax paper for easier handling of the coconut and chocolate.
- 2Once all the coconut mixture is used up, cover each coconut ball with about a teaspoon of chocolate.
- 3Using two forks, roll each bite in the chocolate that has slid off the coconut. Place covered bites on a clean sheet of wax paper. Continue until all coconut balls are fully covered in chocolate.
- 4Place in the freezer for 15 minutes, or refrigerate for approximately 35–40 minutes, until the chocolate is firm and set.
Finishing and storage
- 1Remove from the freezer or fridge and gently pop the bites out of the moulds, if using.
- 2Keep refrigerated to keep the chocolate intact.
Notes
Depending on the size of the mould you choose to use or if doing free hand round bites, this recipe will yield up to 60 bites.
Instructions
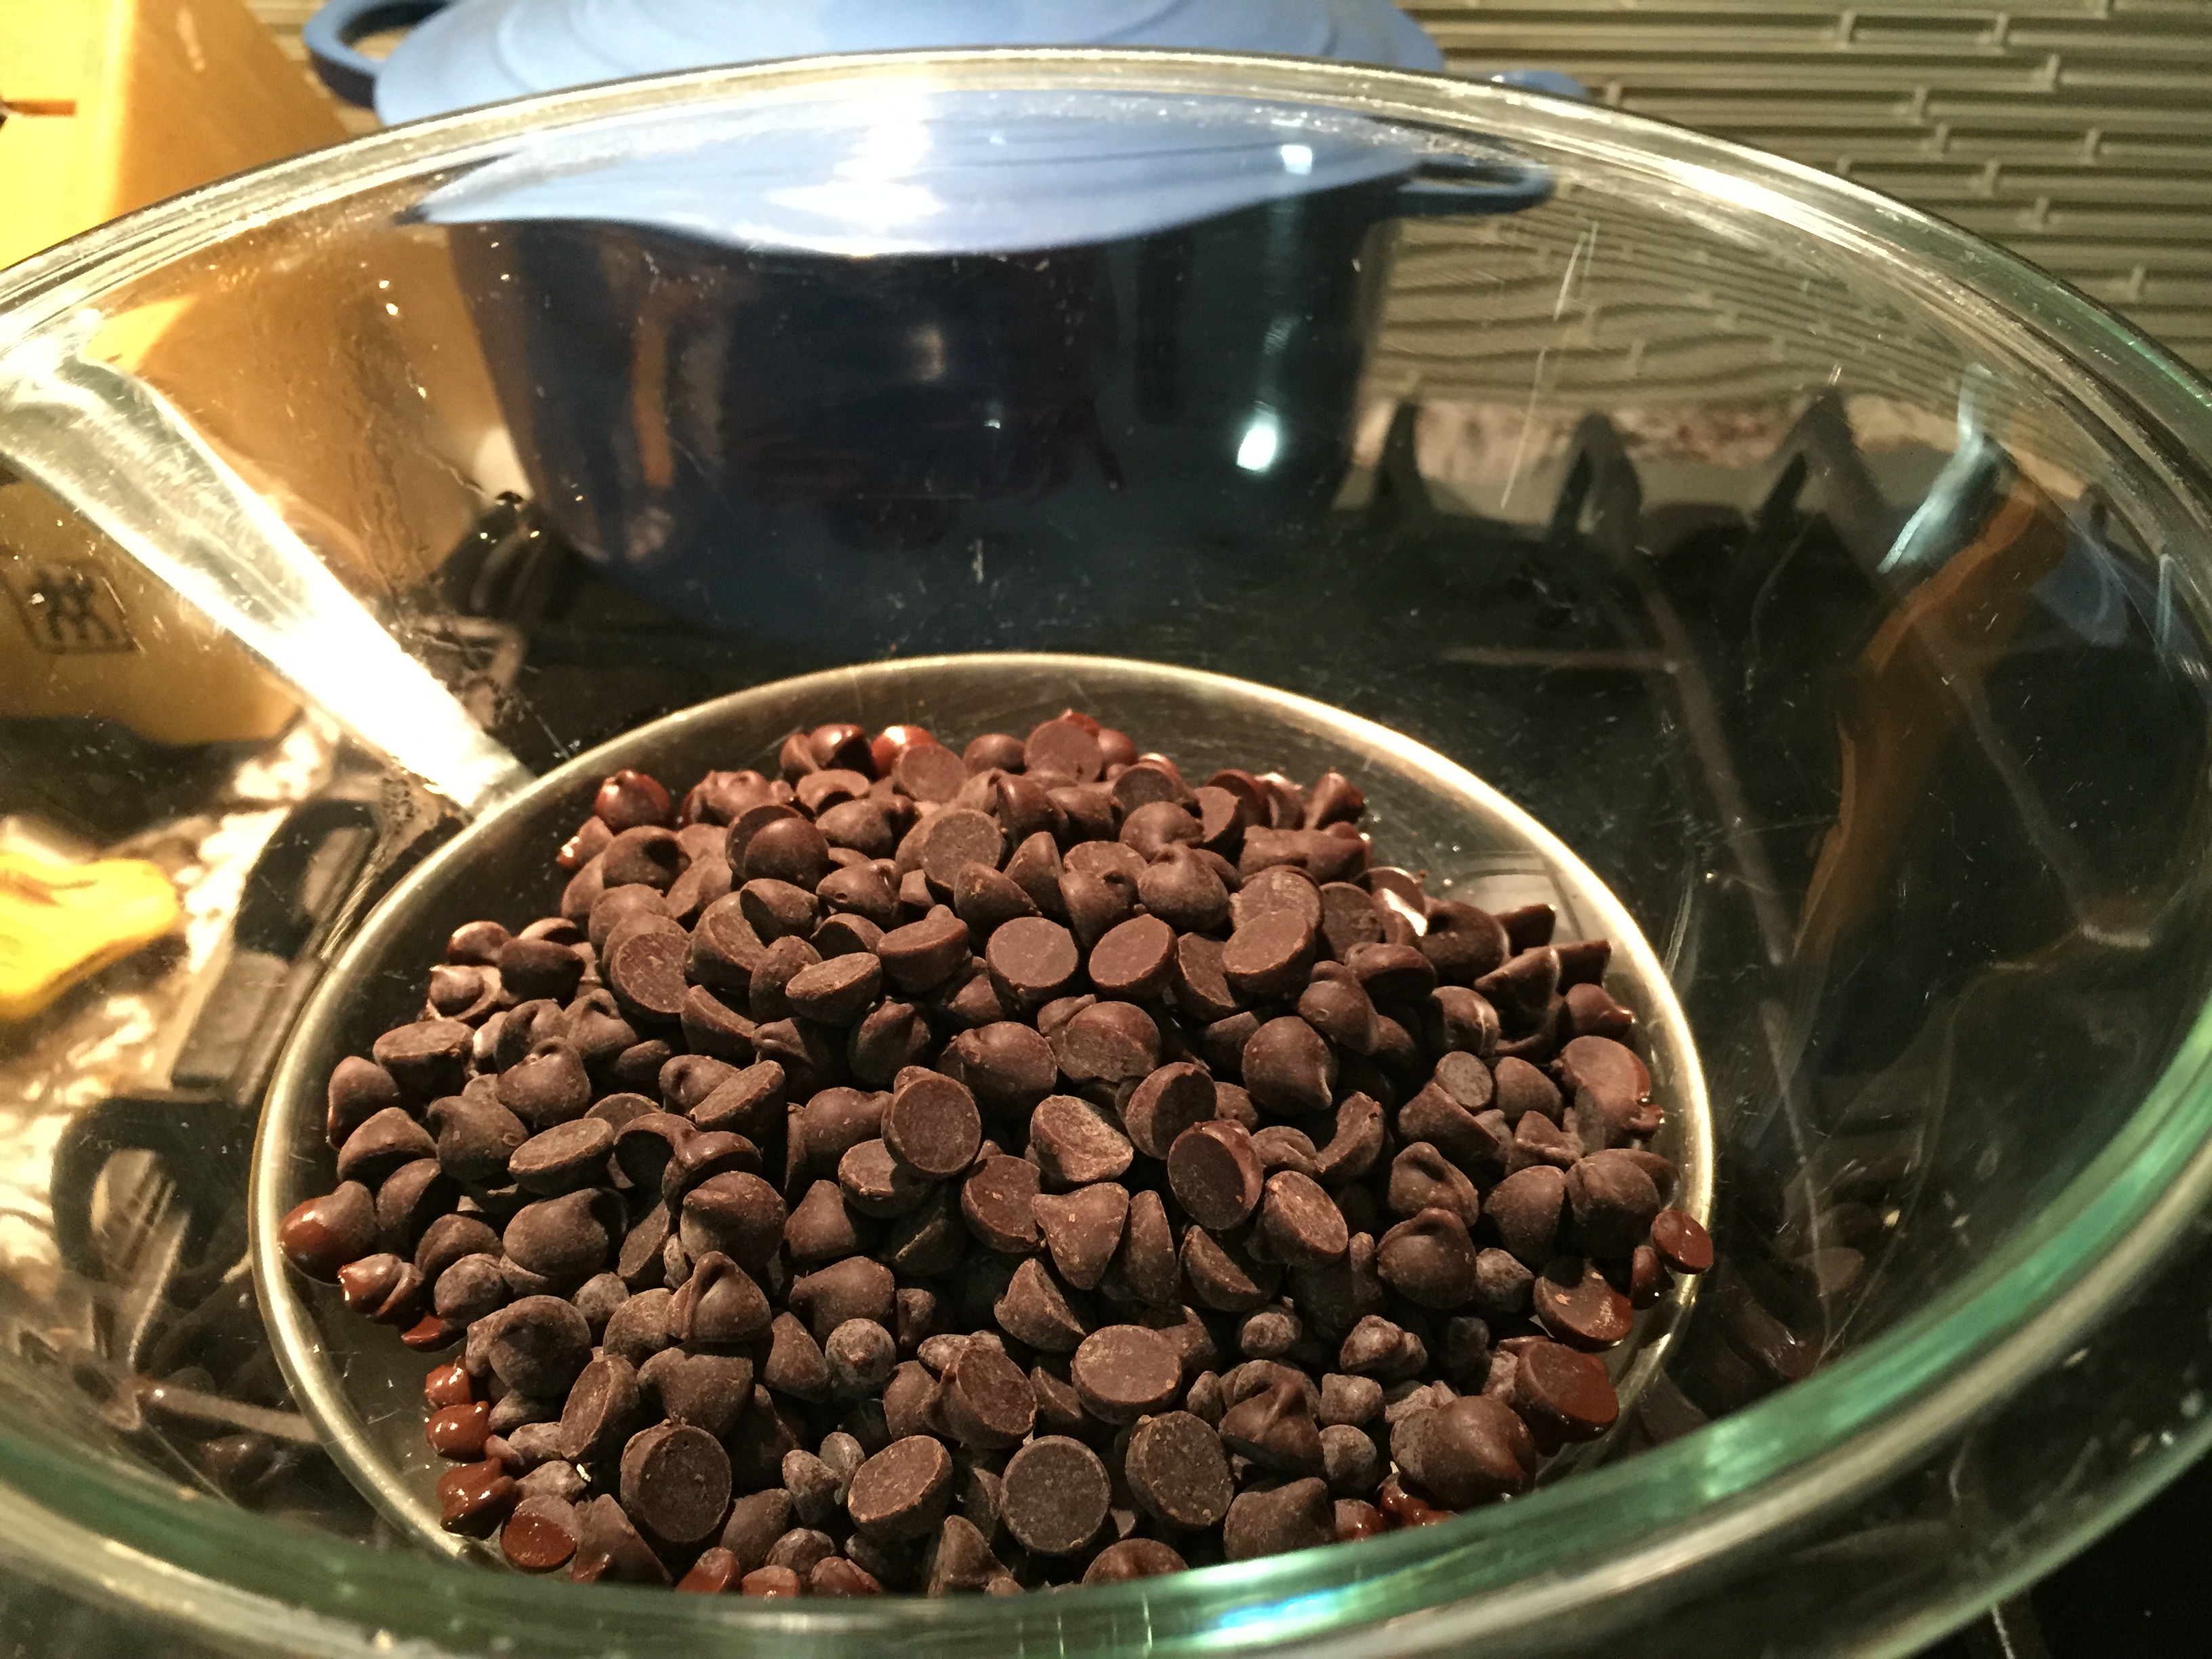
1. Melt chocolate chips in a double boiler. Once water starts to boil, reduce heat to simmer and stir chocolate until melted and smooth.
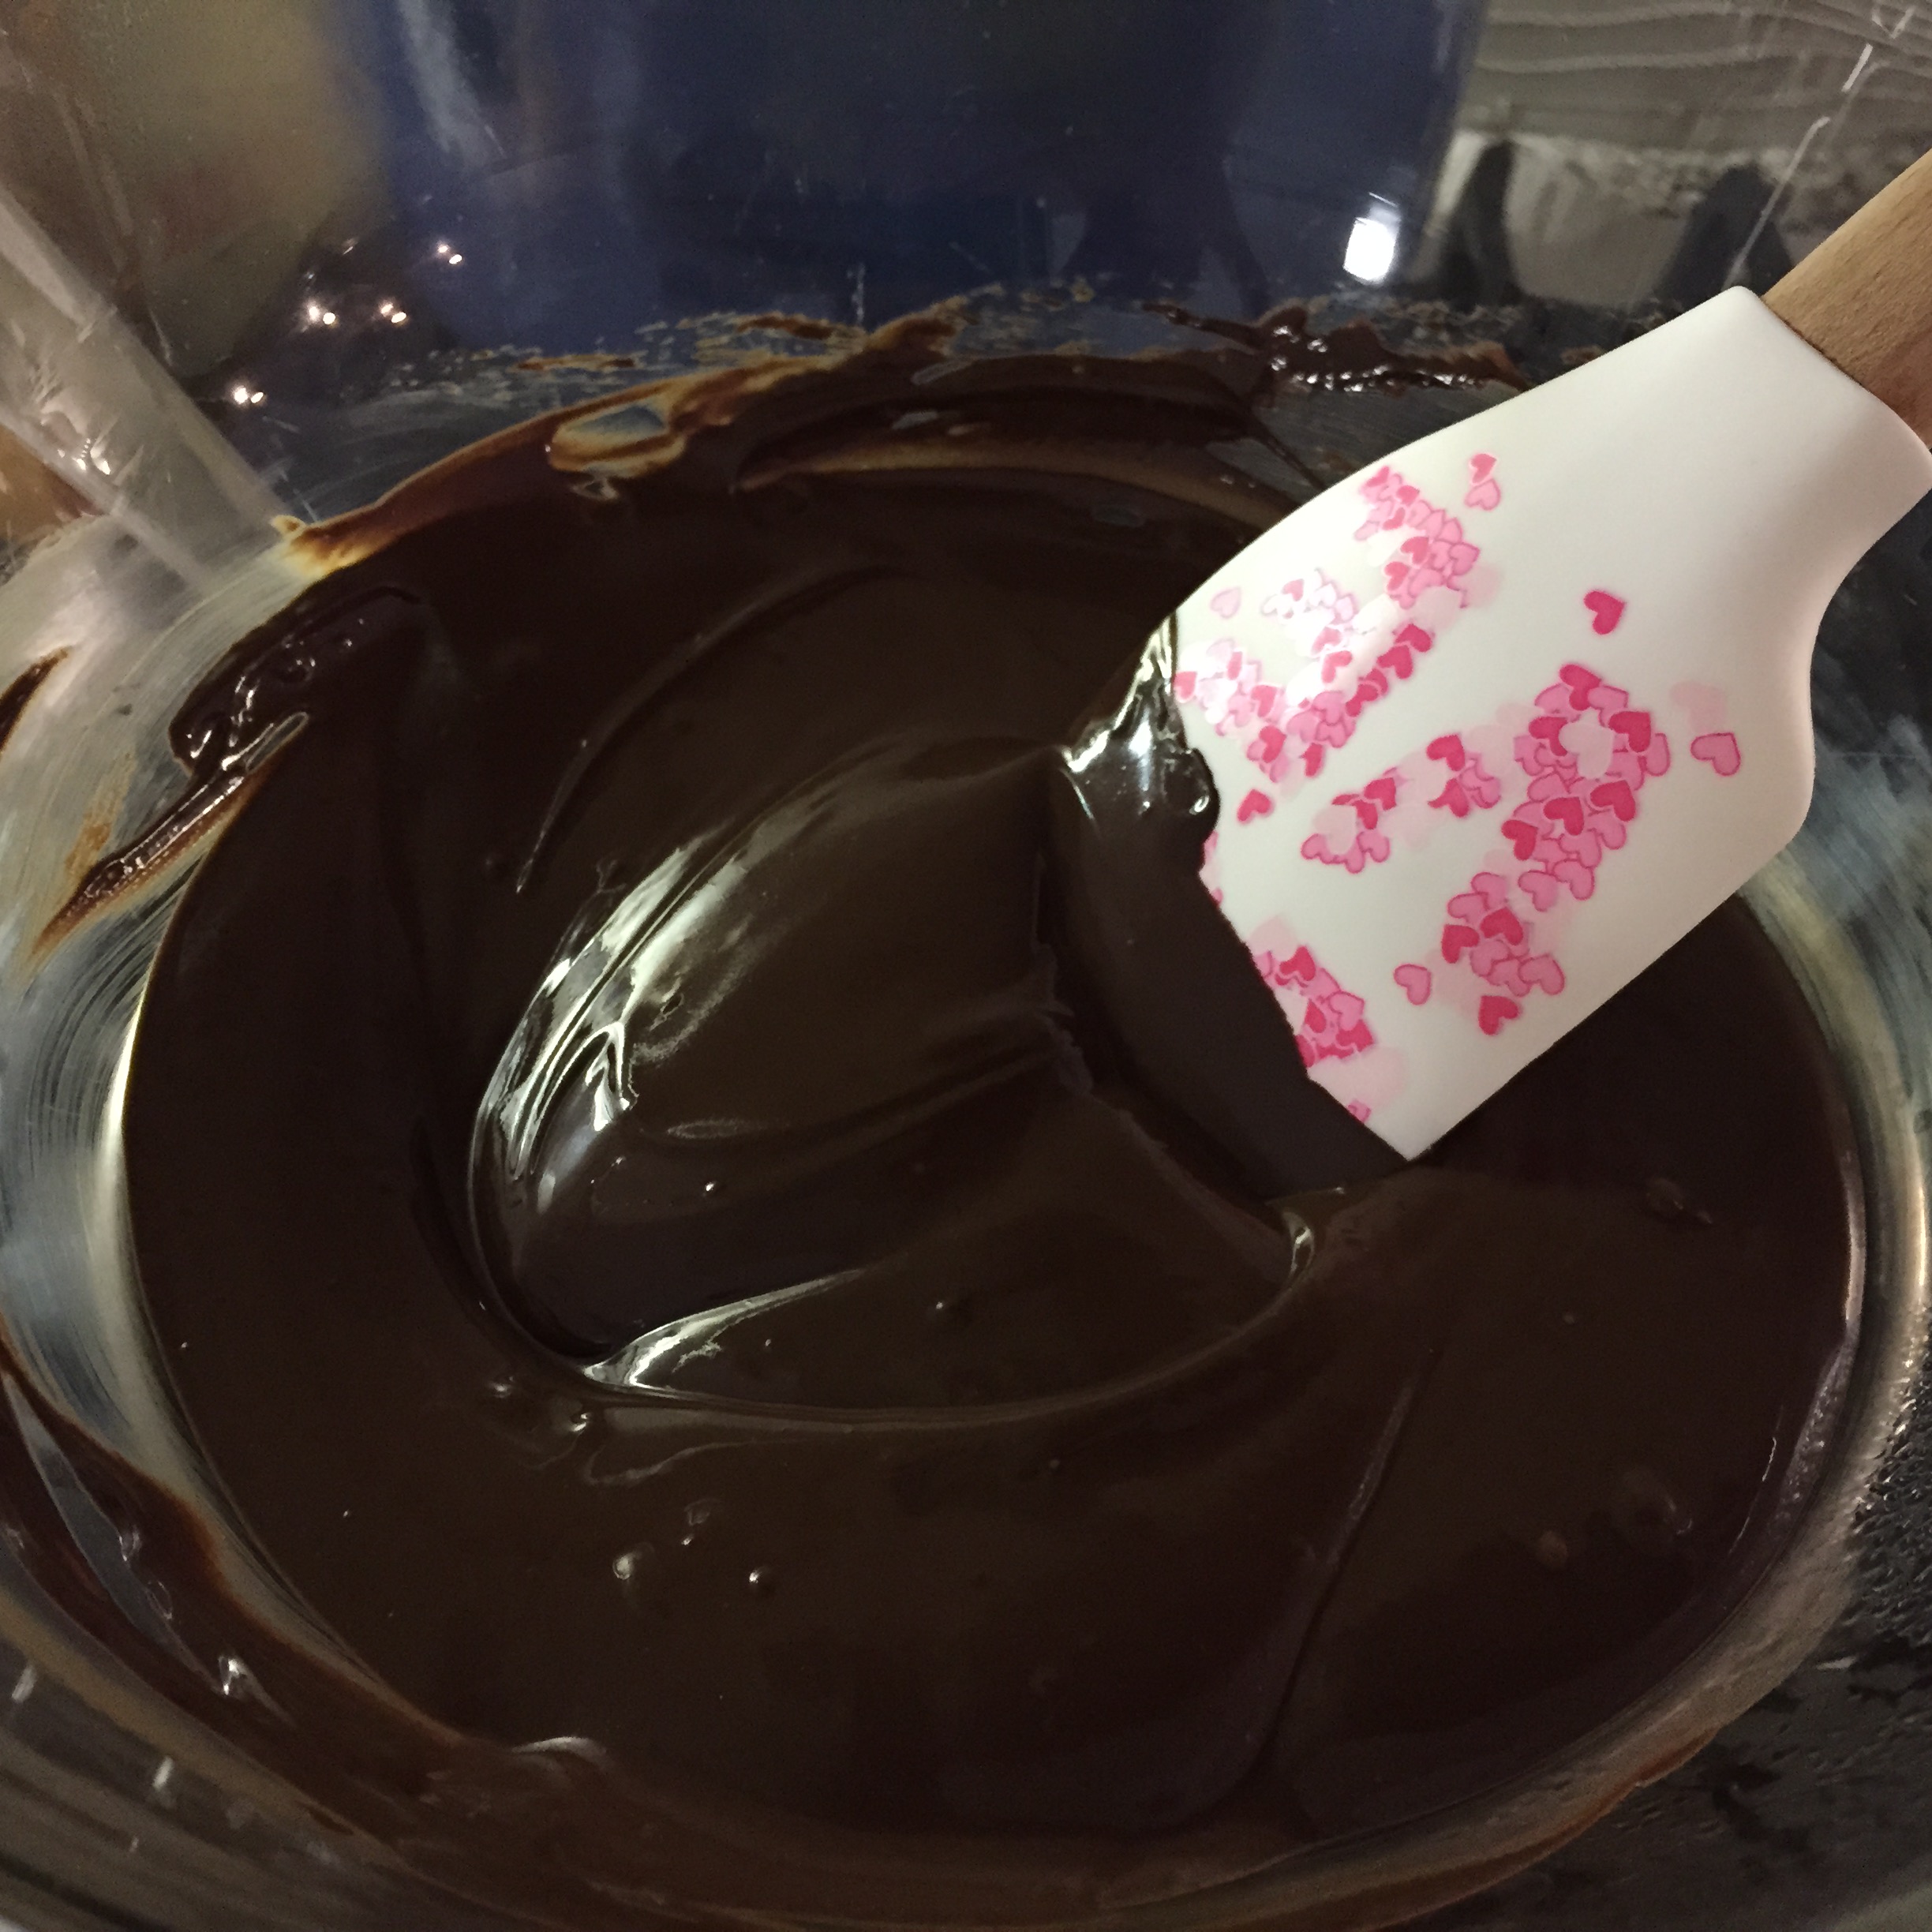
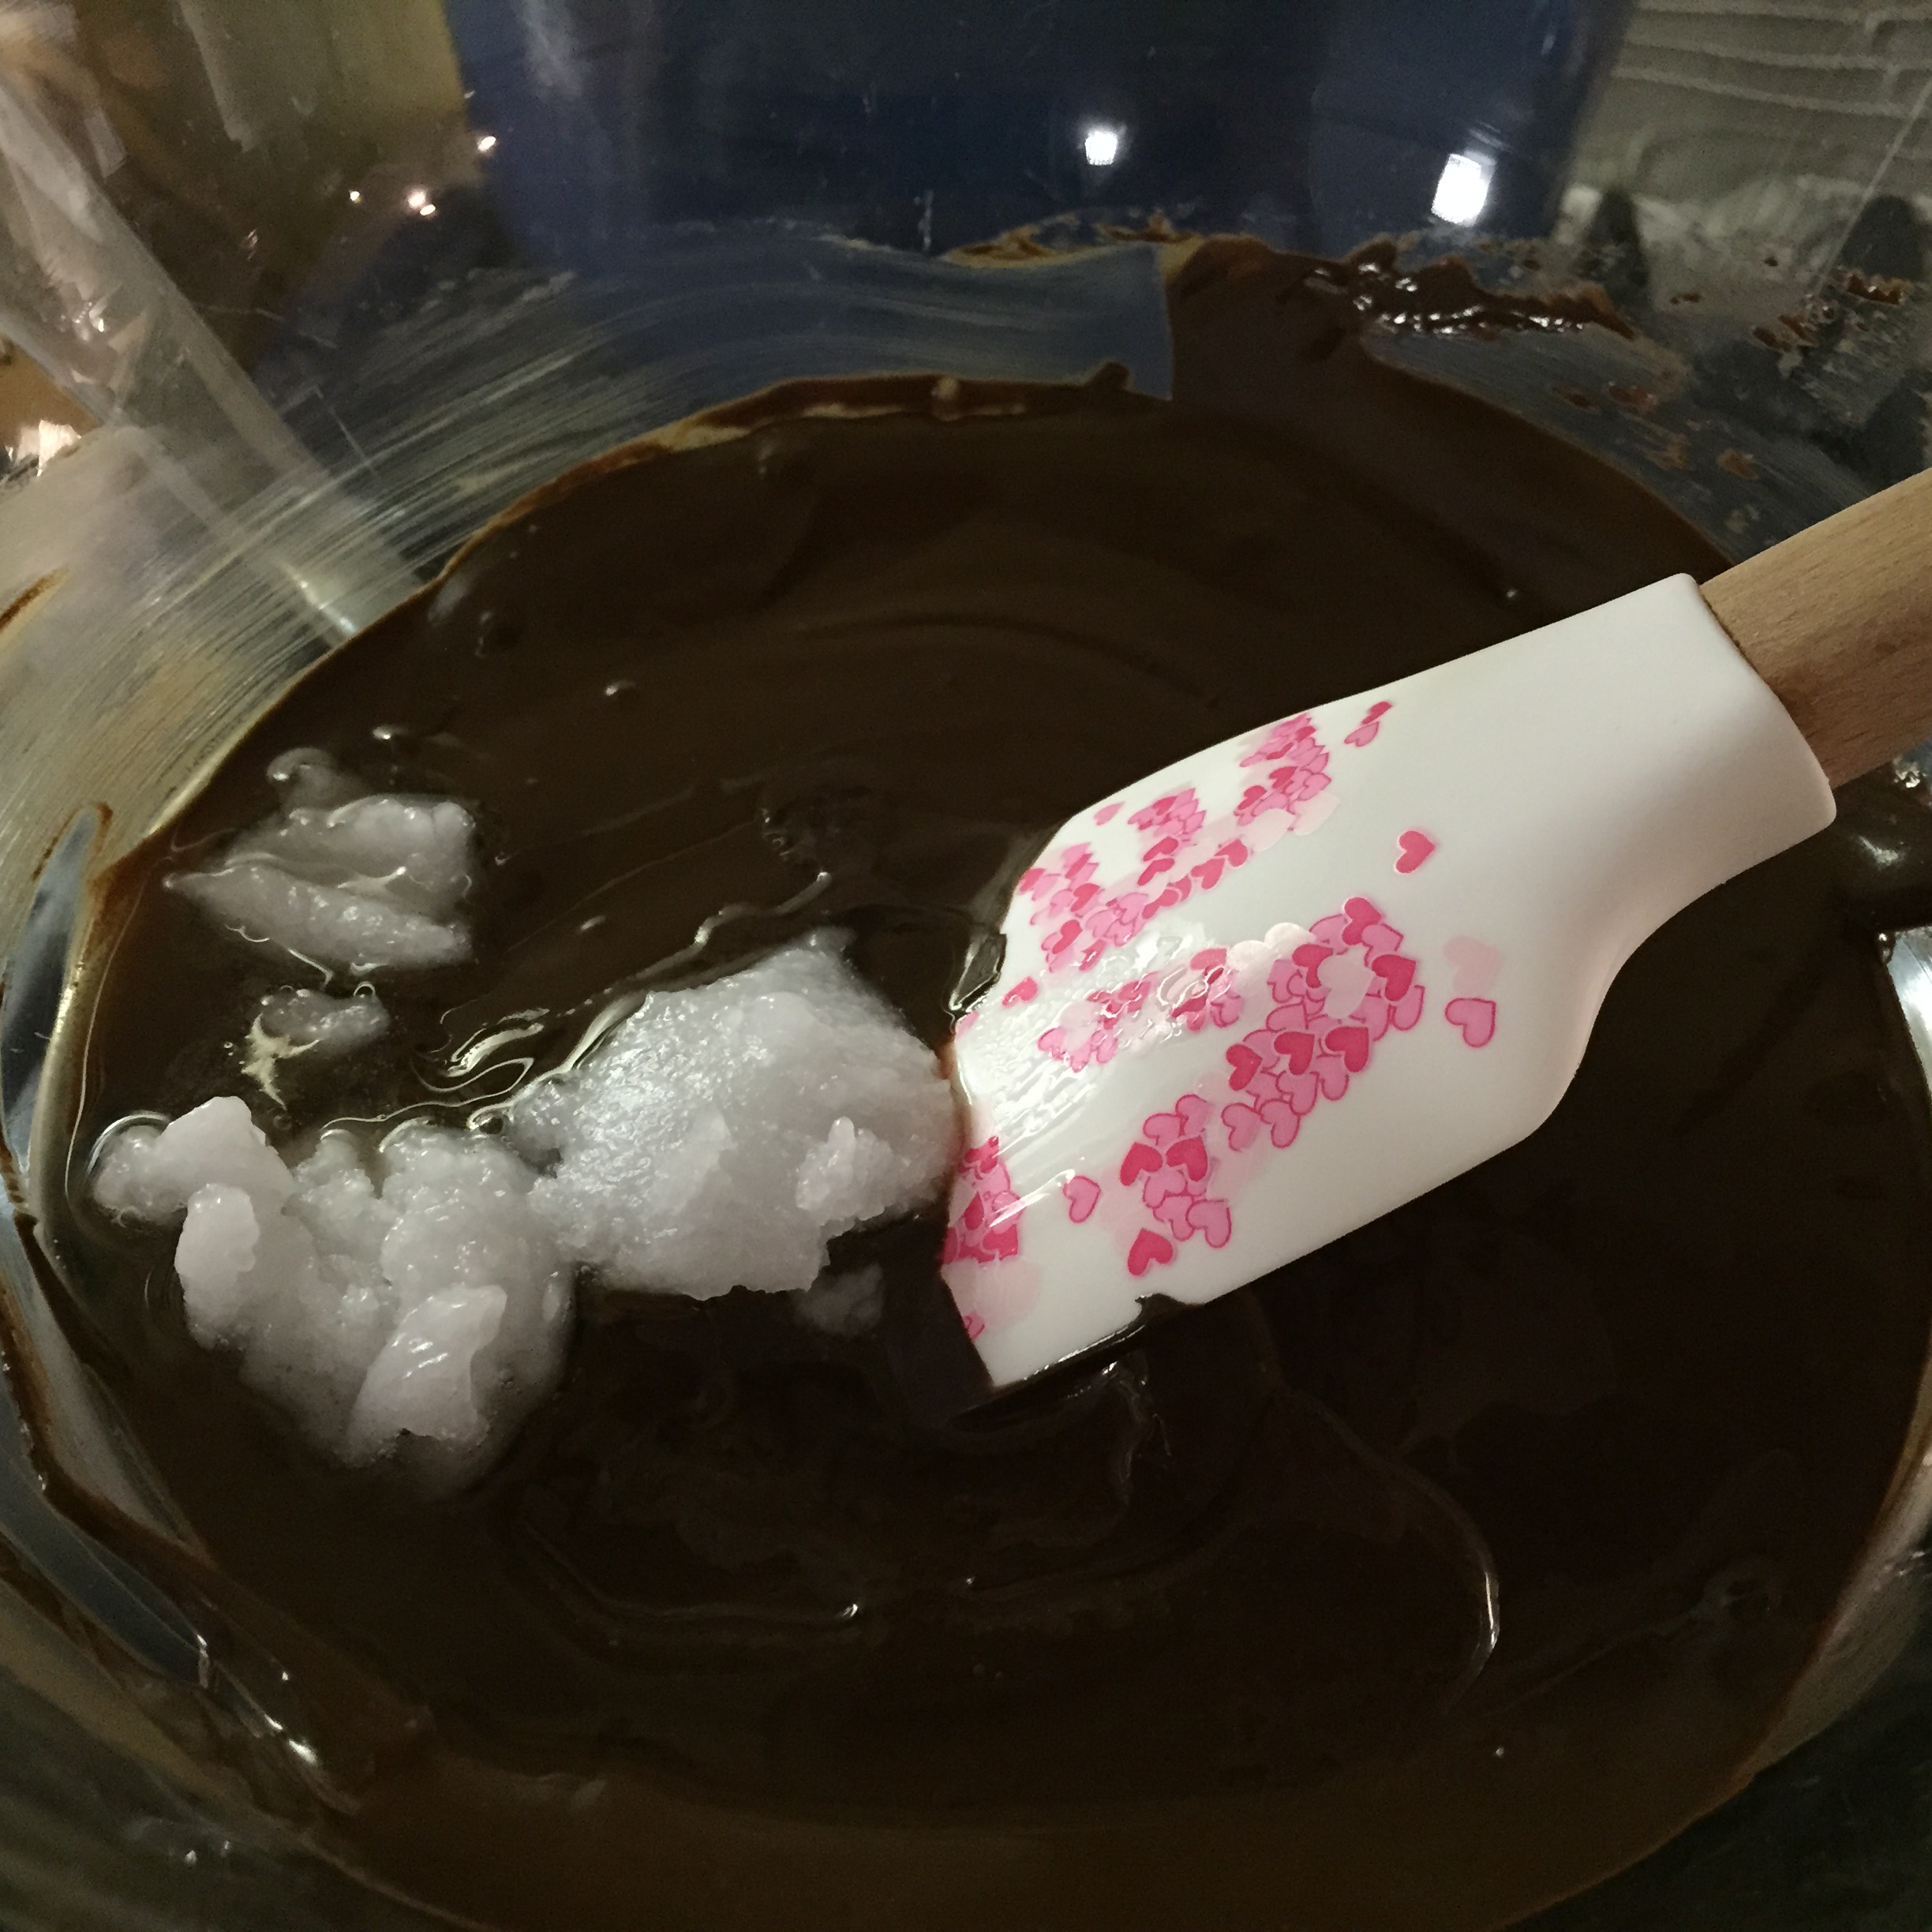
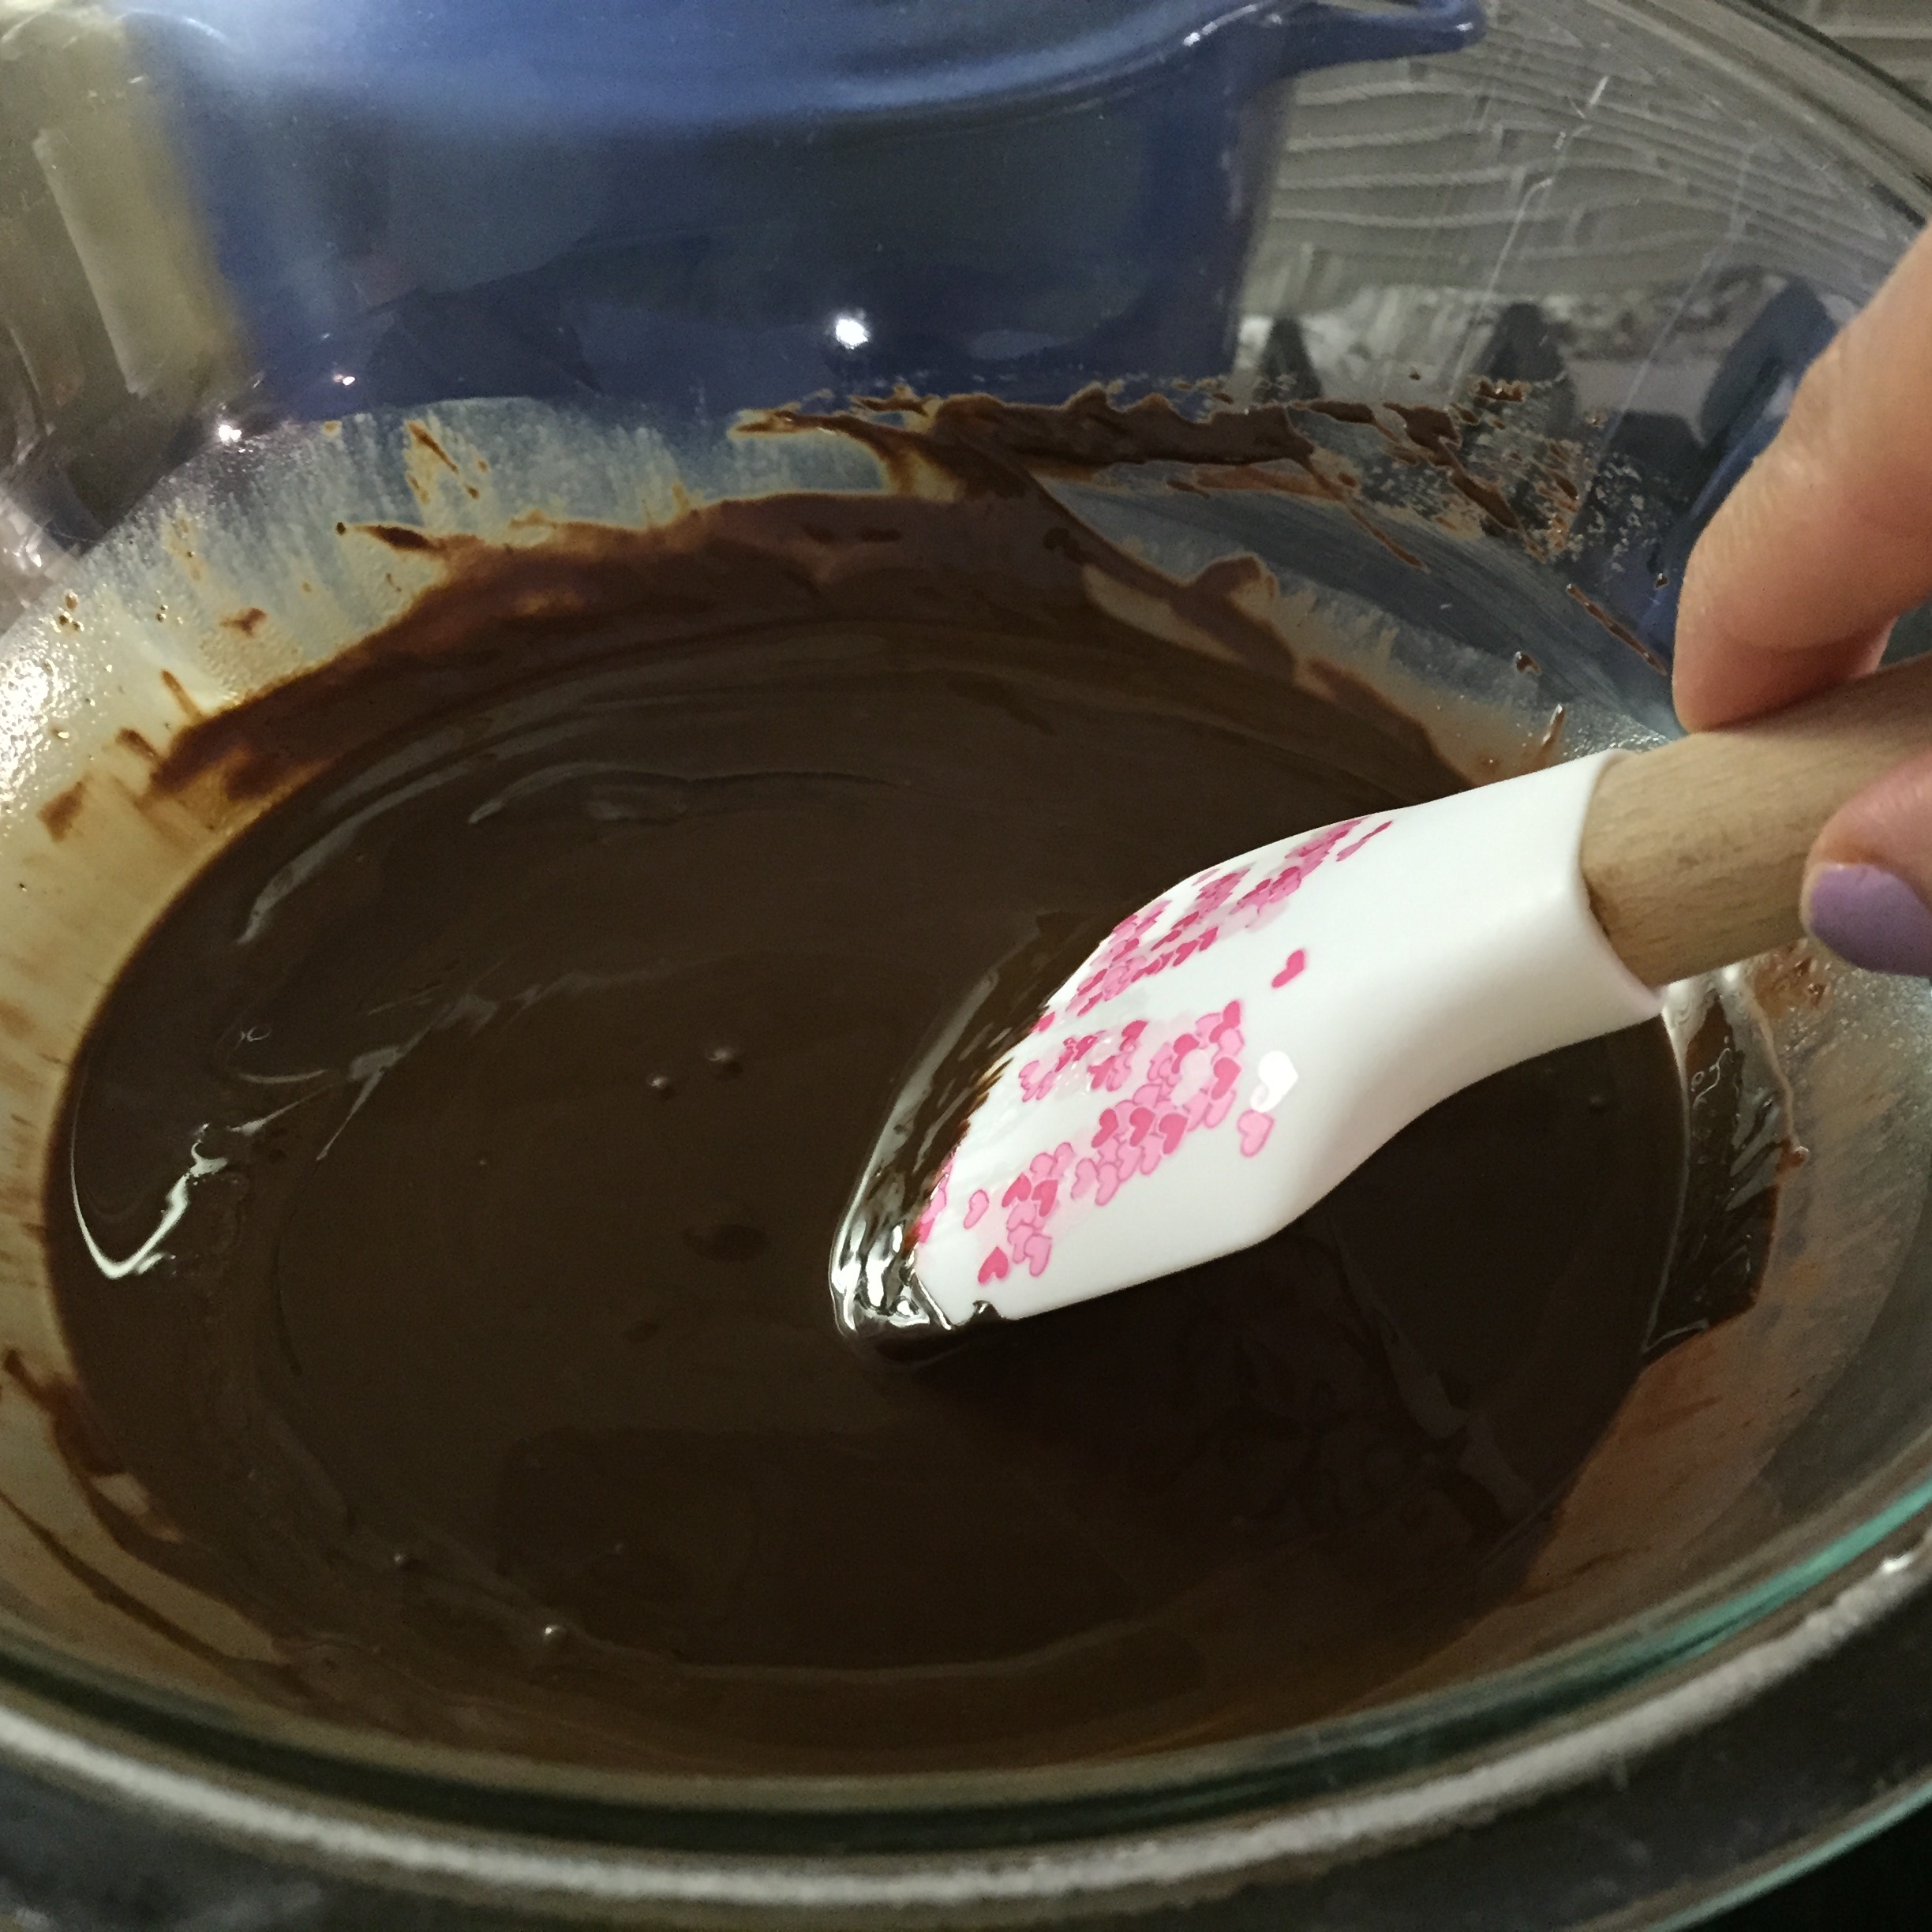
2. Then, add coconut oil and continue to stir until oil is emulsified with the chocolate. Set aside.
3. To make the filling, add coconut shreds with honey/agave syrup in a bowl and mix until well combined.
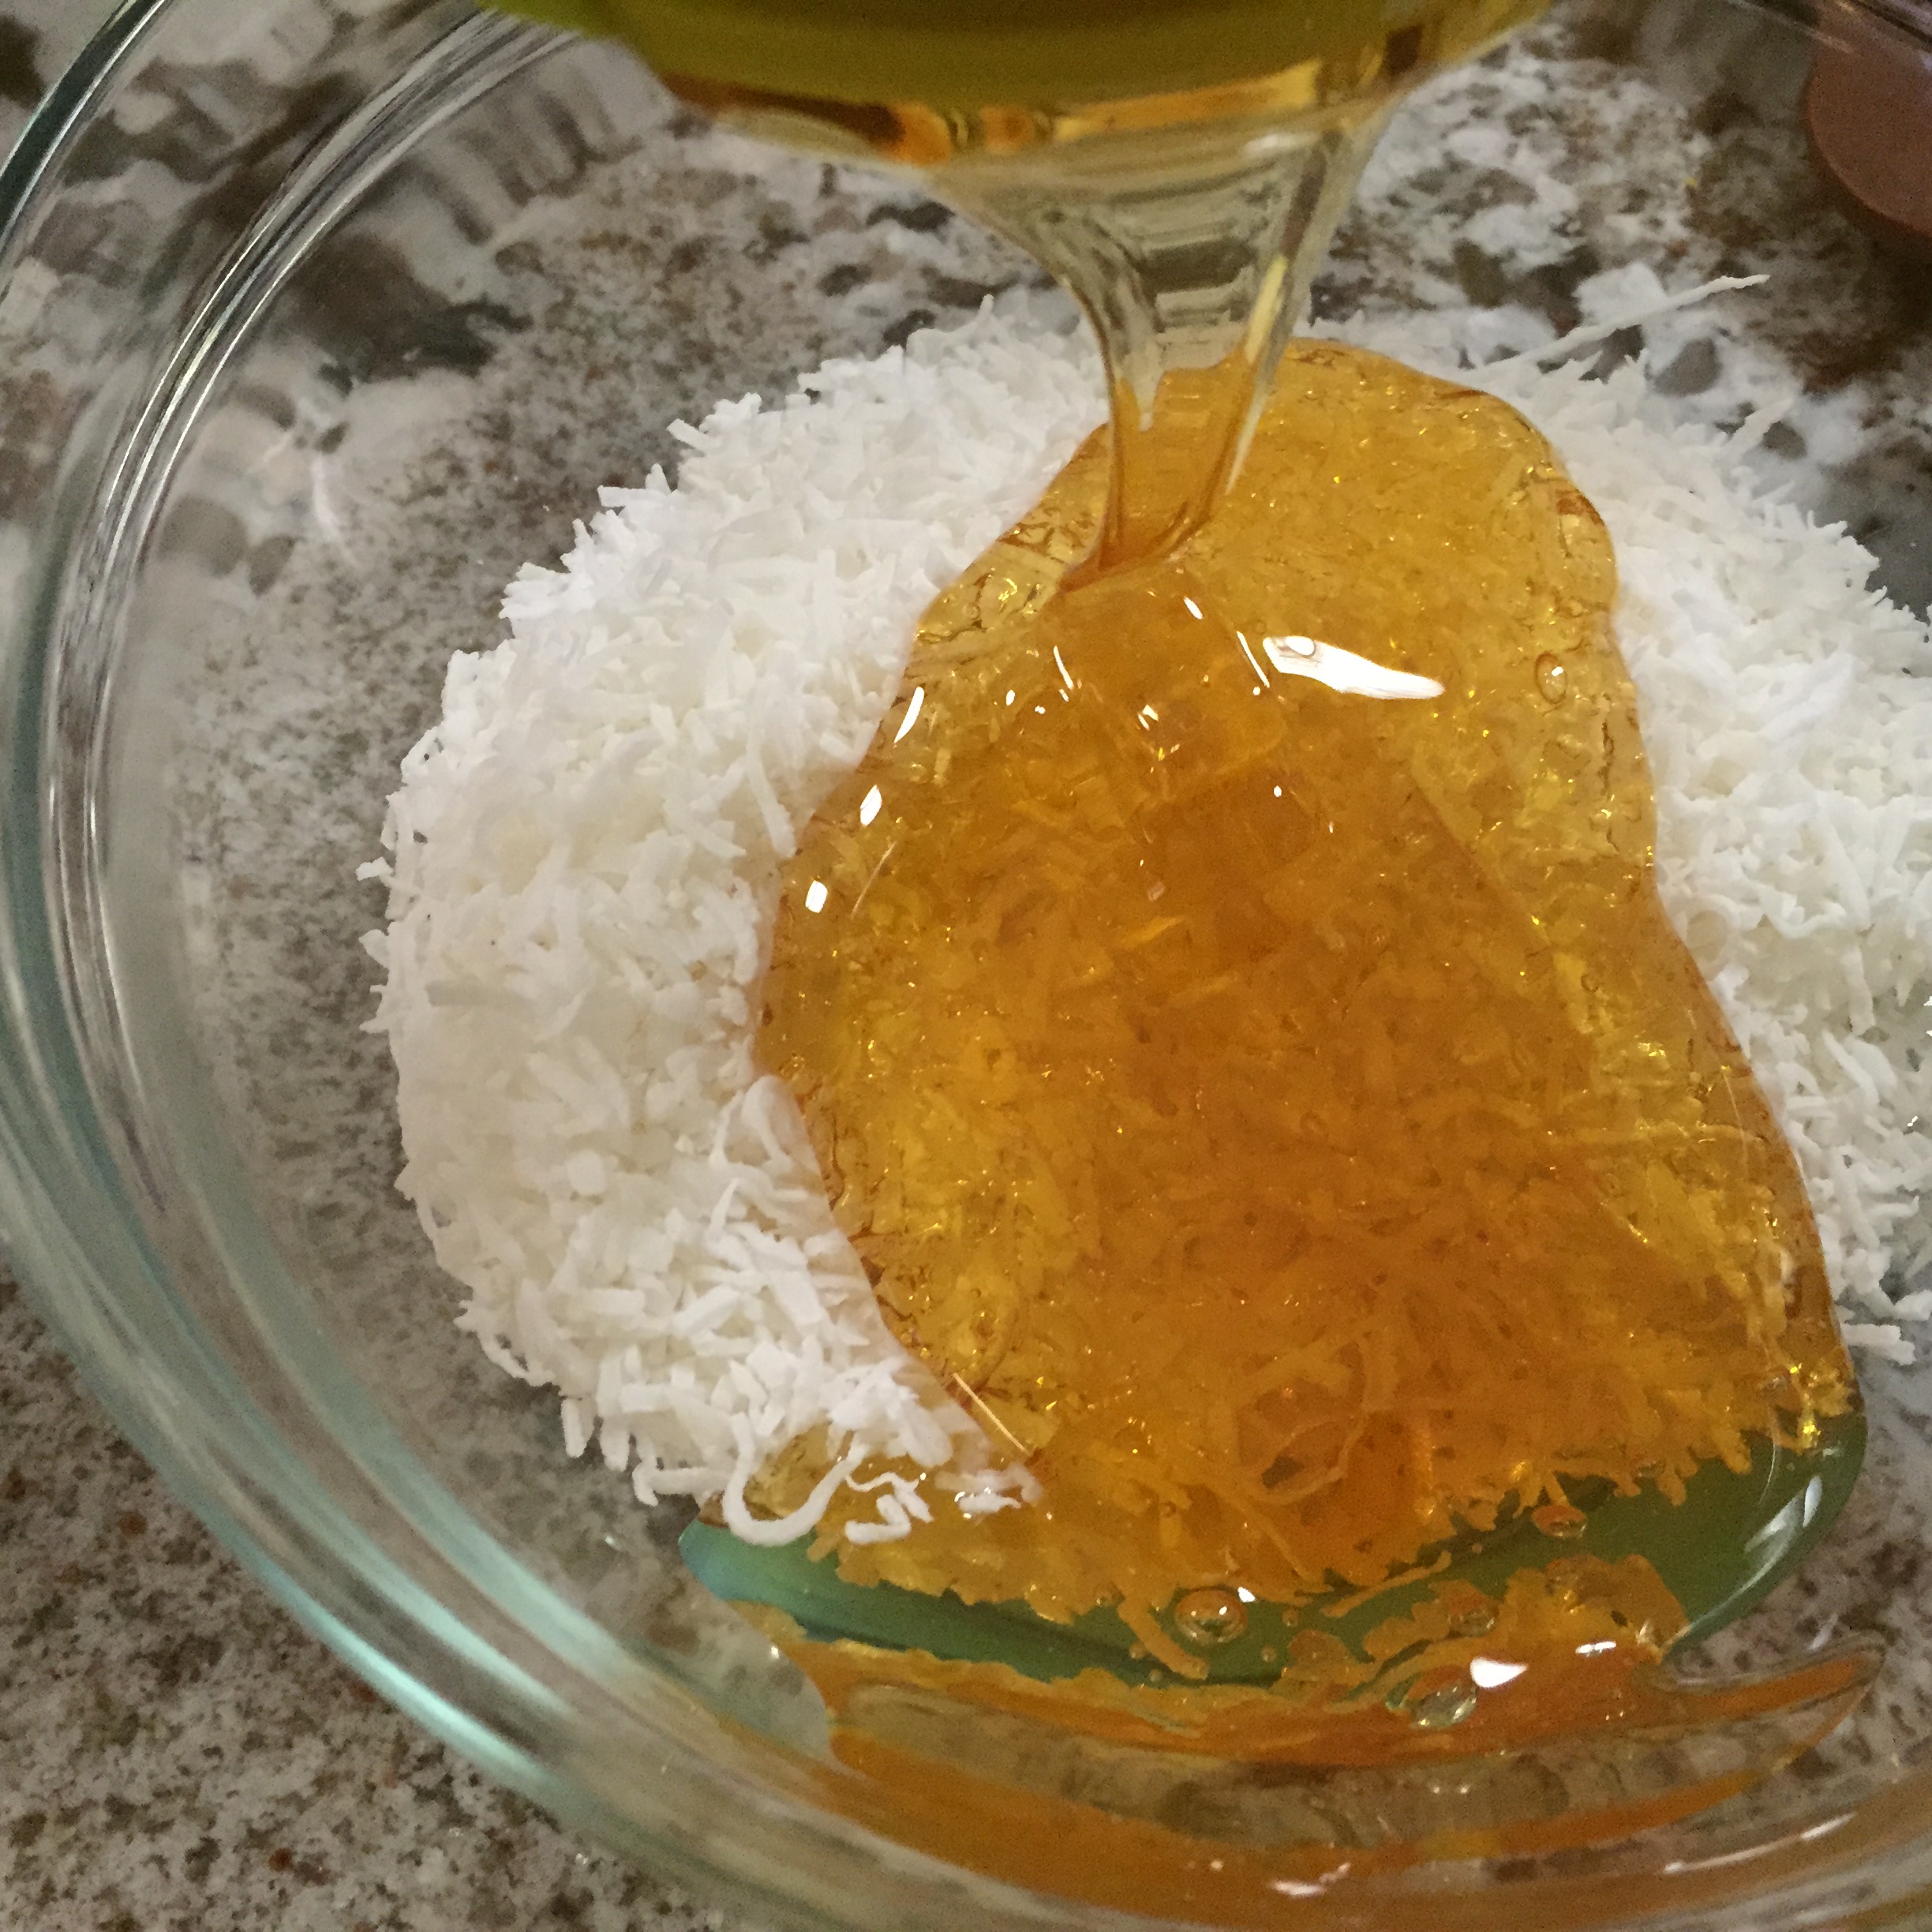
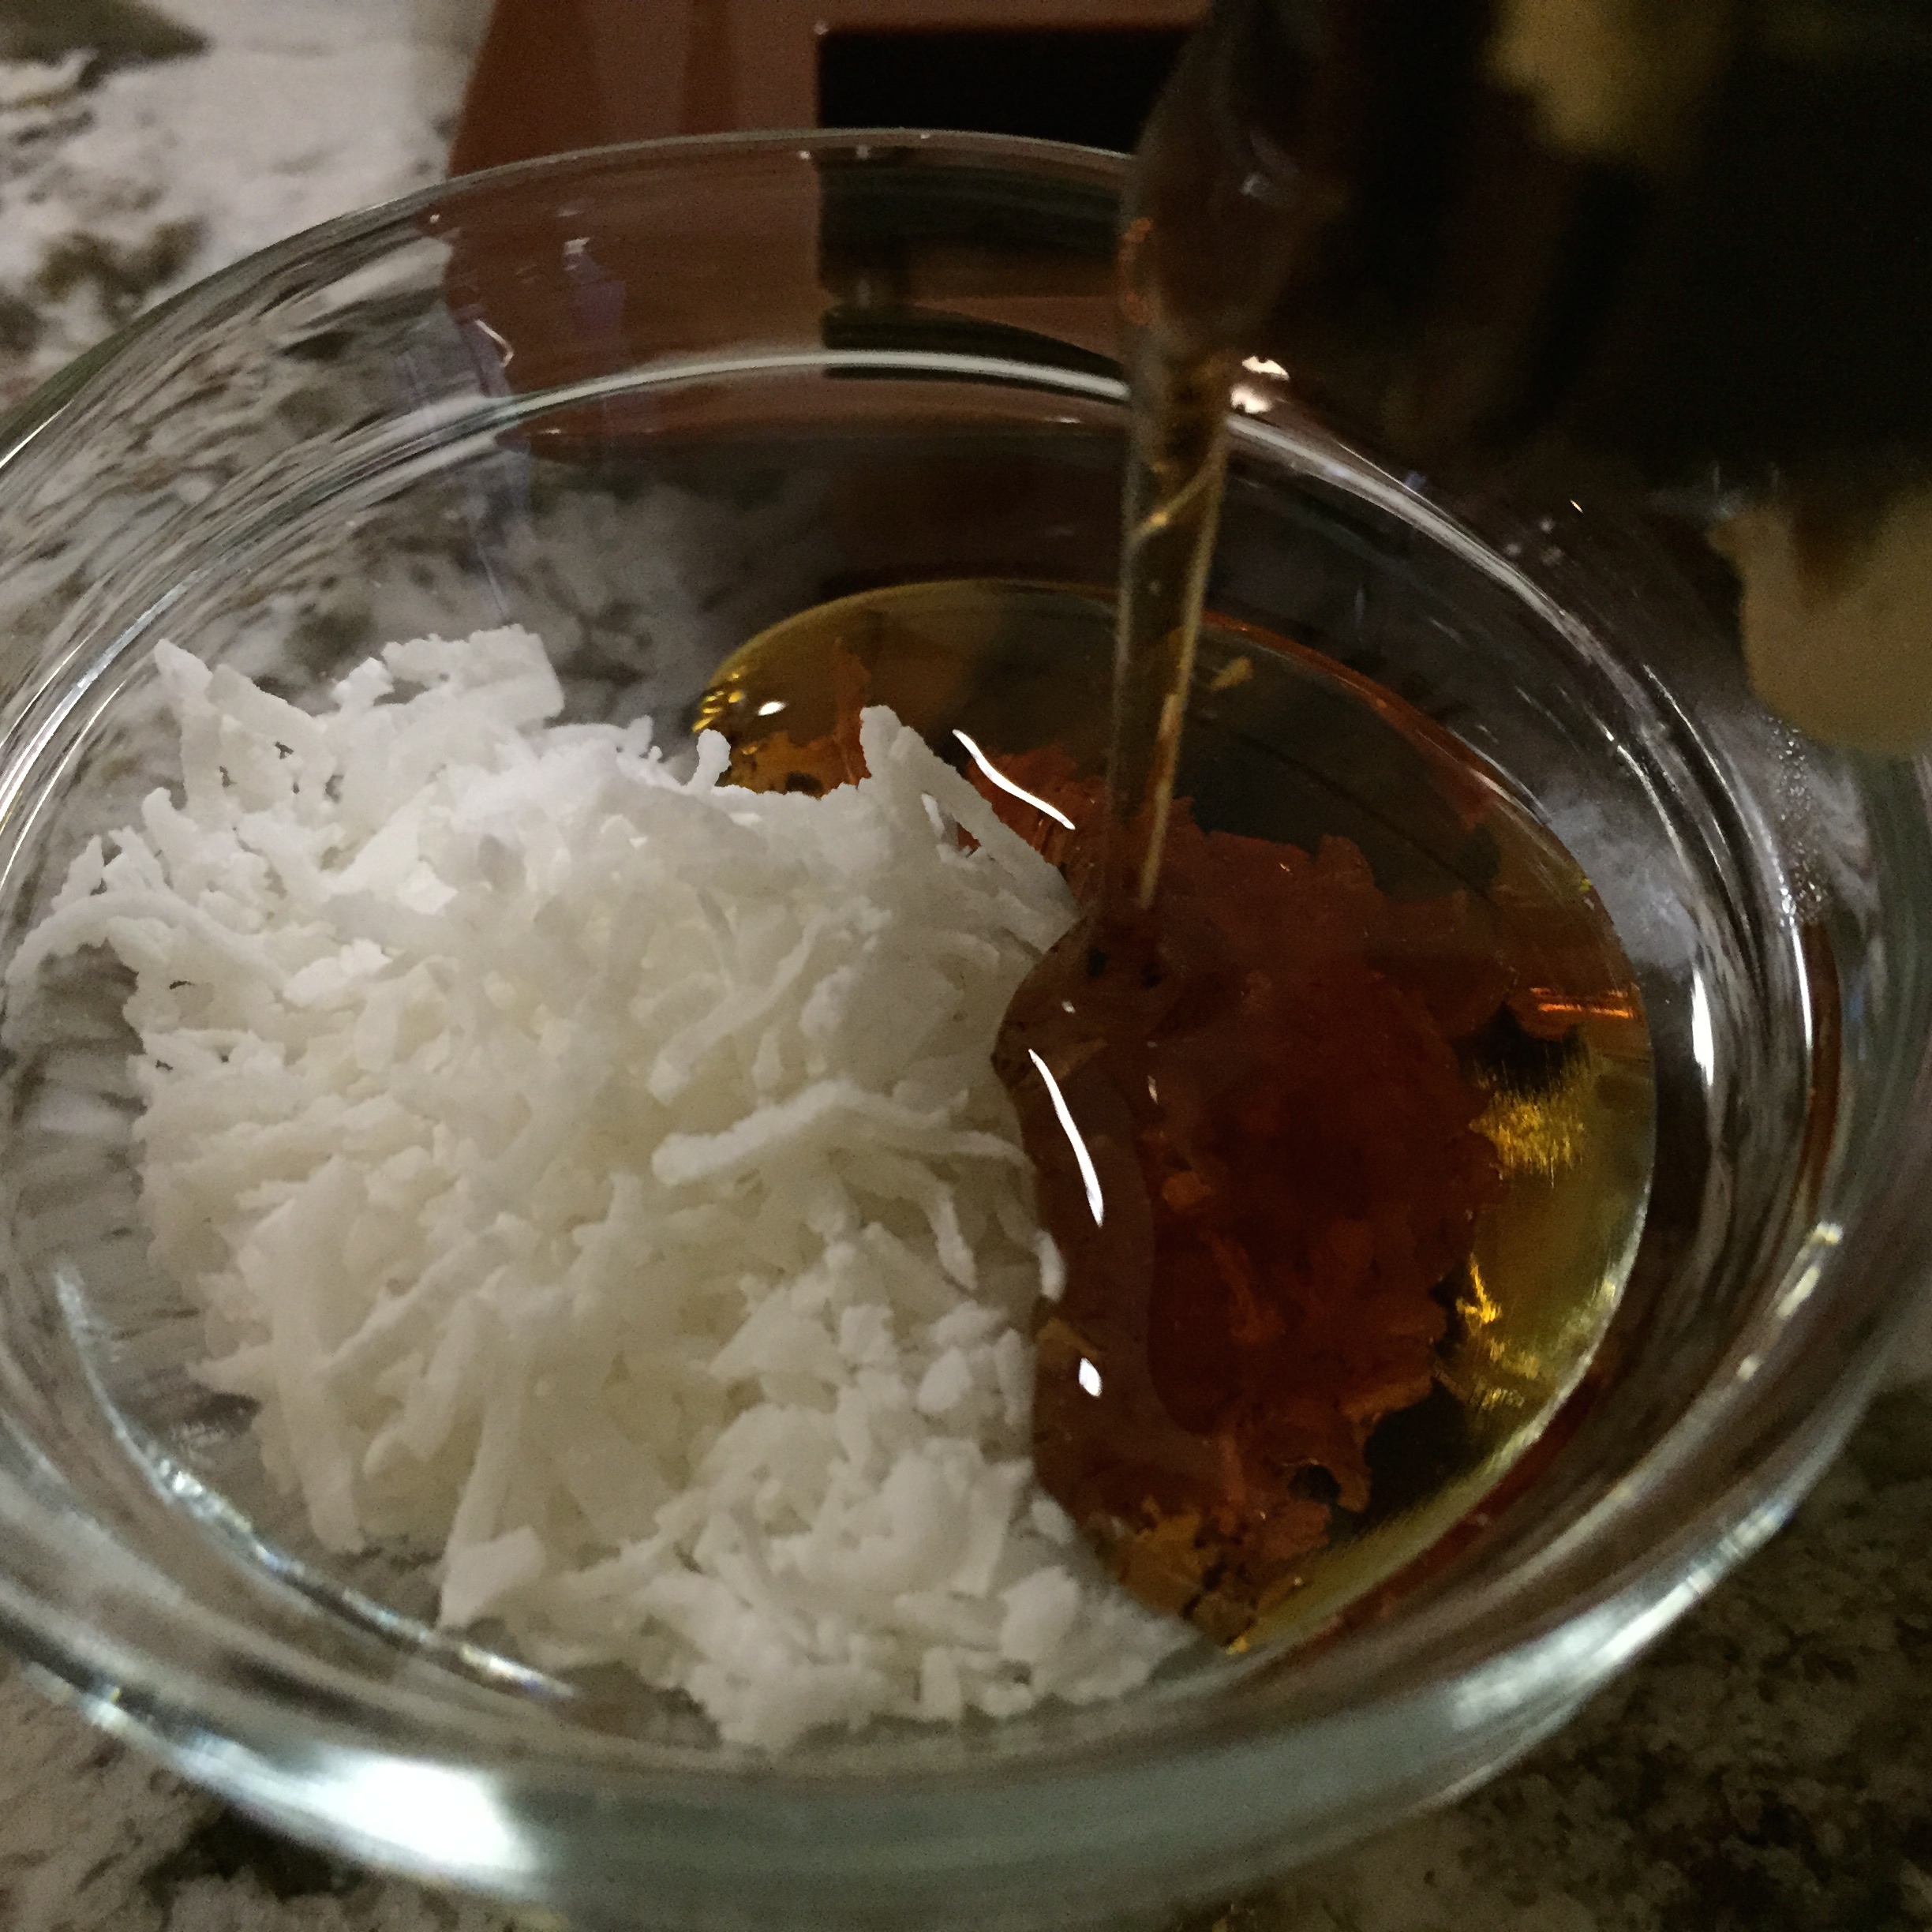
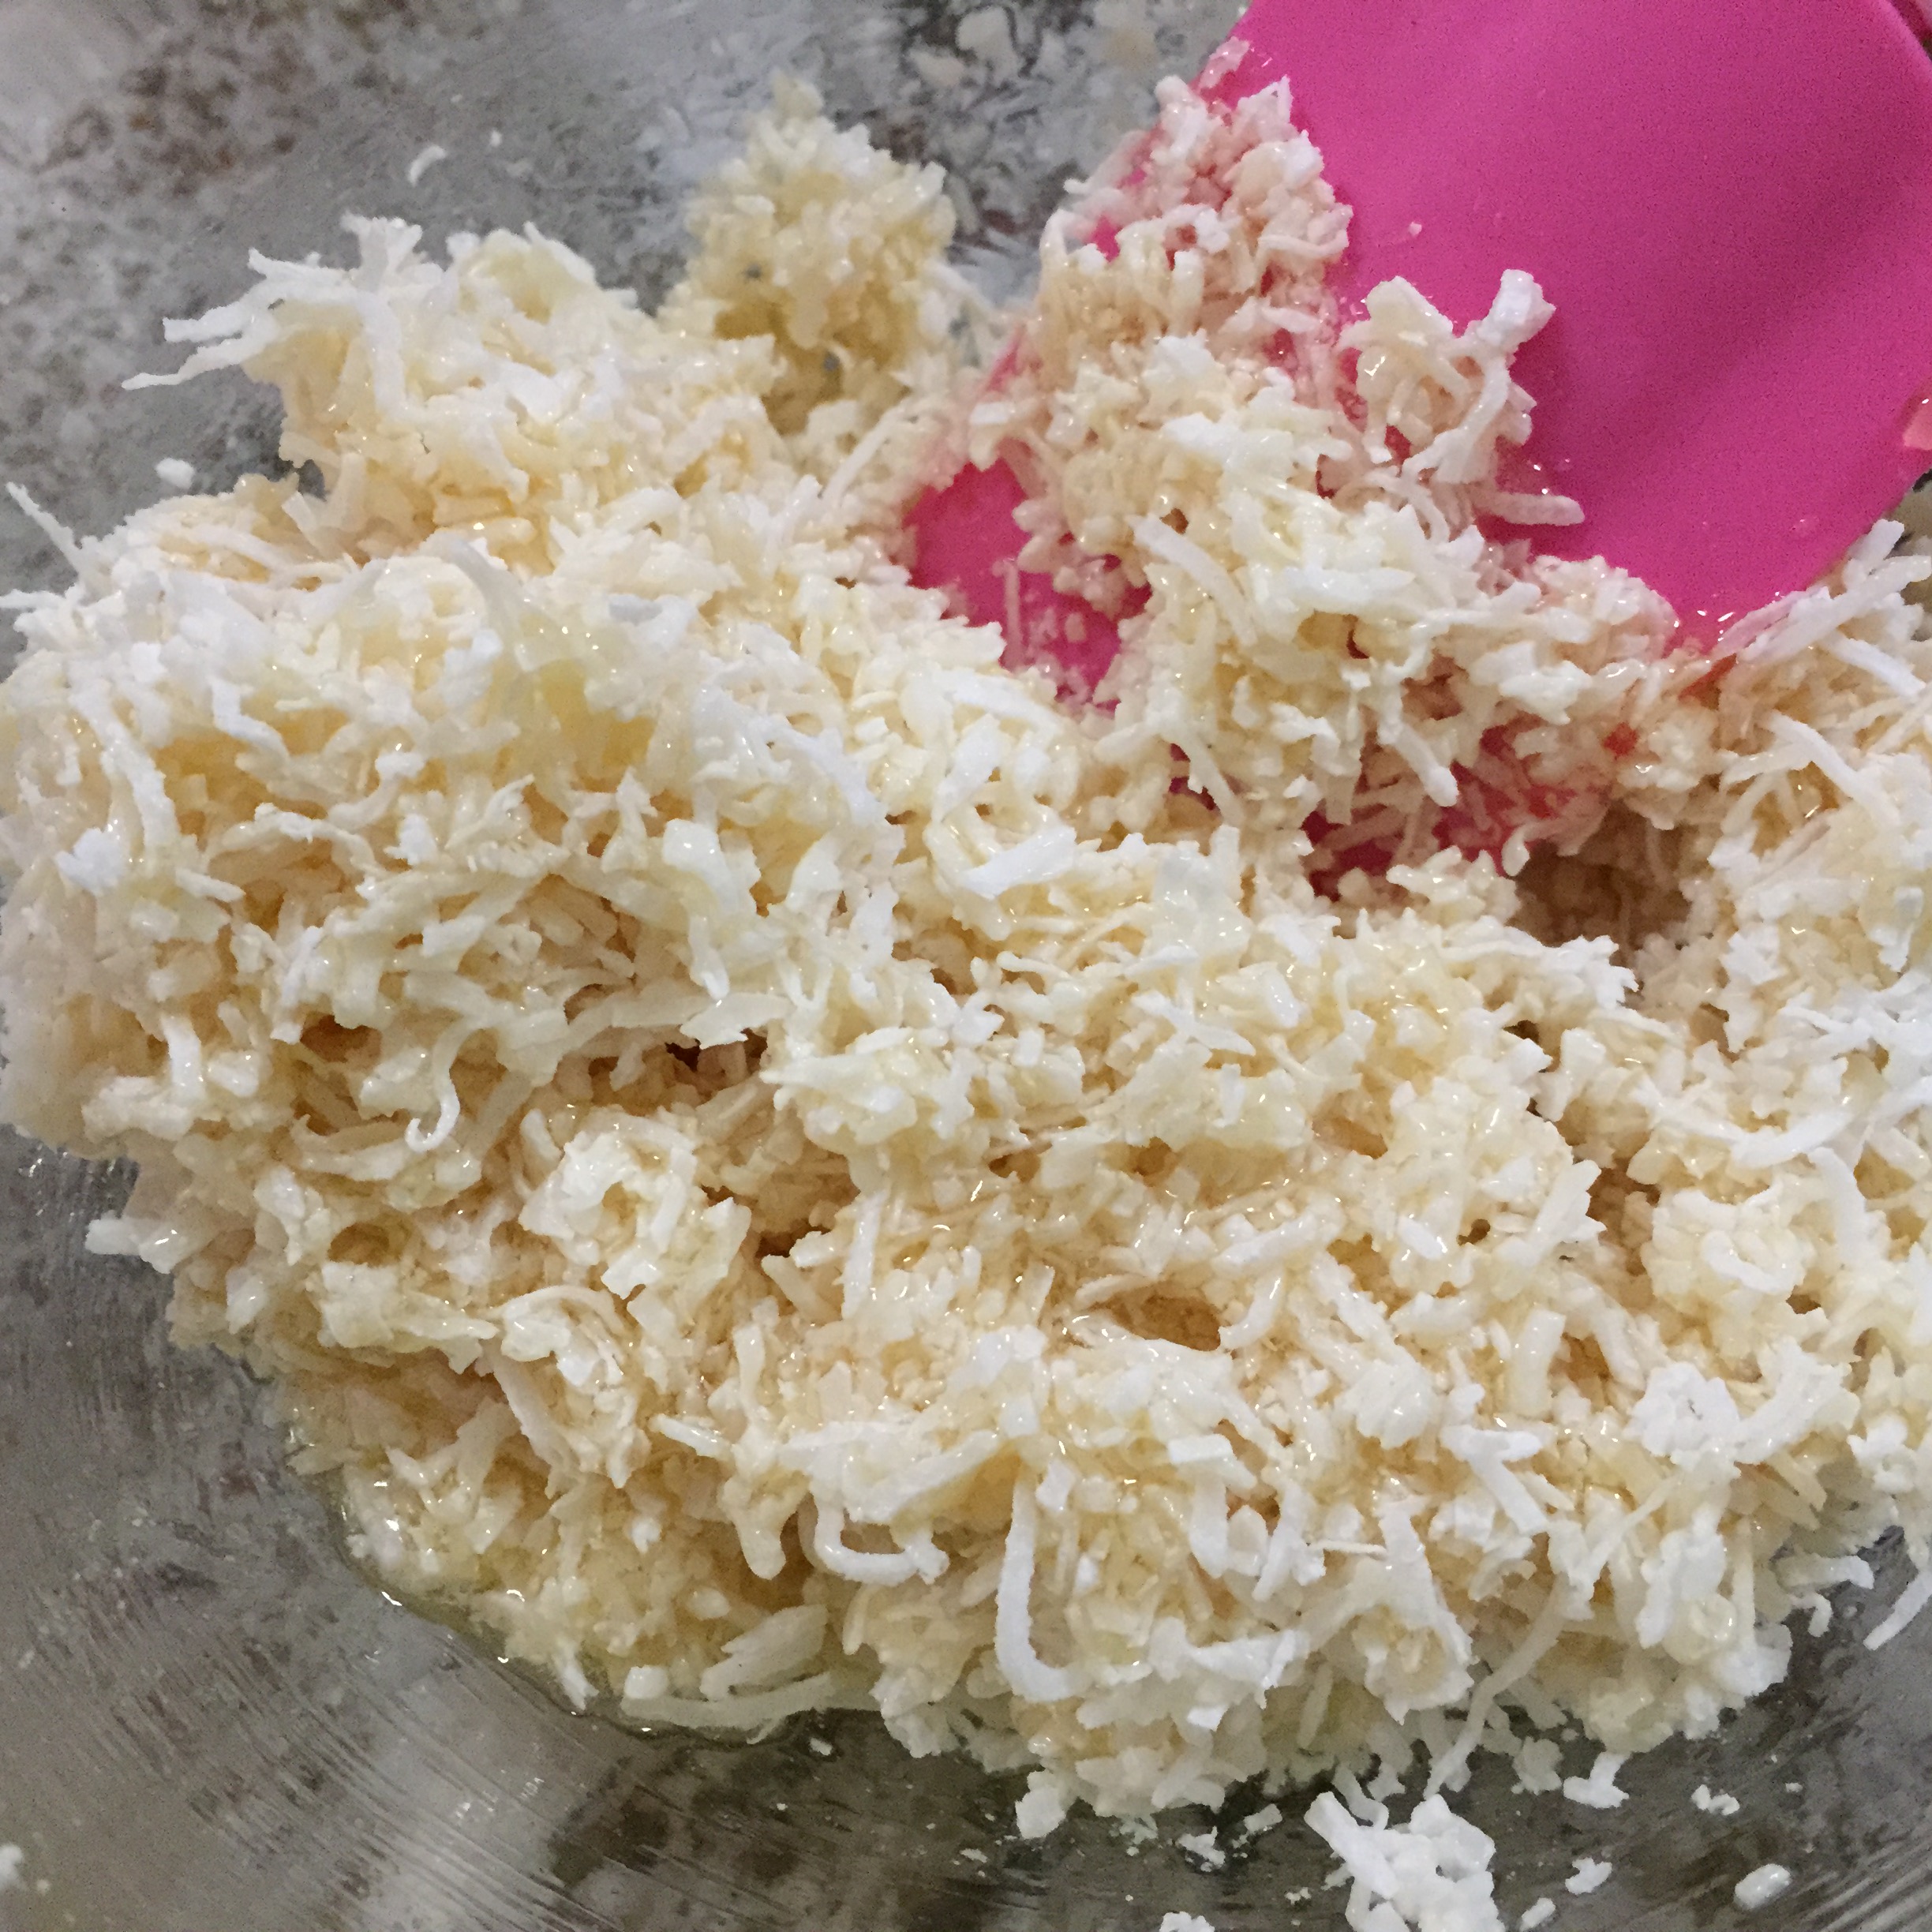
4. Add coconut oil and mix well, ensuring it’s one with the coconut mixture. Your filling is ready.
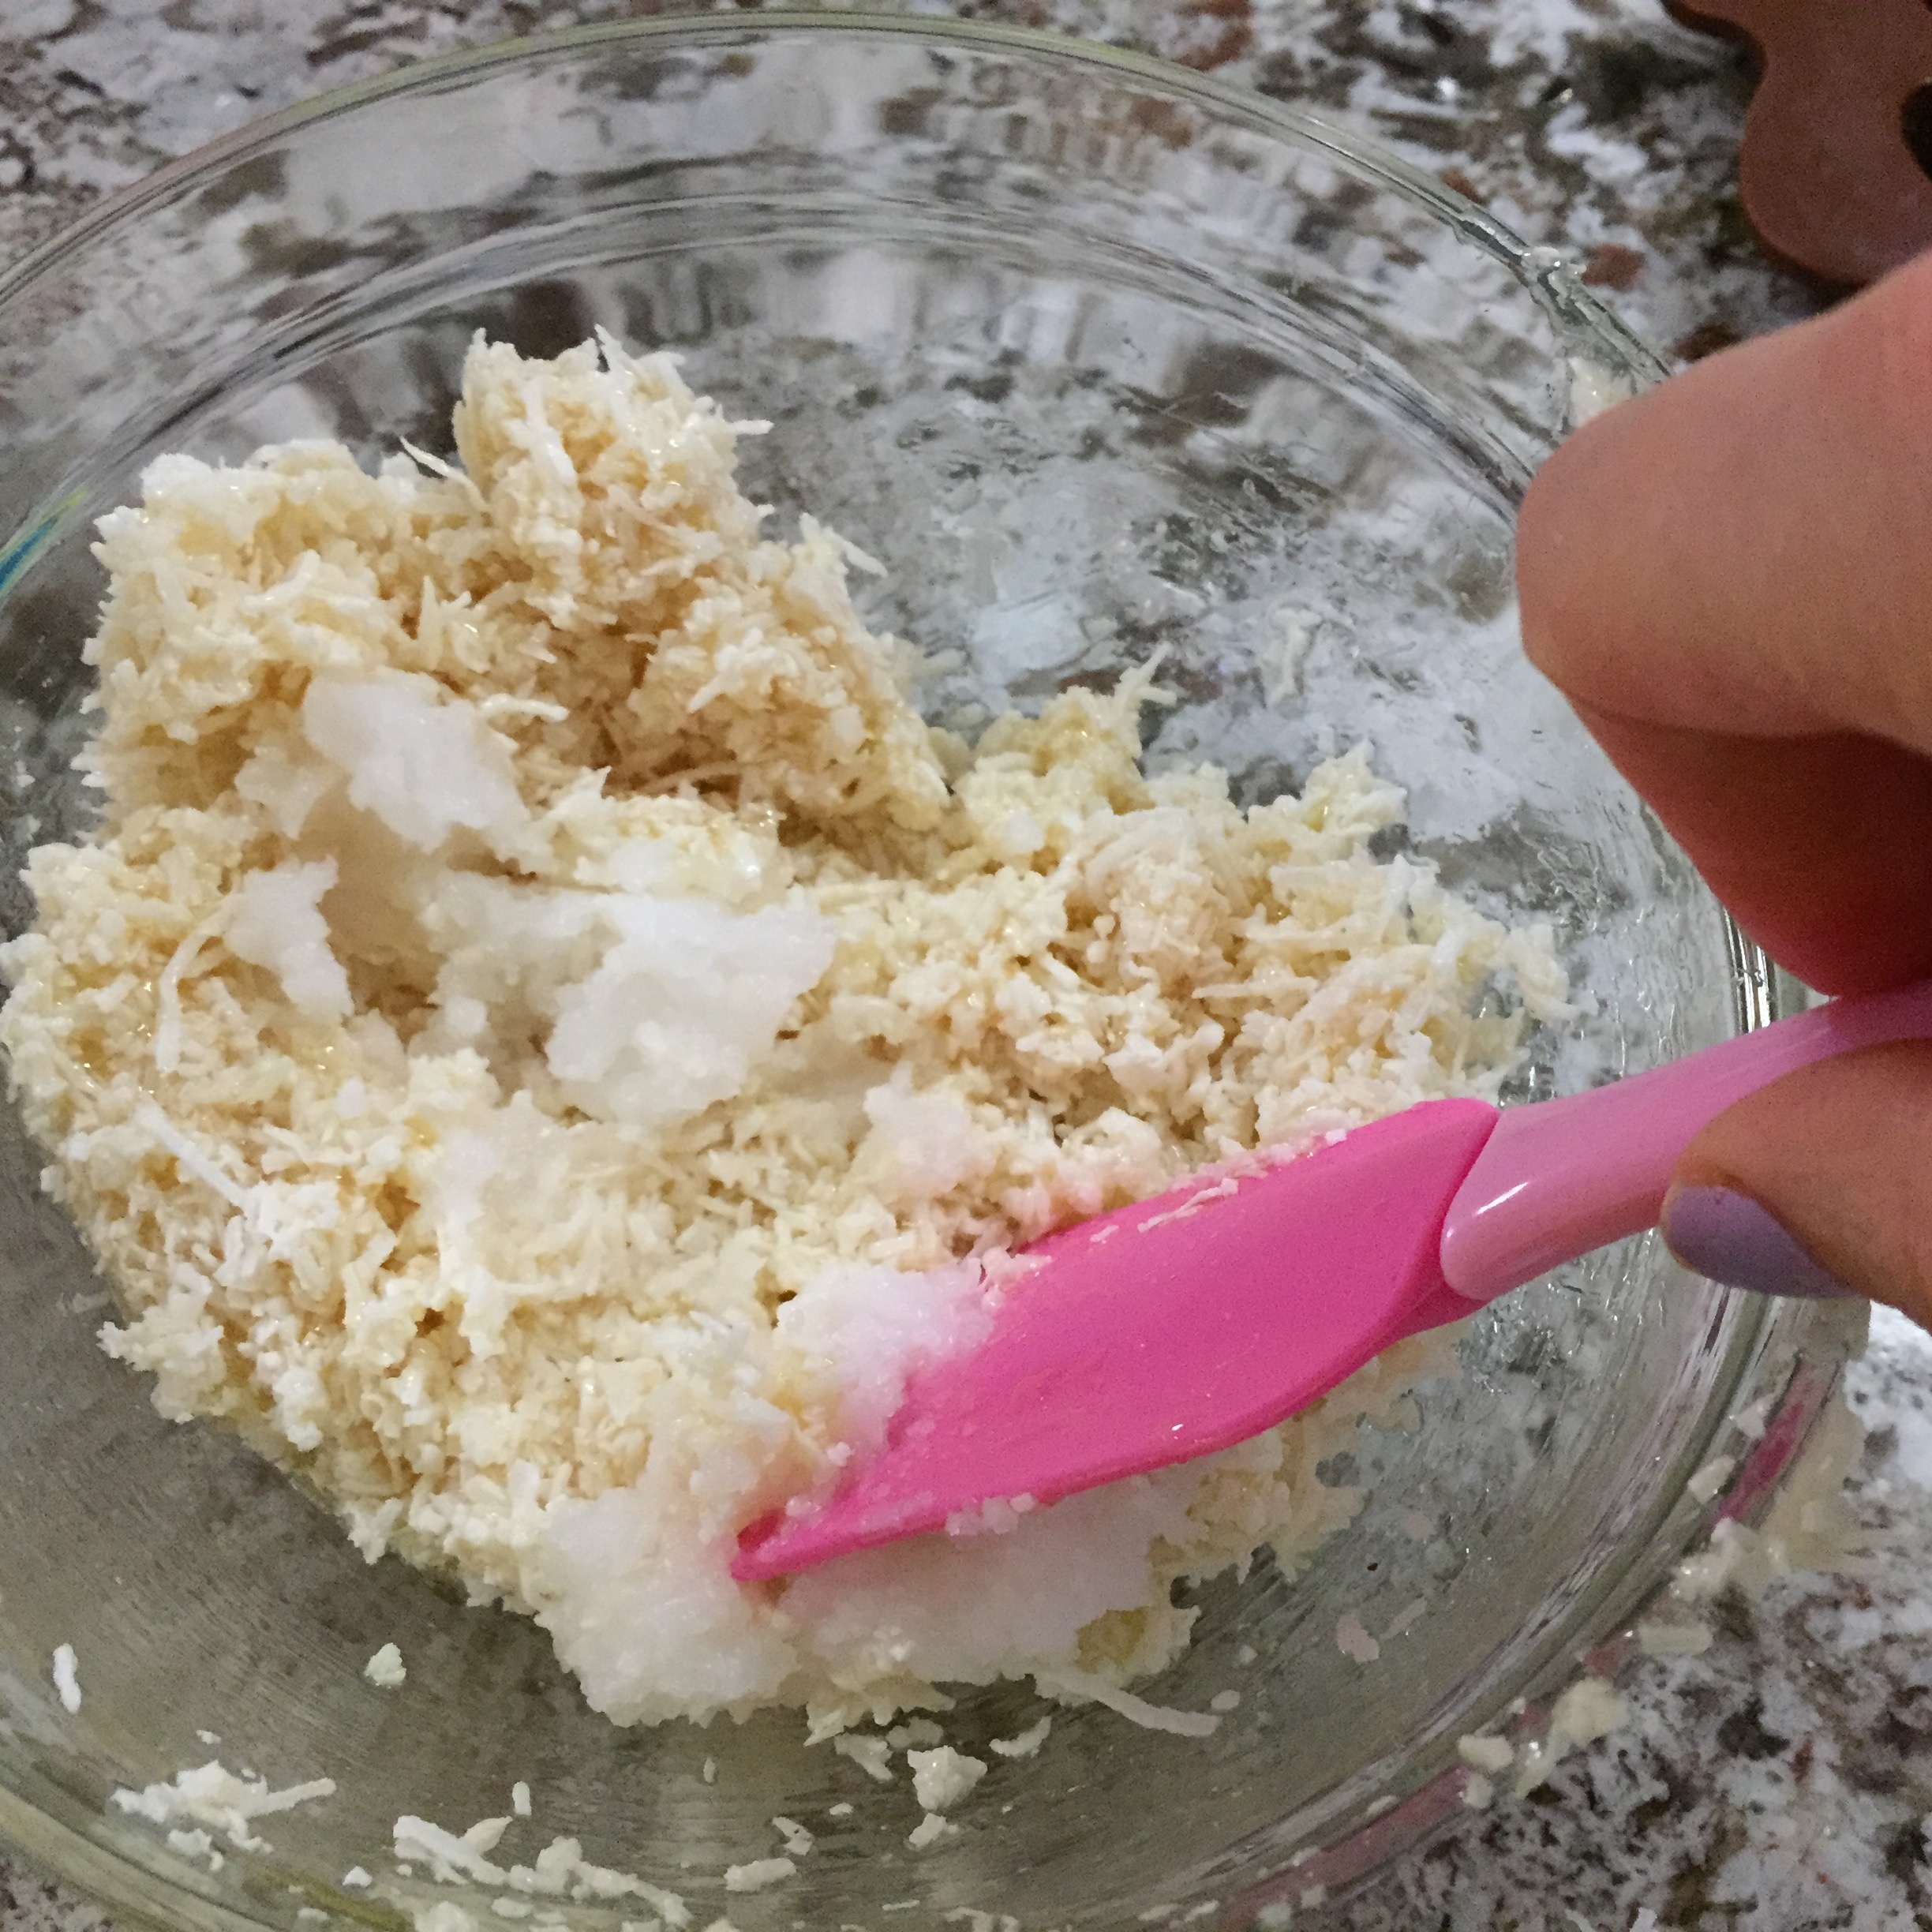
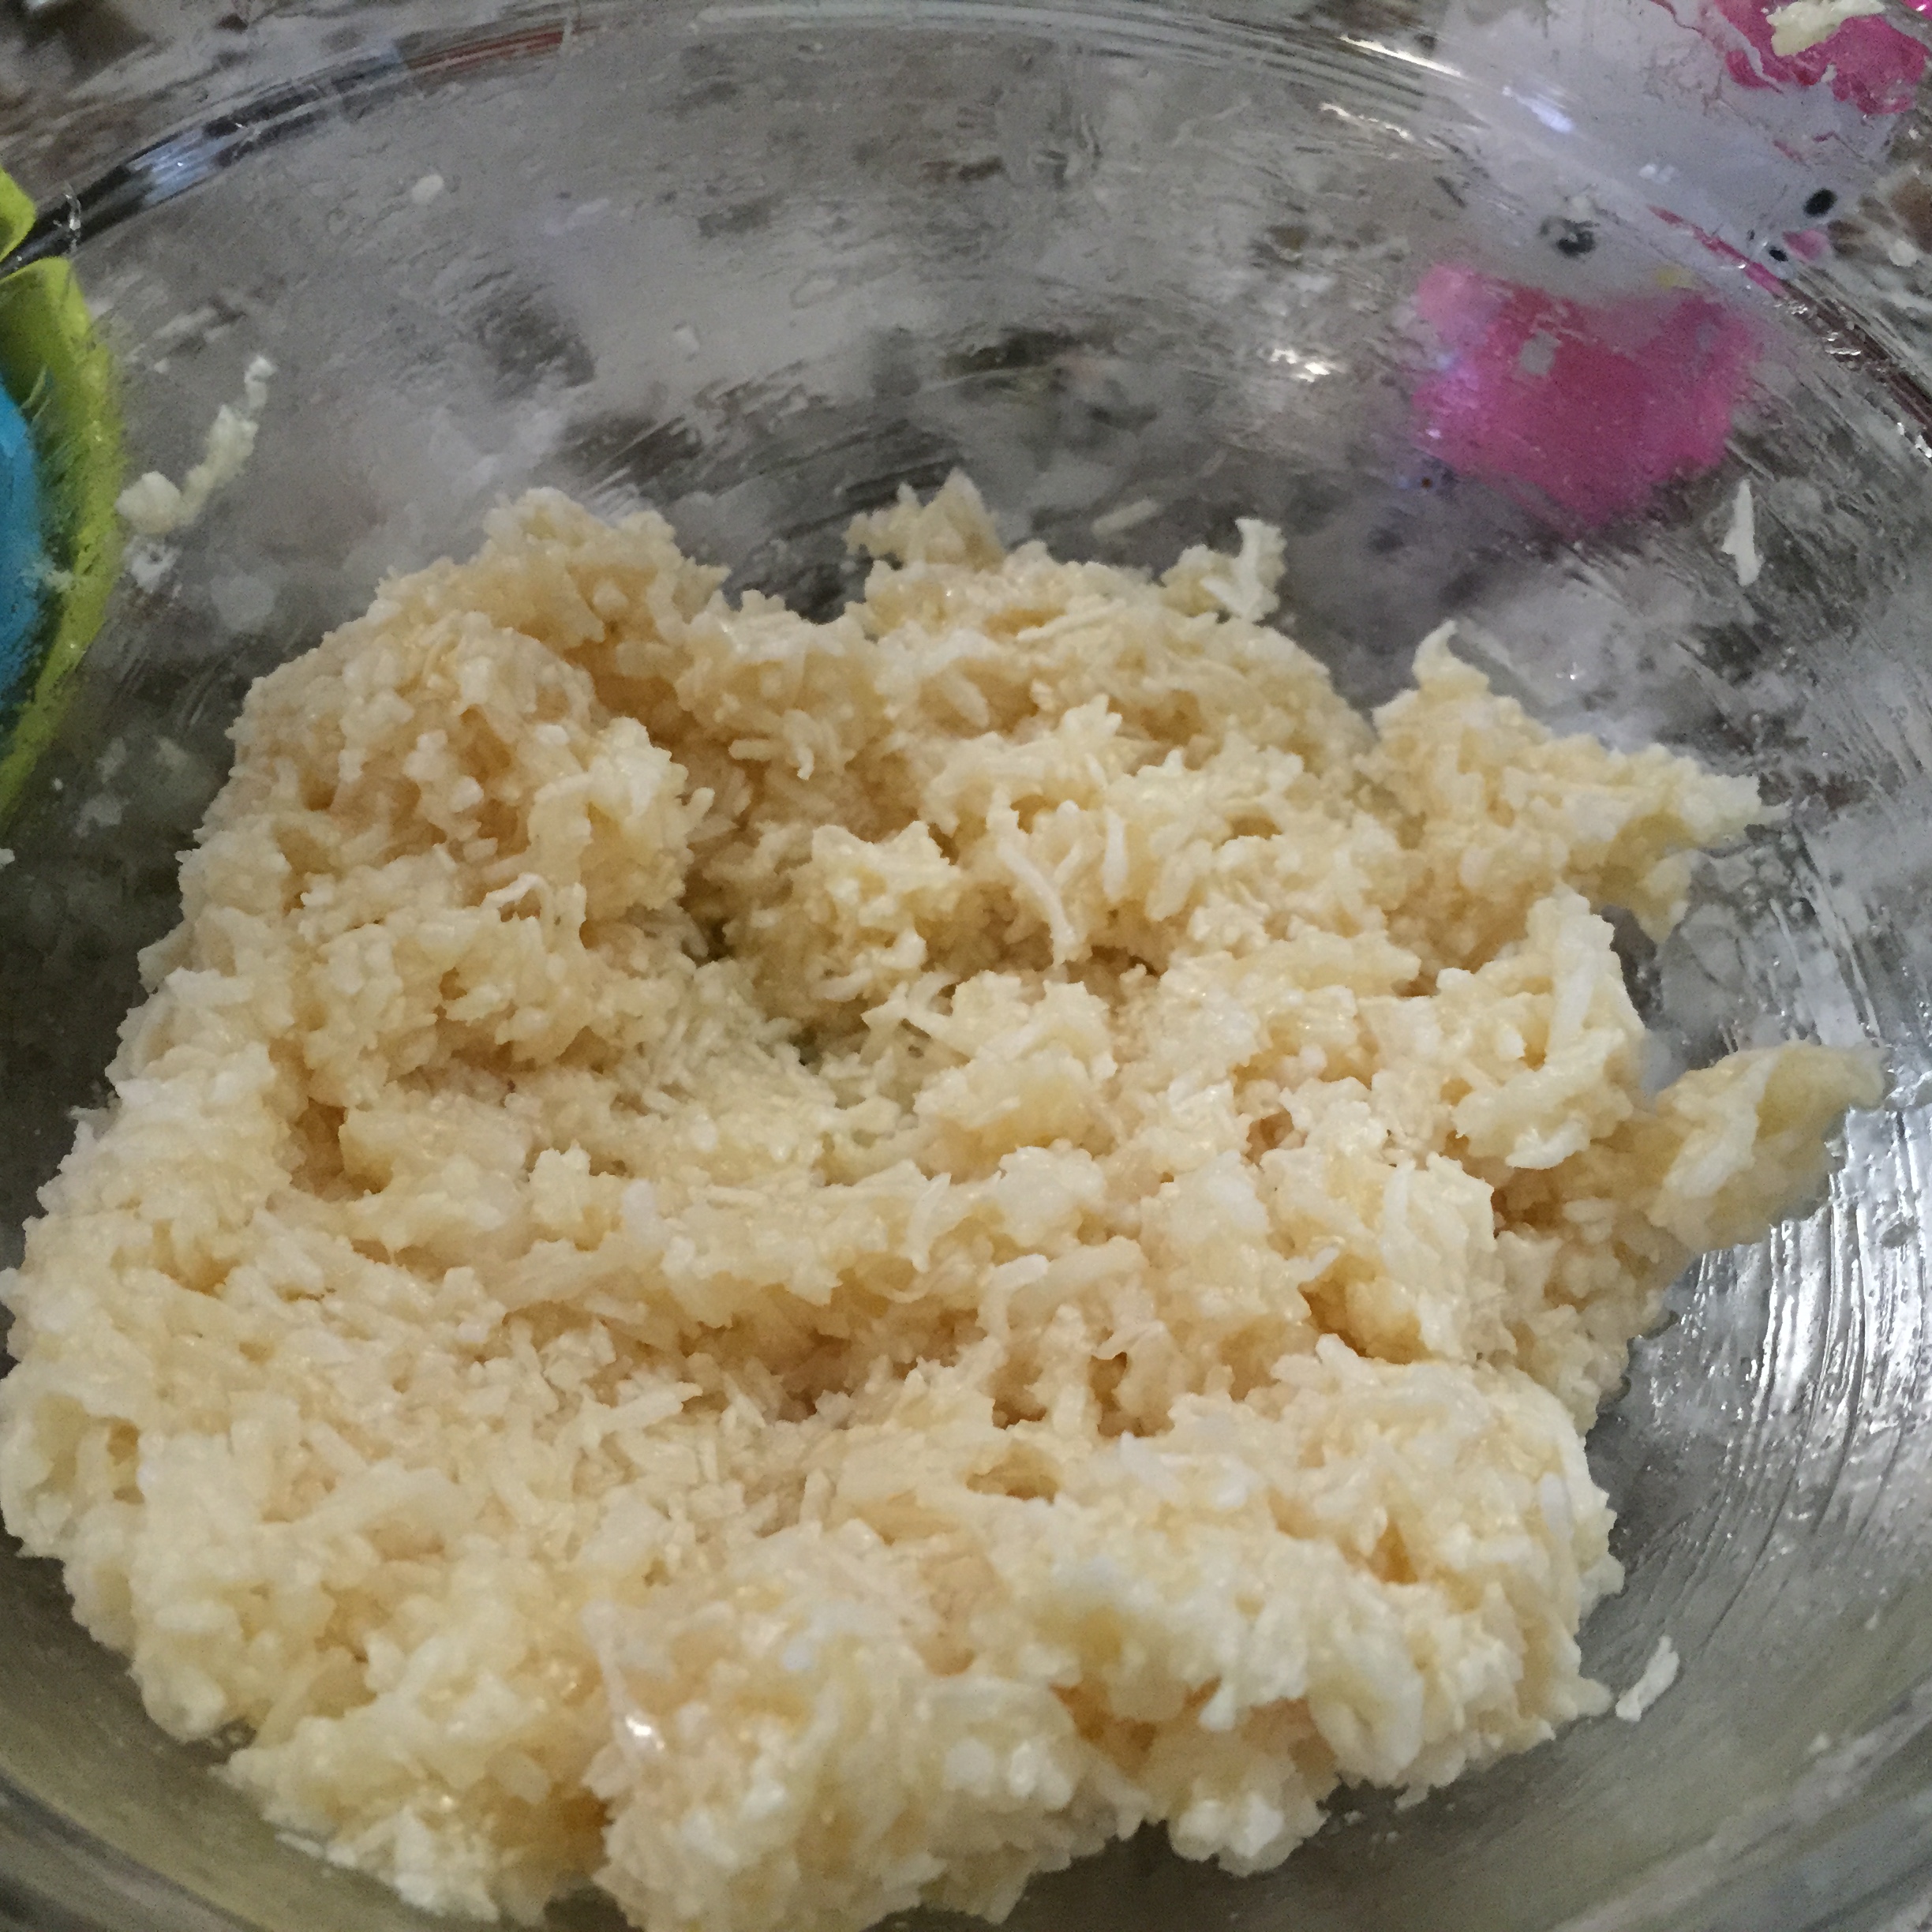
5. If using a mould, add a teaspoon into each cavity. Then place a small amount of the coconut filling on top of the chocolate, as shown. Finally, finish off with another teaspoon per cavity to seal off the coconut.
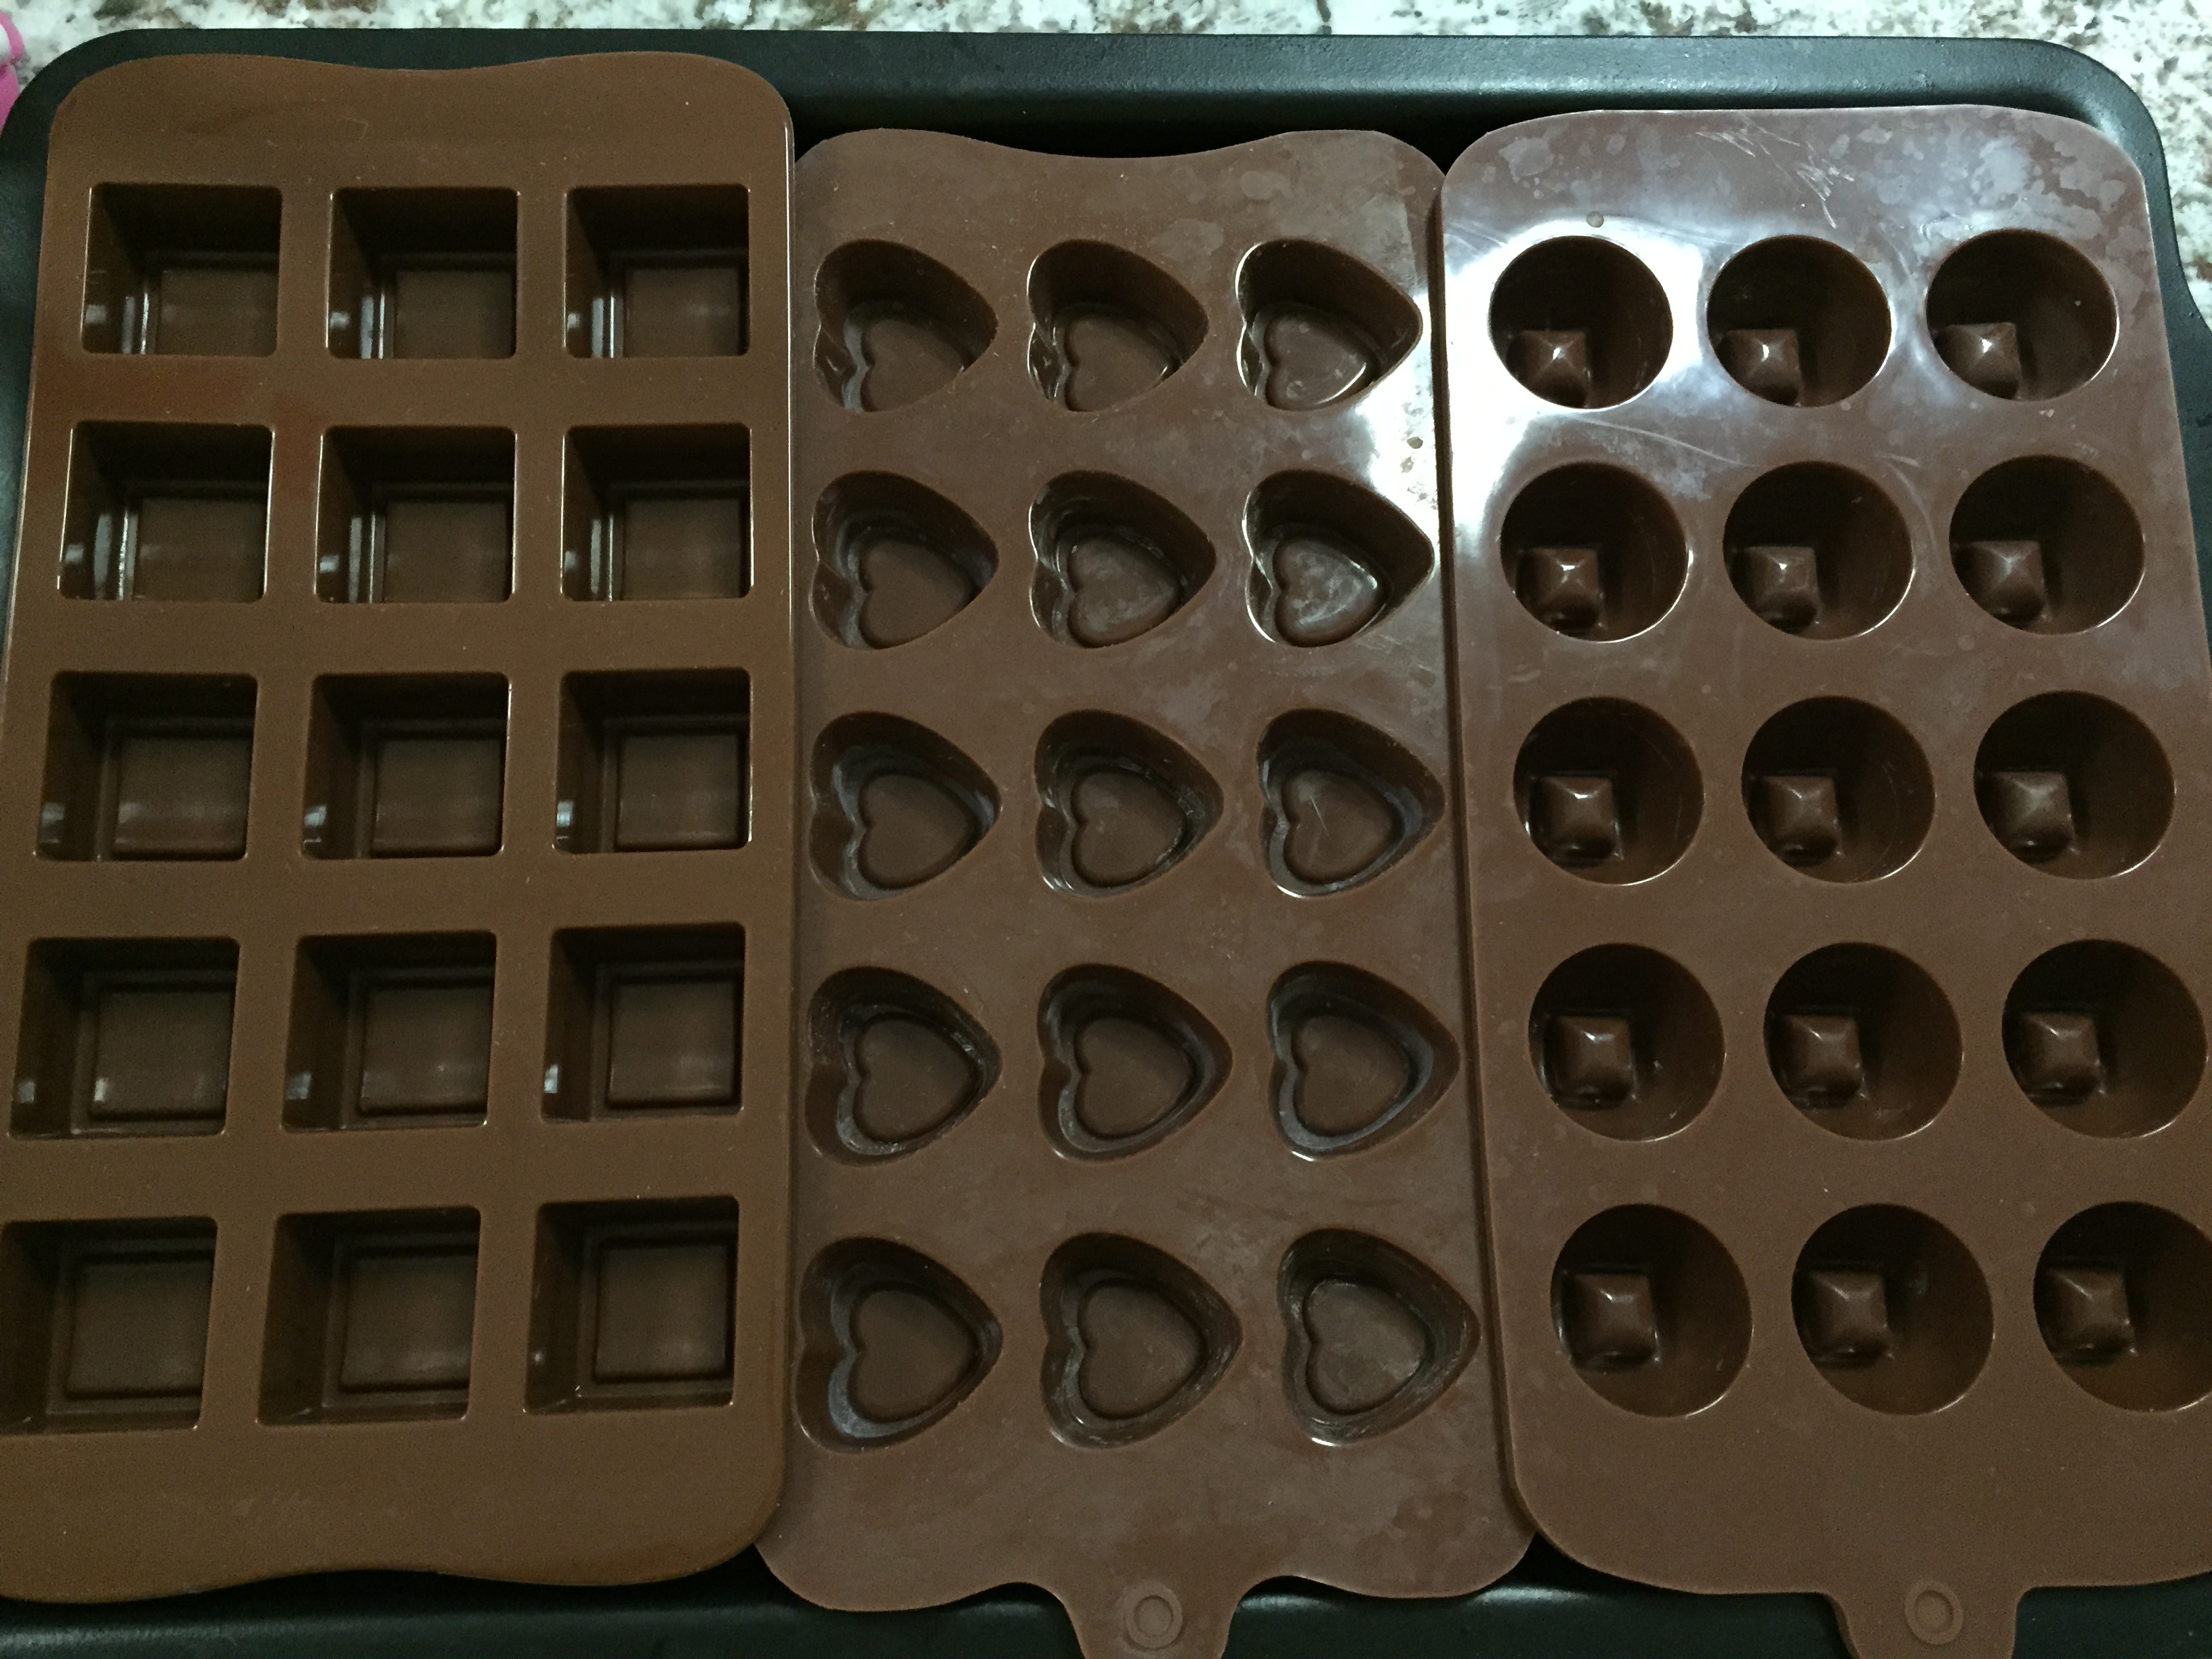
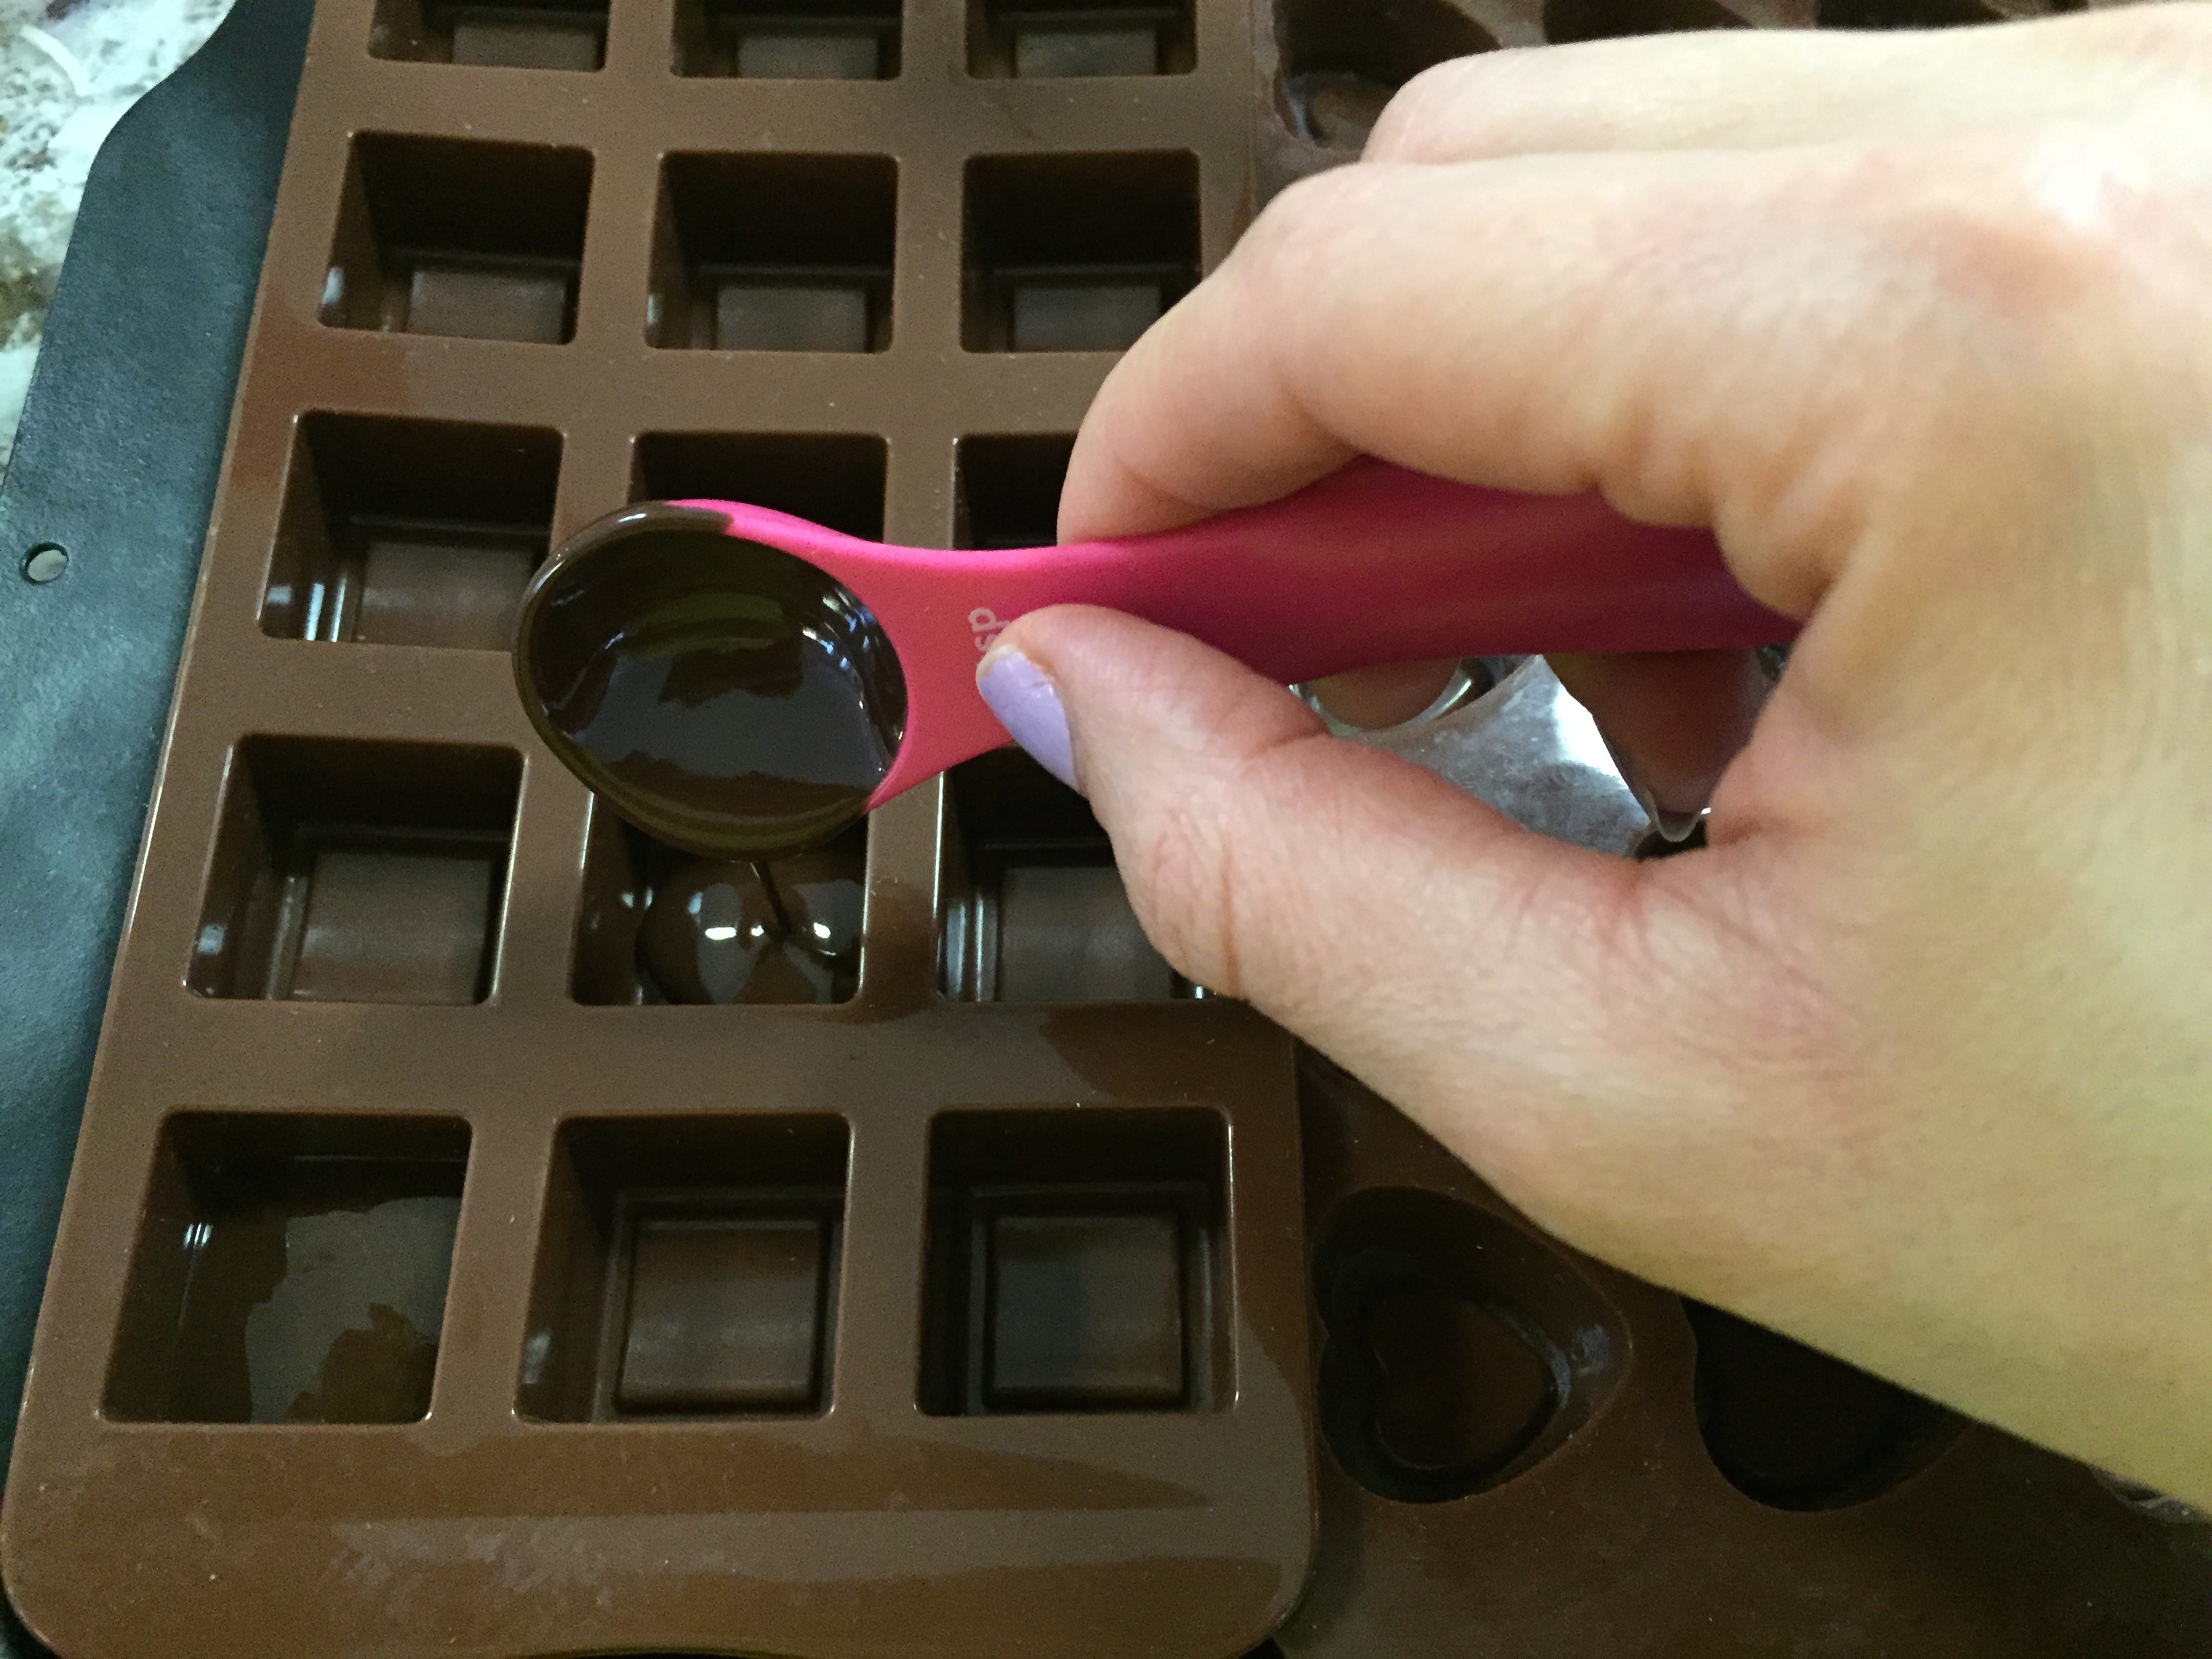
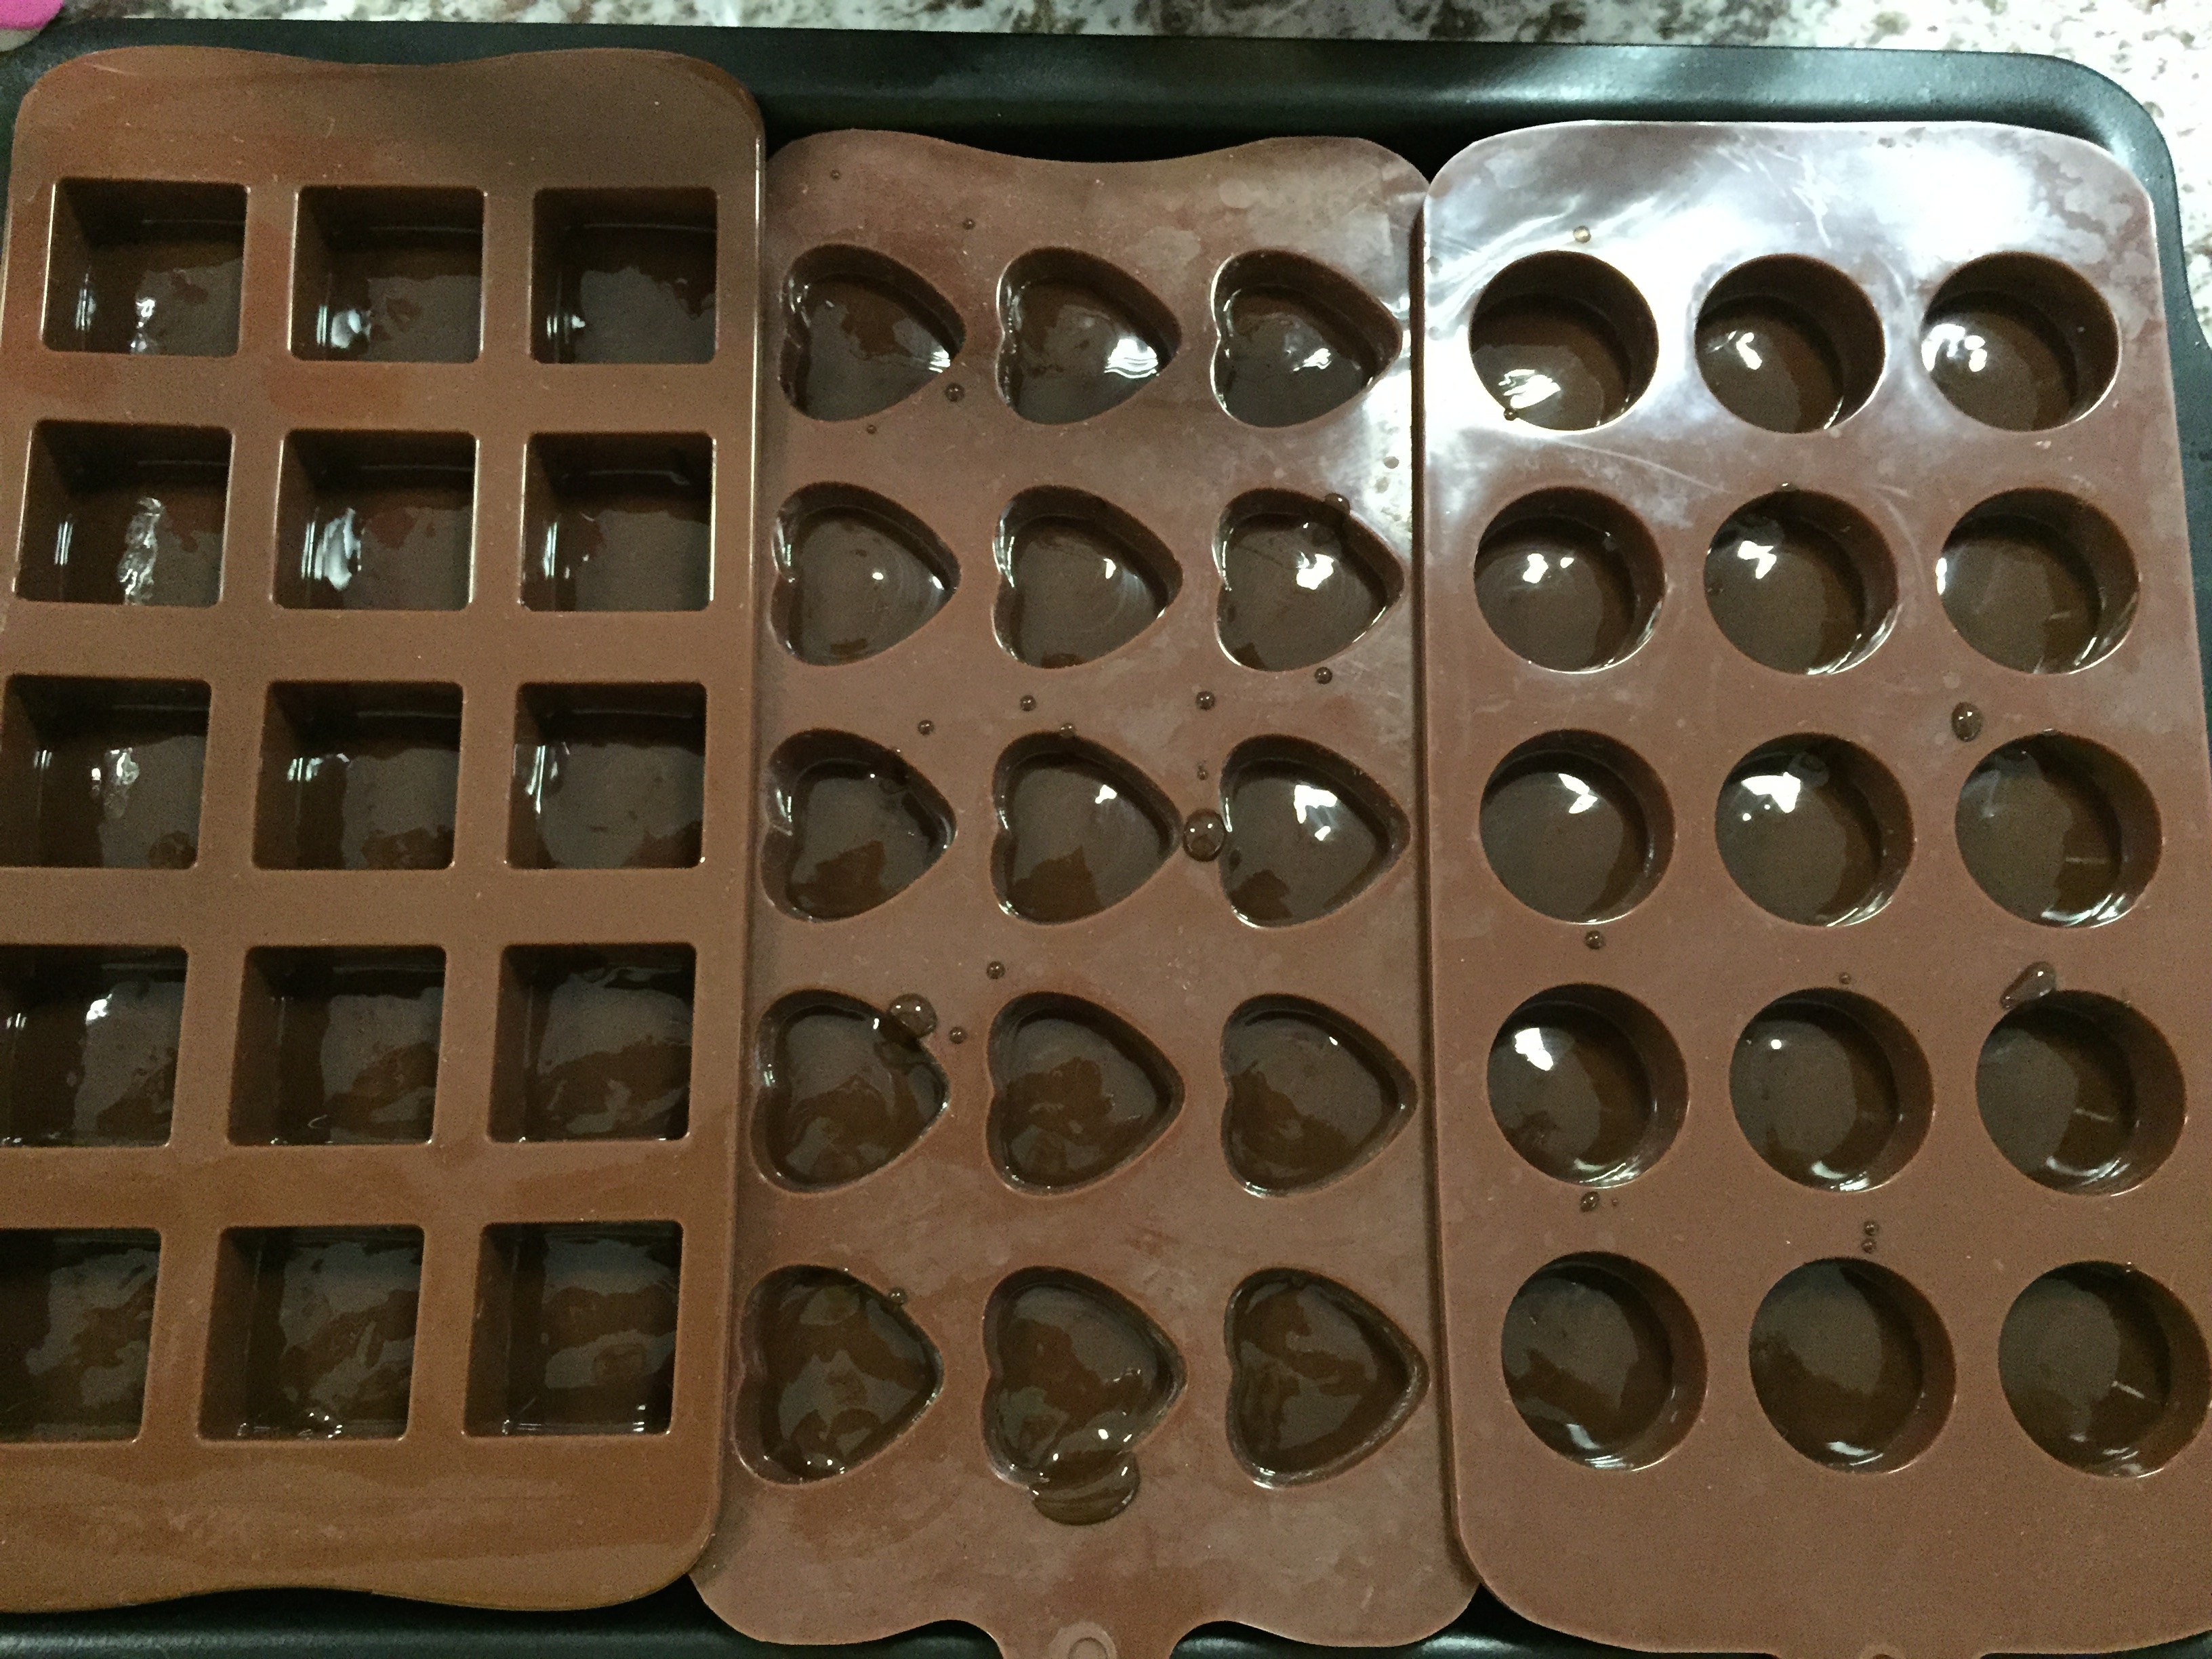
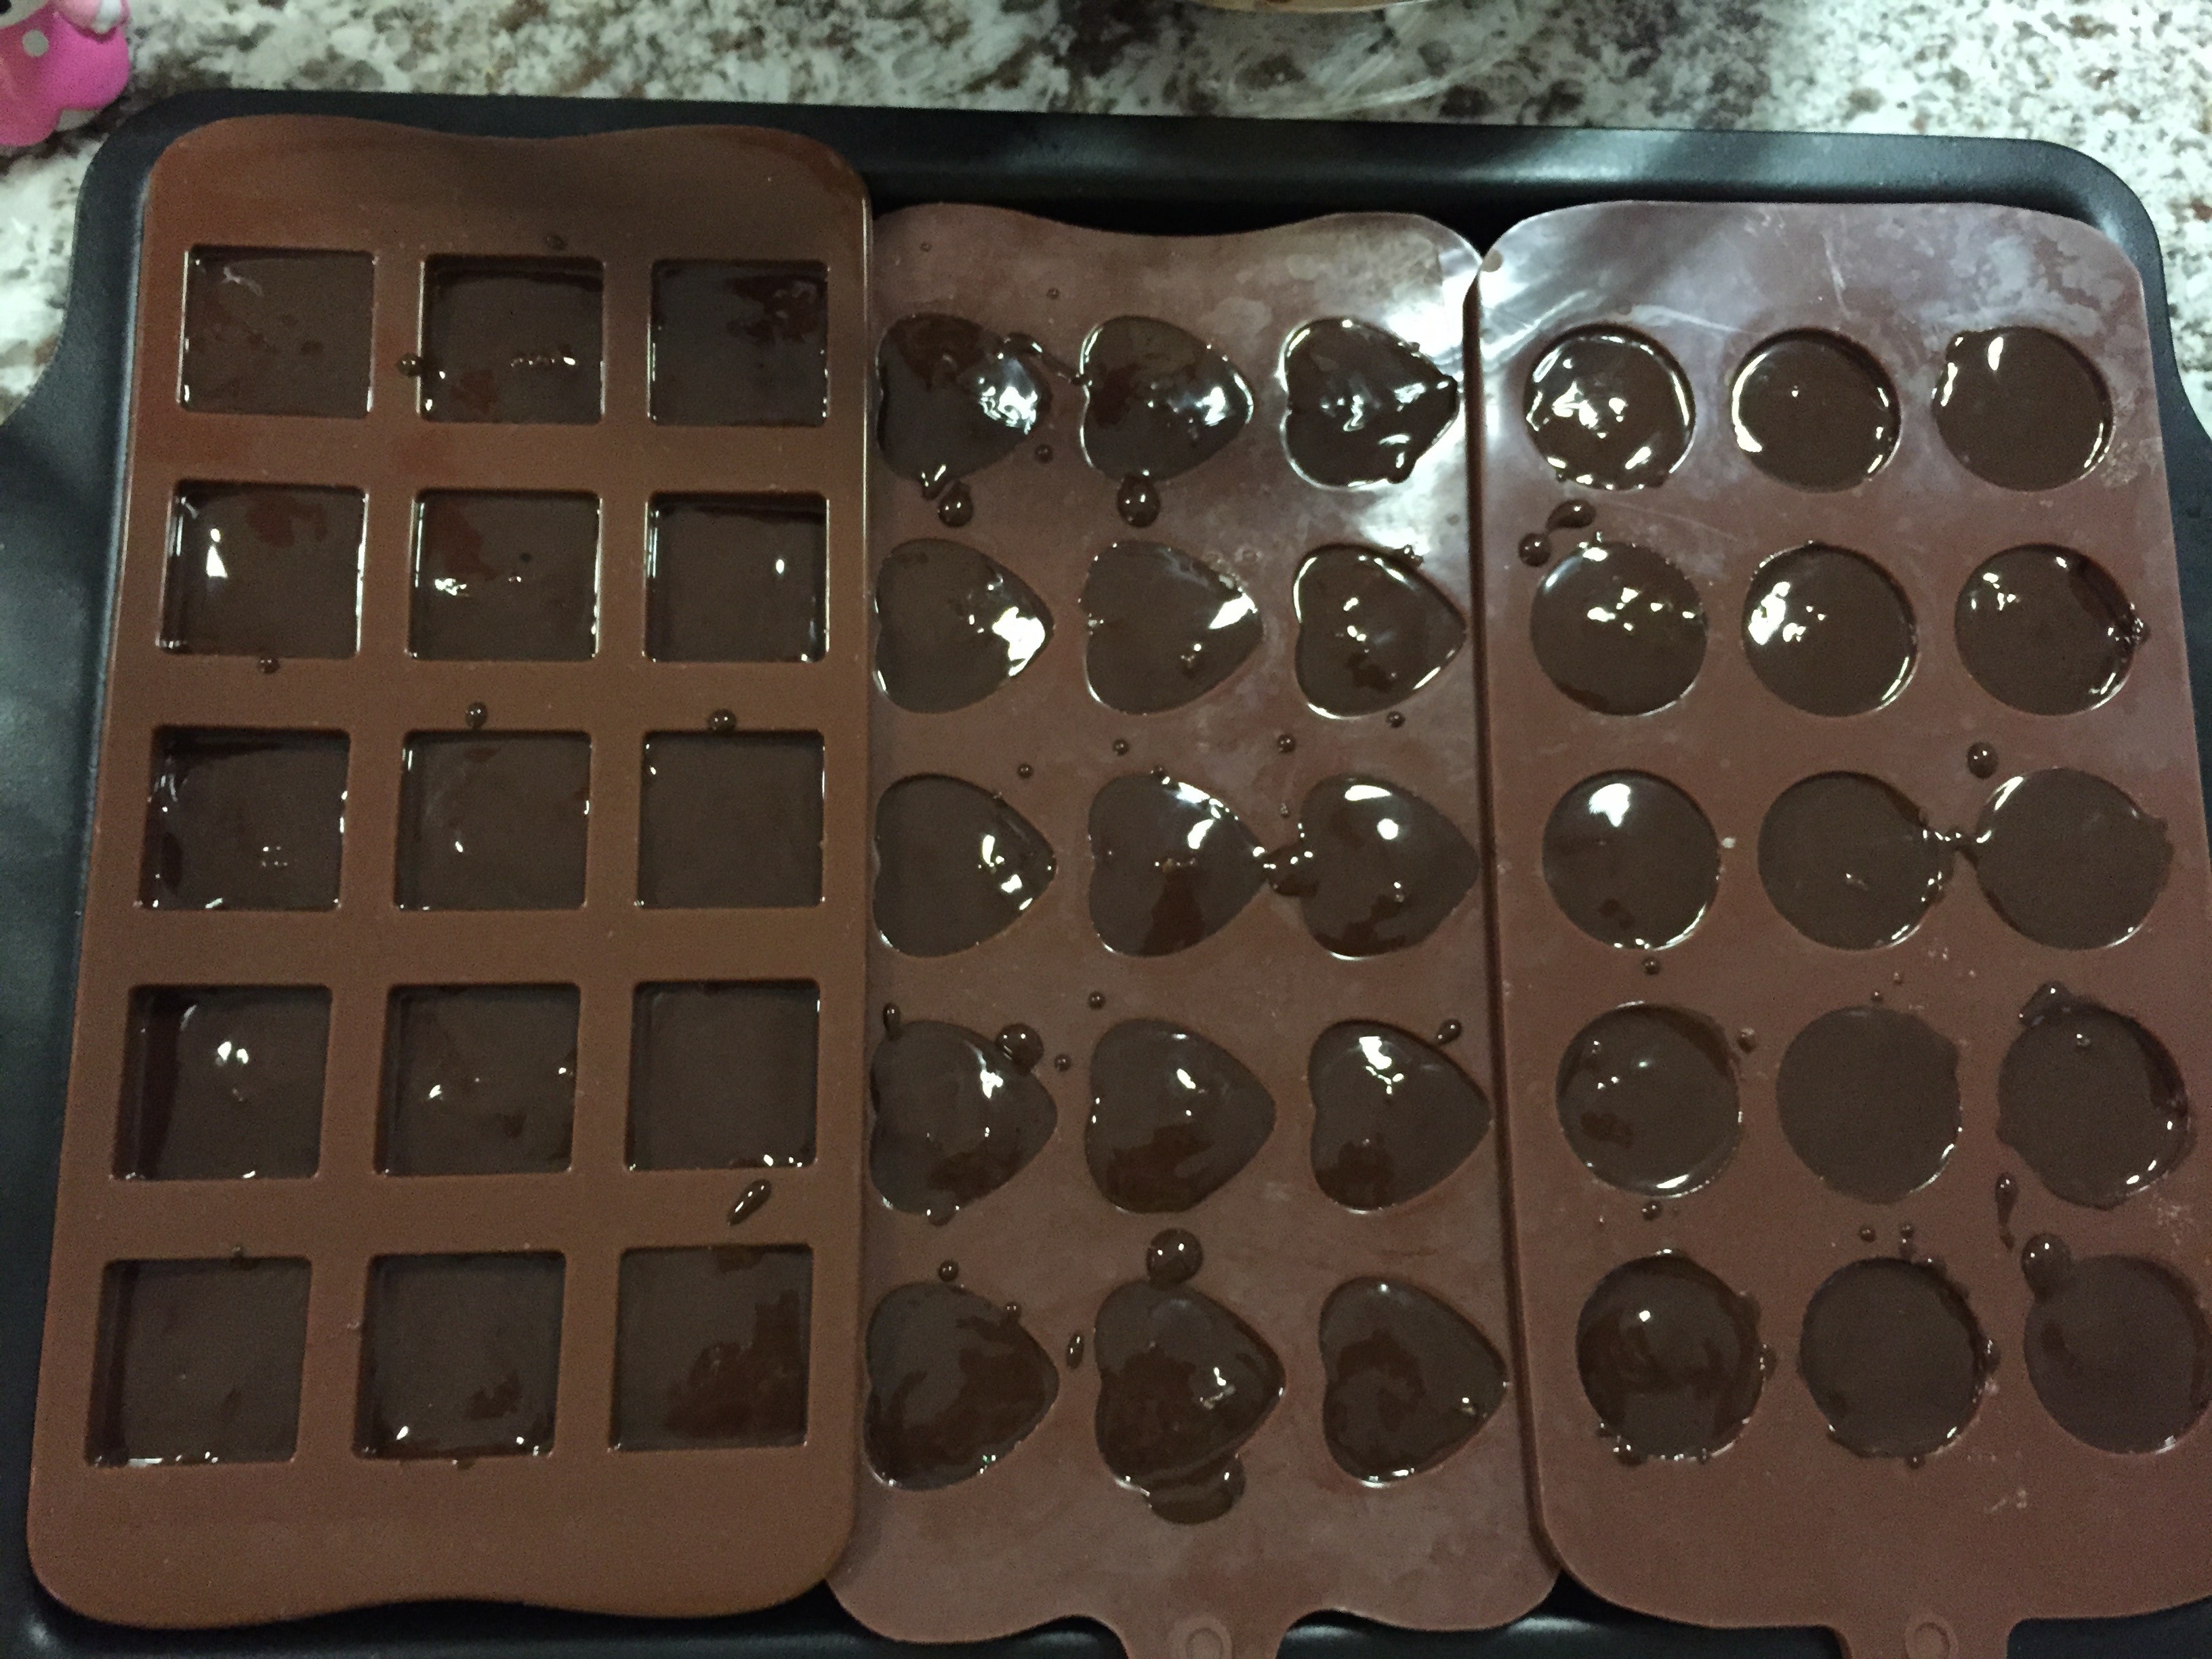
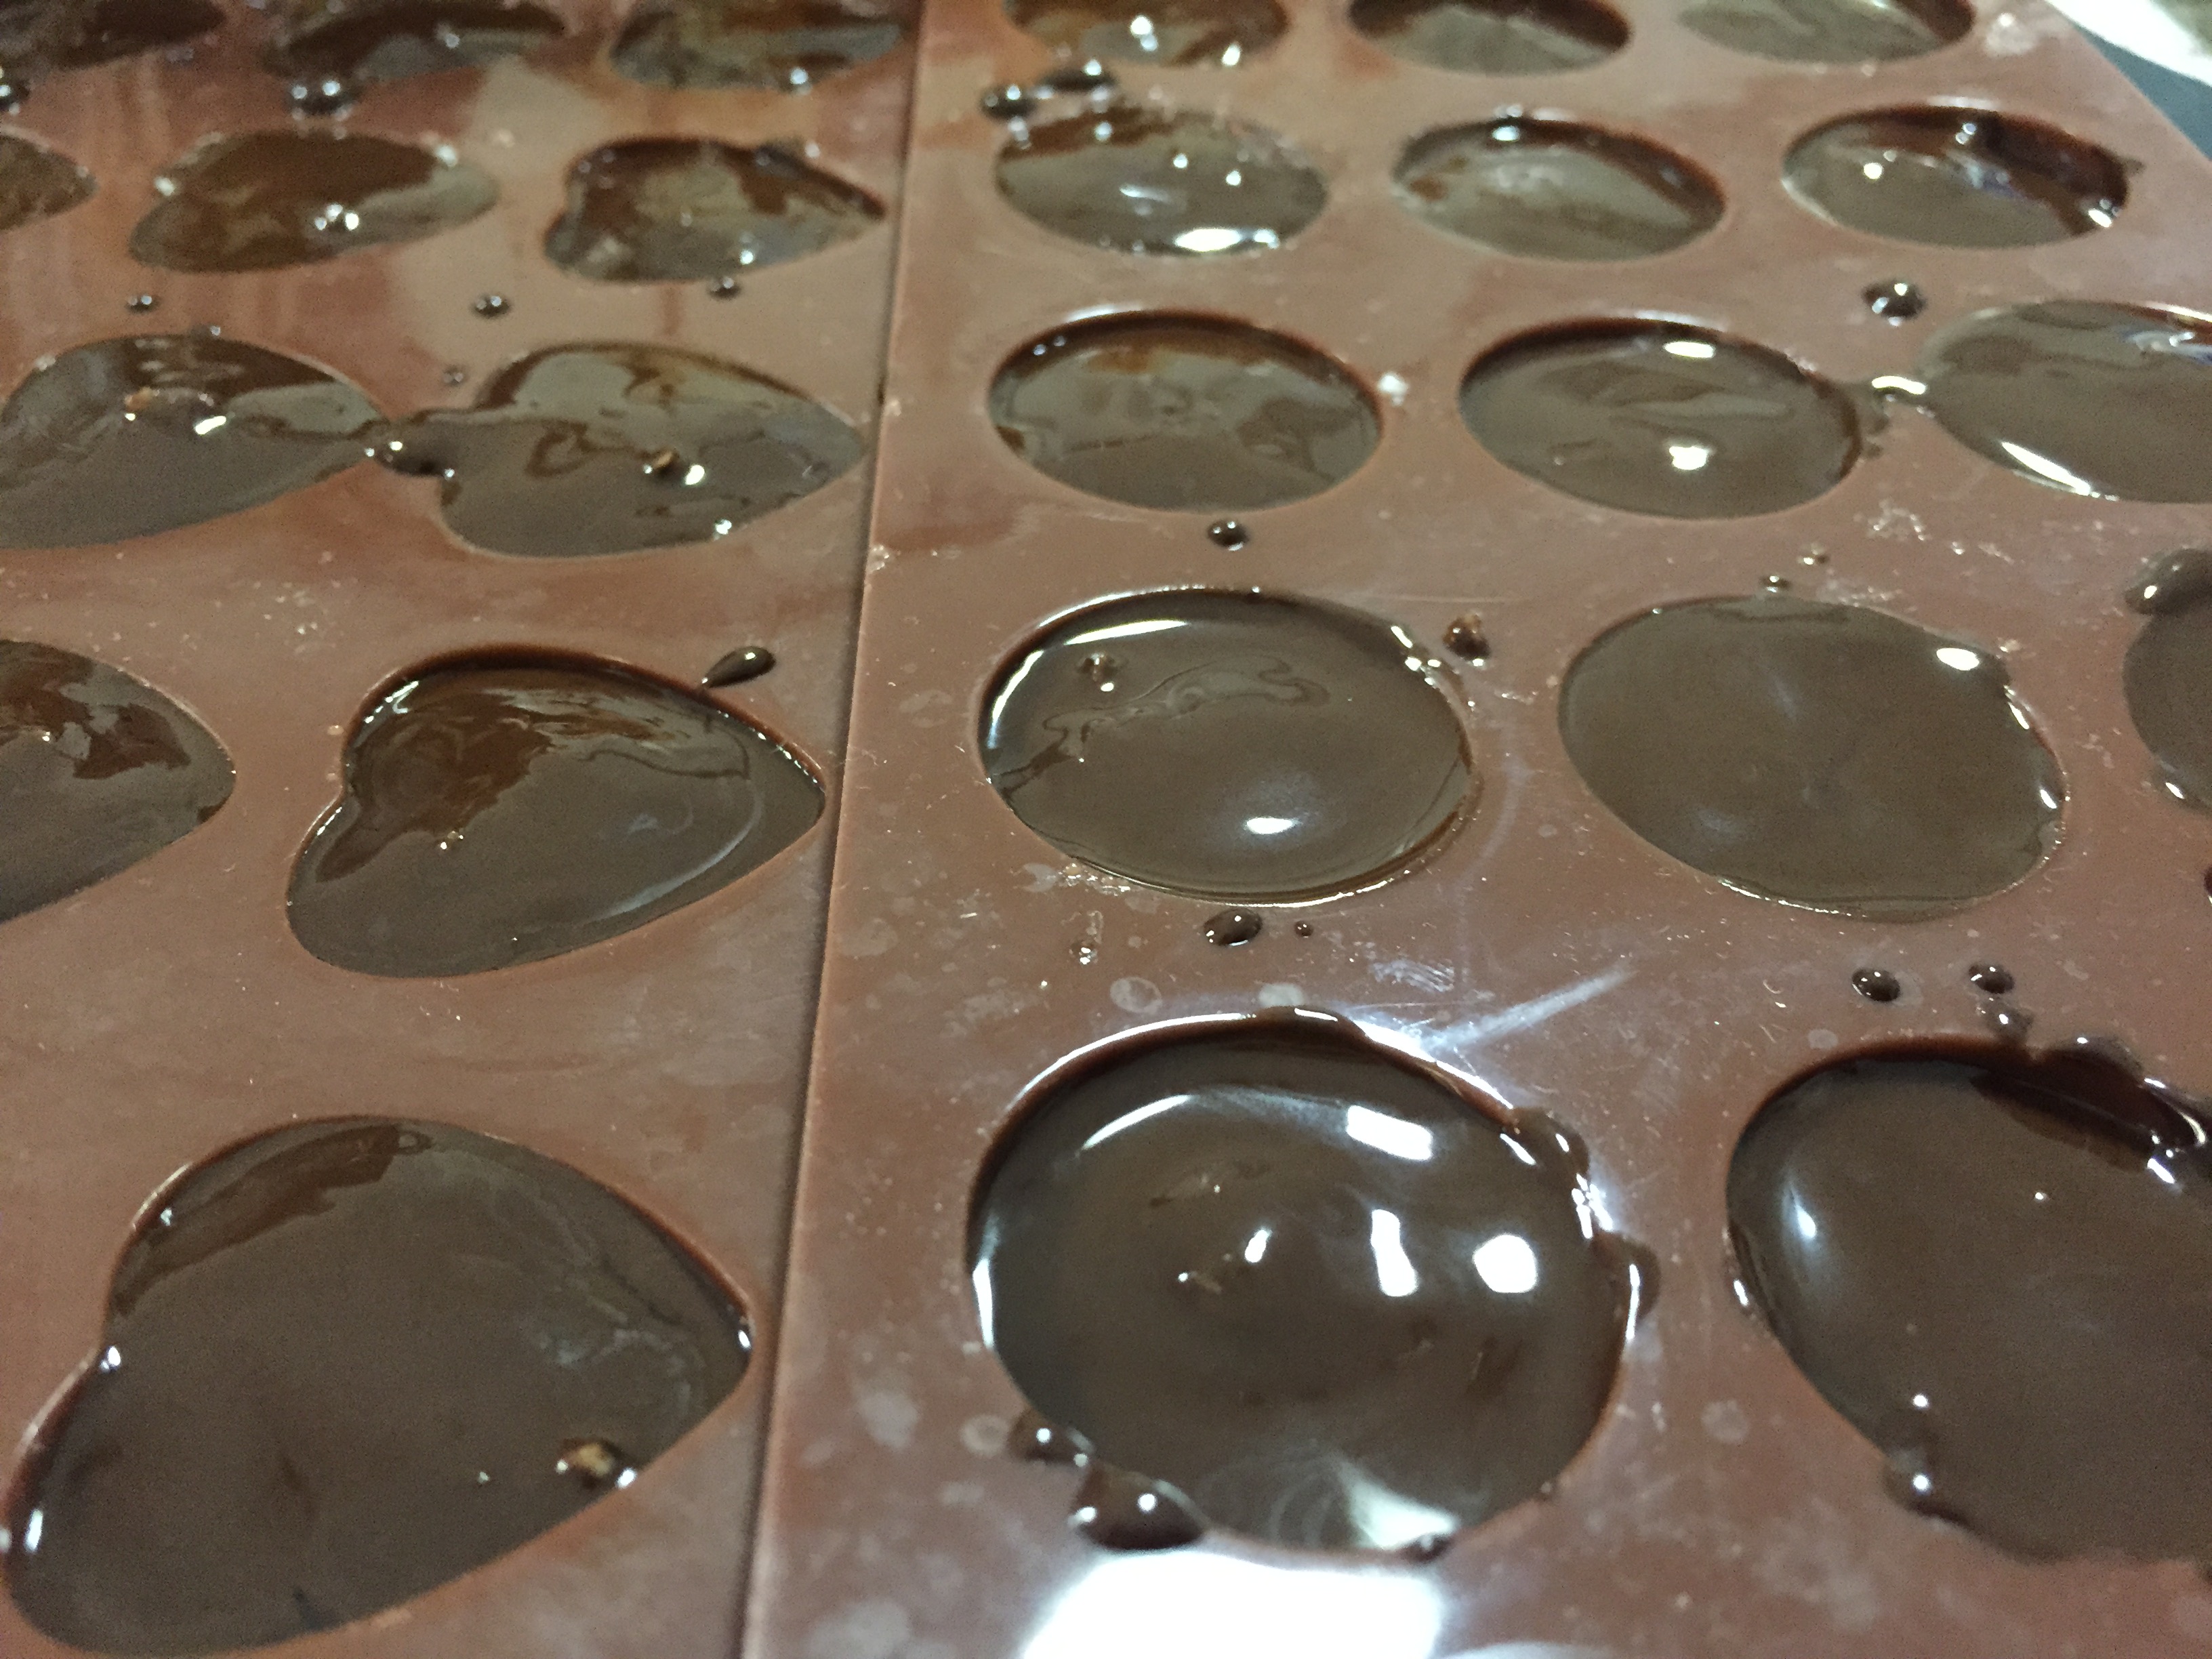
6. Place in the freezer for 20 minutes, until chocolate is hardened and set. Alternatively, you may place the moulds in the fridge for approximately 40 minutes until chocolate sets.
7. If doing free hand bites, shape the coconut mixture into small balls and set on wax paper.
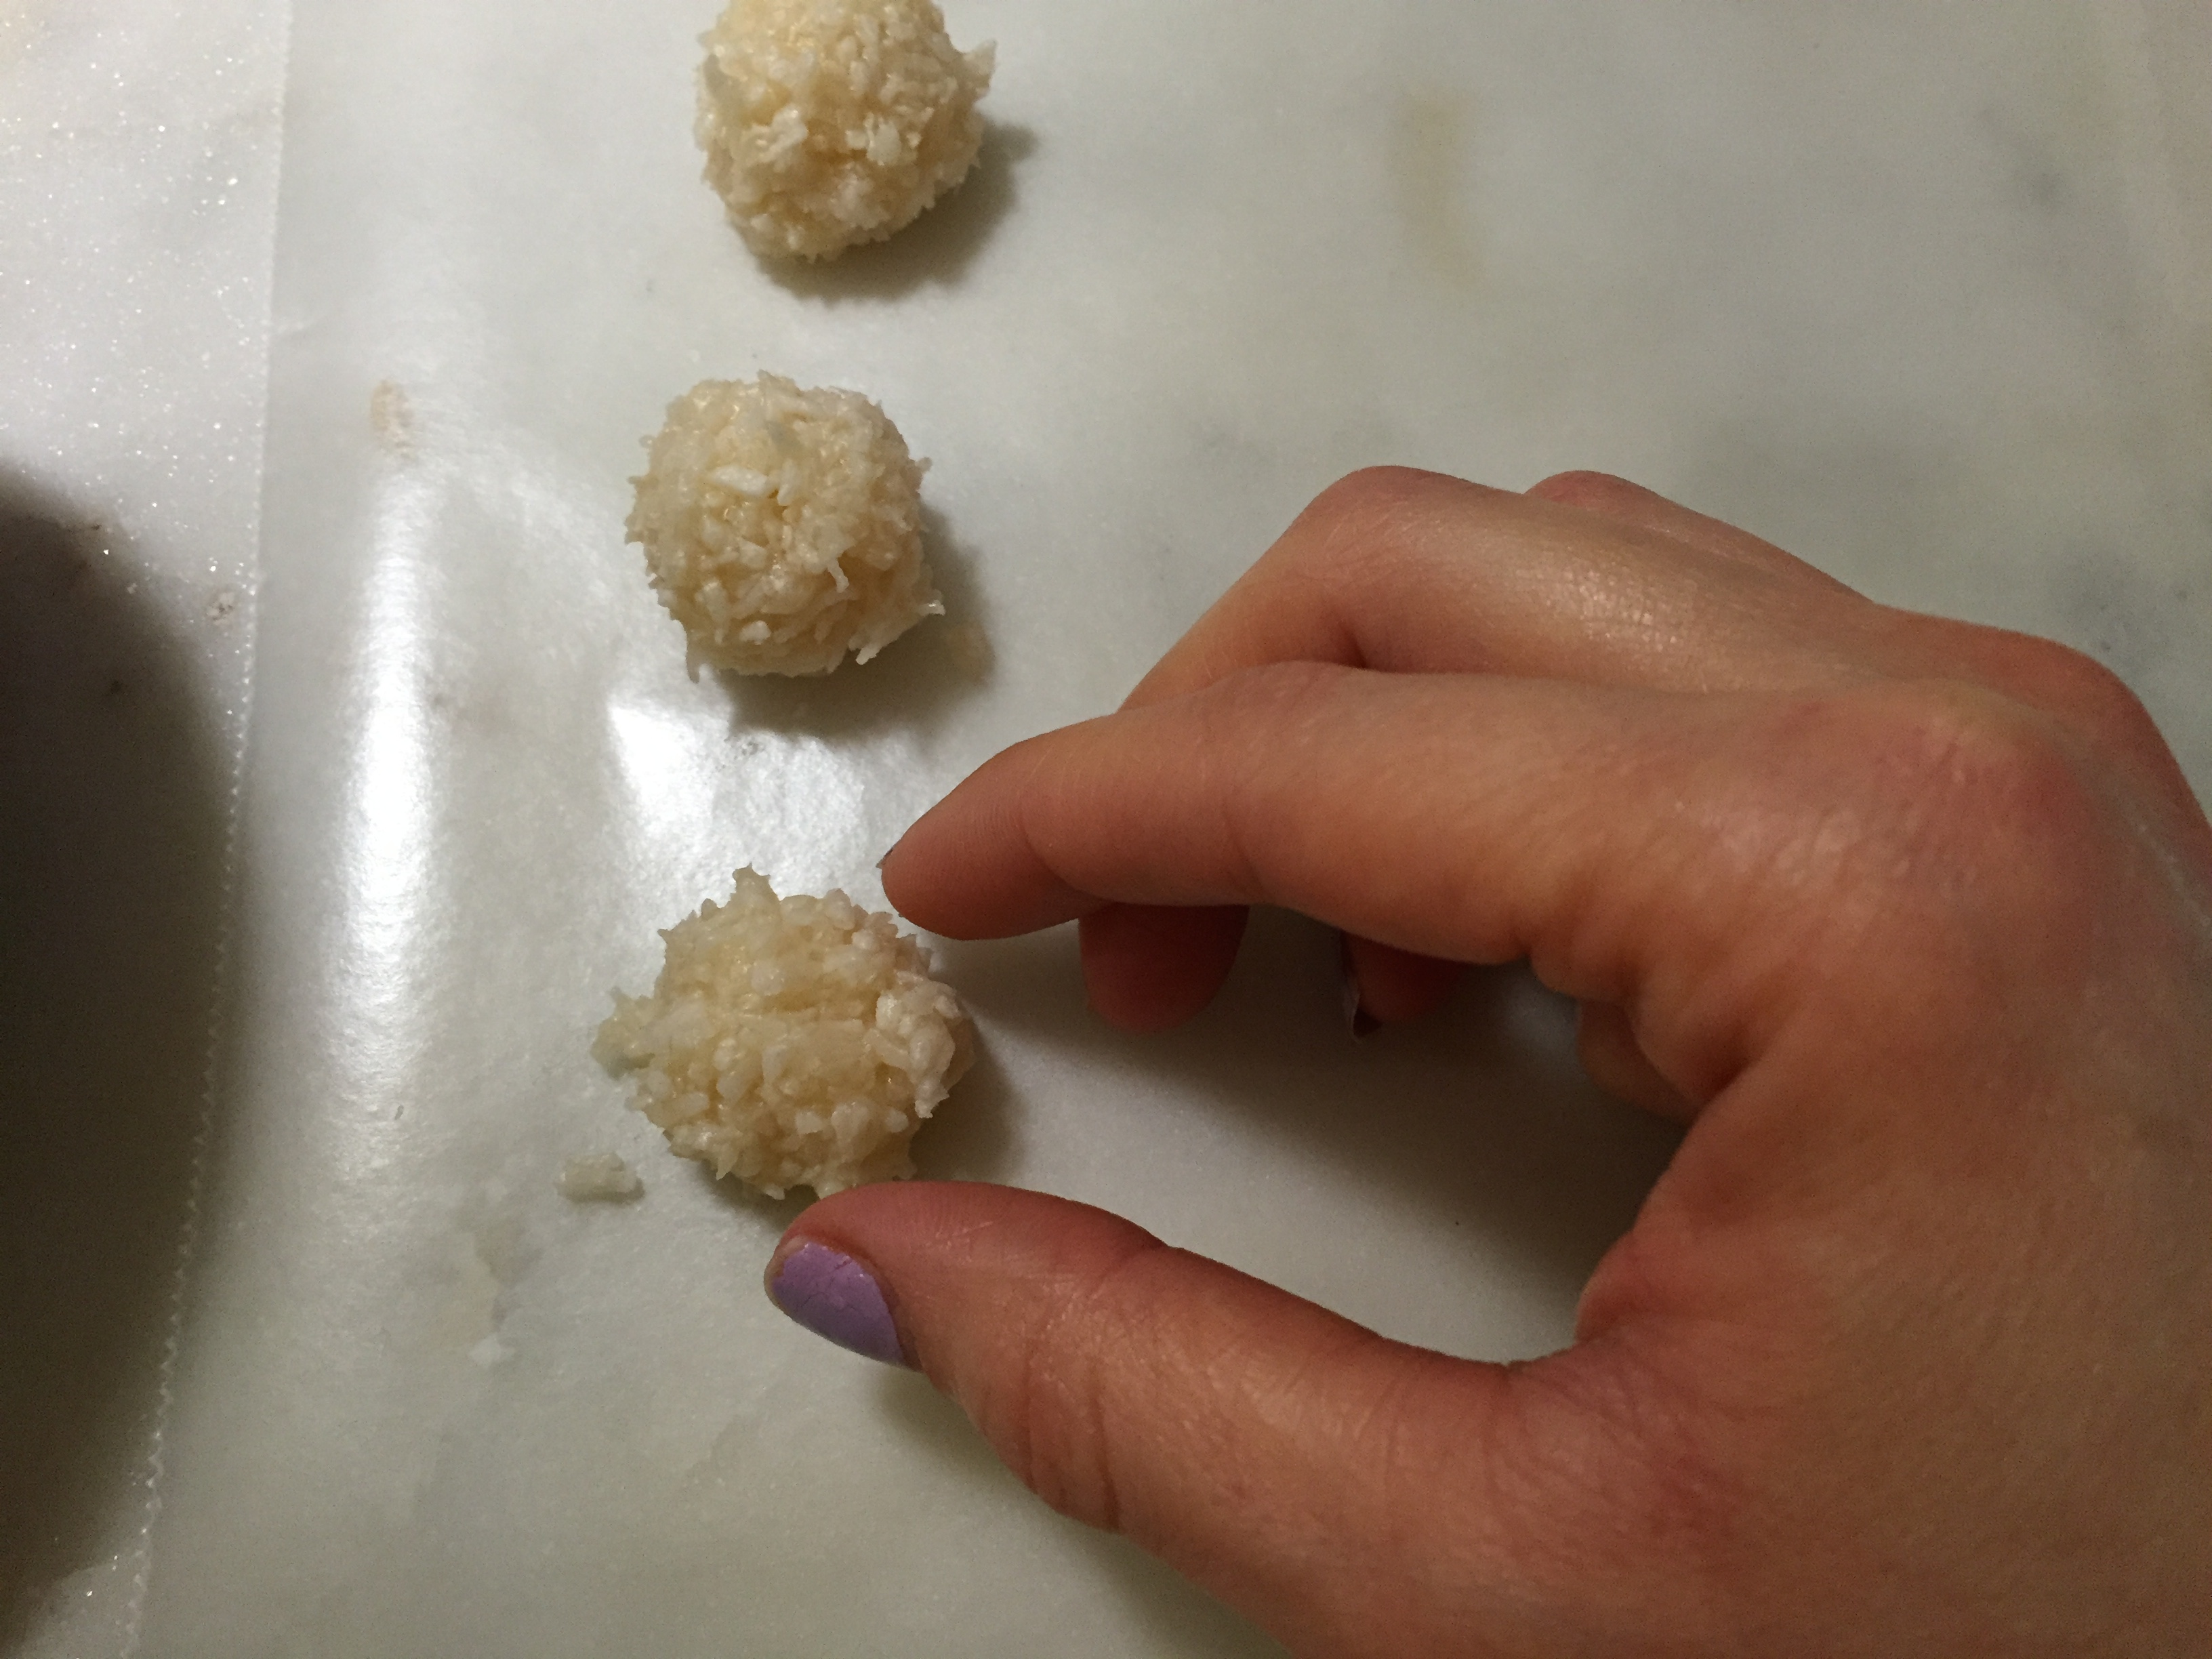
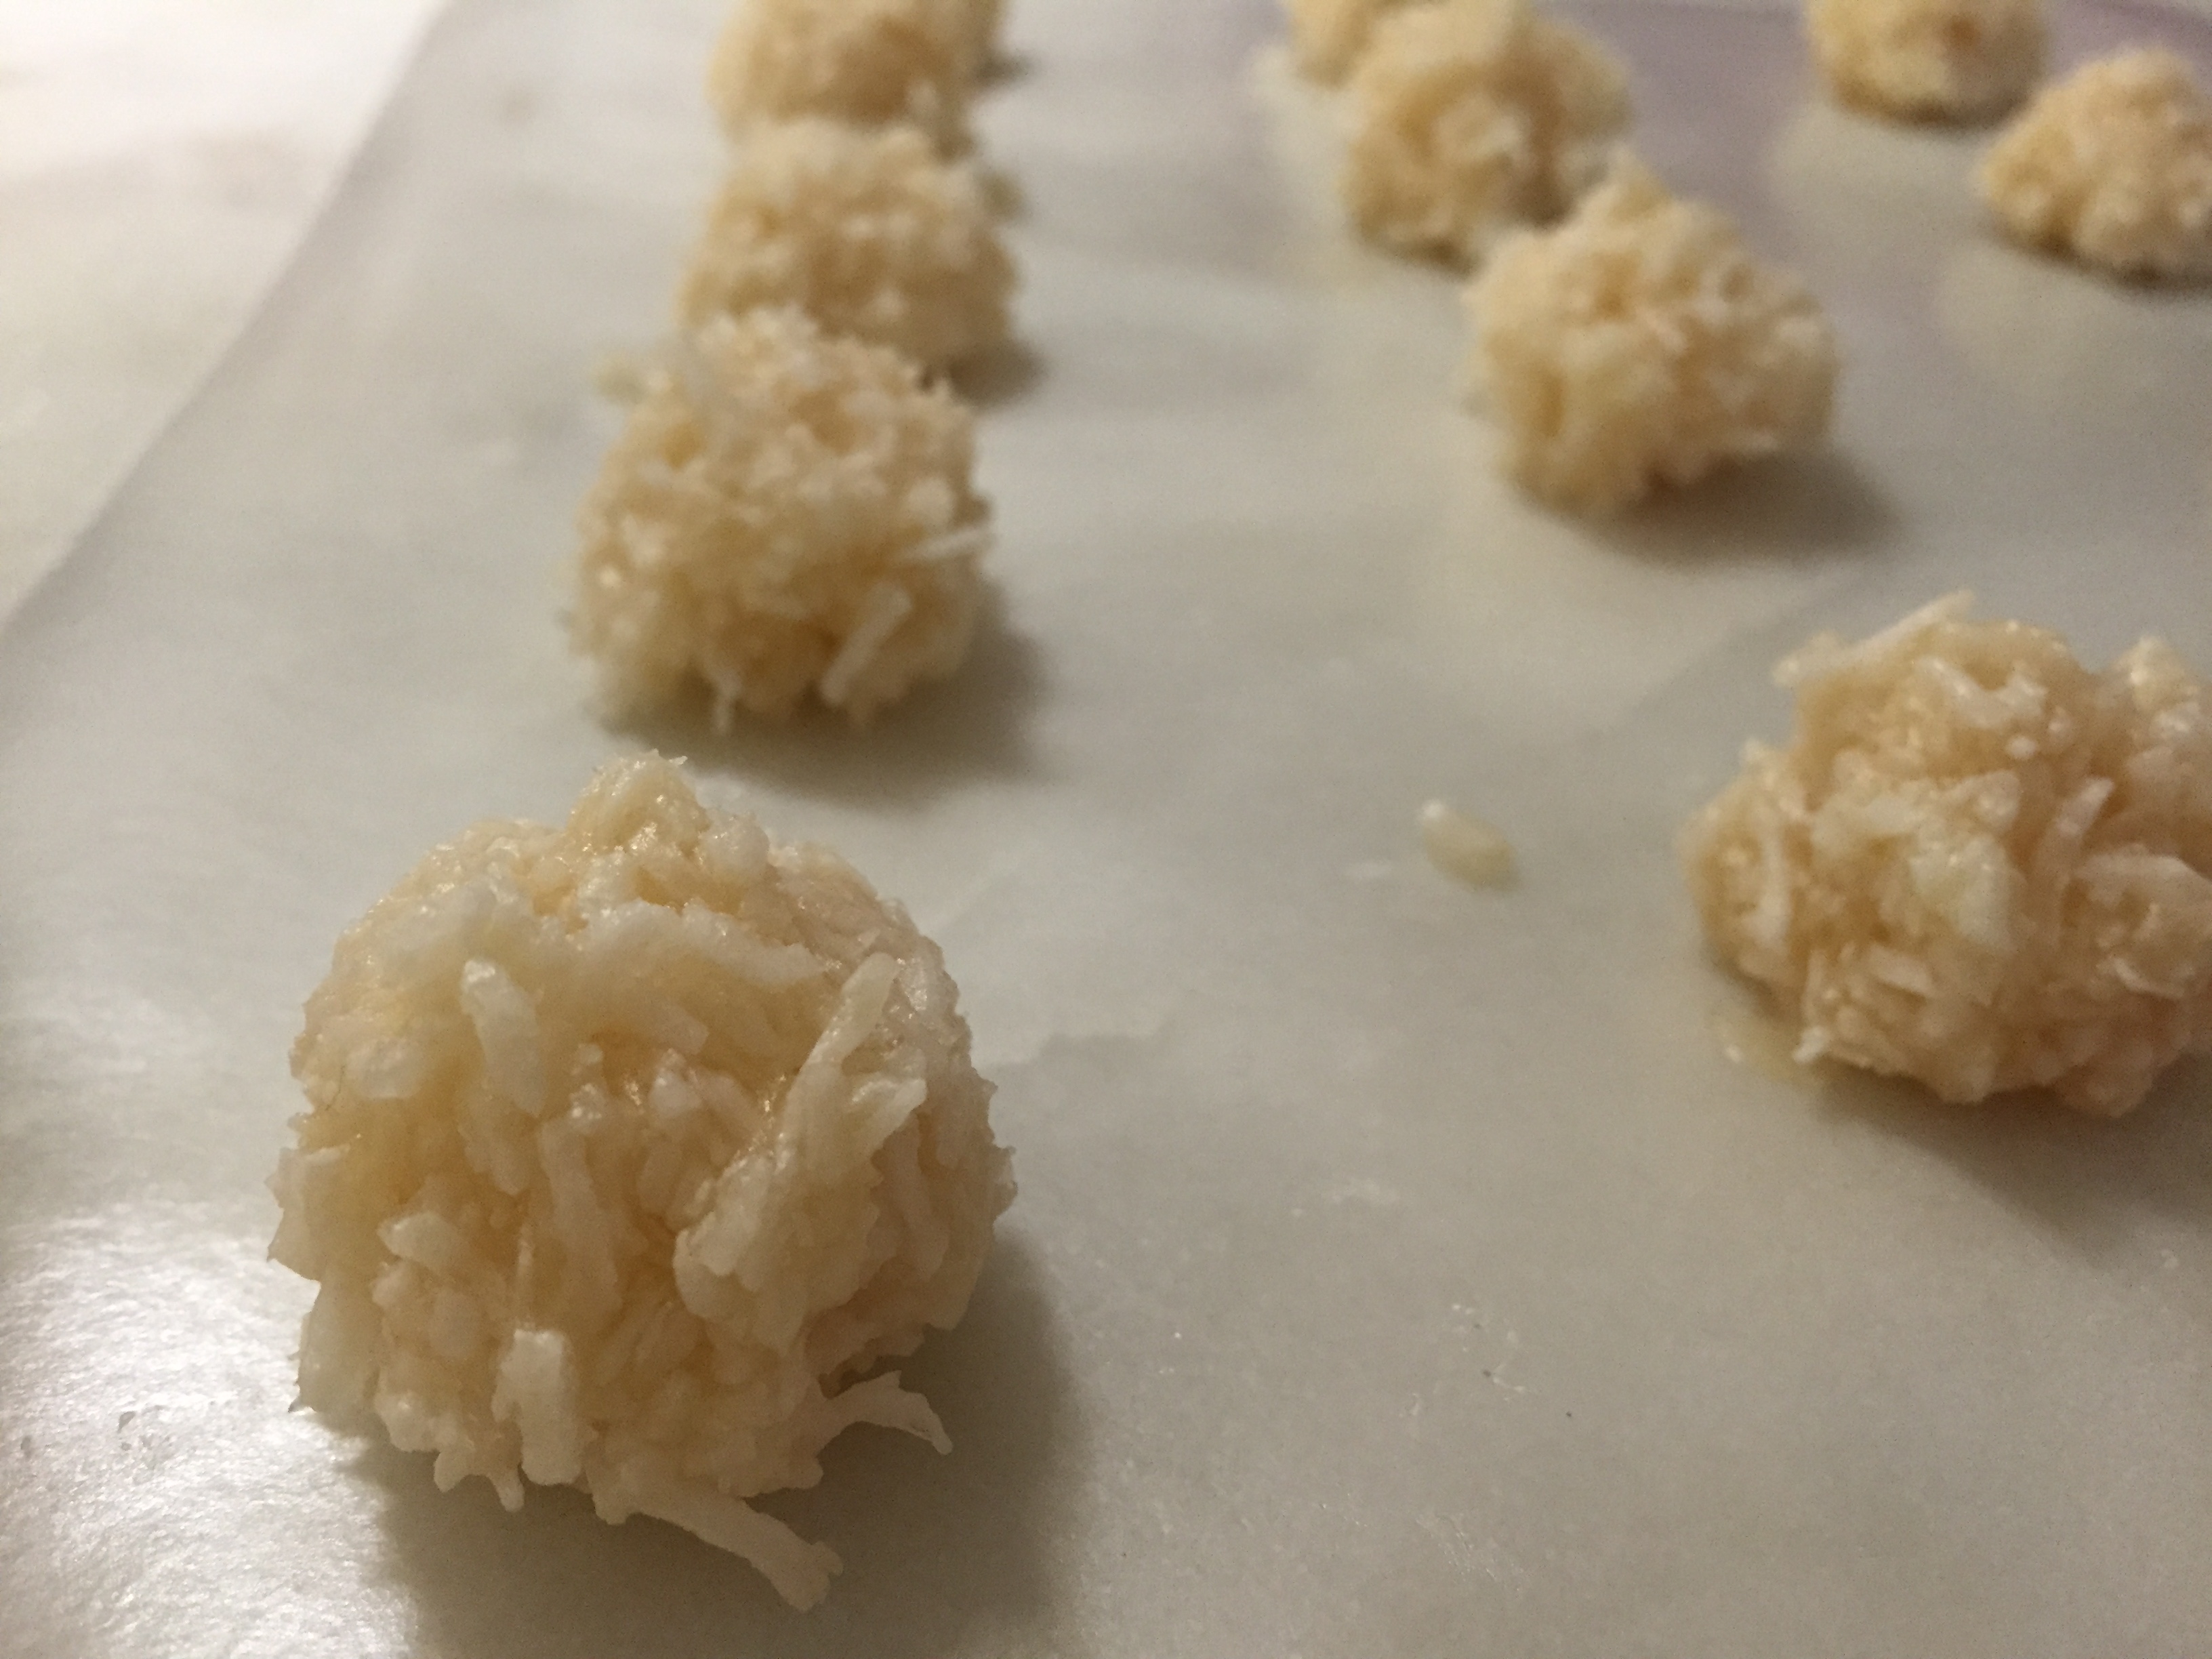
Tip: if you don’t have wax paper, use parchment paper. Wax paper is a better option for this recipe however because it allows for easy handling of the coconut as well as the chocolate.
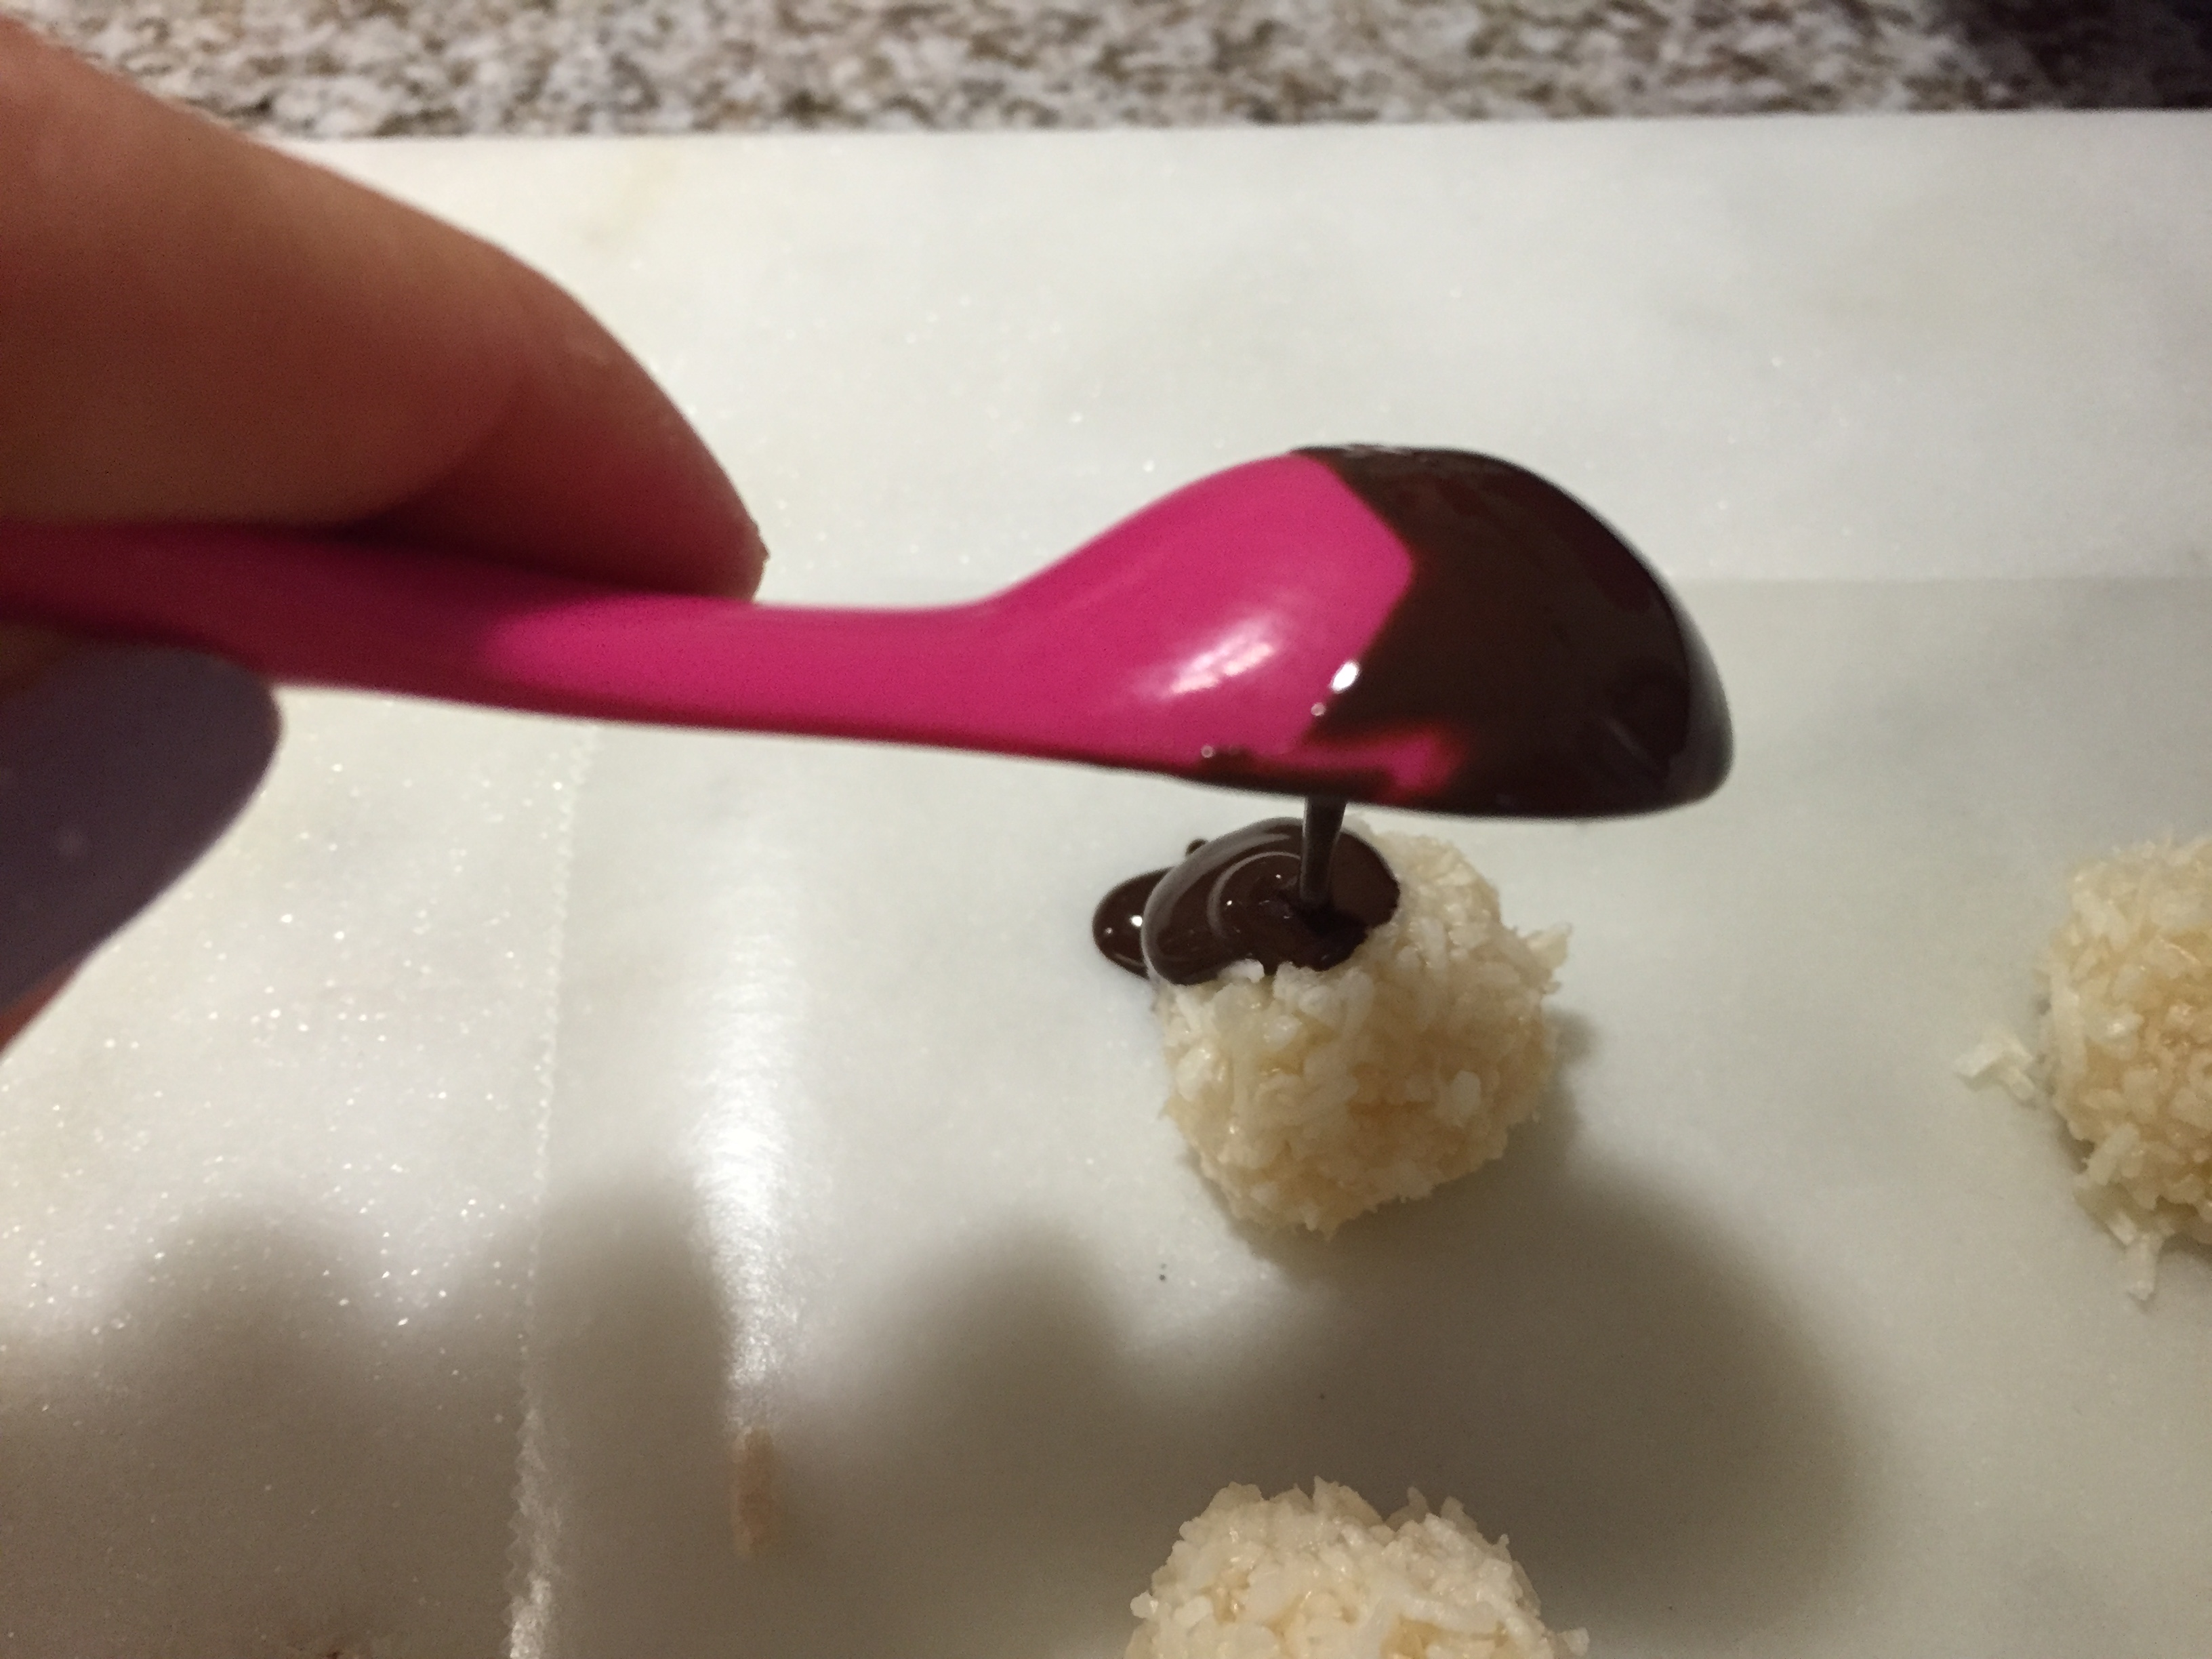
8. Once all of the coconut mixture is used up, cover with about a teaspoon of chocolate per coconut ball.
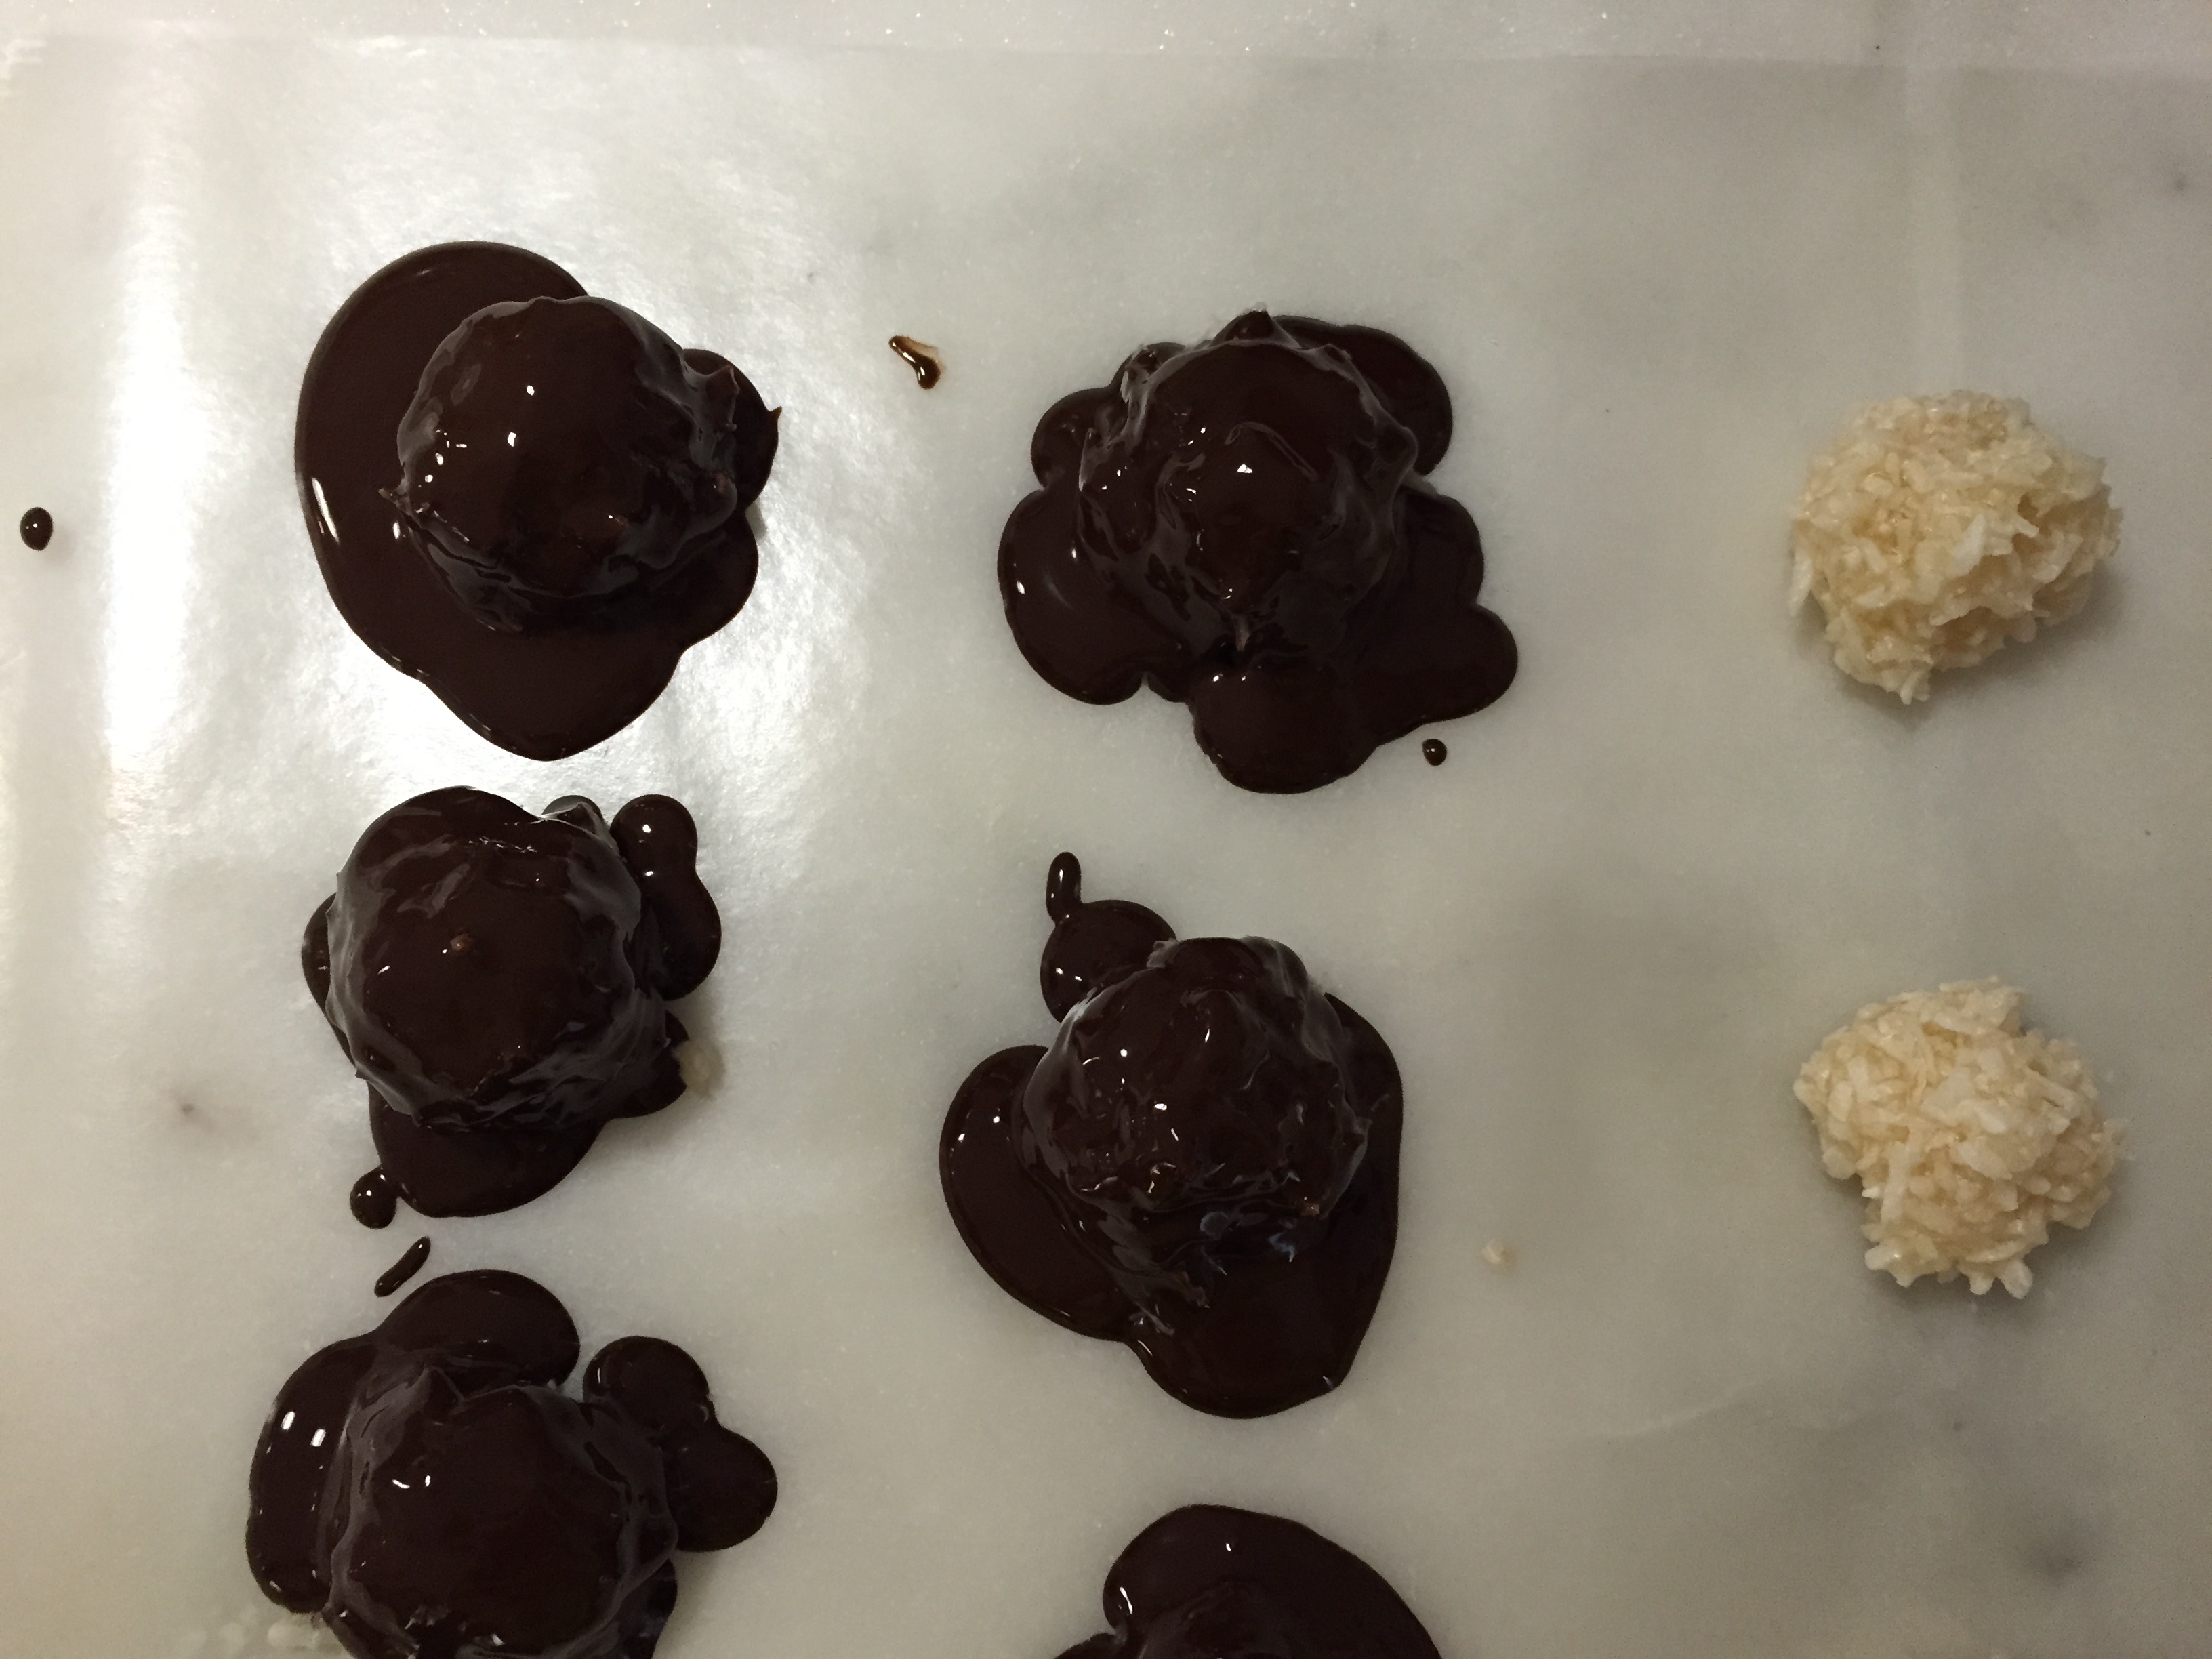
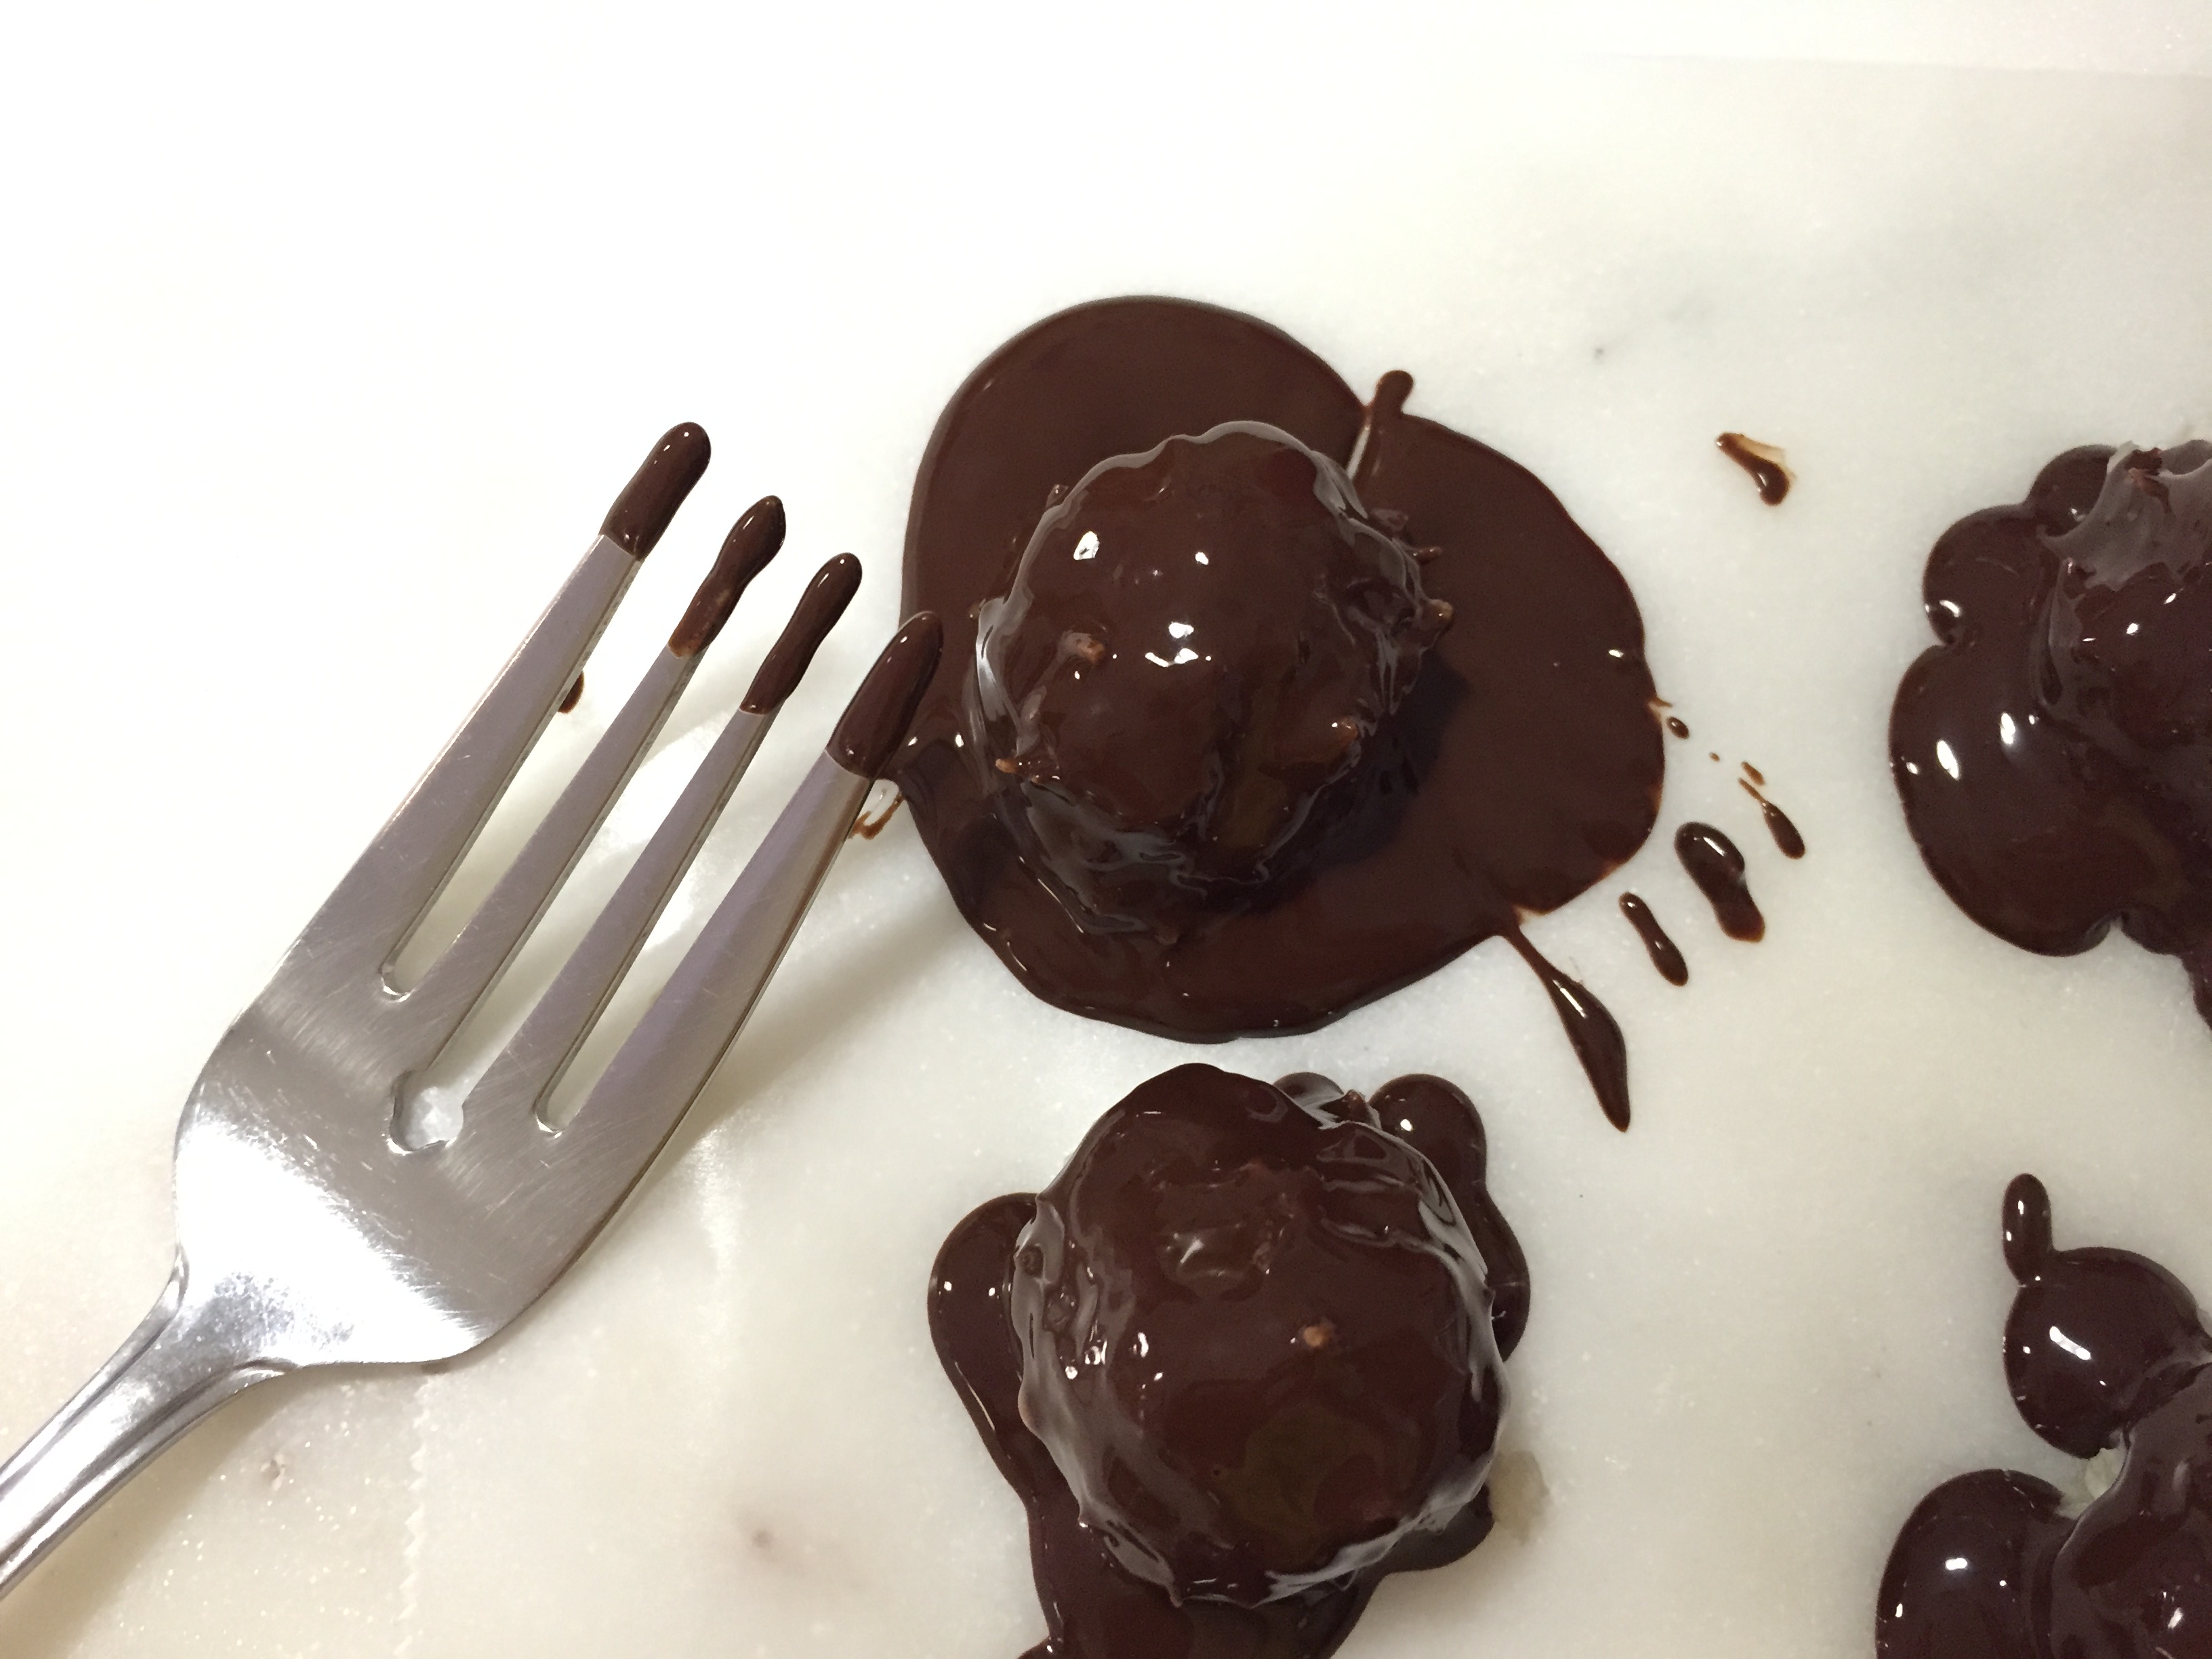
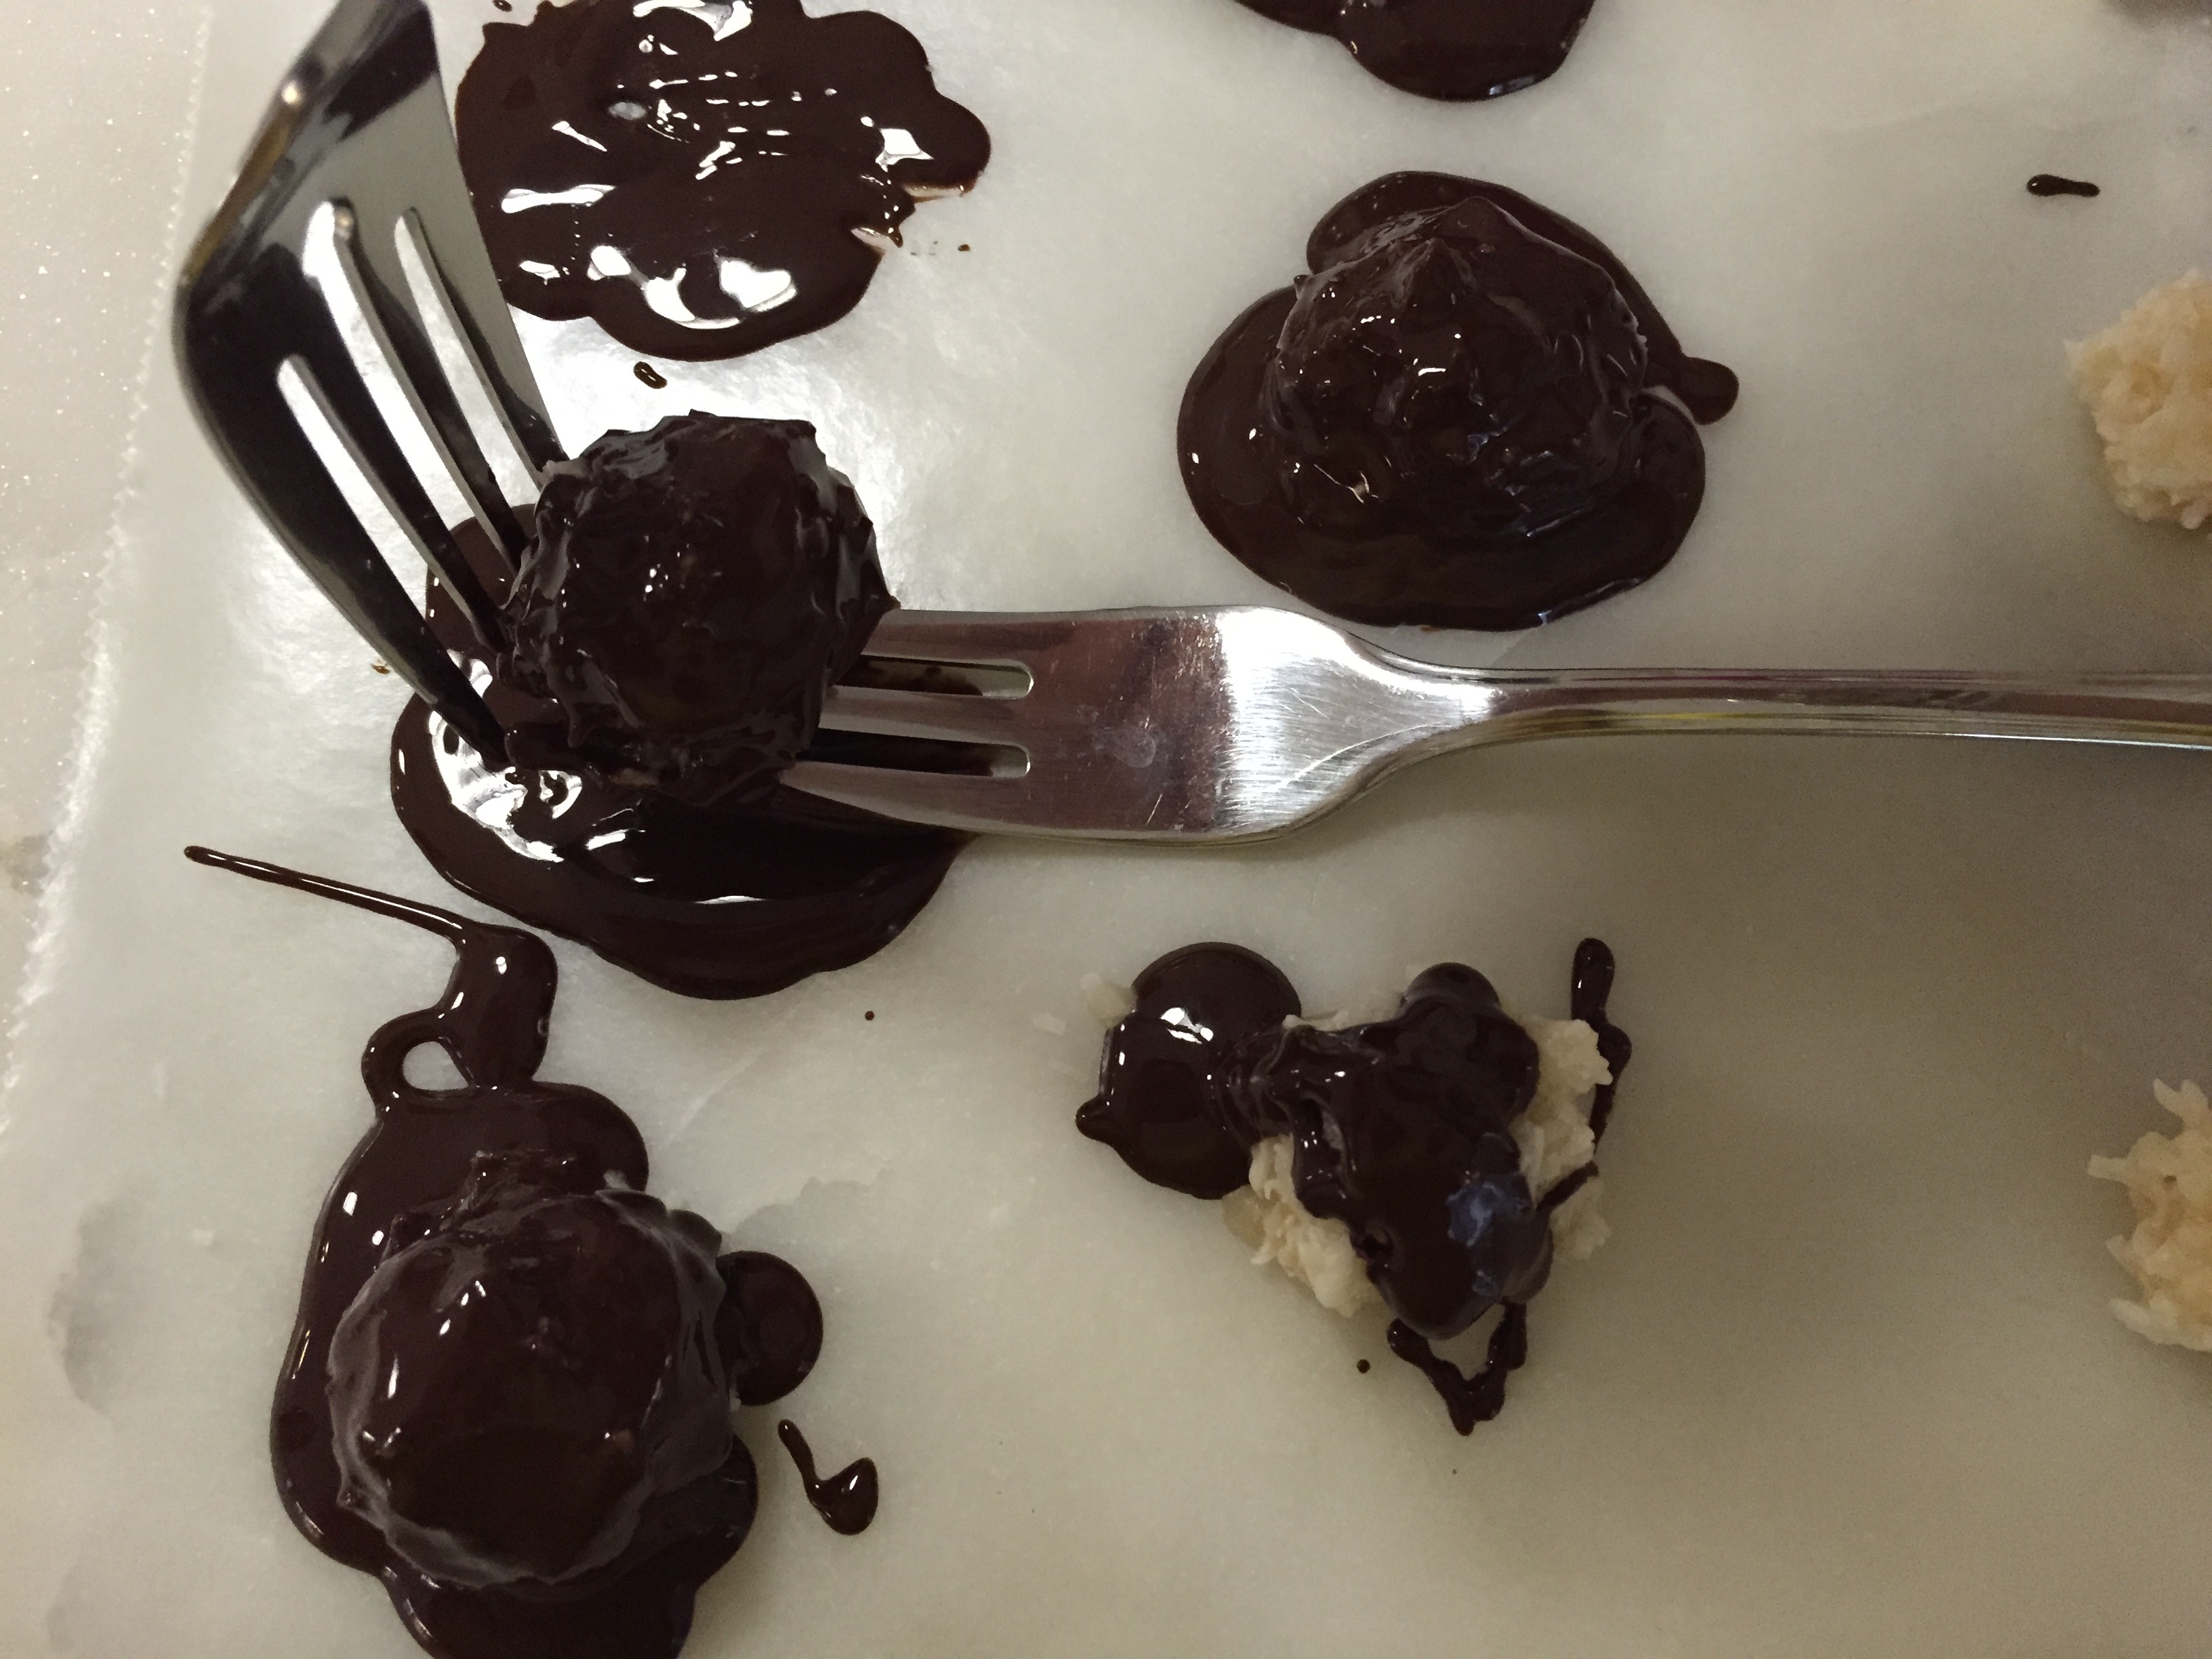
9. Using two forks, begin to roll each bite in the chocolate that has slid off the coconut, as shown. Place covered bites on a clean sheet of wax paper. Continue this step until all coconut balls are fully covered in chocolate.
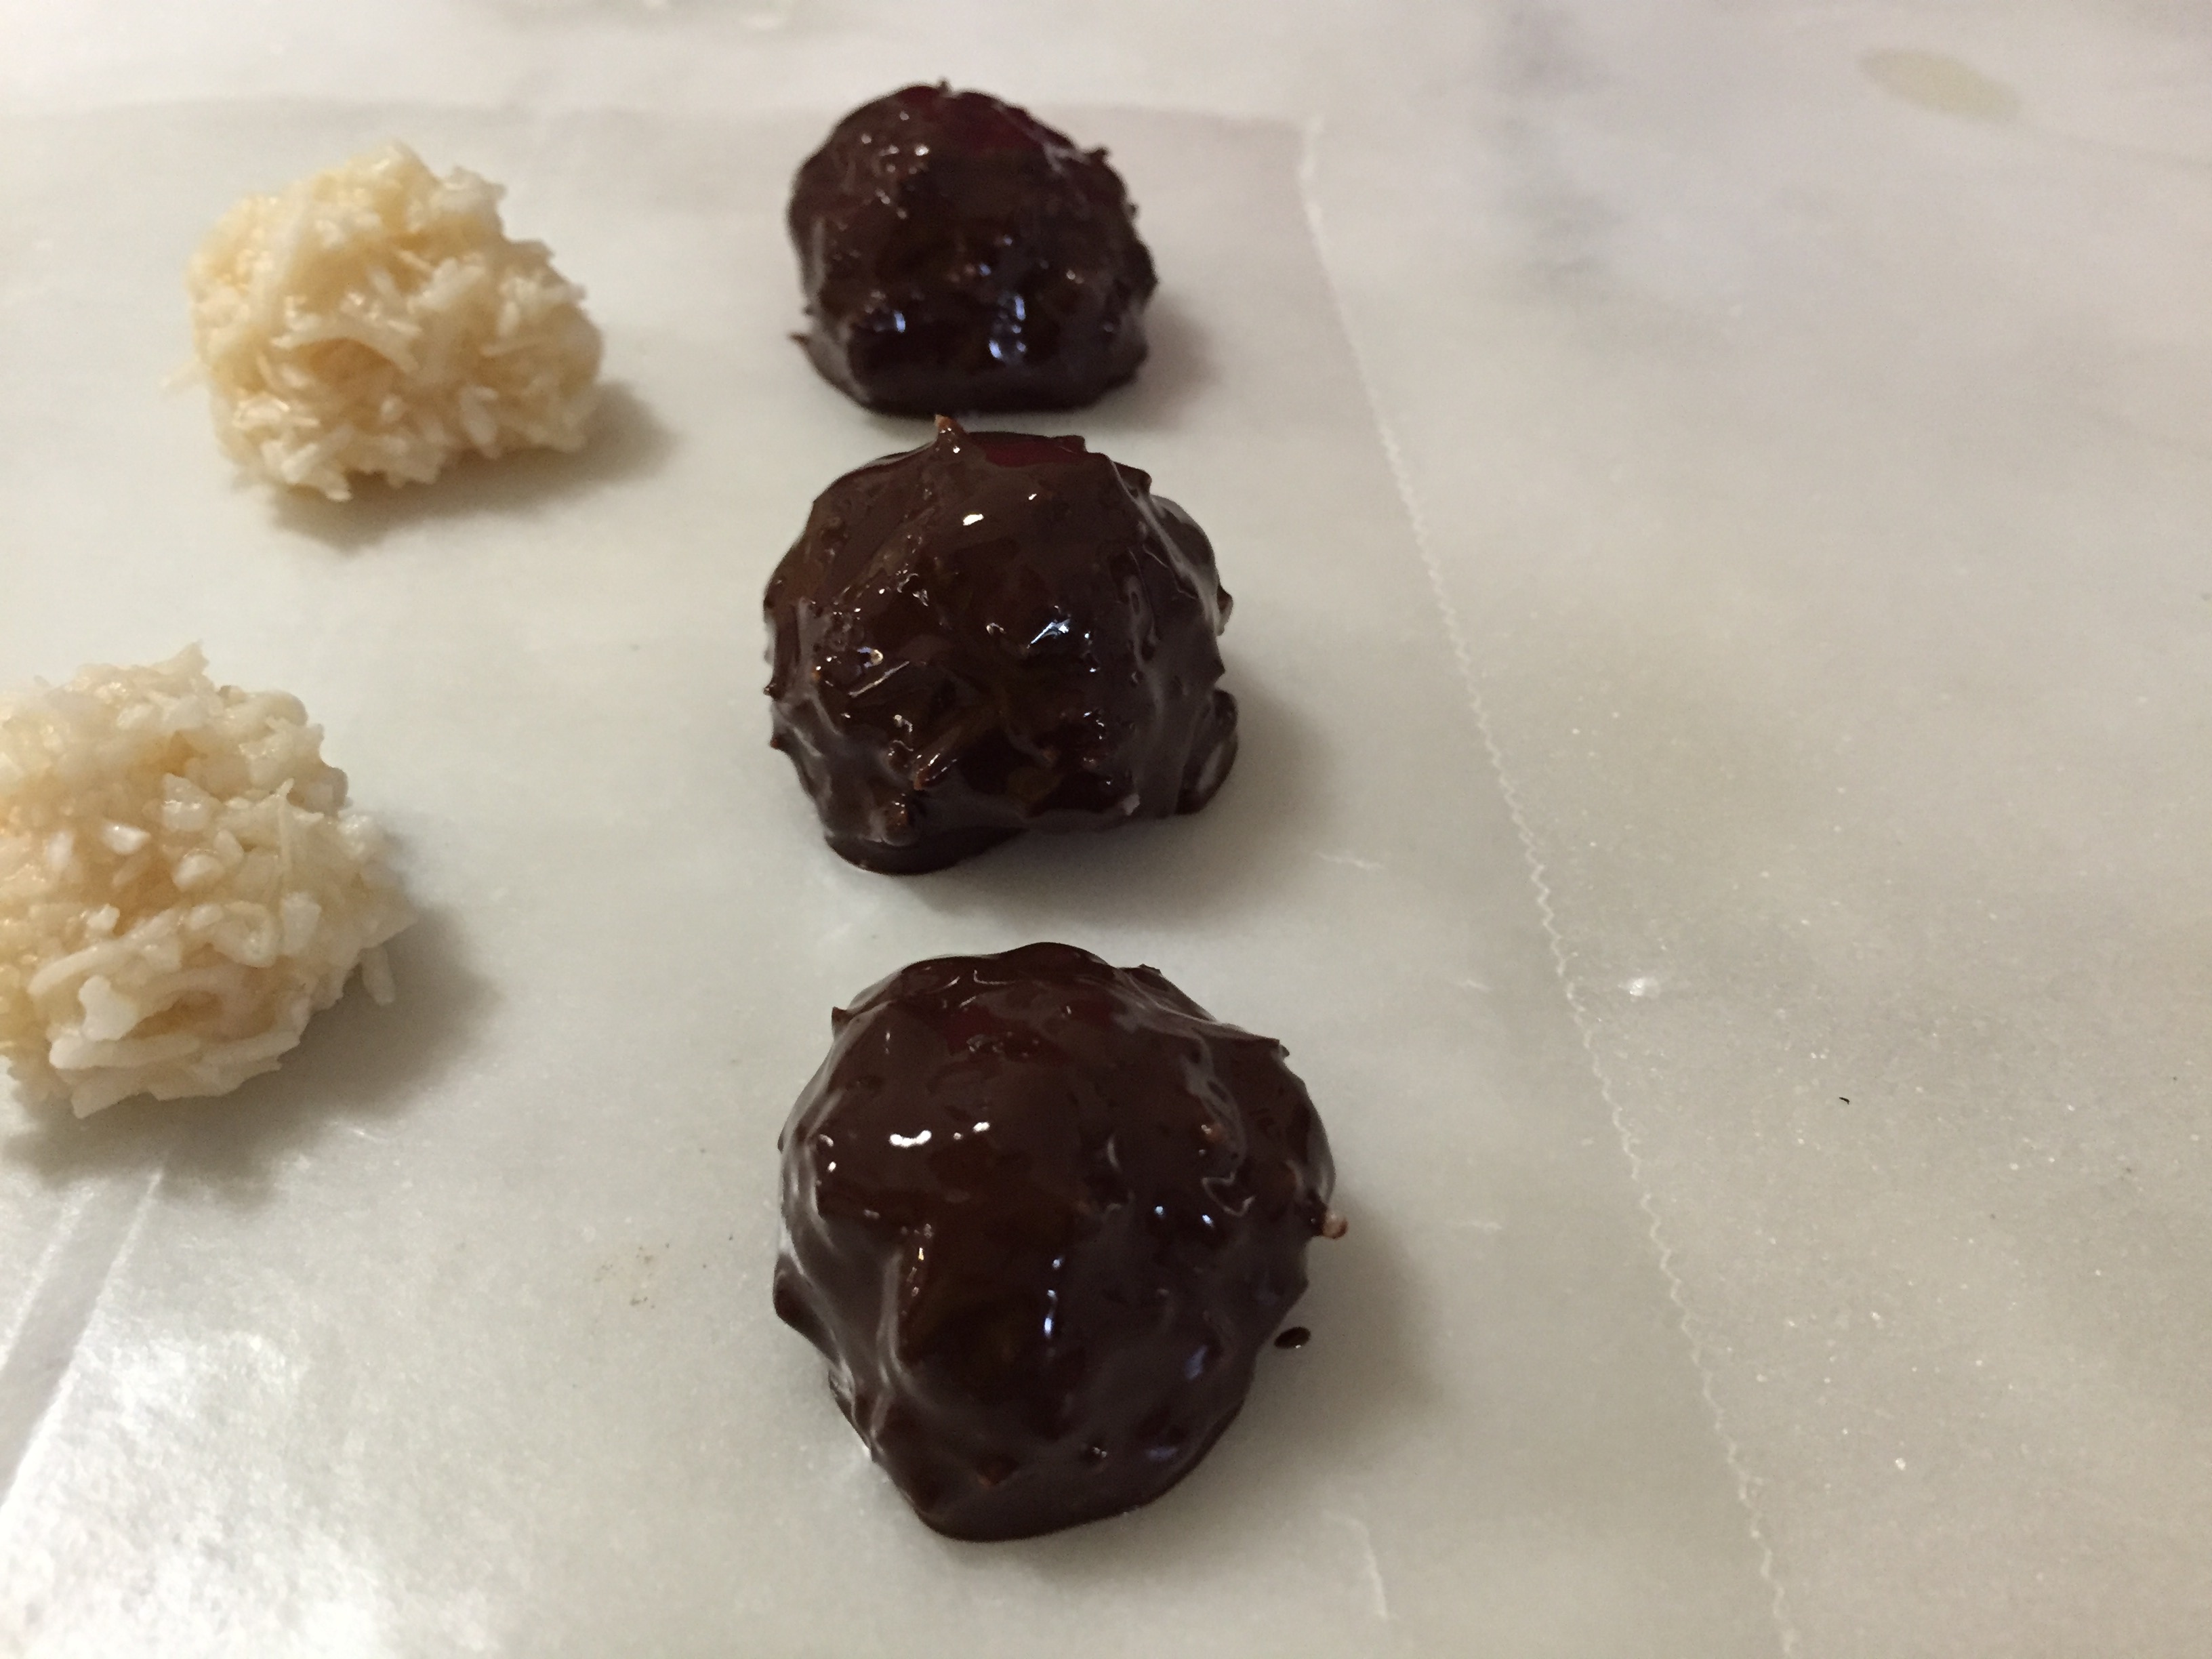
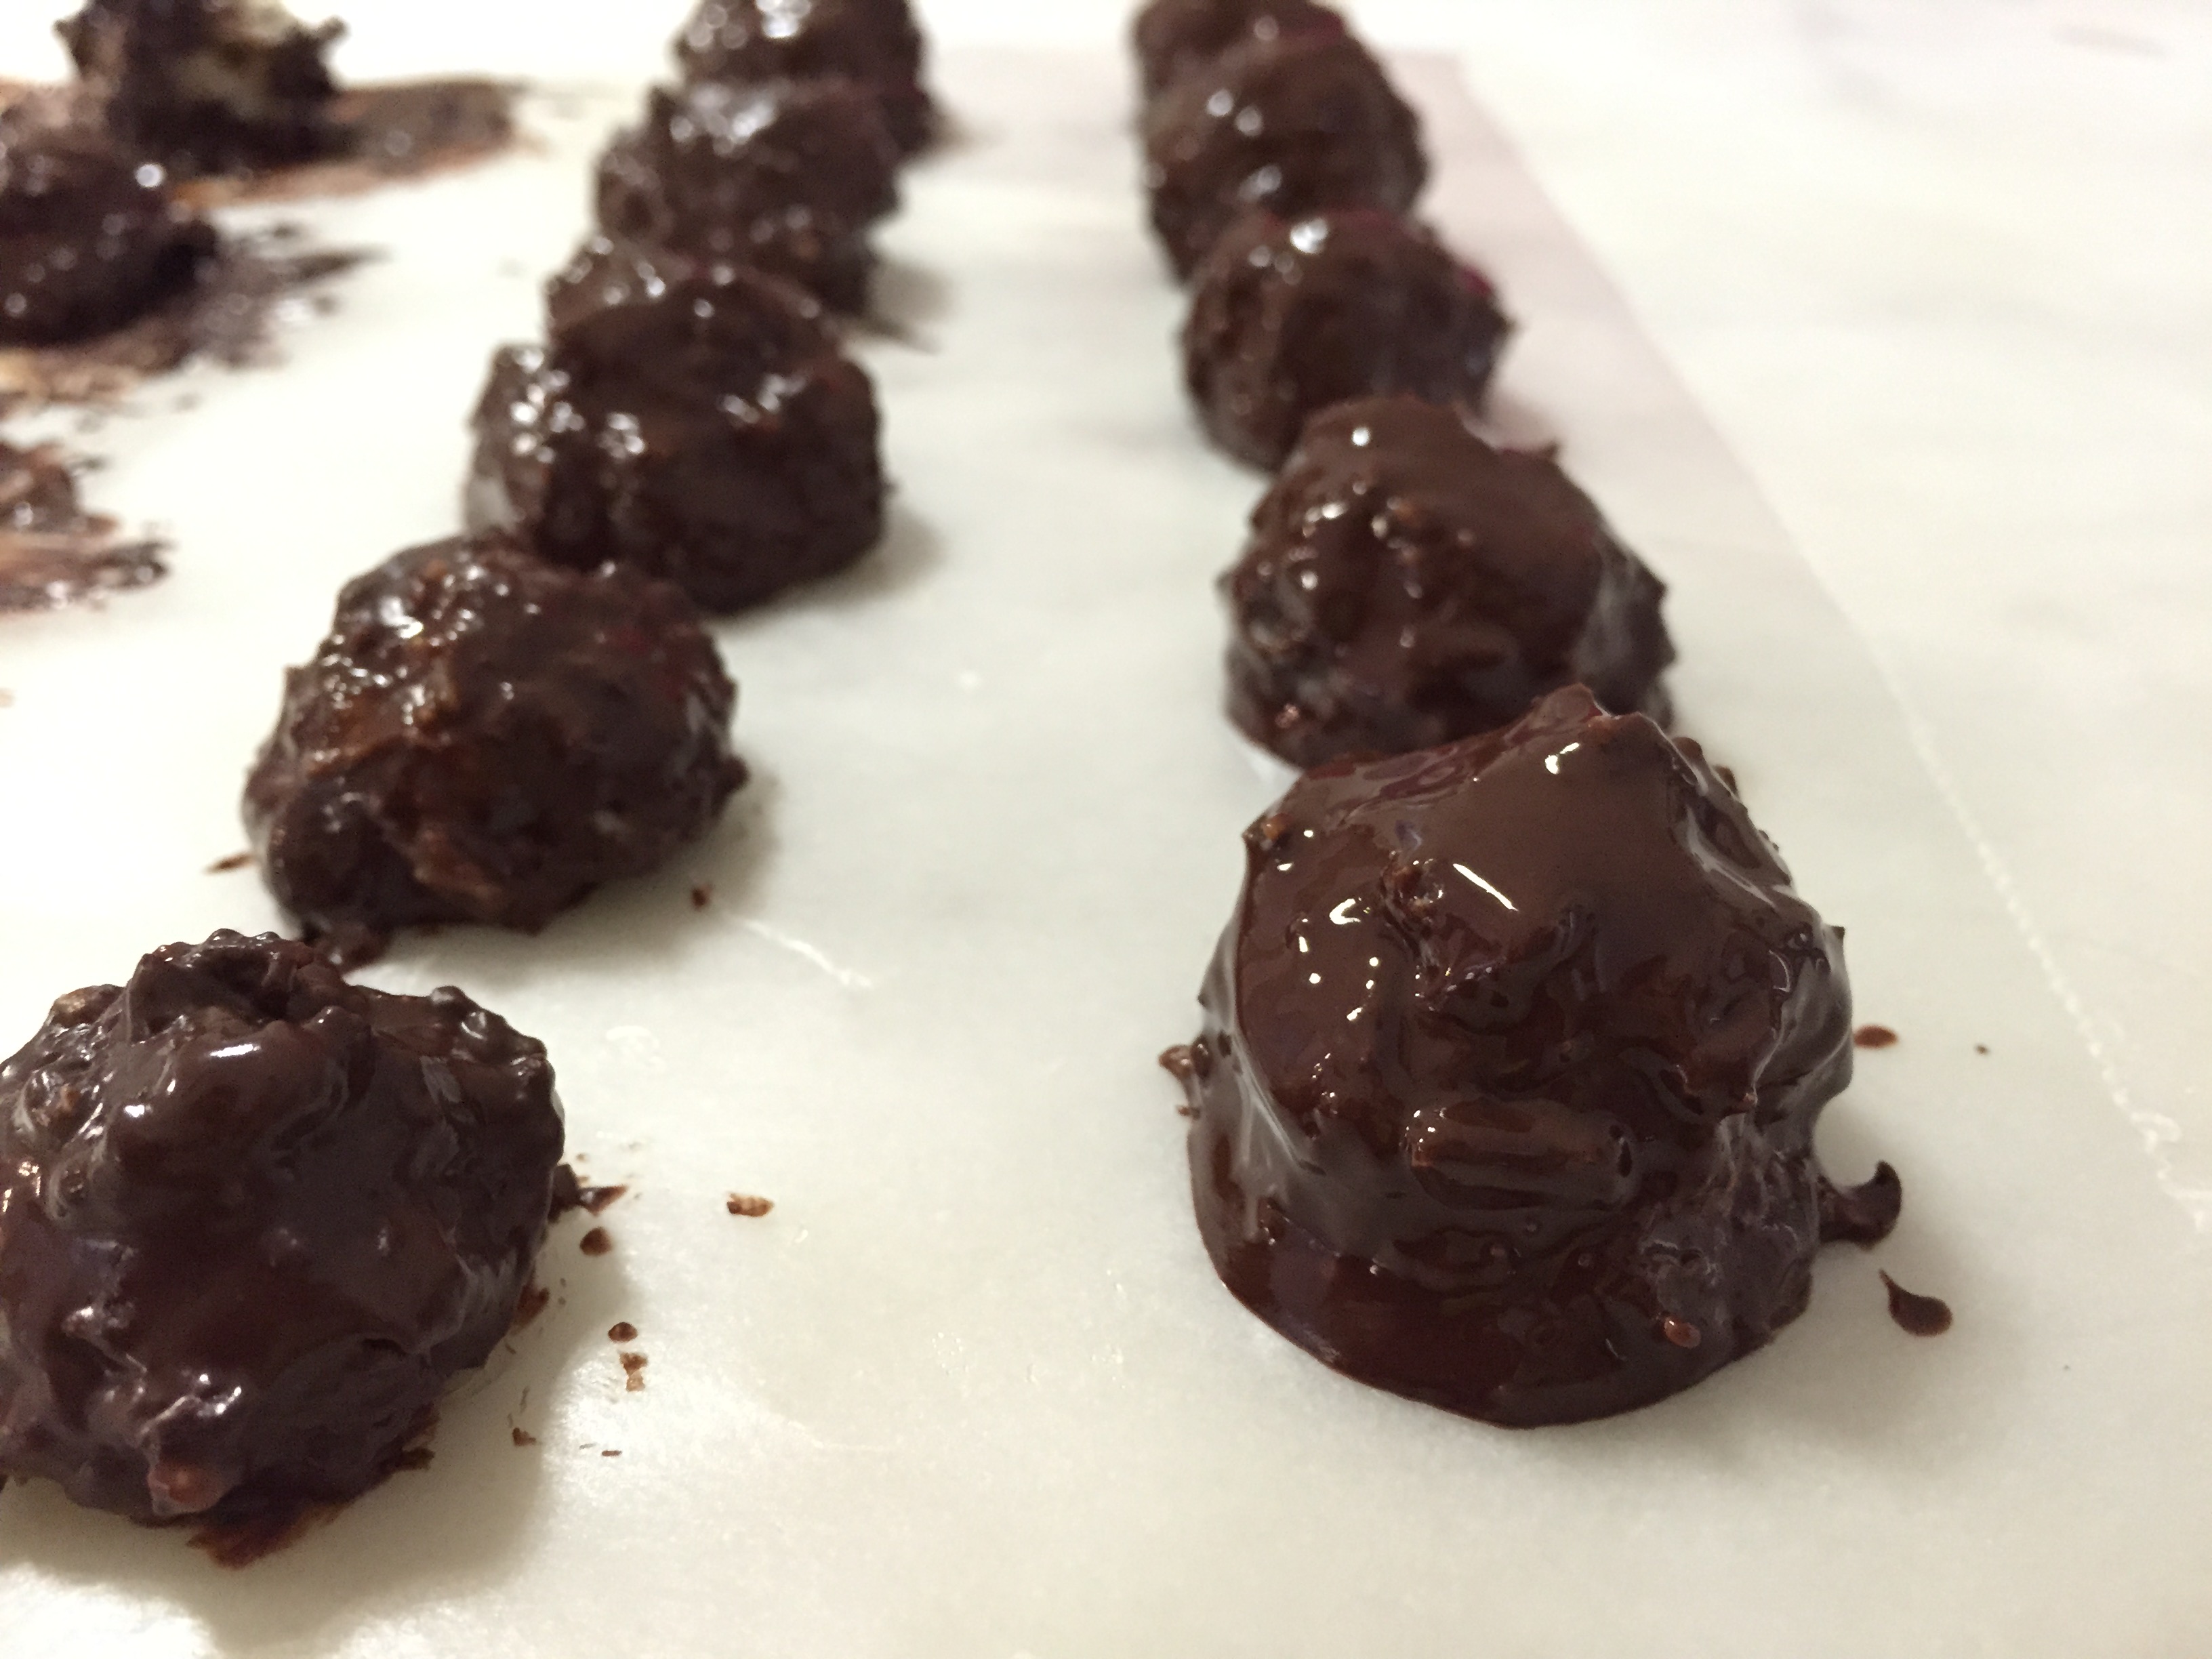
Place in the freezer for 15 minutes, or in the fridge for approximately 35-40 minutes, until chocolate is firm and set.
10. Remove from freezer/fridge and gently pop chocolate coconut bites out of moulds (if using).
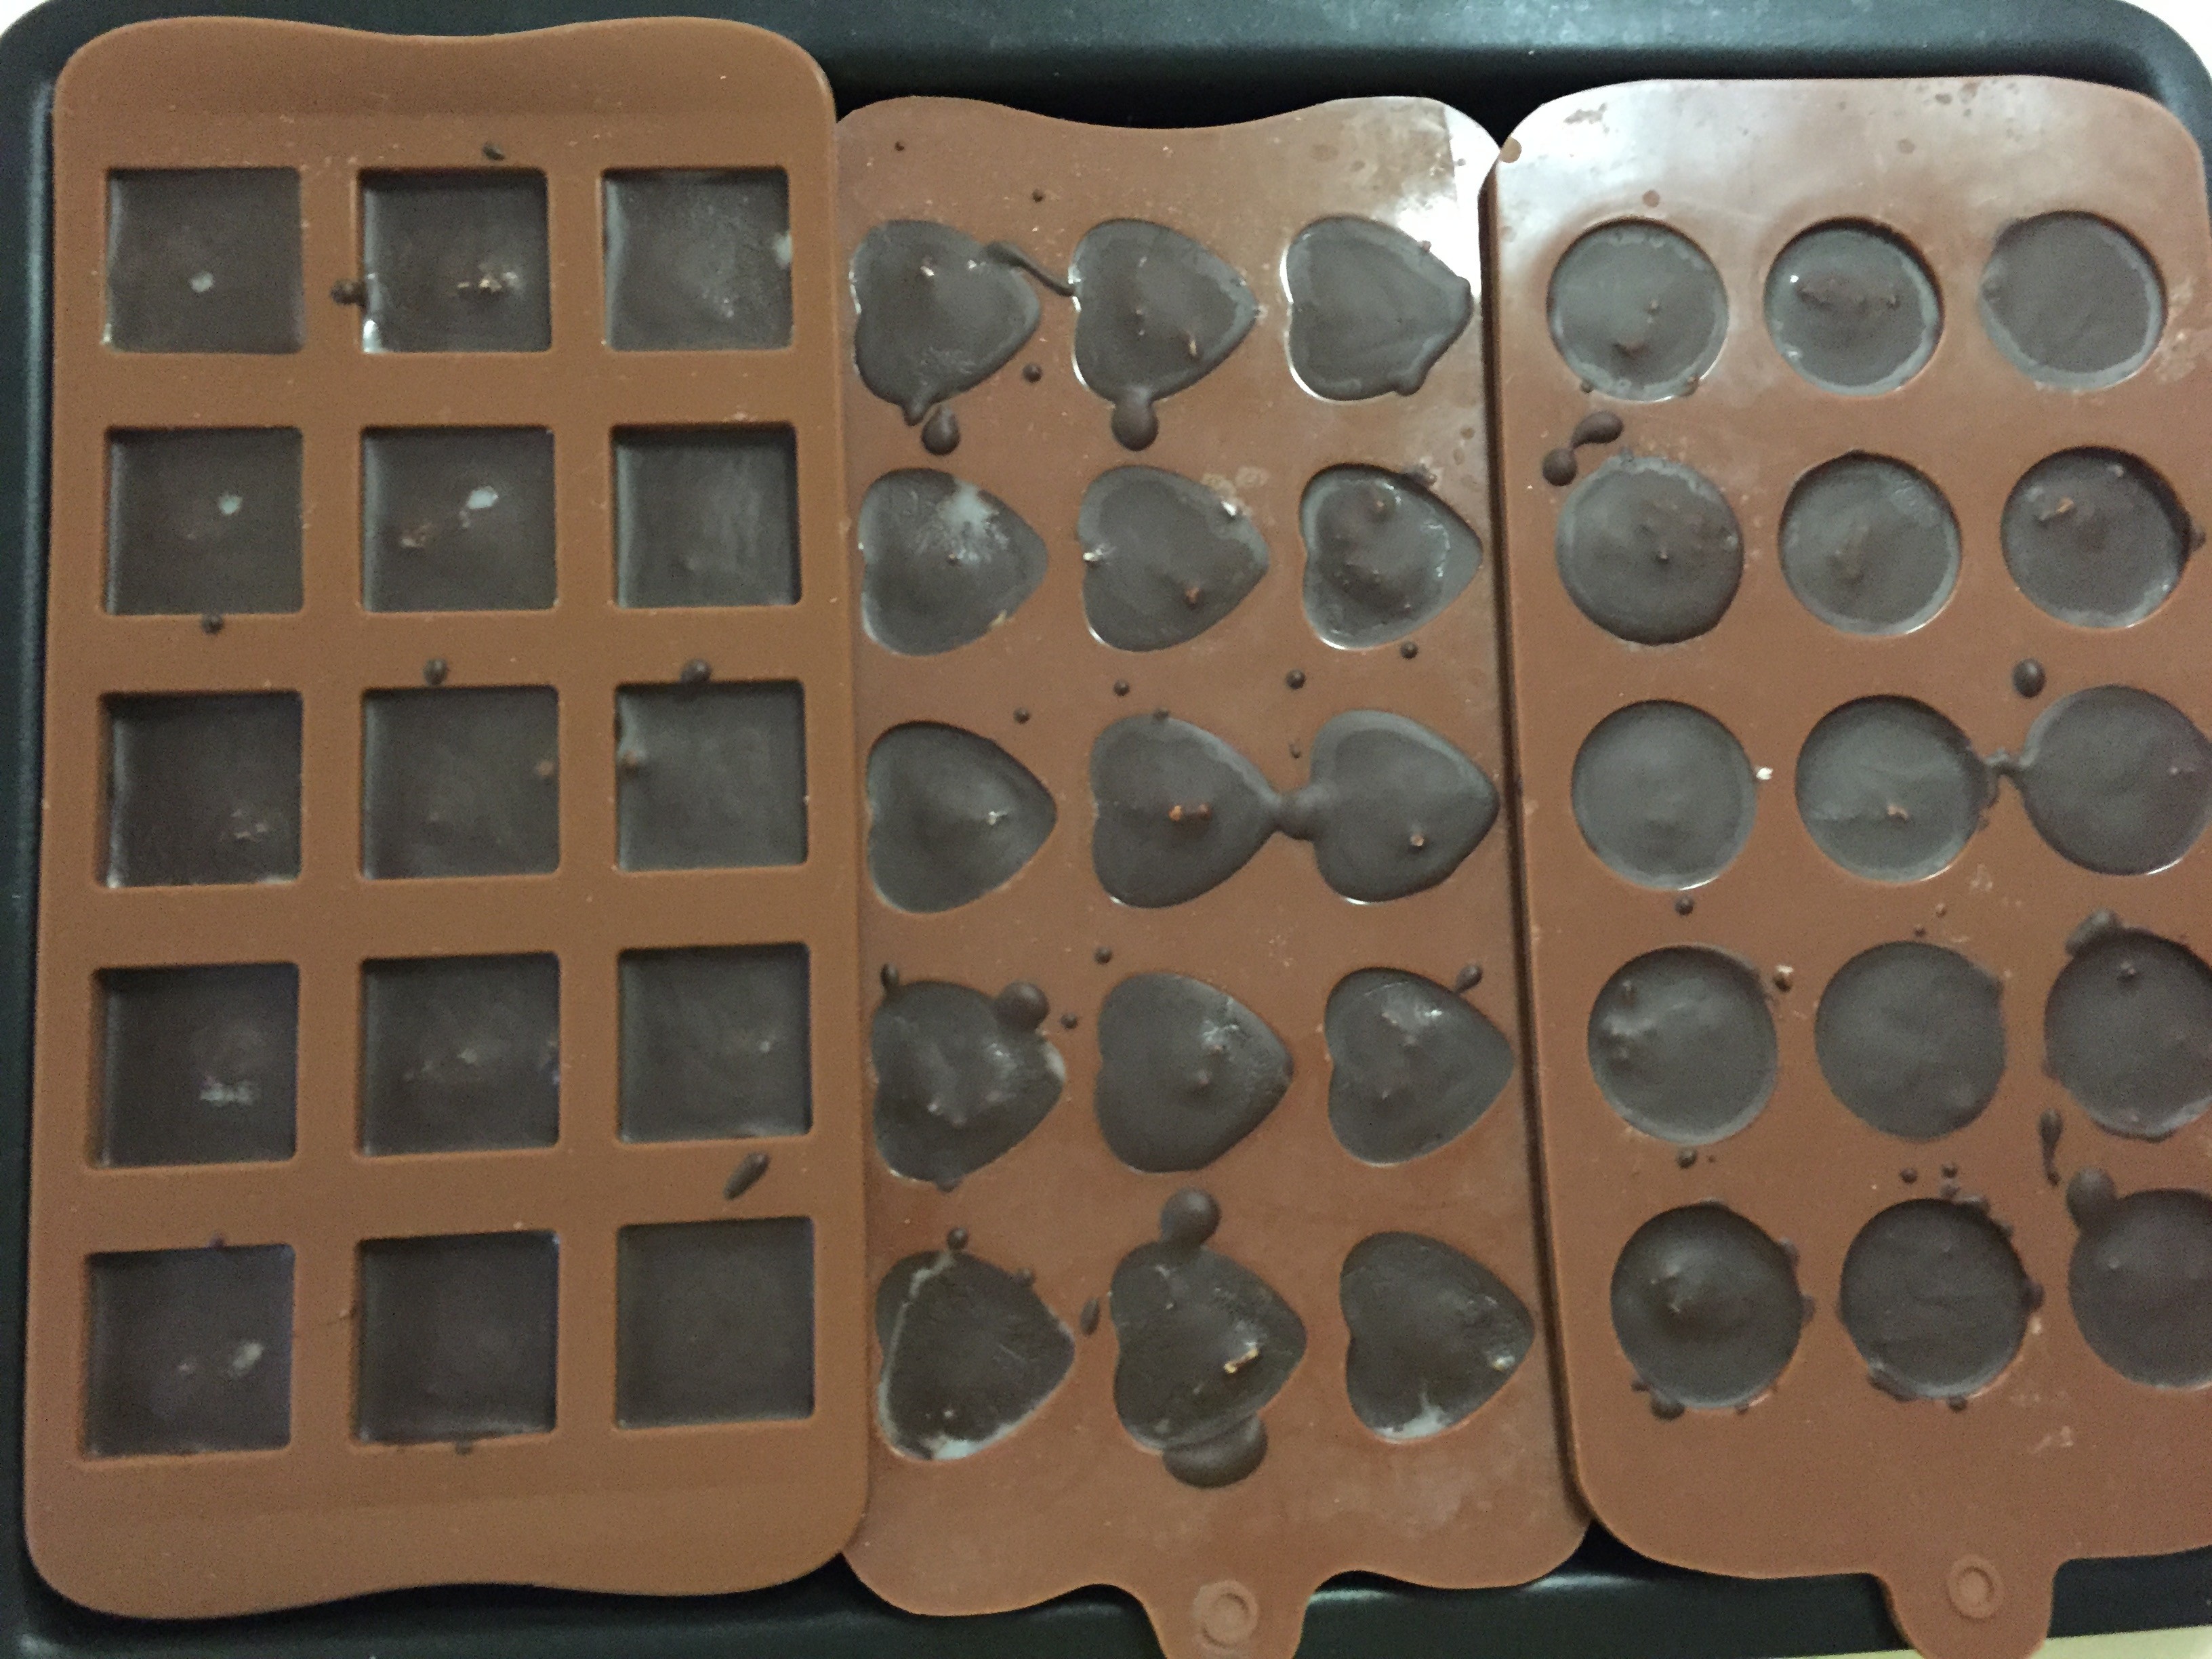
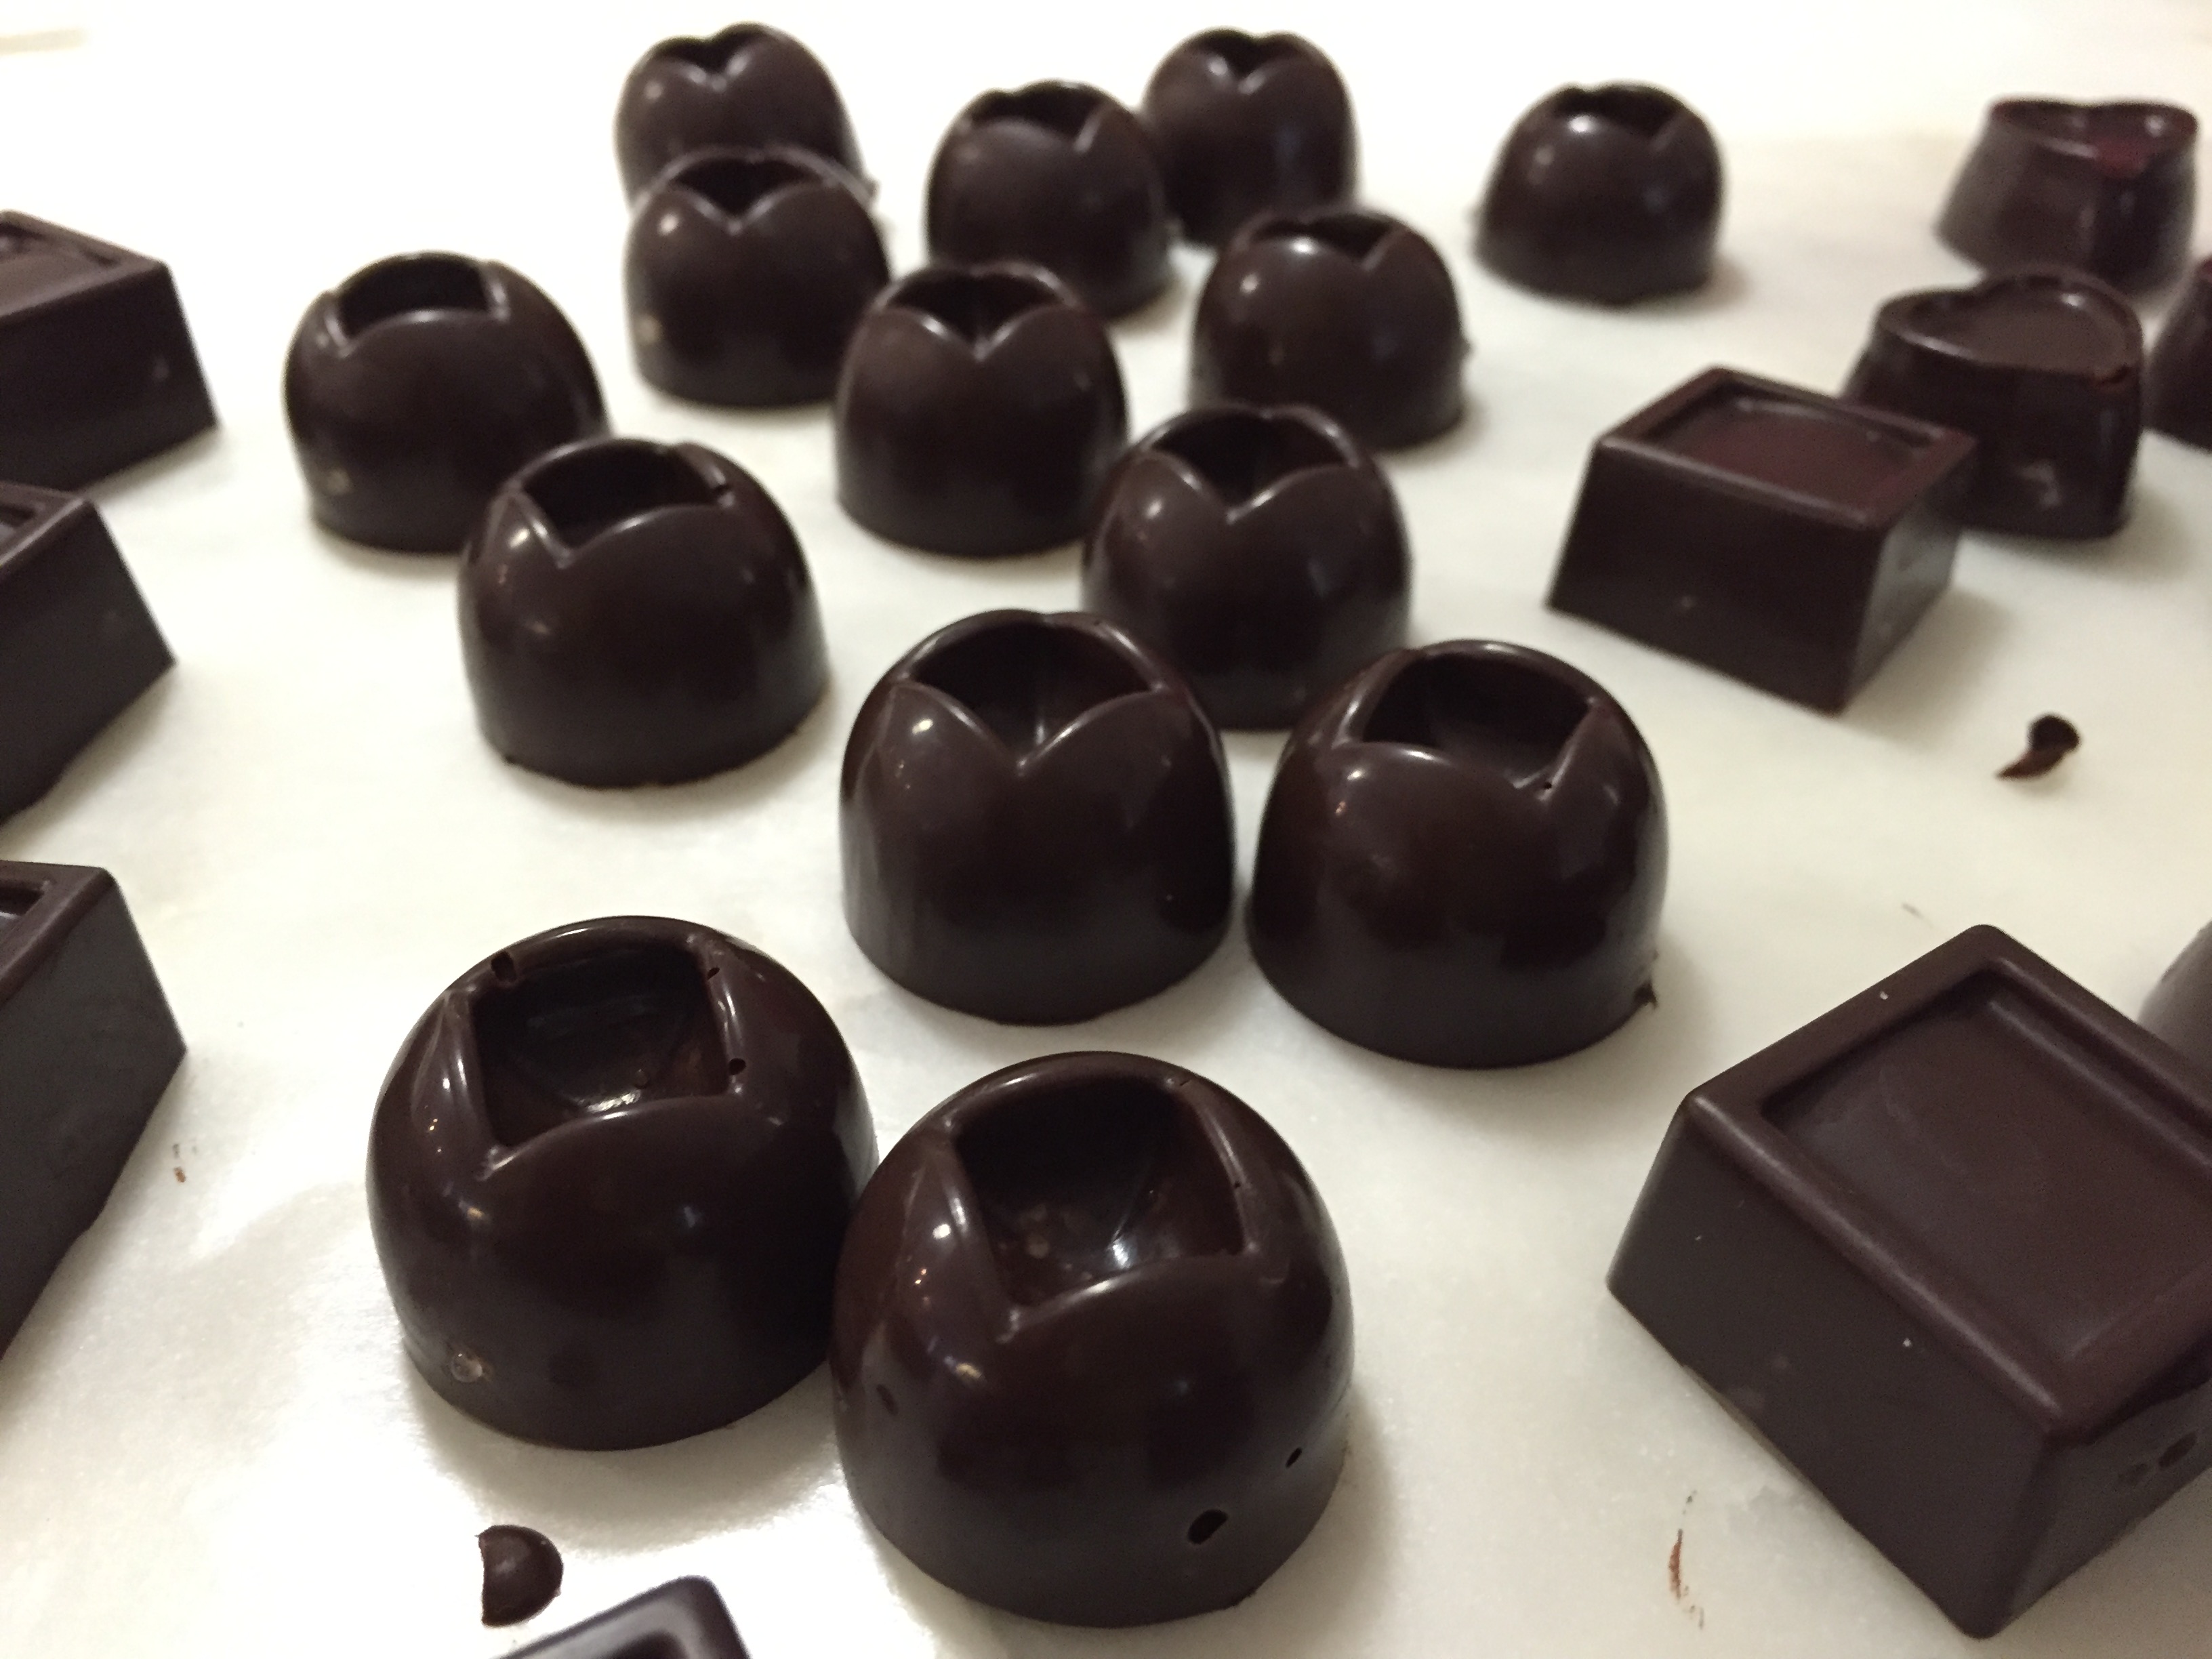
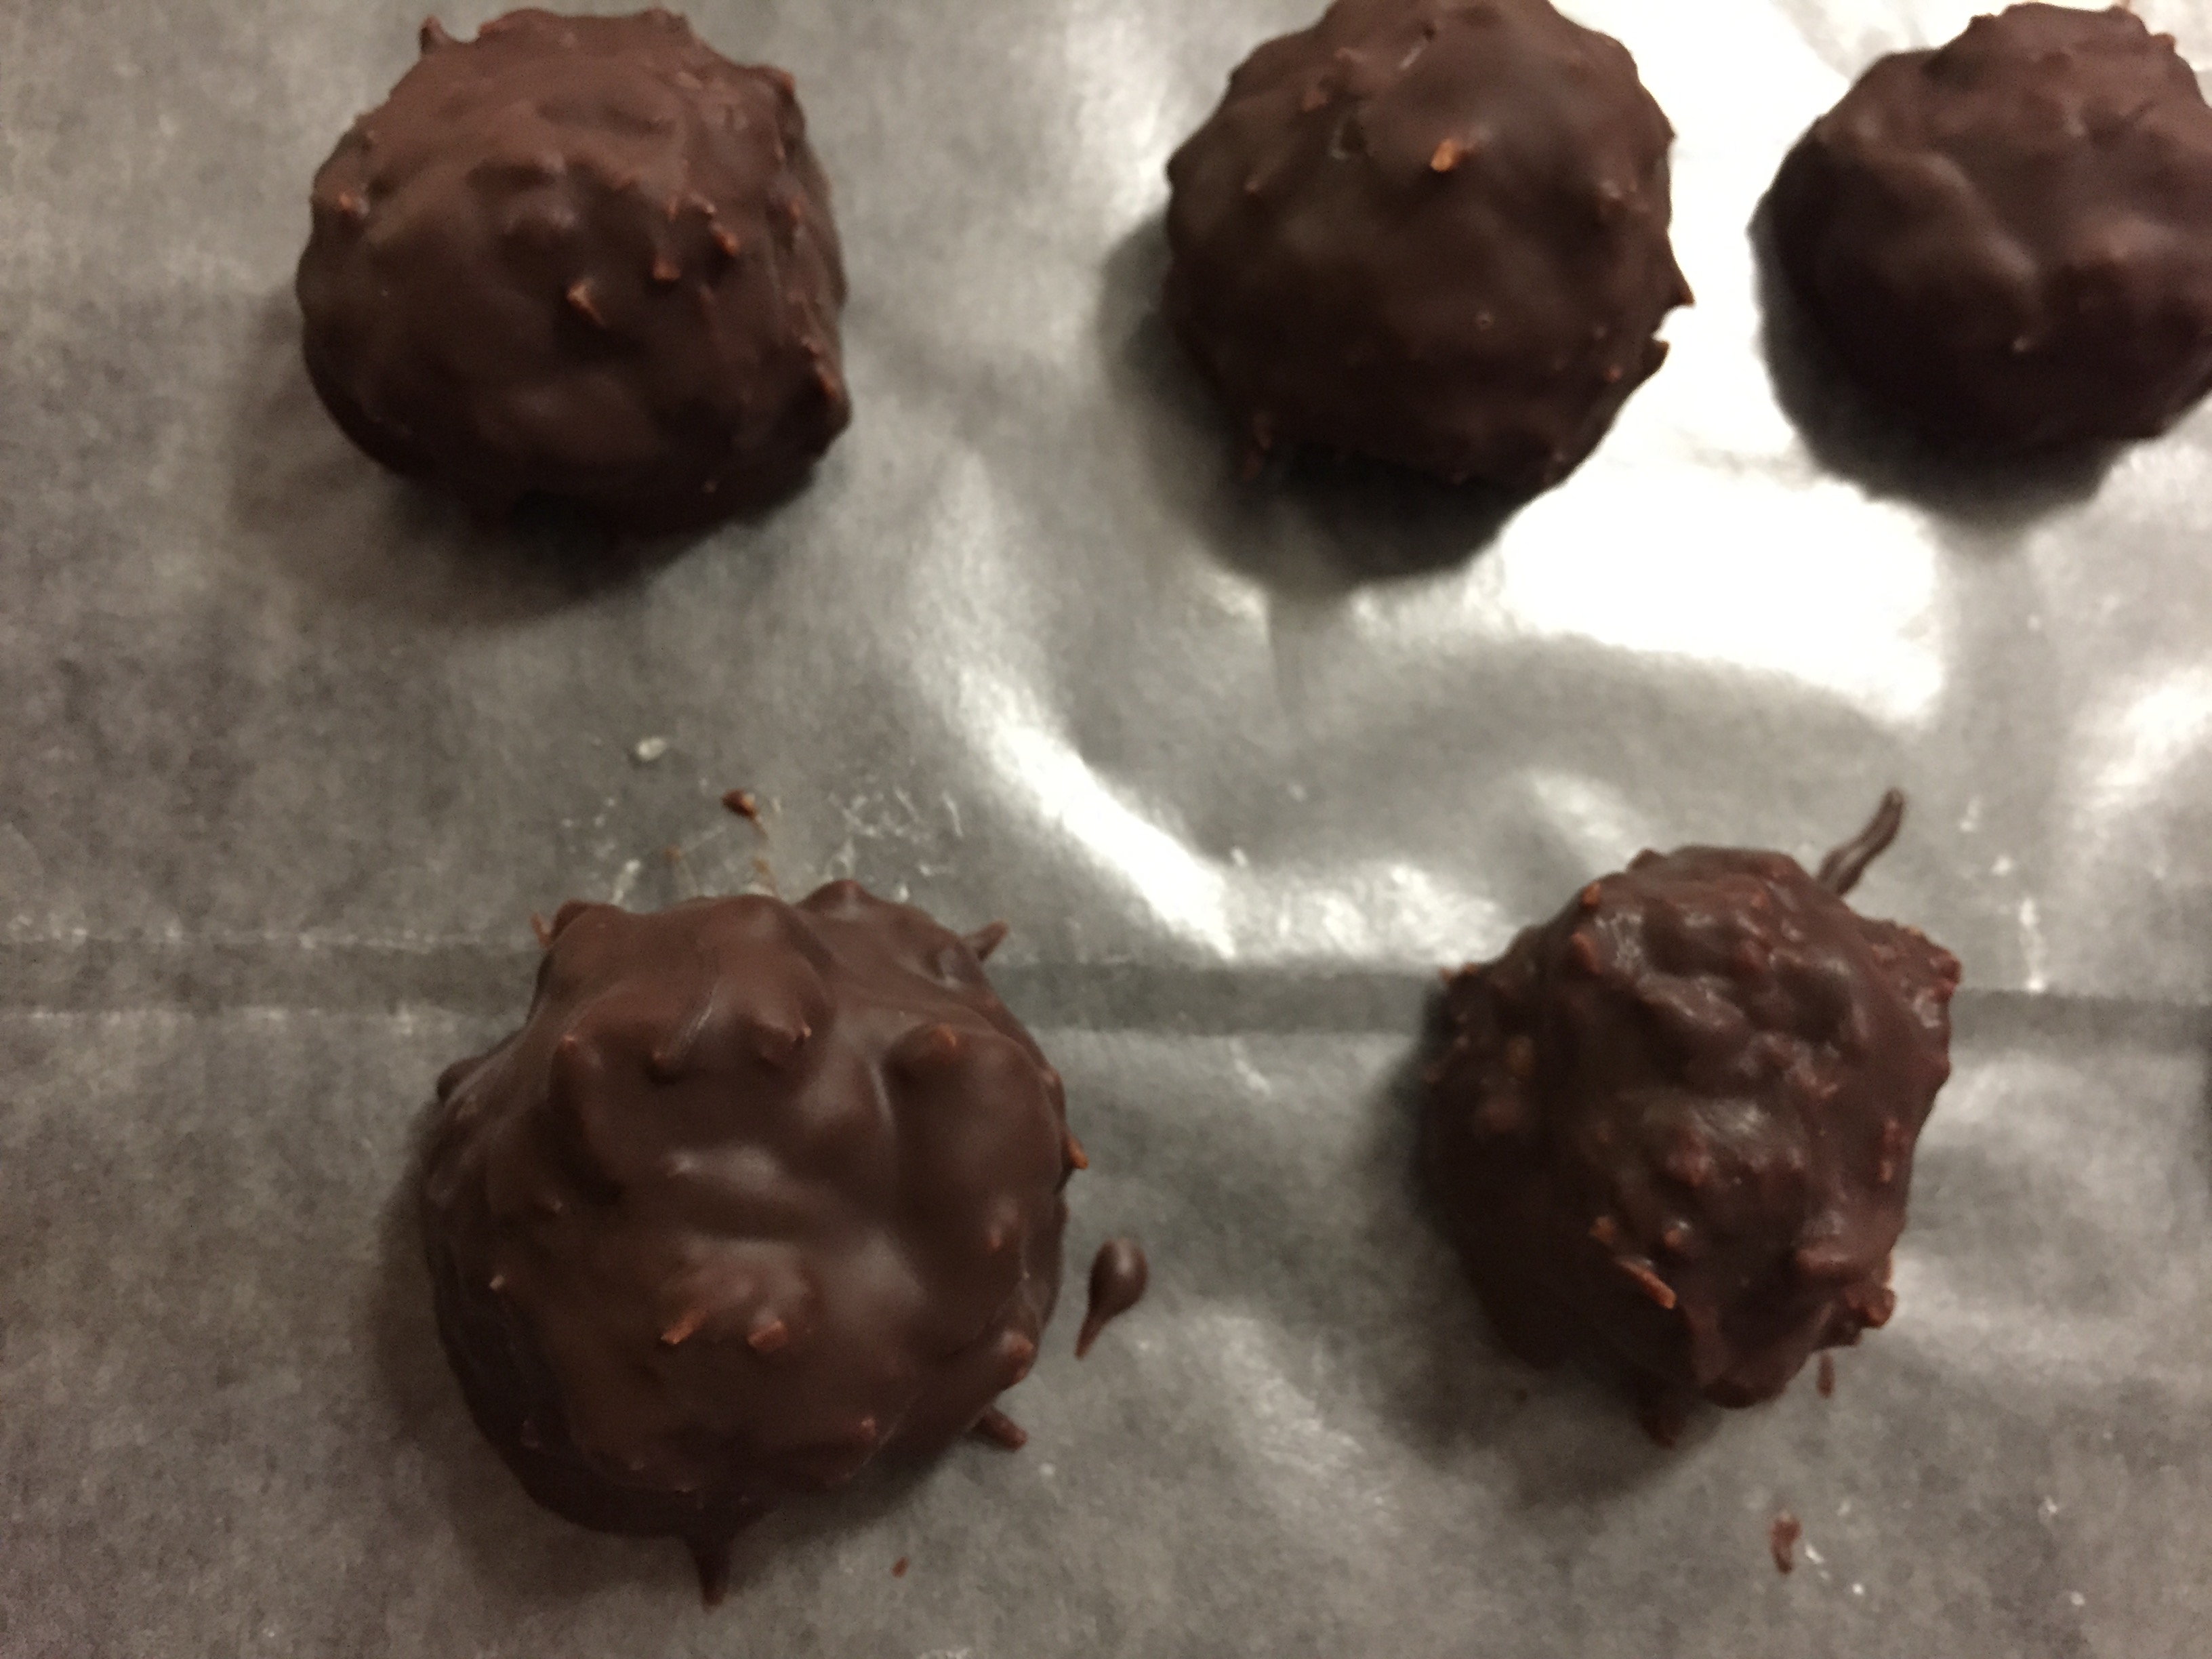
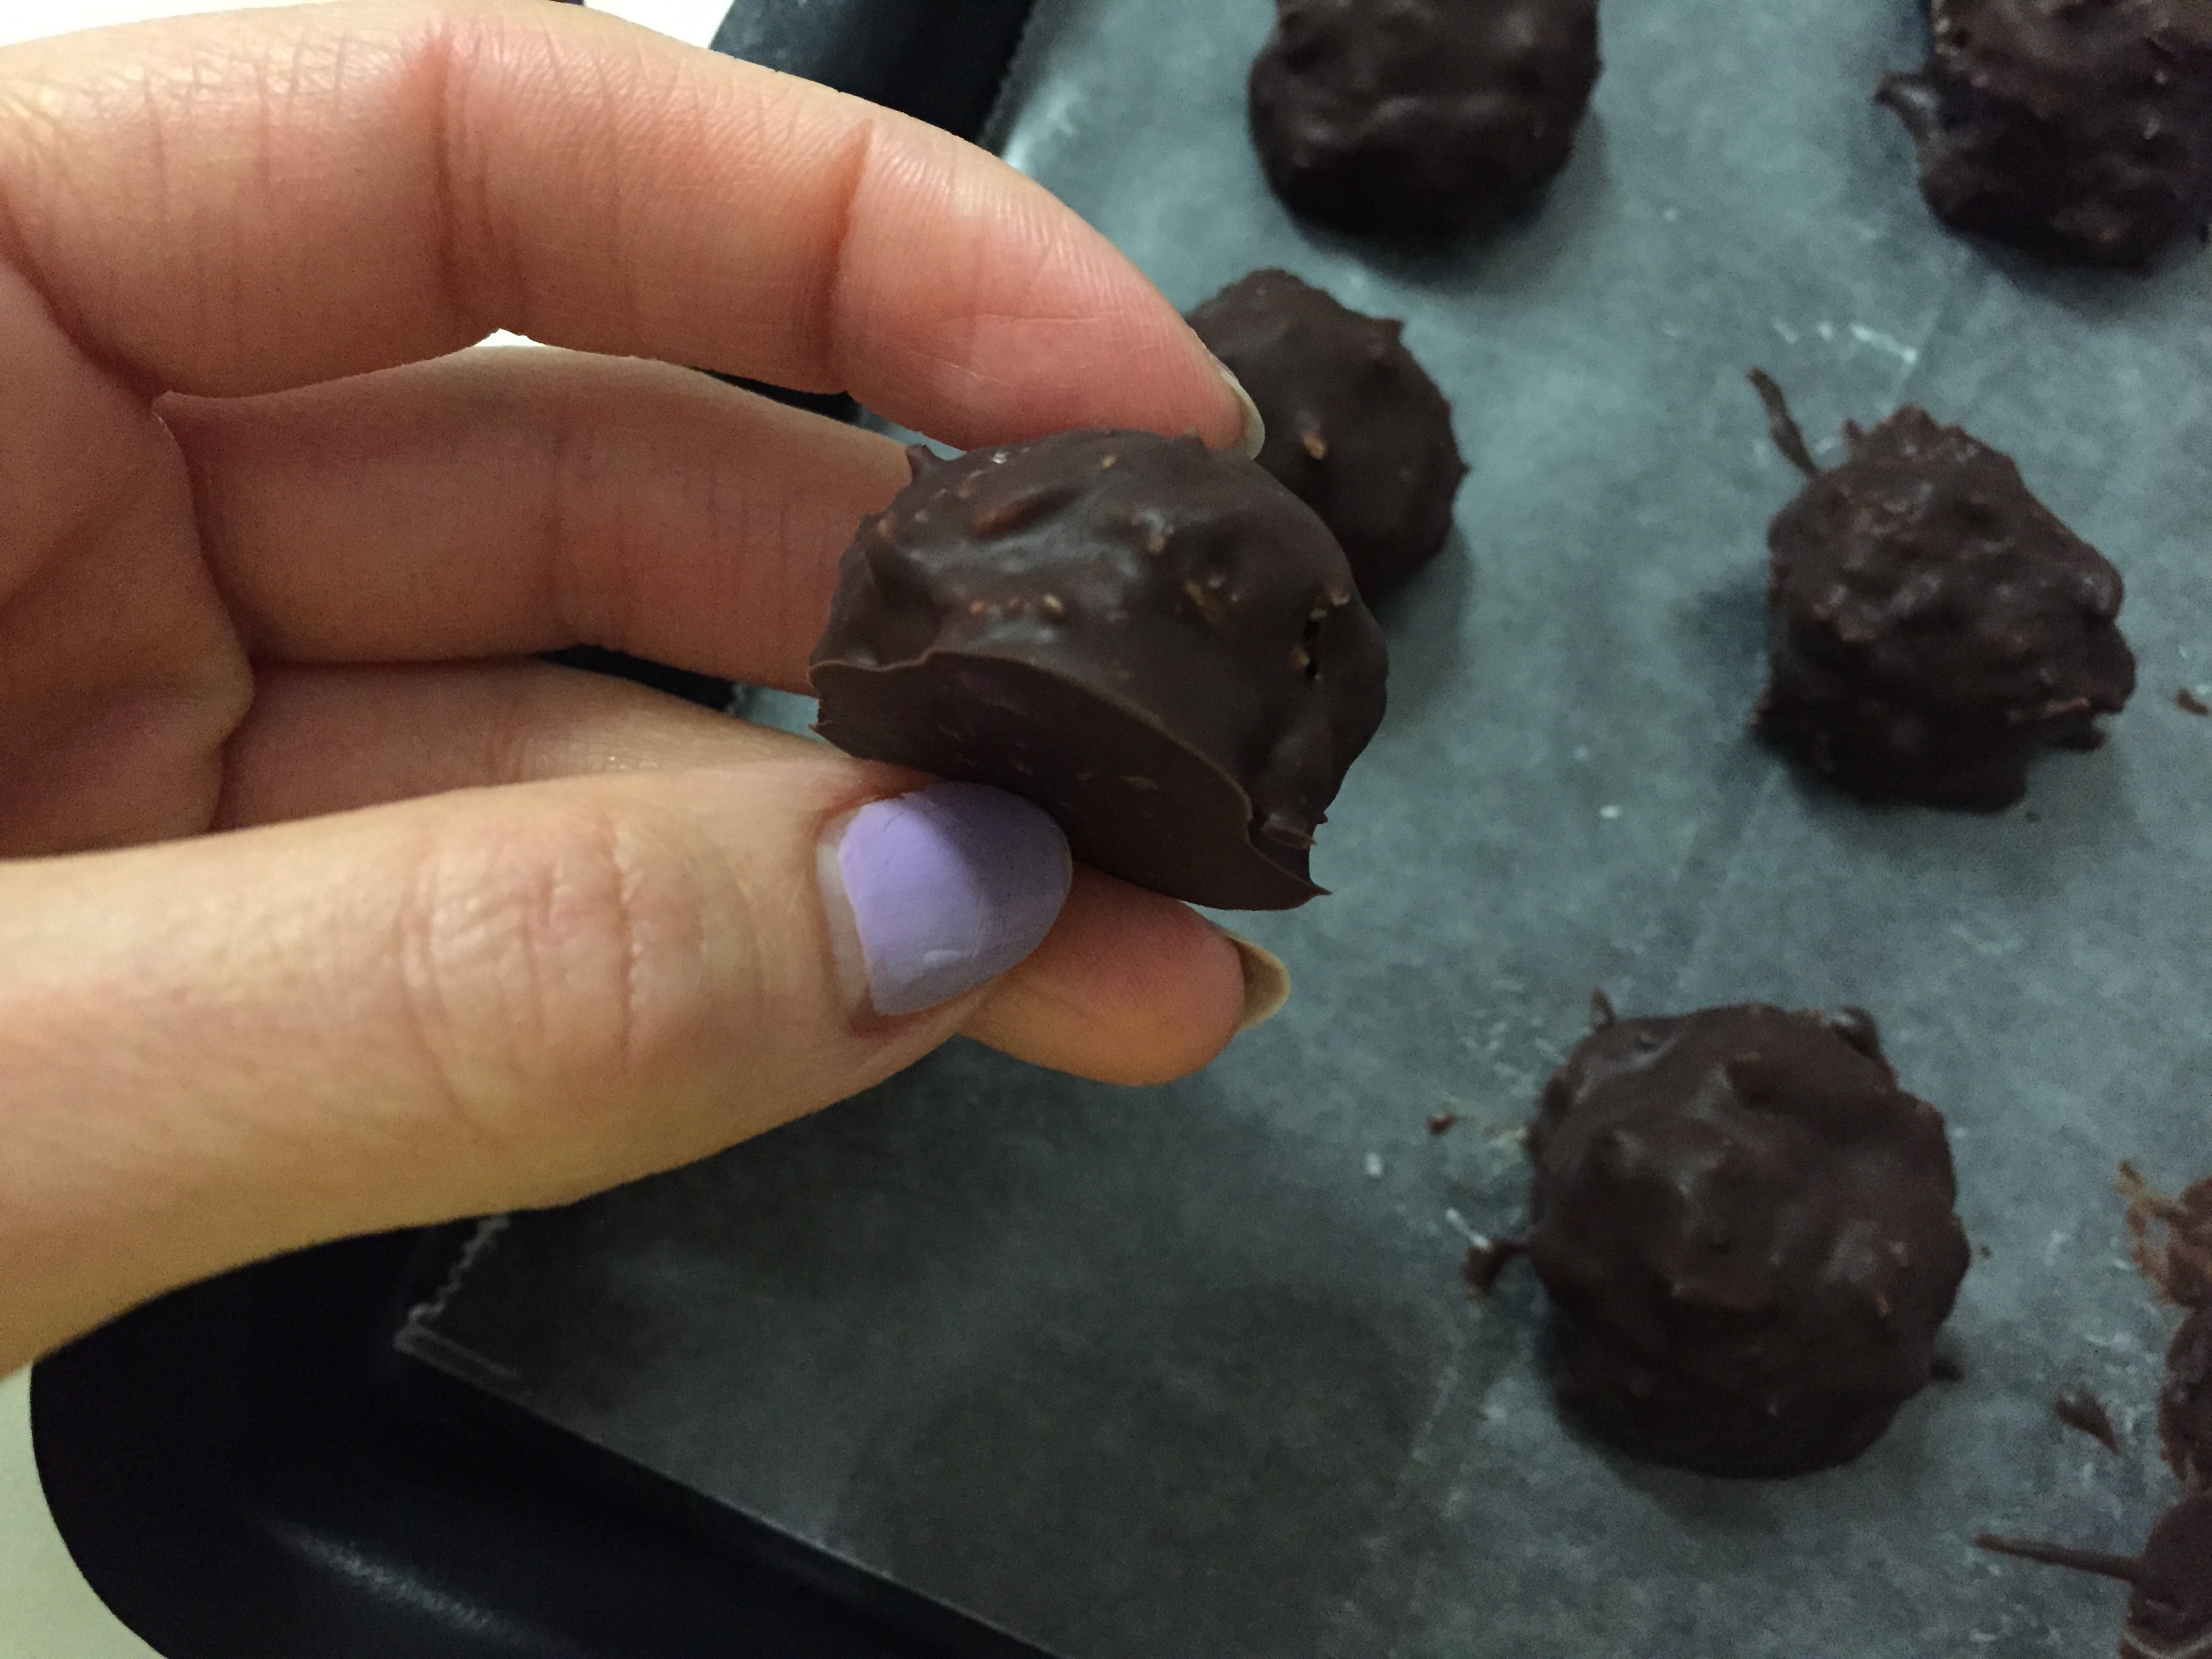
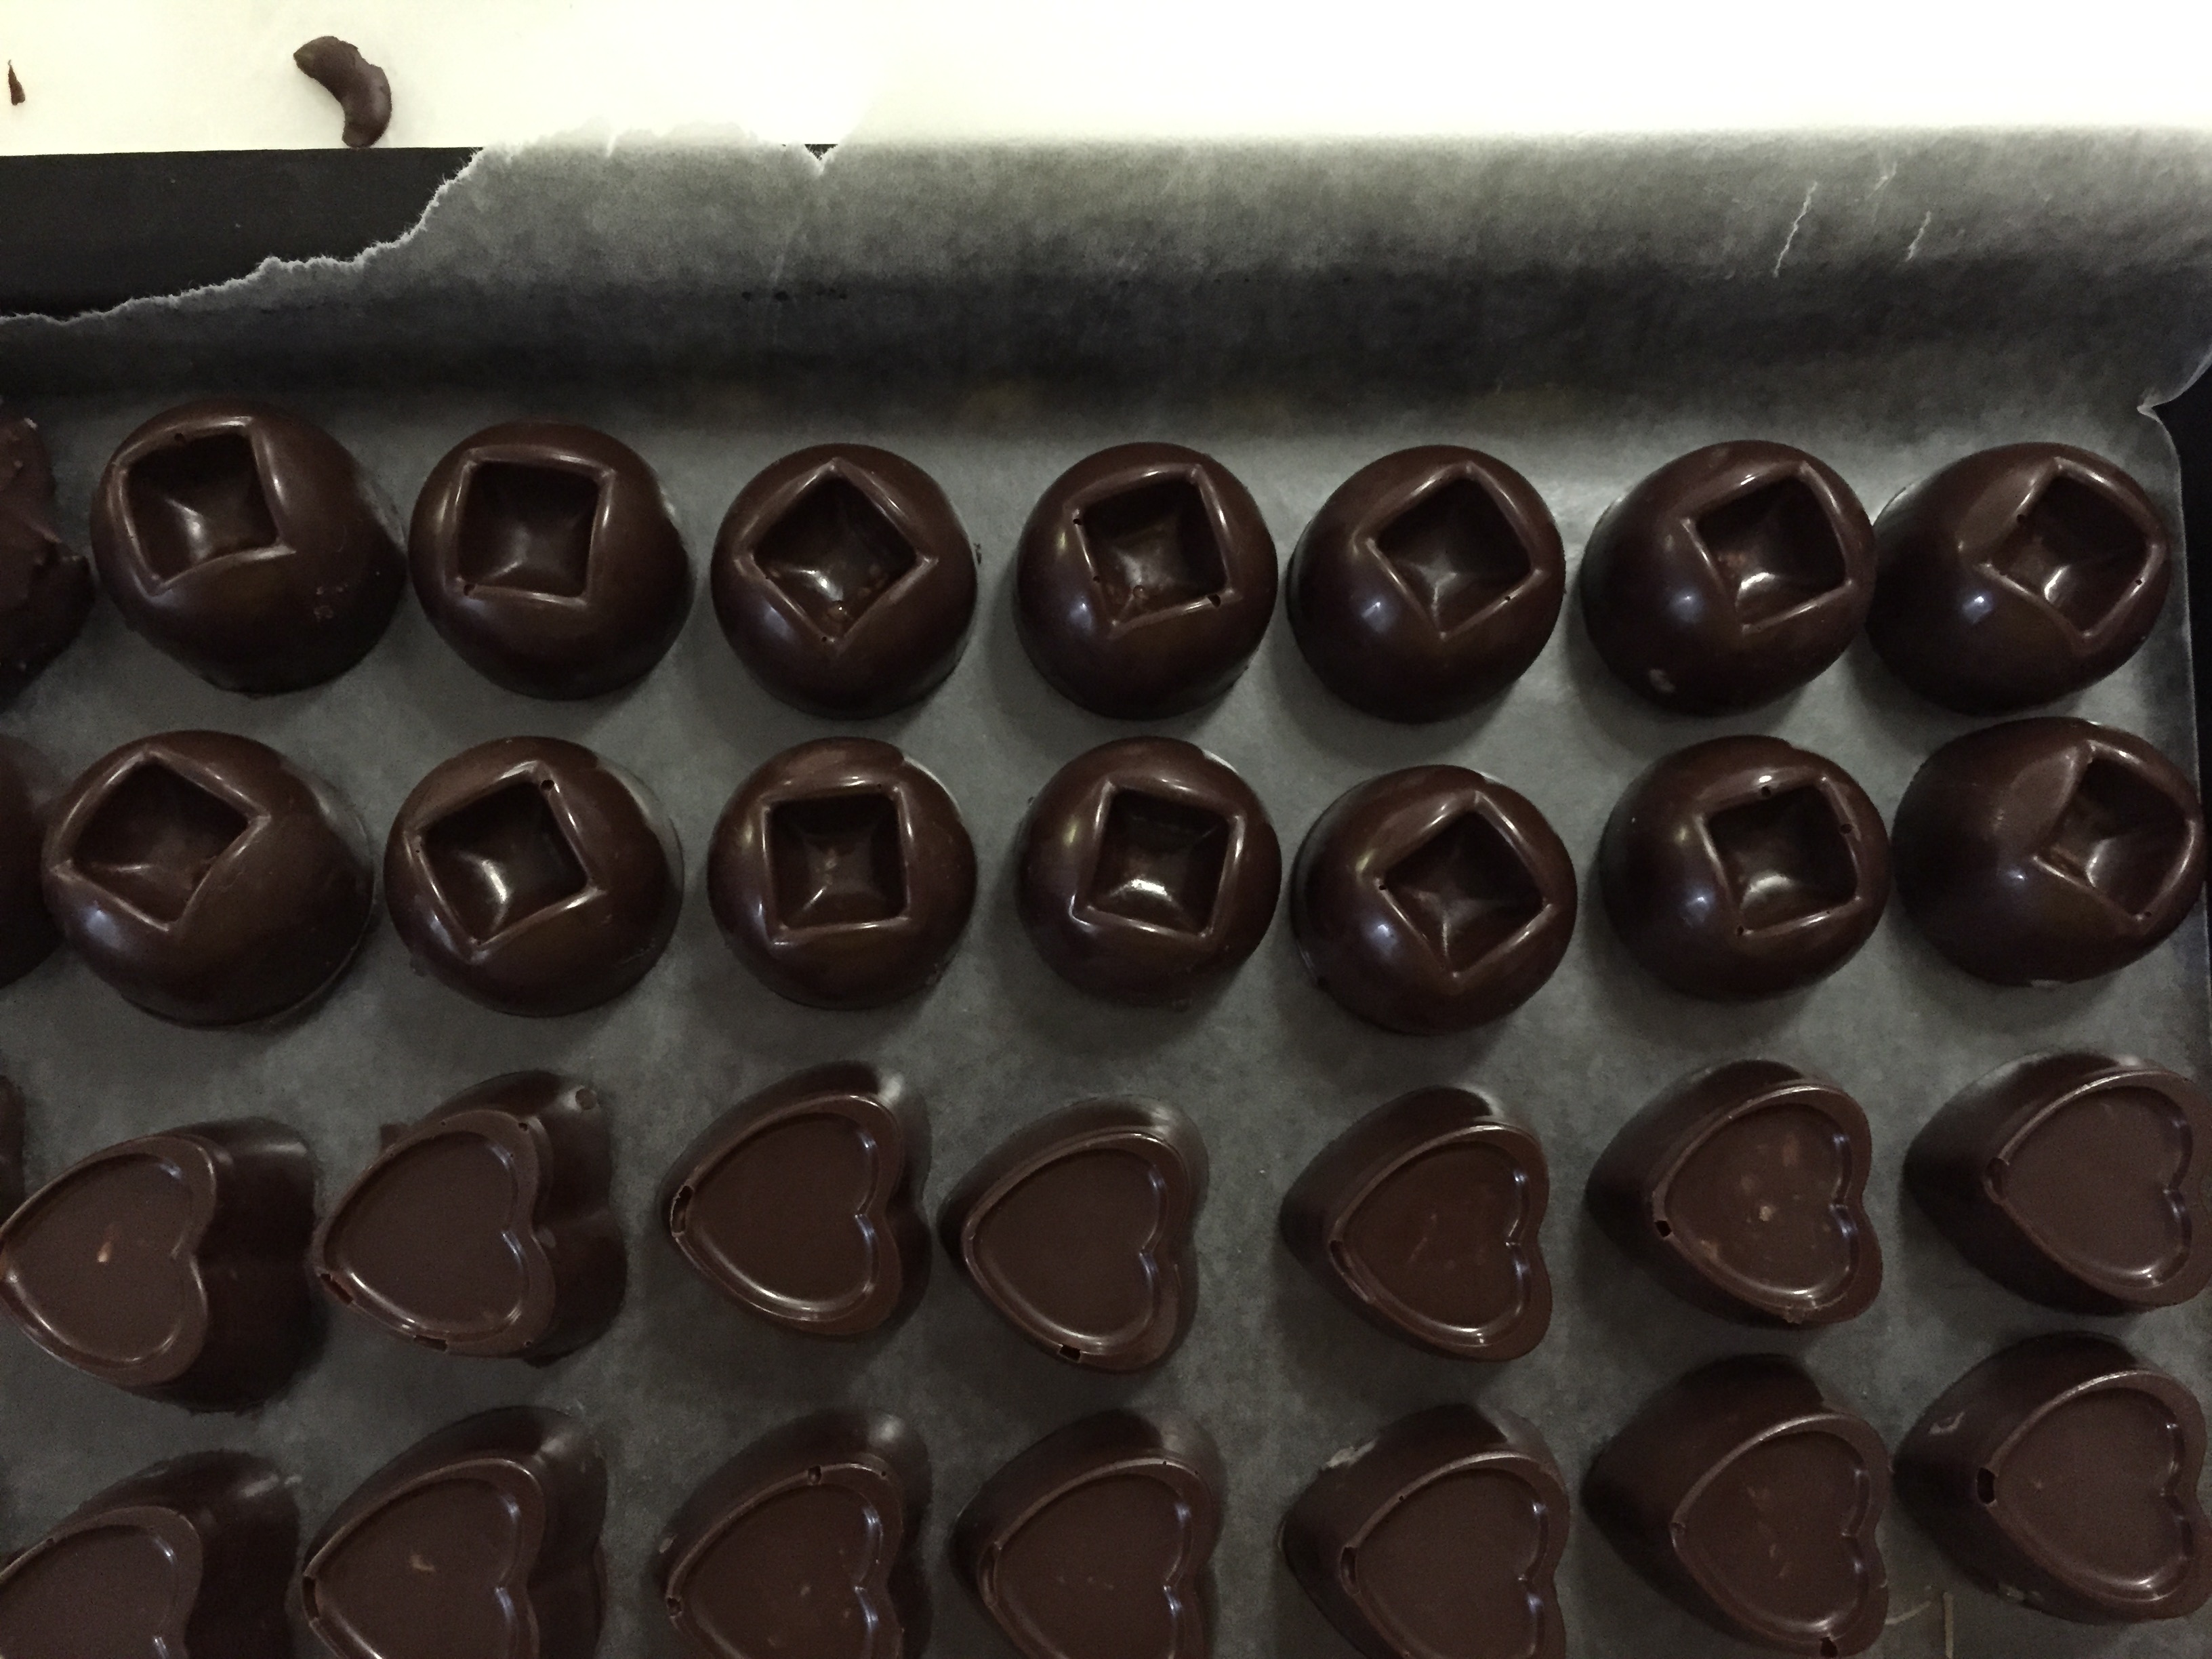
Keep refrigerated to keep the integrity of the chocolate intact.
These were a hit at my sister’s shower! And how easy are they to make?! Forget about the conventional Bounty bar and make these deliciously simple yet mouth-watering bites instead! ;)
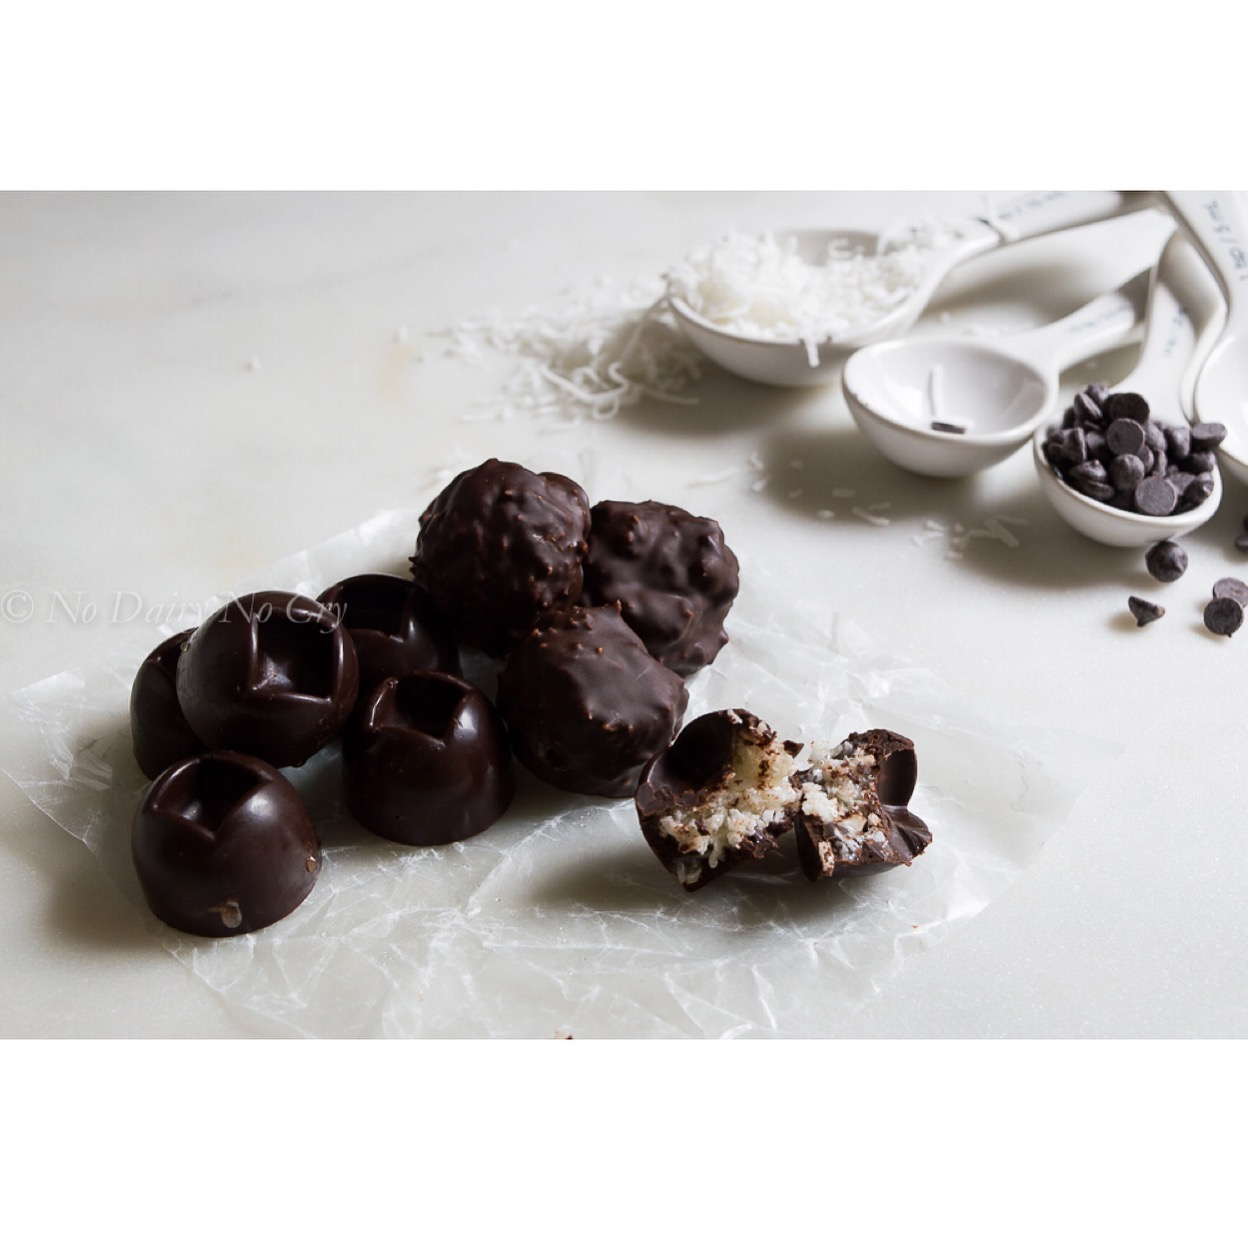
Bon appétit! xo