
Dairy Free Cheesy Sticks
By Laila ·
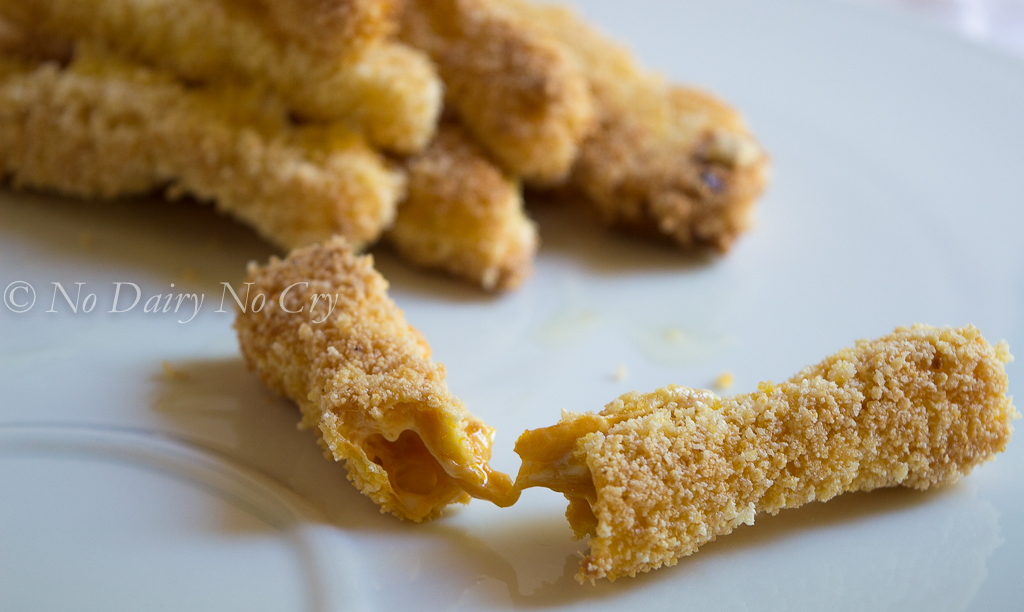
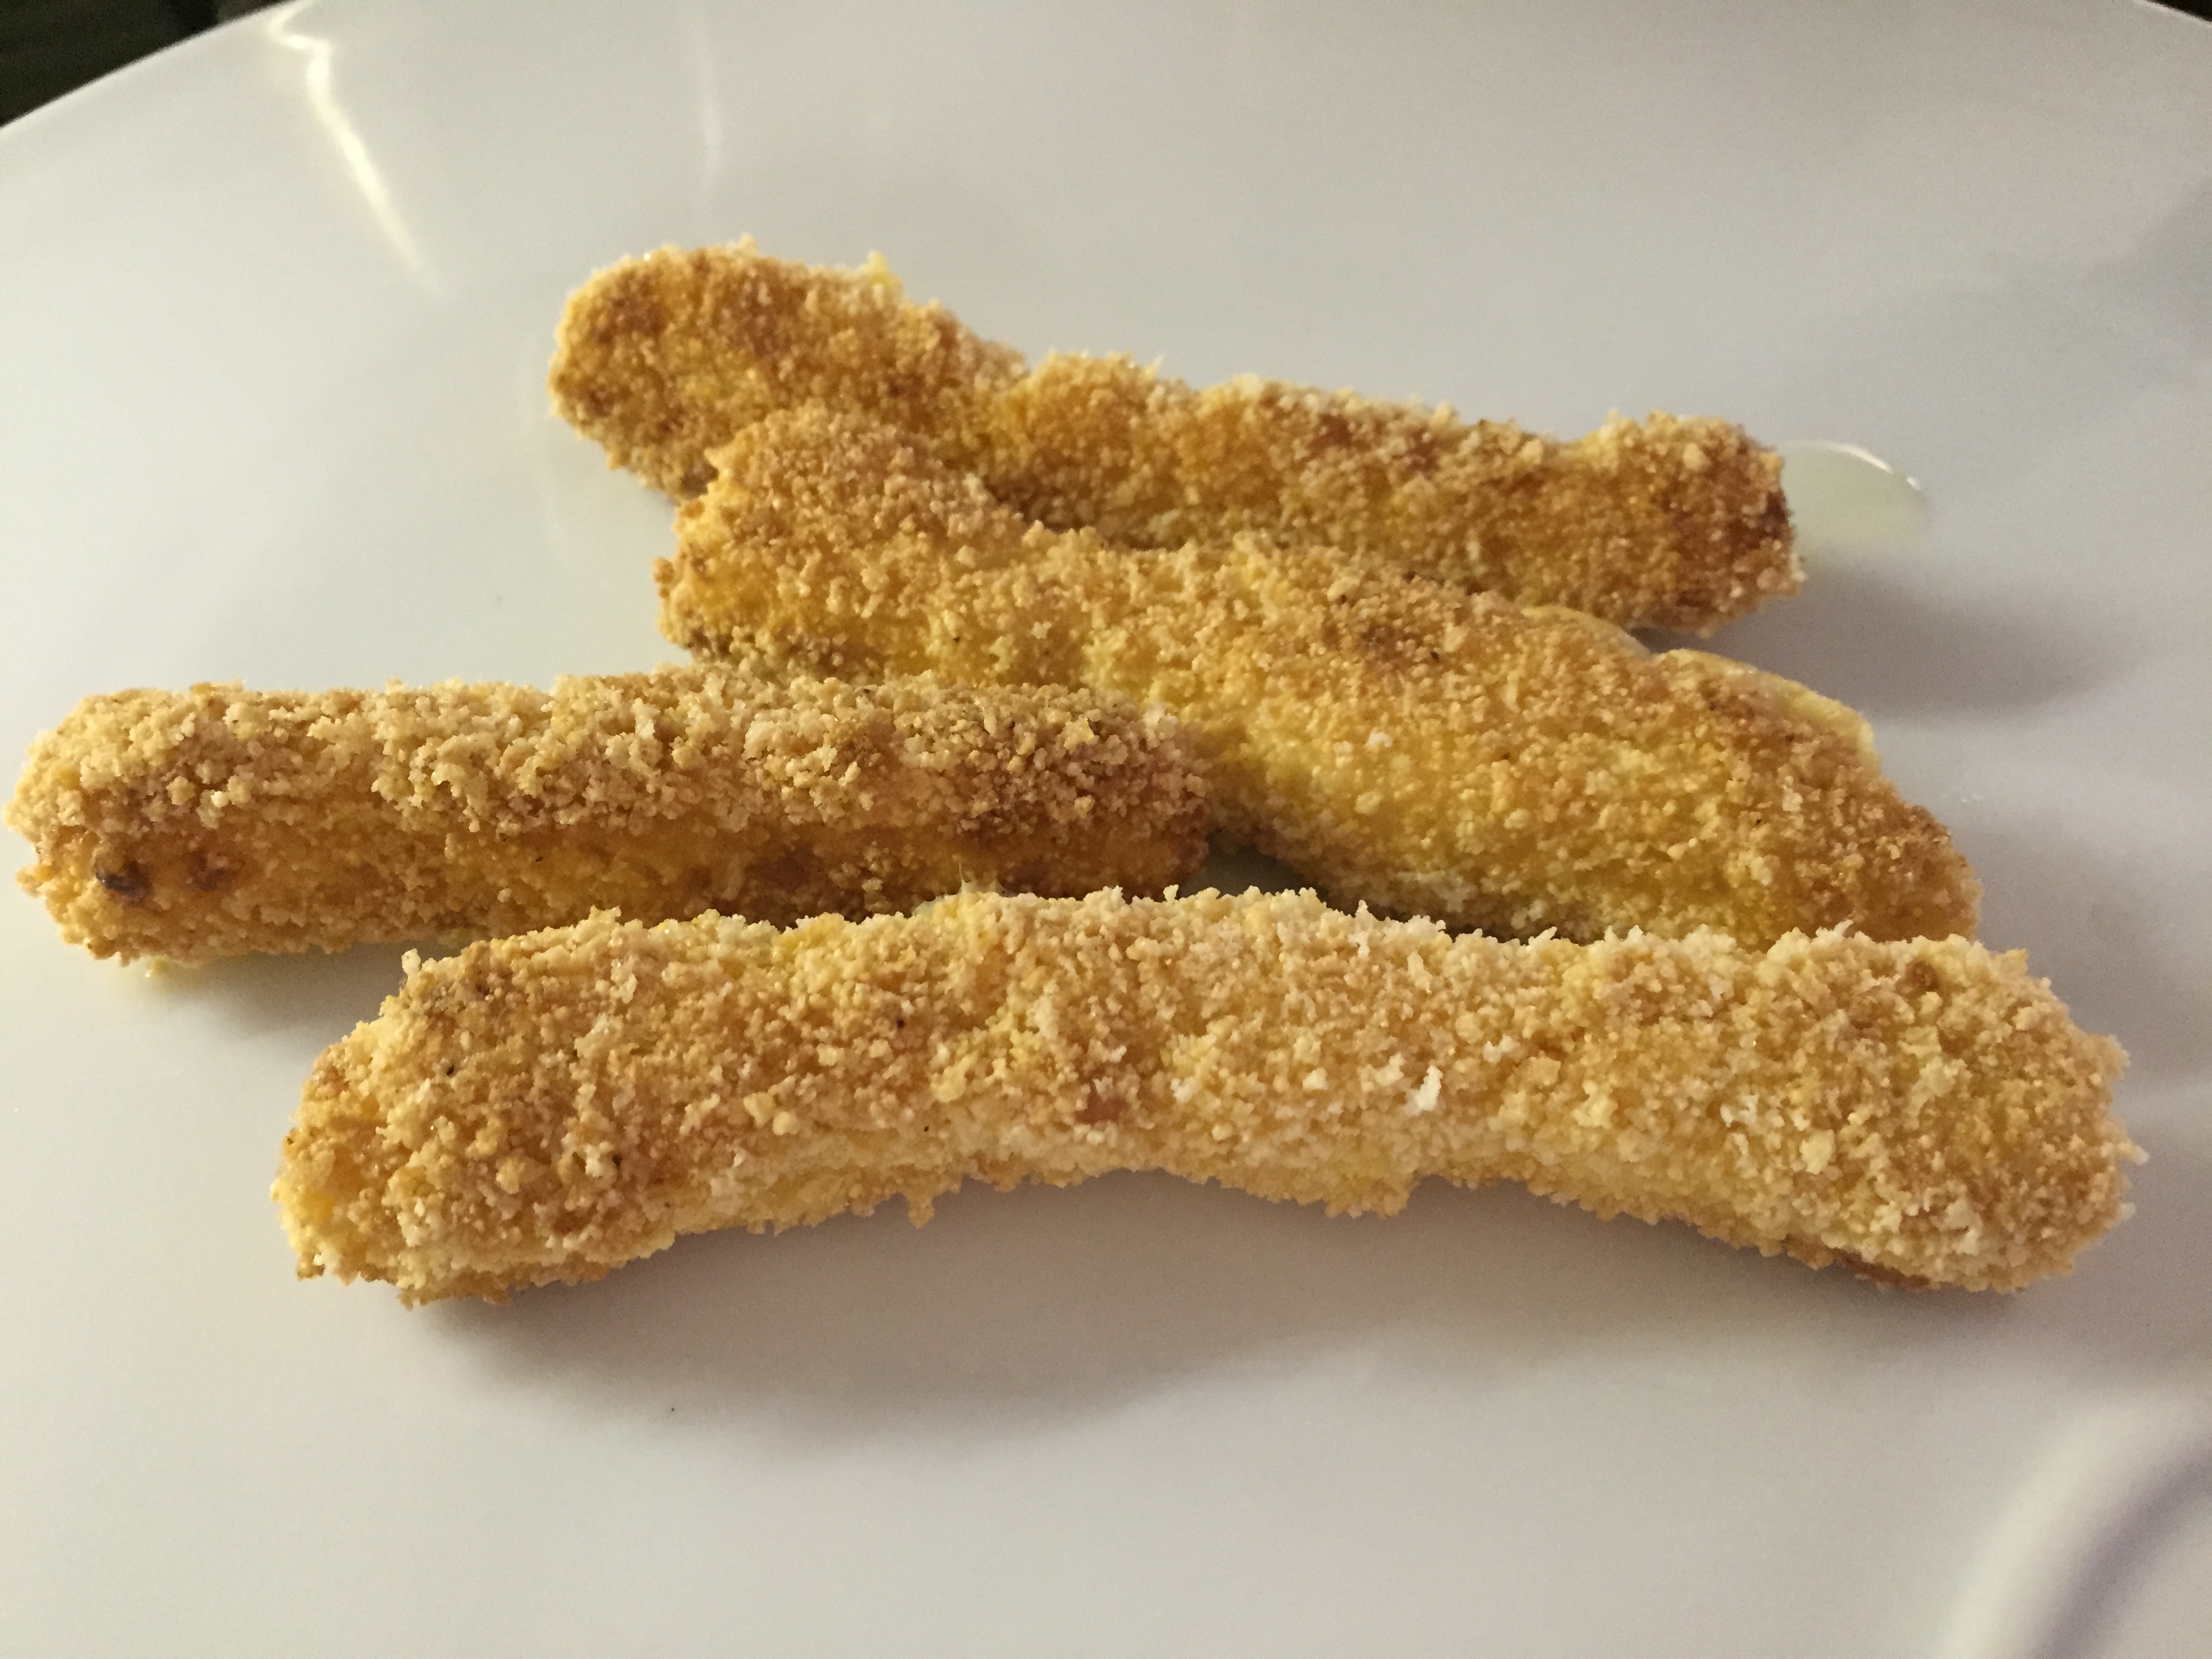
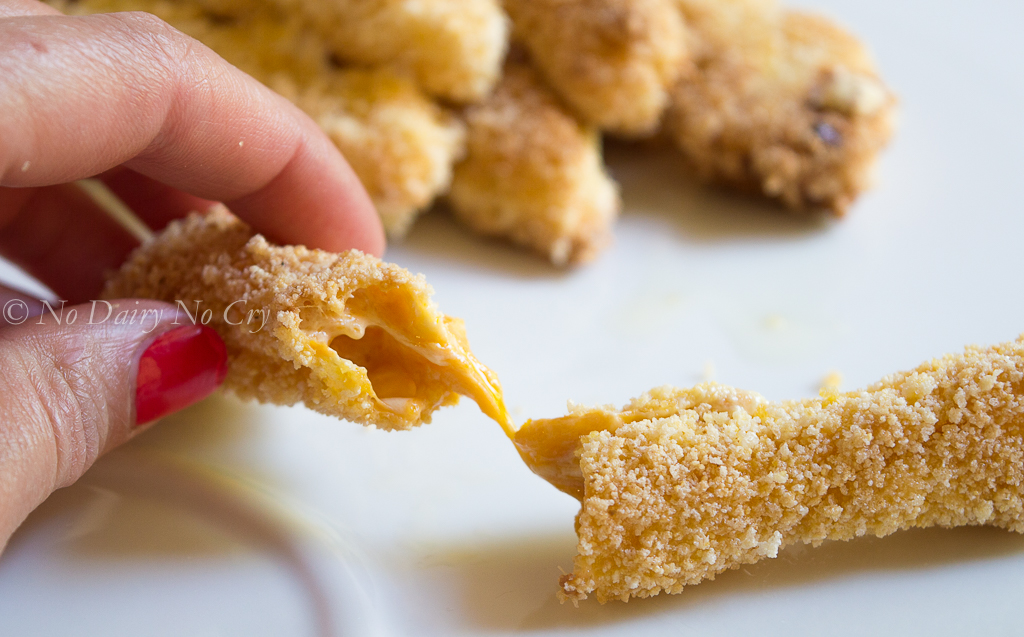
Very healthy. A crispy exterior with the gooey-est interior! A must make.
I’ve been experiencing writer’s block for over a week so forgive my lack of lengthy post write-up. I don’t like when I don’t know what to say. Or rather not that I don’t know what to say, it’s that I know exactly how I’m feeling about the food I want to write about but I can’t seem to translate my thoughts onto here. Laila, that’s what writer’s block means. Yes, thank you. Must be because we’ve had beautiful hot weather for the past week and all I think about is being in the pool and taking in healthy vitamin D from our beautiful sun! Yes that must be it.
Anyway, about this latest amazing food concoction of mine. You’re going to be blown away at how incredibly yummy it is but even more incredible is how quick and easy these cheese sticks are to make.
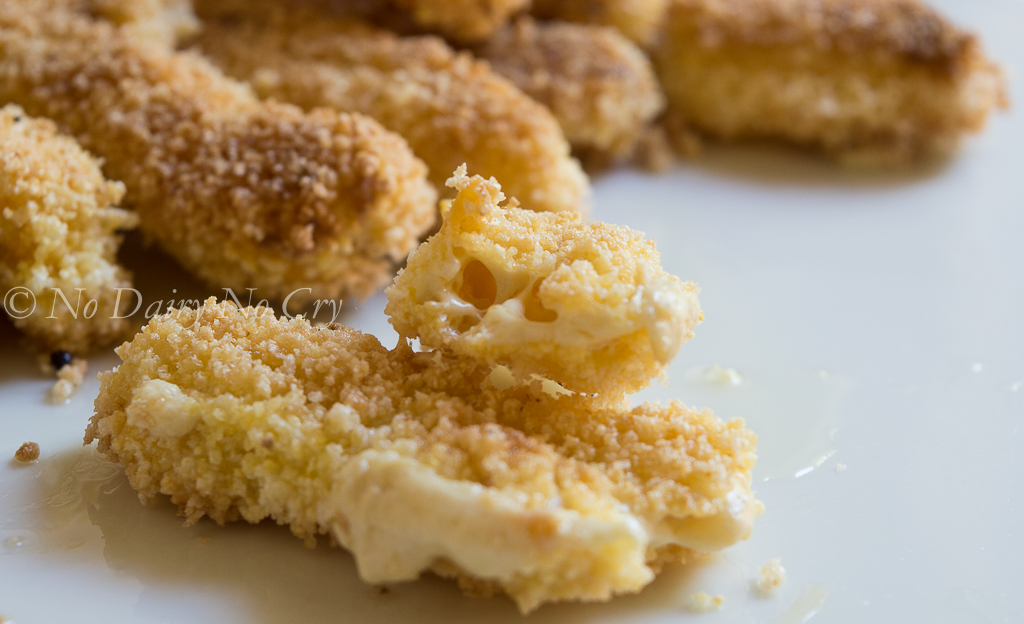
I’ve been wanting to make cheese sticks for a very long time. And although I had envisioned how they would look, I needed that push to get up and experiment in my kitchen. What better way to do that than when your kids are off school and boredom surfaces…like the very next day!
My kids were all over this creation! I admit I had a hard time containing my excitement when I made them. they’re so yummy and super satisfying.
Probably the best part of all of this is that they are allergen-free and gluten-free as well. So everyone can enjoy this piece of goodness. And as always, they’re effortless to prepare and make. In fact, you require only two ingredients to get the most crunchy cheesy taste (not counting the sea salt).
I should mention that I tested this recipe using both mozzarella and cheddar style shreds. I made a batch of each and 1 batch of half and half. I have to say that my favourite was definitely the mozzarella cheese sticks. They tasted light and didn’t weigh the stomach down. The cheddar sticks tasted great as well except you were pretty satisfied after having a couple of sticks. So technically that can be a good thing if you’re looking to control yourself when enjoying these amazing things. It’s completely up to you. ;)
Make this when your kids won’t leave you alone and complain that there’s nothing to eat in the house and all their friends eat junk foods – I could go on with this but you get the idea. This seems to be the trend currently in our household.
This is a great snack your entire family will enjoy munching on. So give it a go today :)
Recipe
Dairy Free Cheesy Sticks
Very healthy. A crispy exterior with the gooey-est interior! A must make.
- Cook
- 10 mins
- Total
- 10 mins
Ingredients
Instructions
- 1Have cornmeal or bread crumbs spread in a baking pan. Add salt and mix with your hand. Set aside.
- 2Place 1 cup of cheese shreds at a time into a pan and cook on high until the shreds have melted and are stuck together.
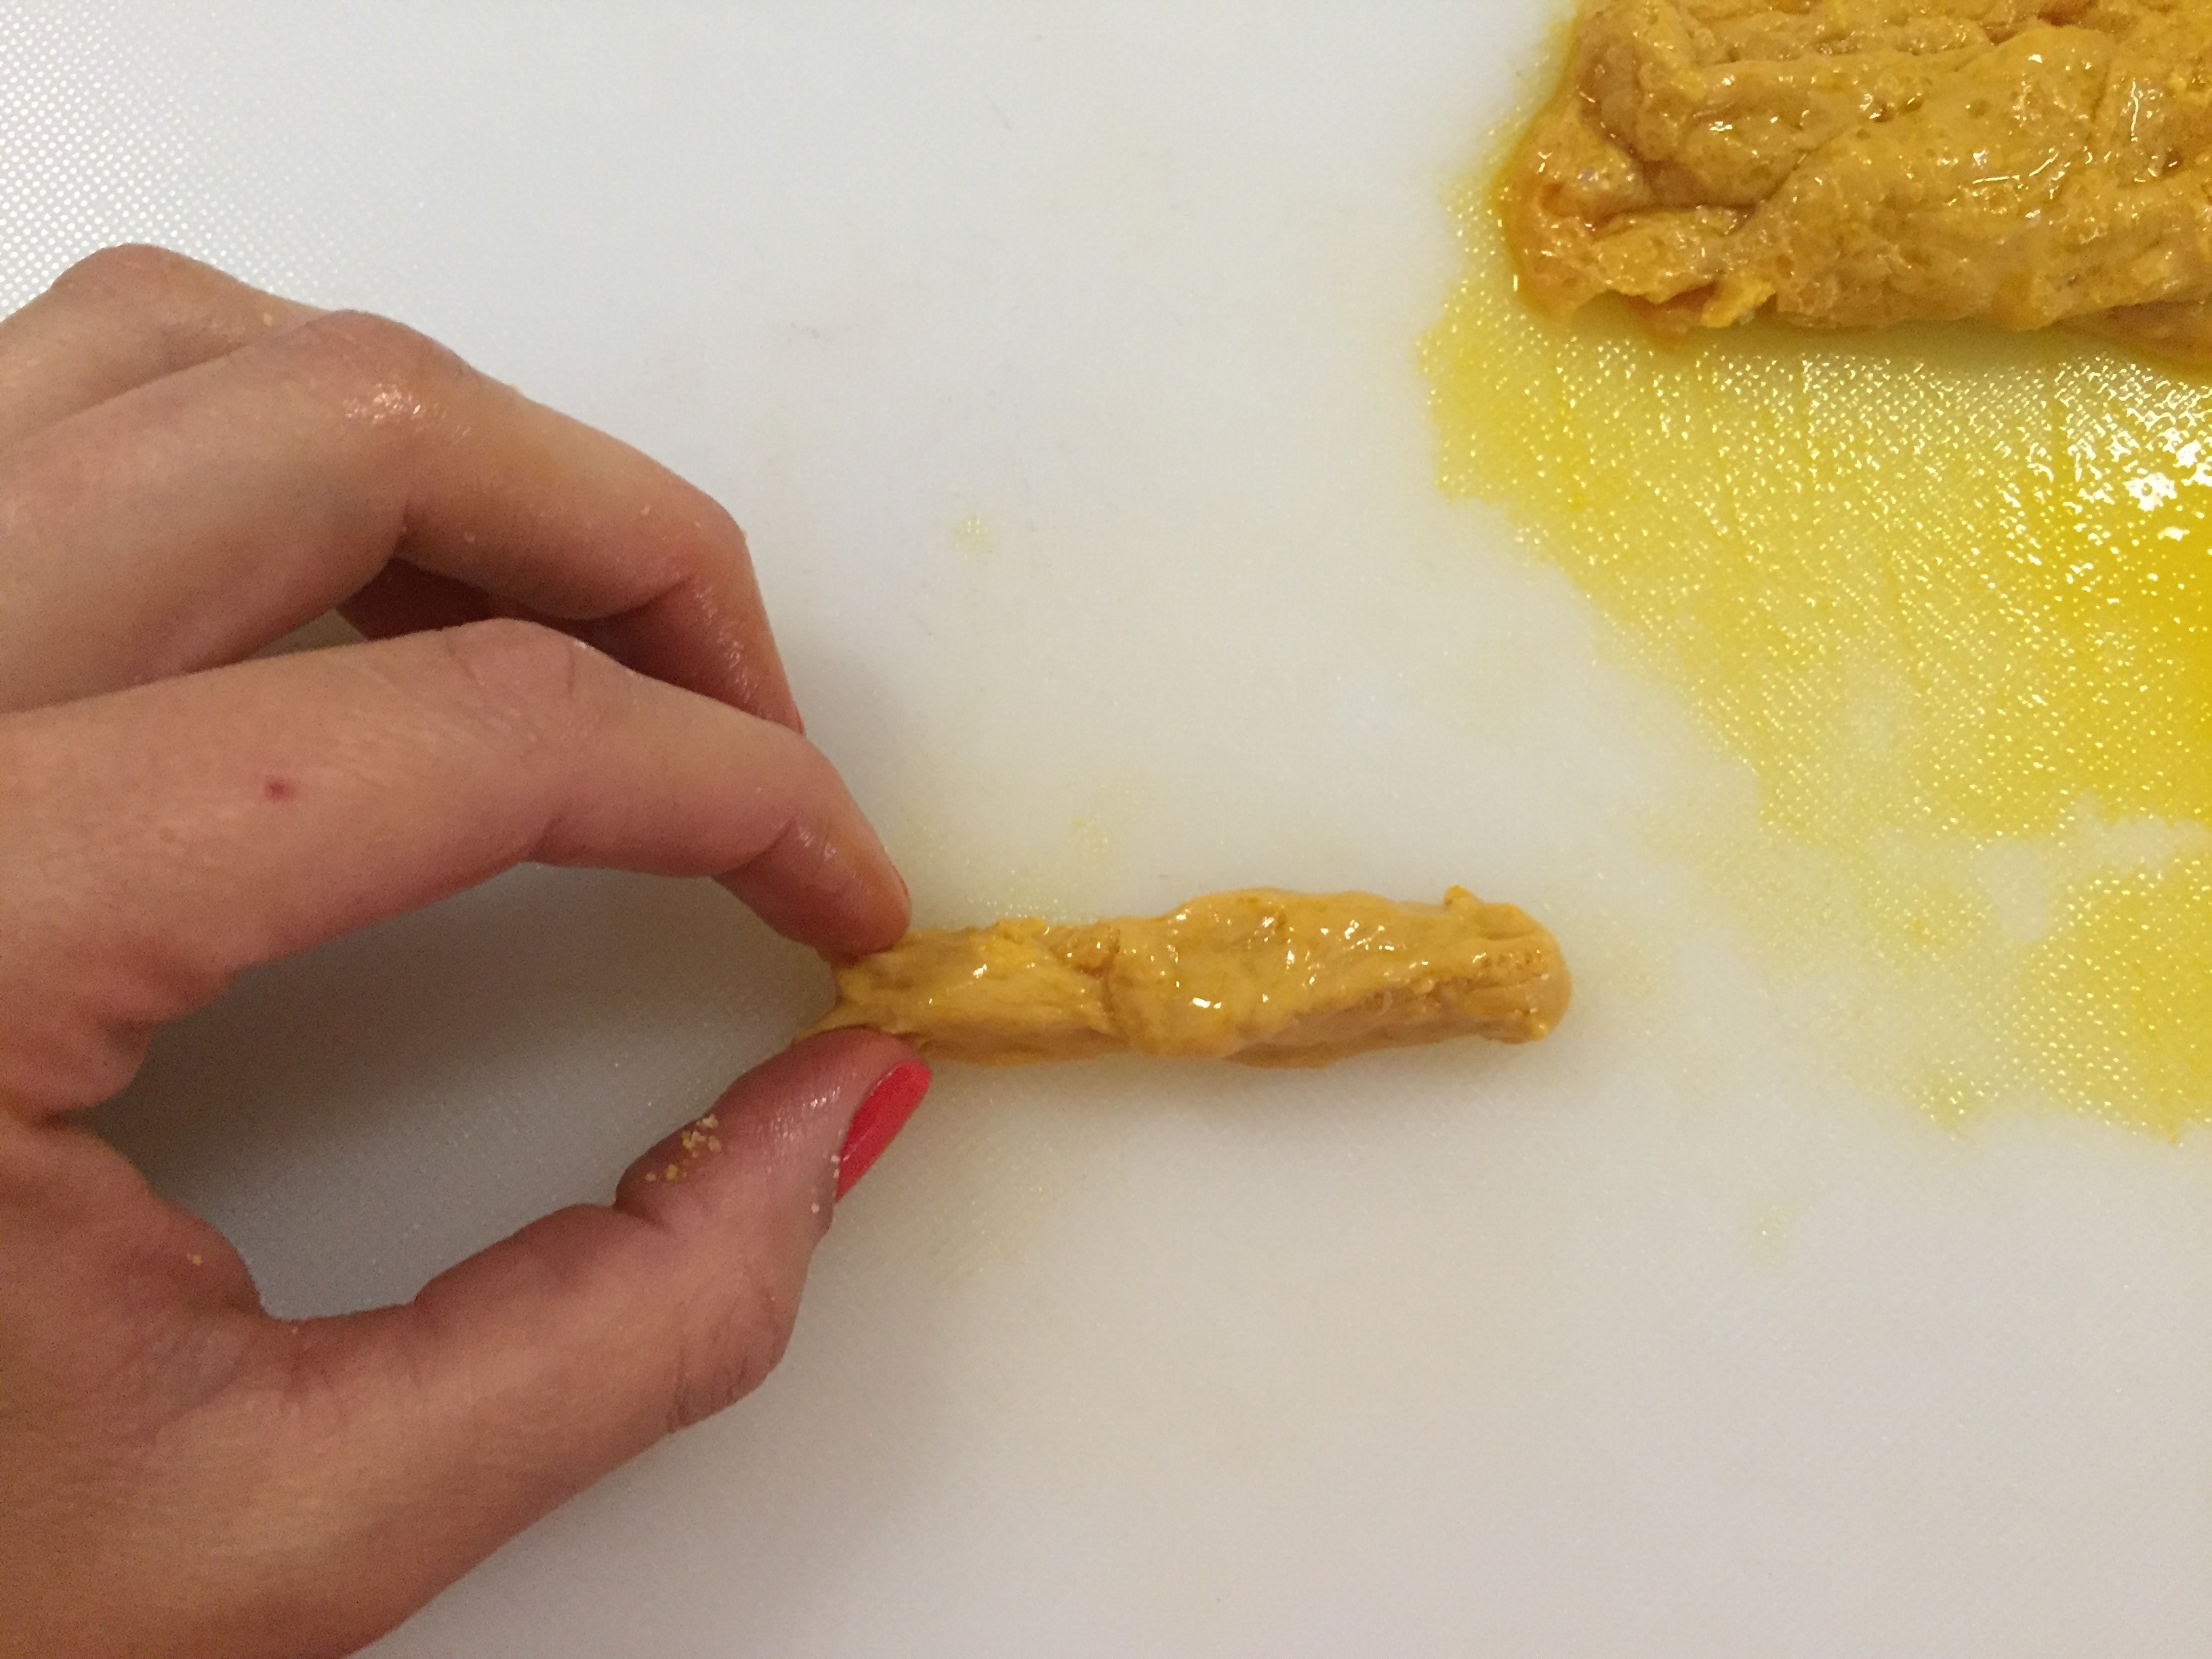
- 3Remove and place on a clean work surface. (See pics below)
- 4Handling the hot cheese with care, take about 1 tablespoon of melted cheese into the palm of your hands, working to get a nice log formed. (See pics below)
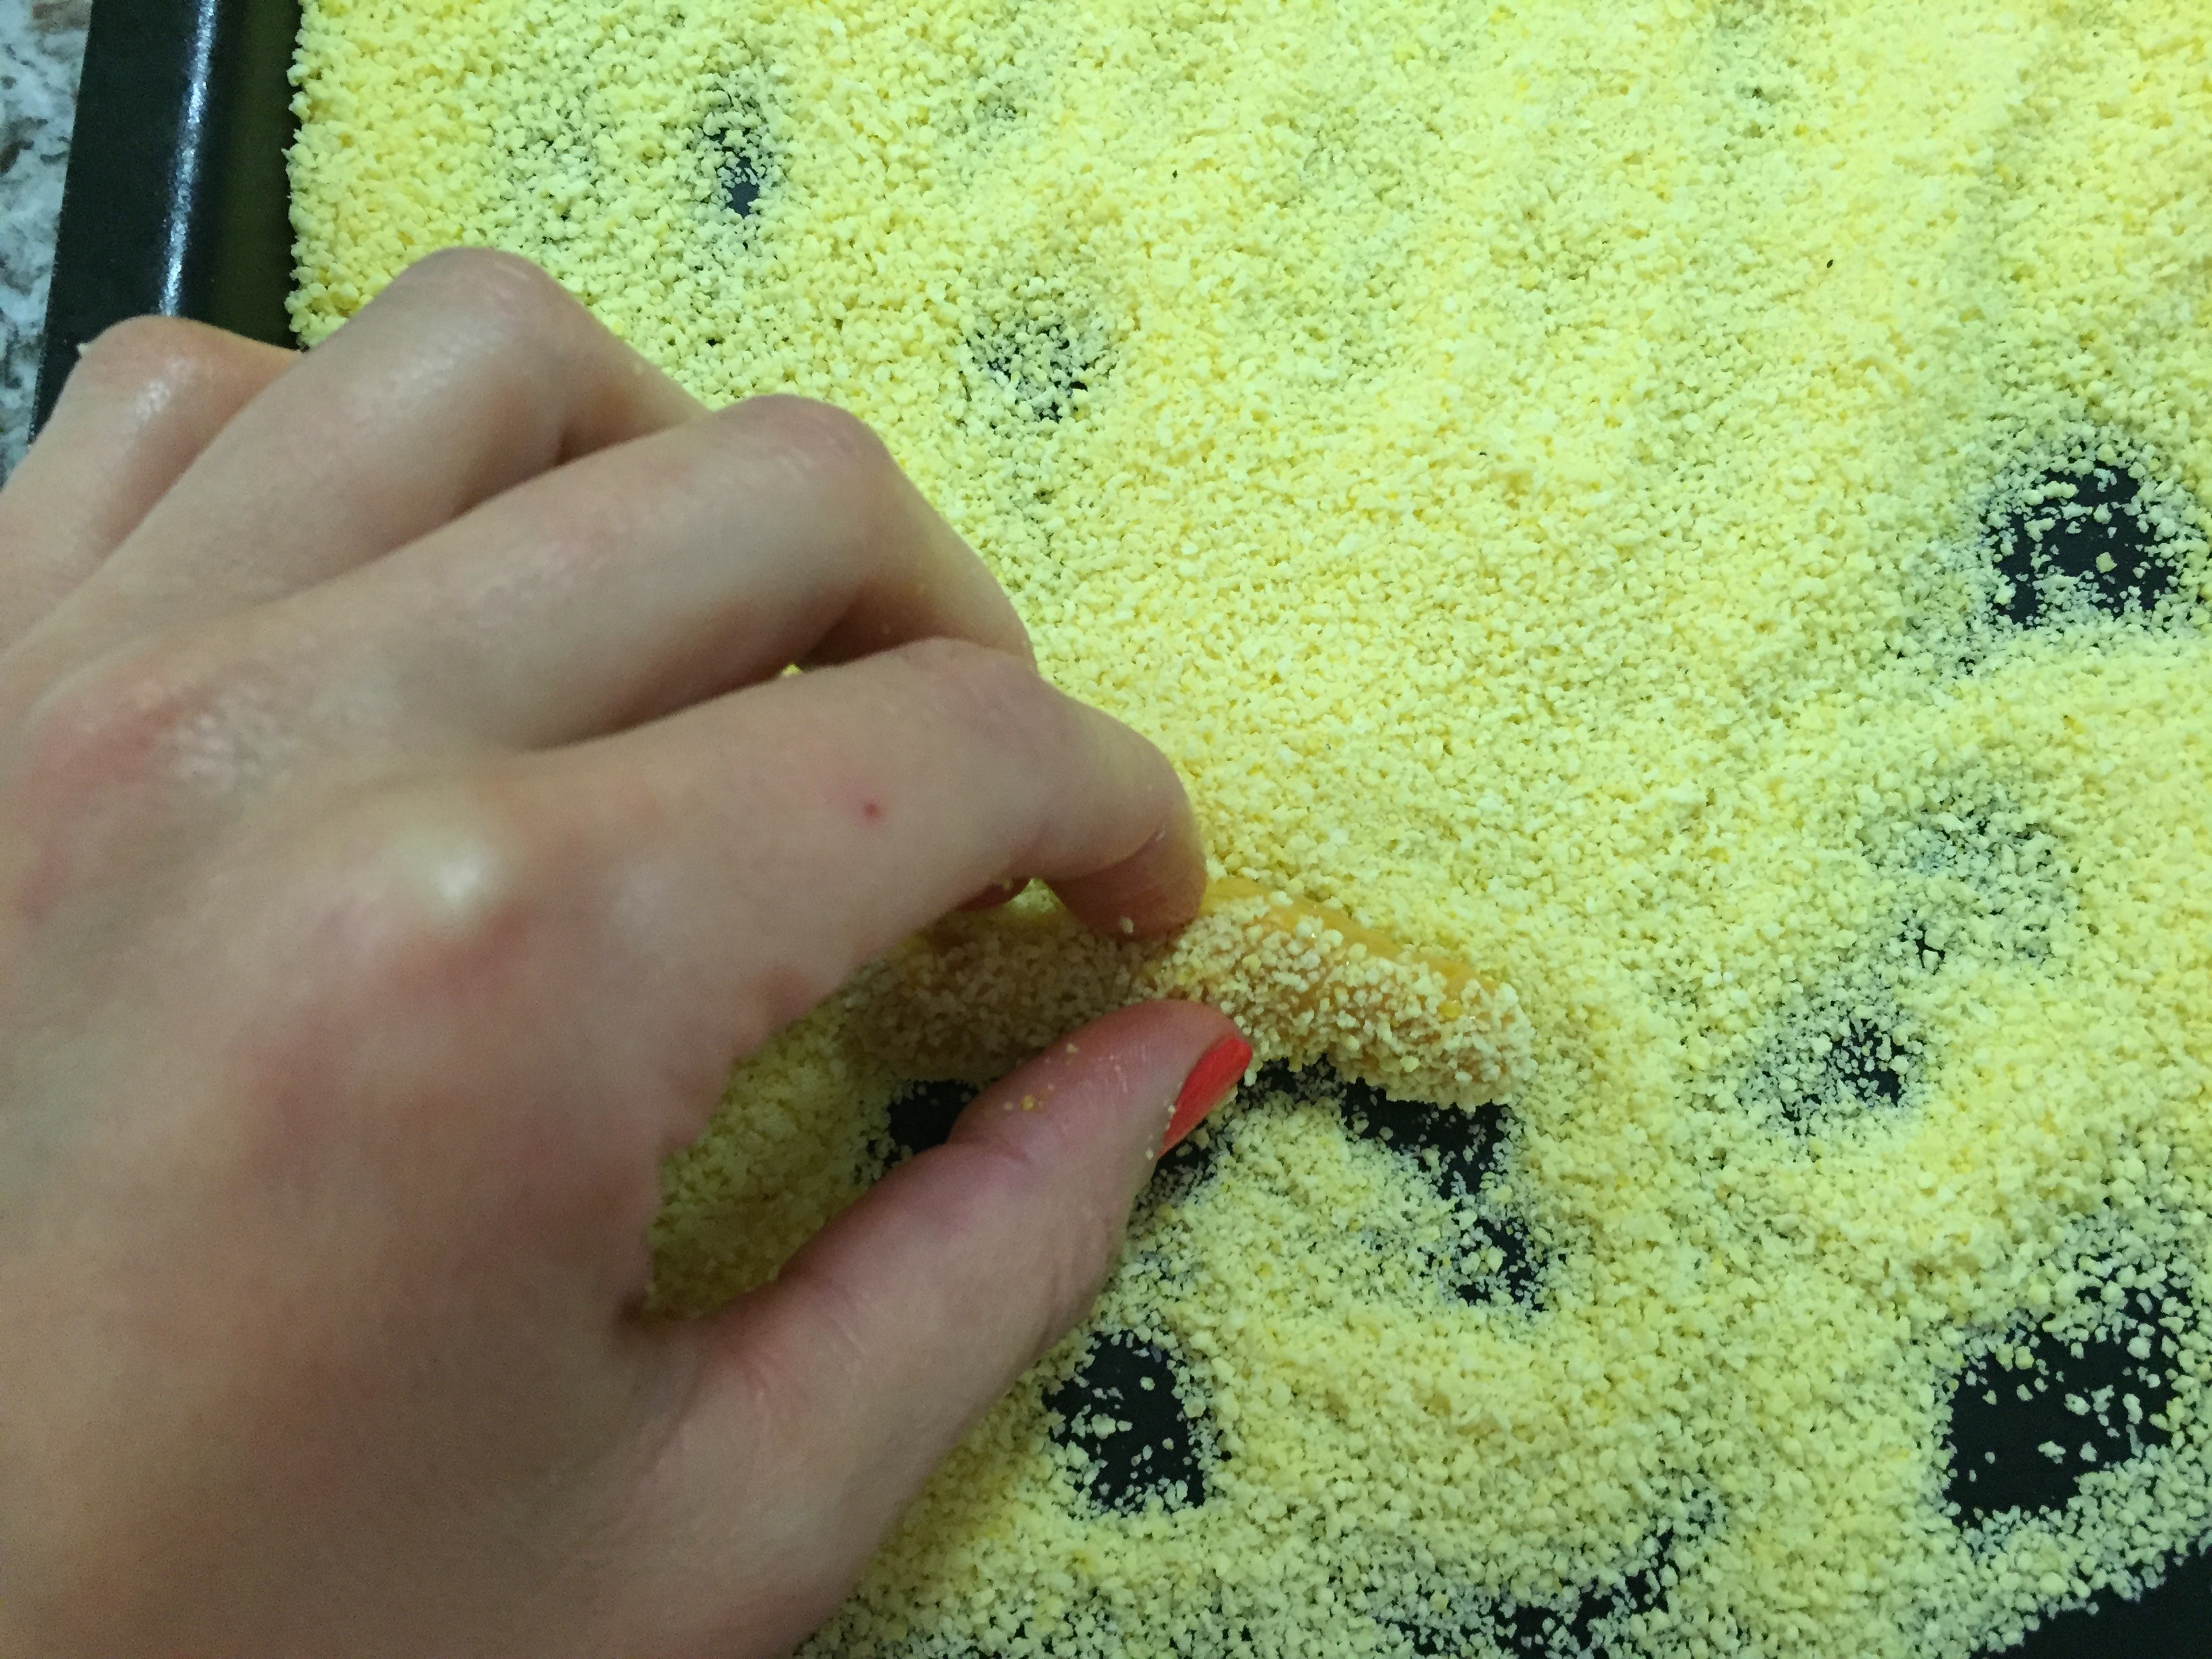
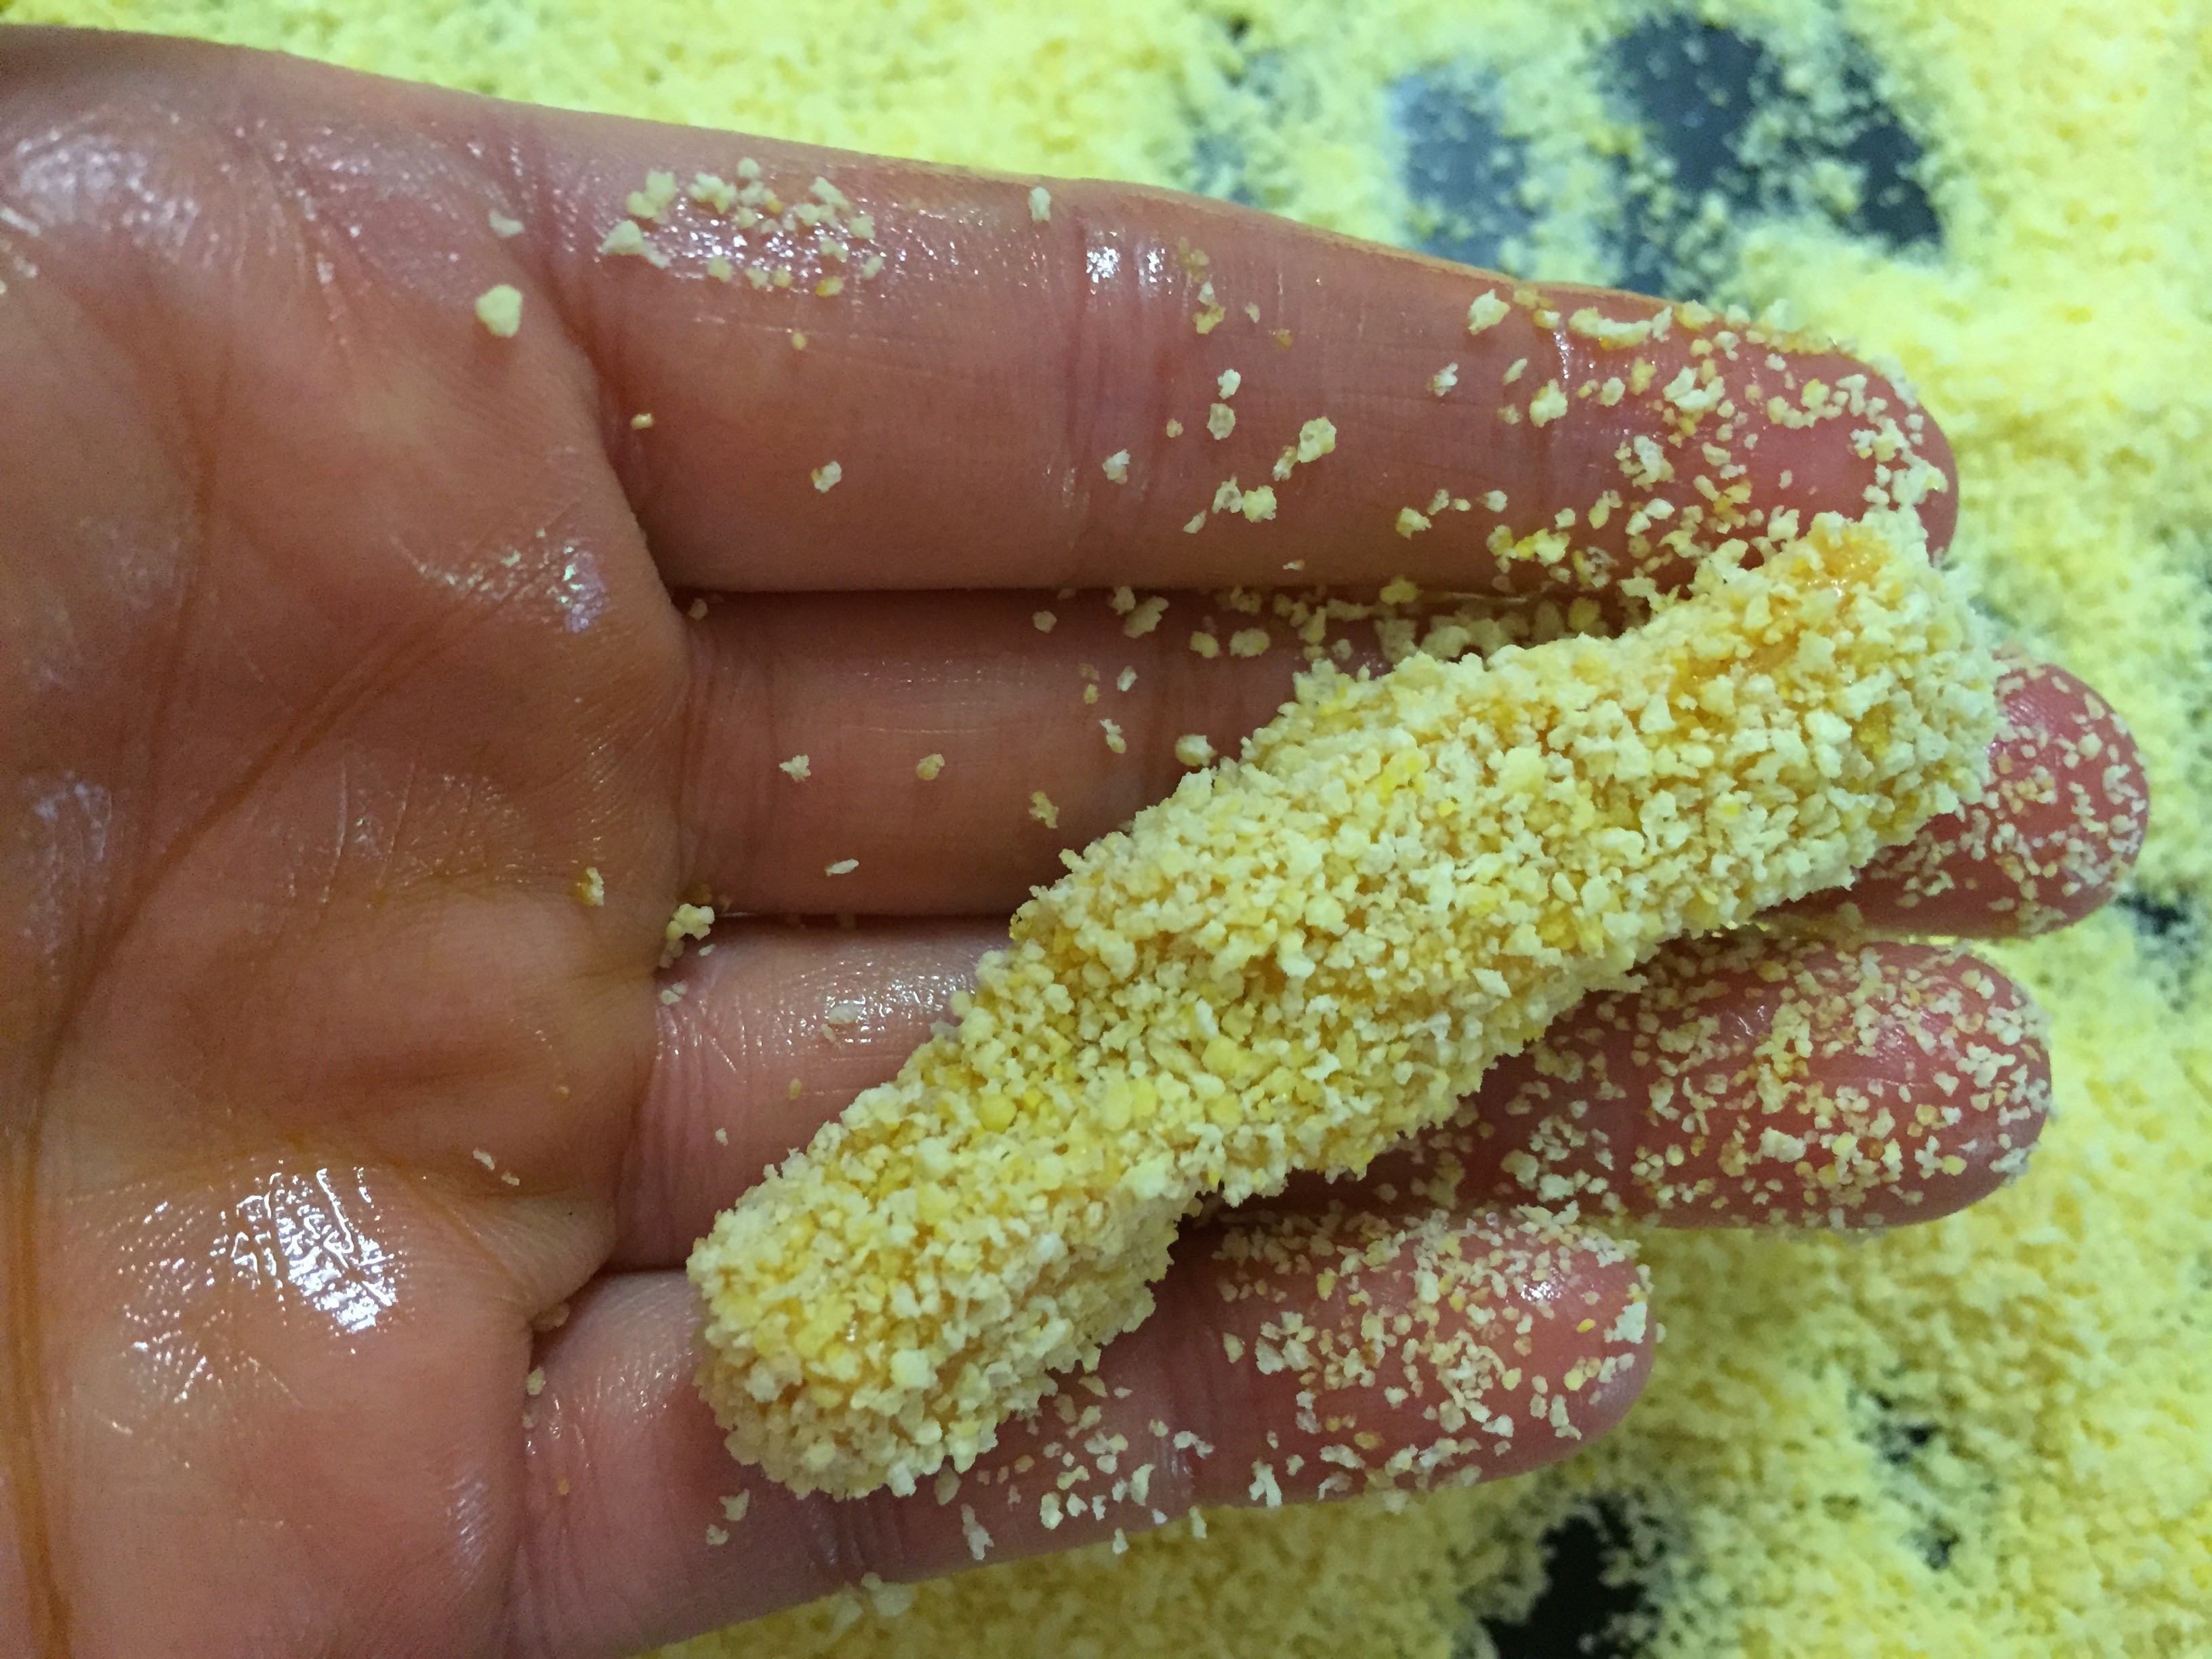
- 5Place in prepared bread crumbs and roll cheese until entirely covered in crumbs. Repeat.
- 6Once all of the cheese sticks have been formed, place oil in pan and heat on high at first, then drop to medium high once the oil is very hot.
- 7Drop sticks in pan and lightly cook in oil until just light golden in colour.
Instructions
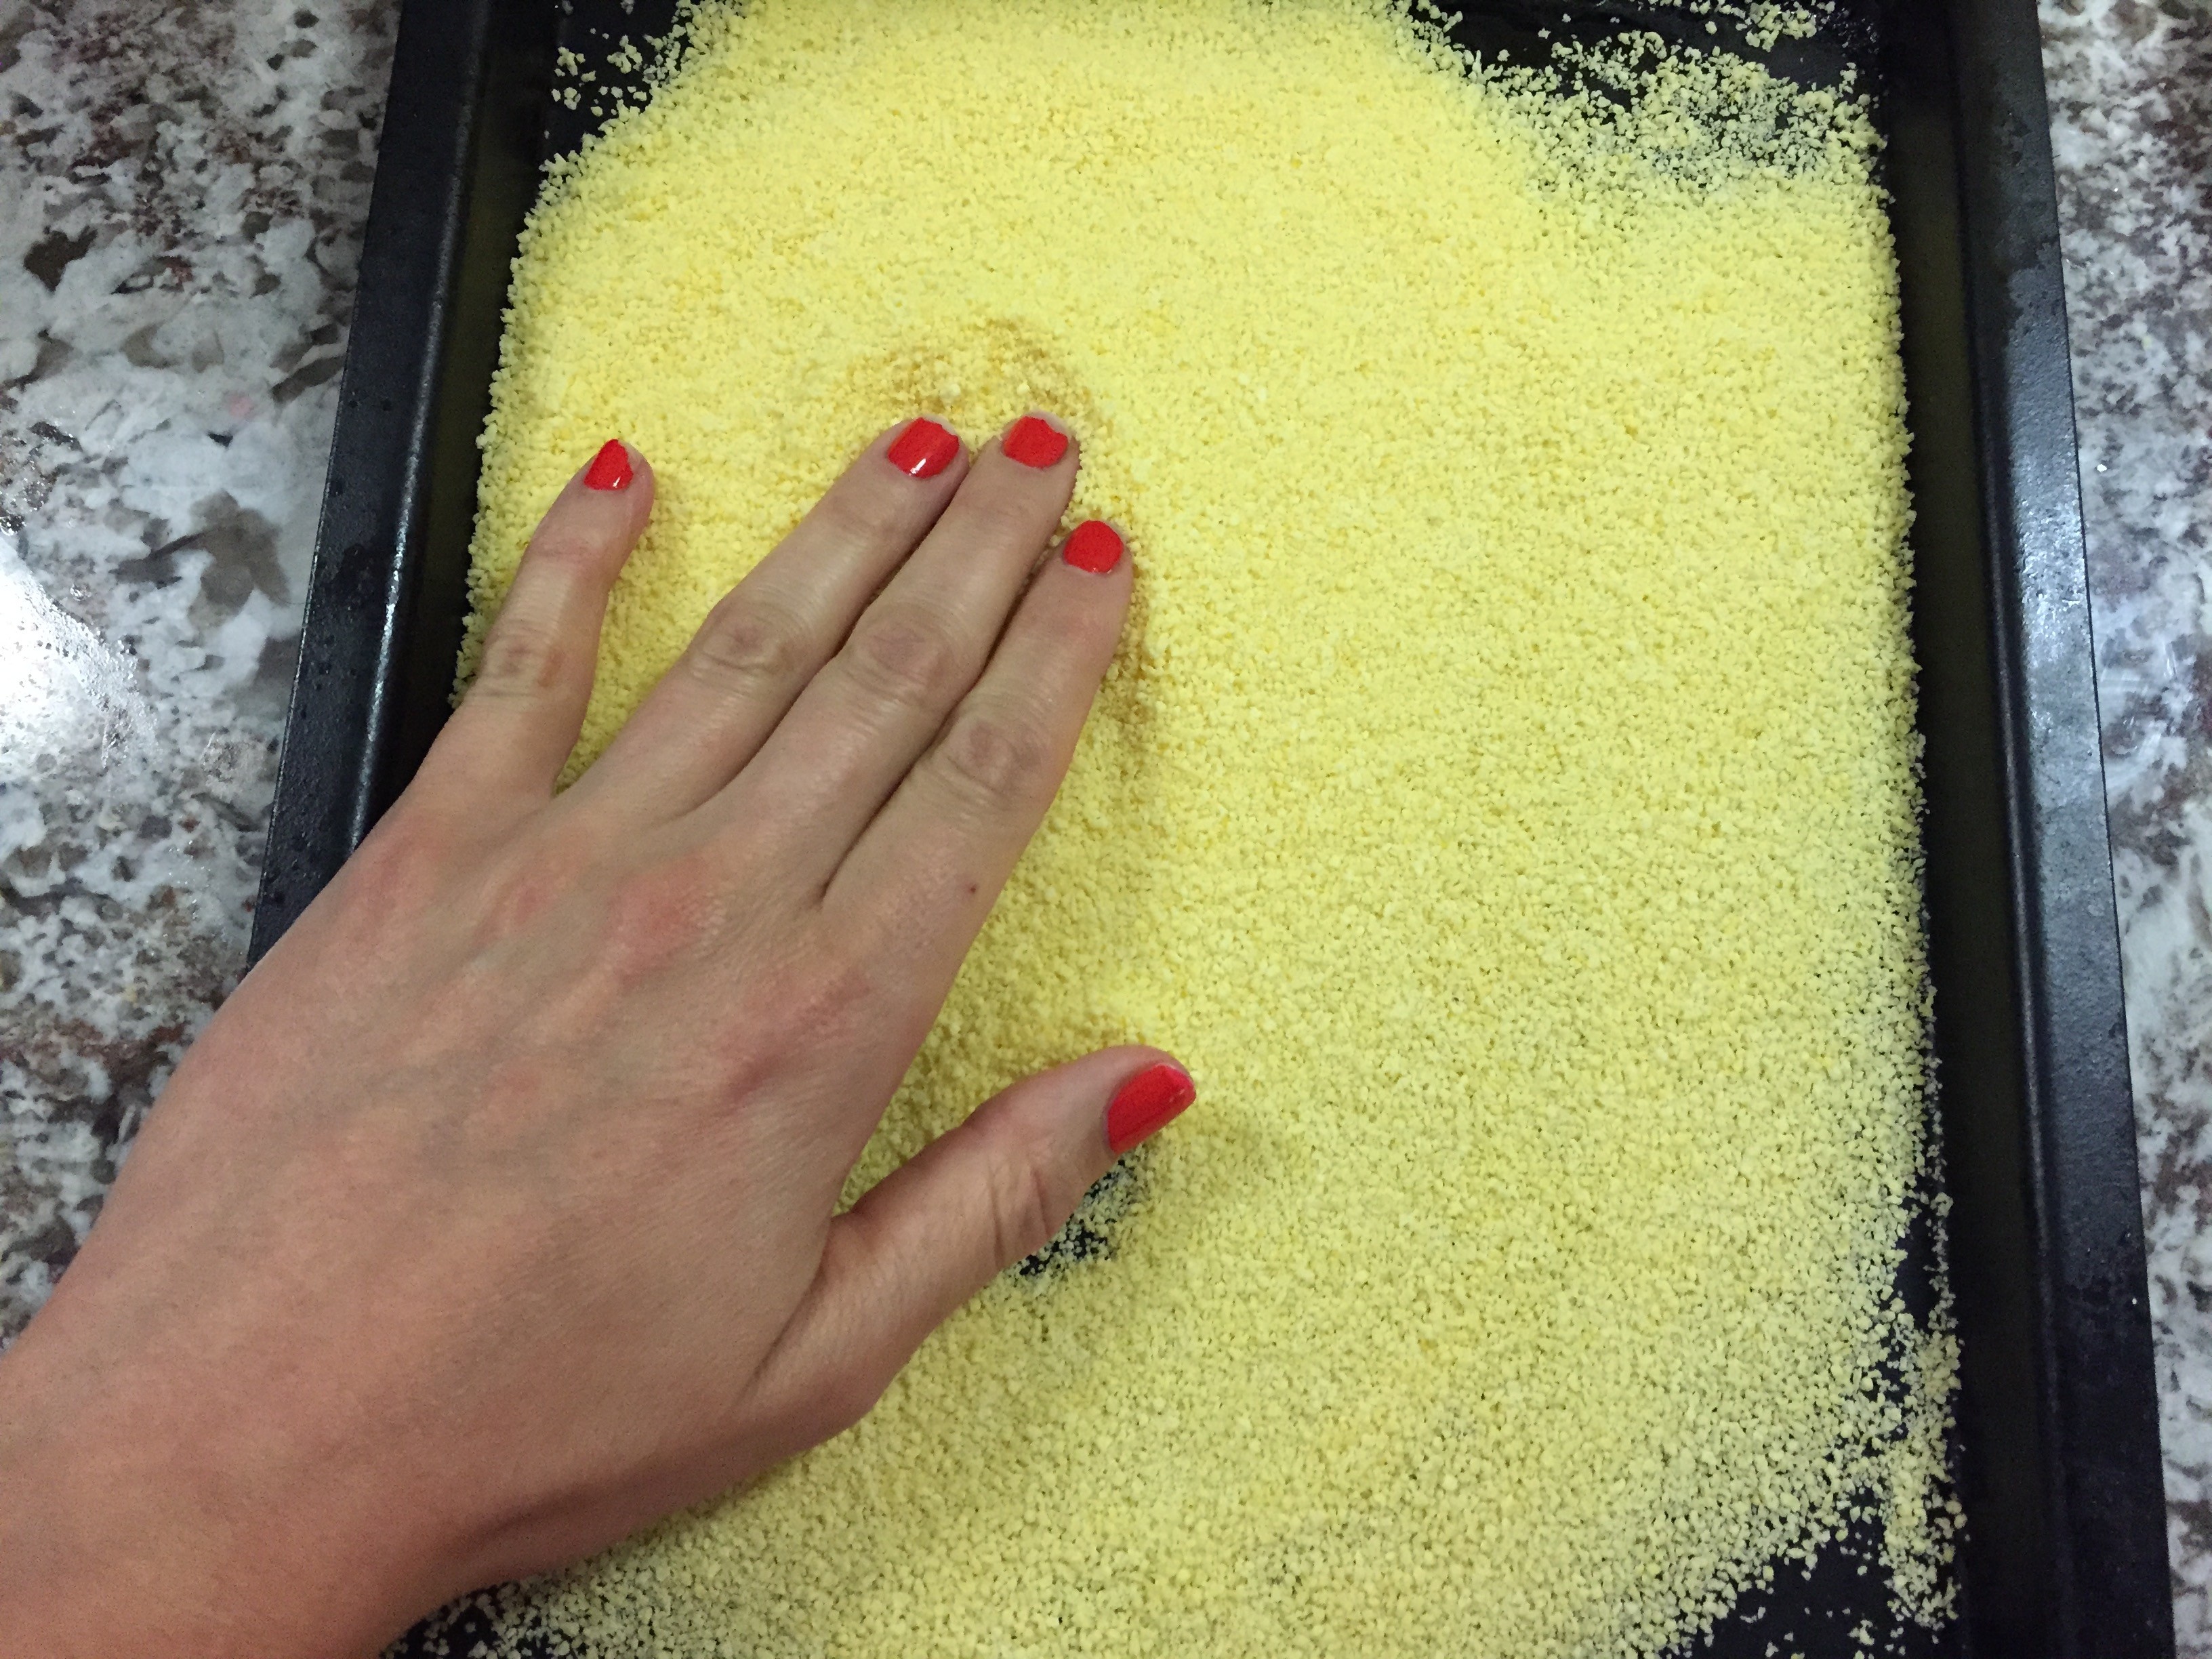
1. Spread cornmeal or bread crumbs on a baking pan or the like. Add salt and mix. Set aside.
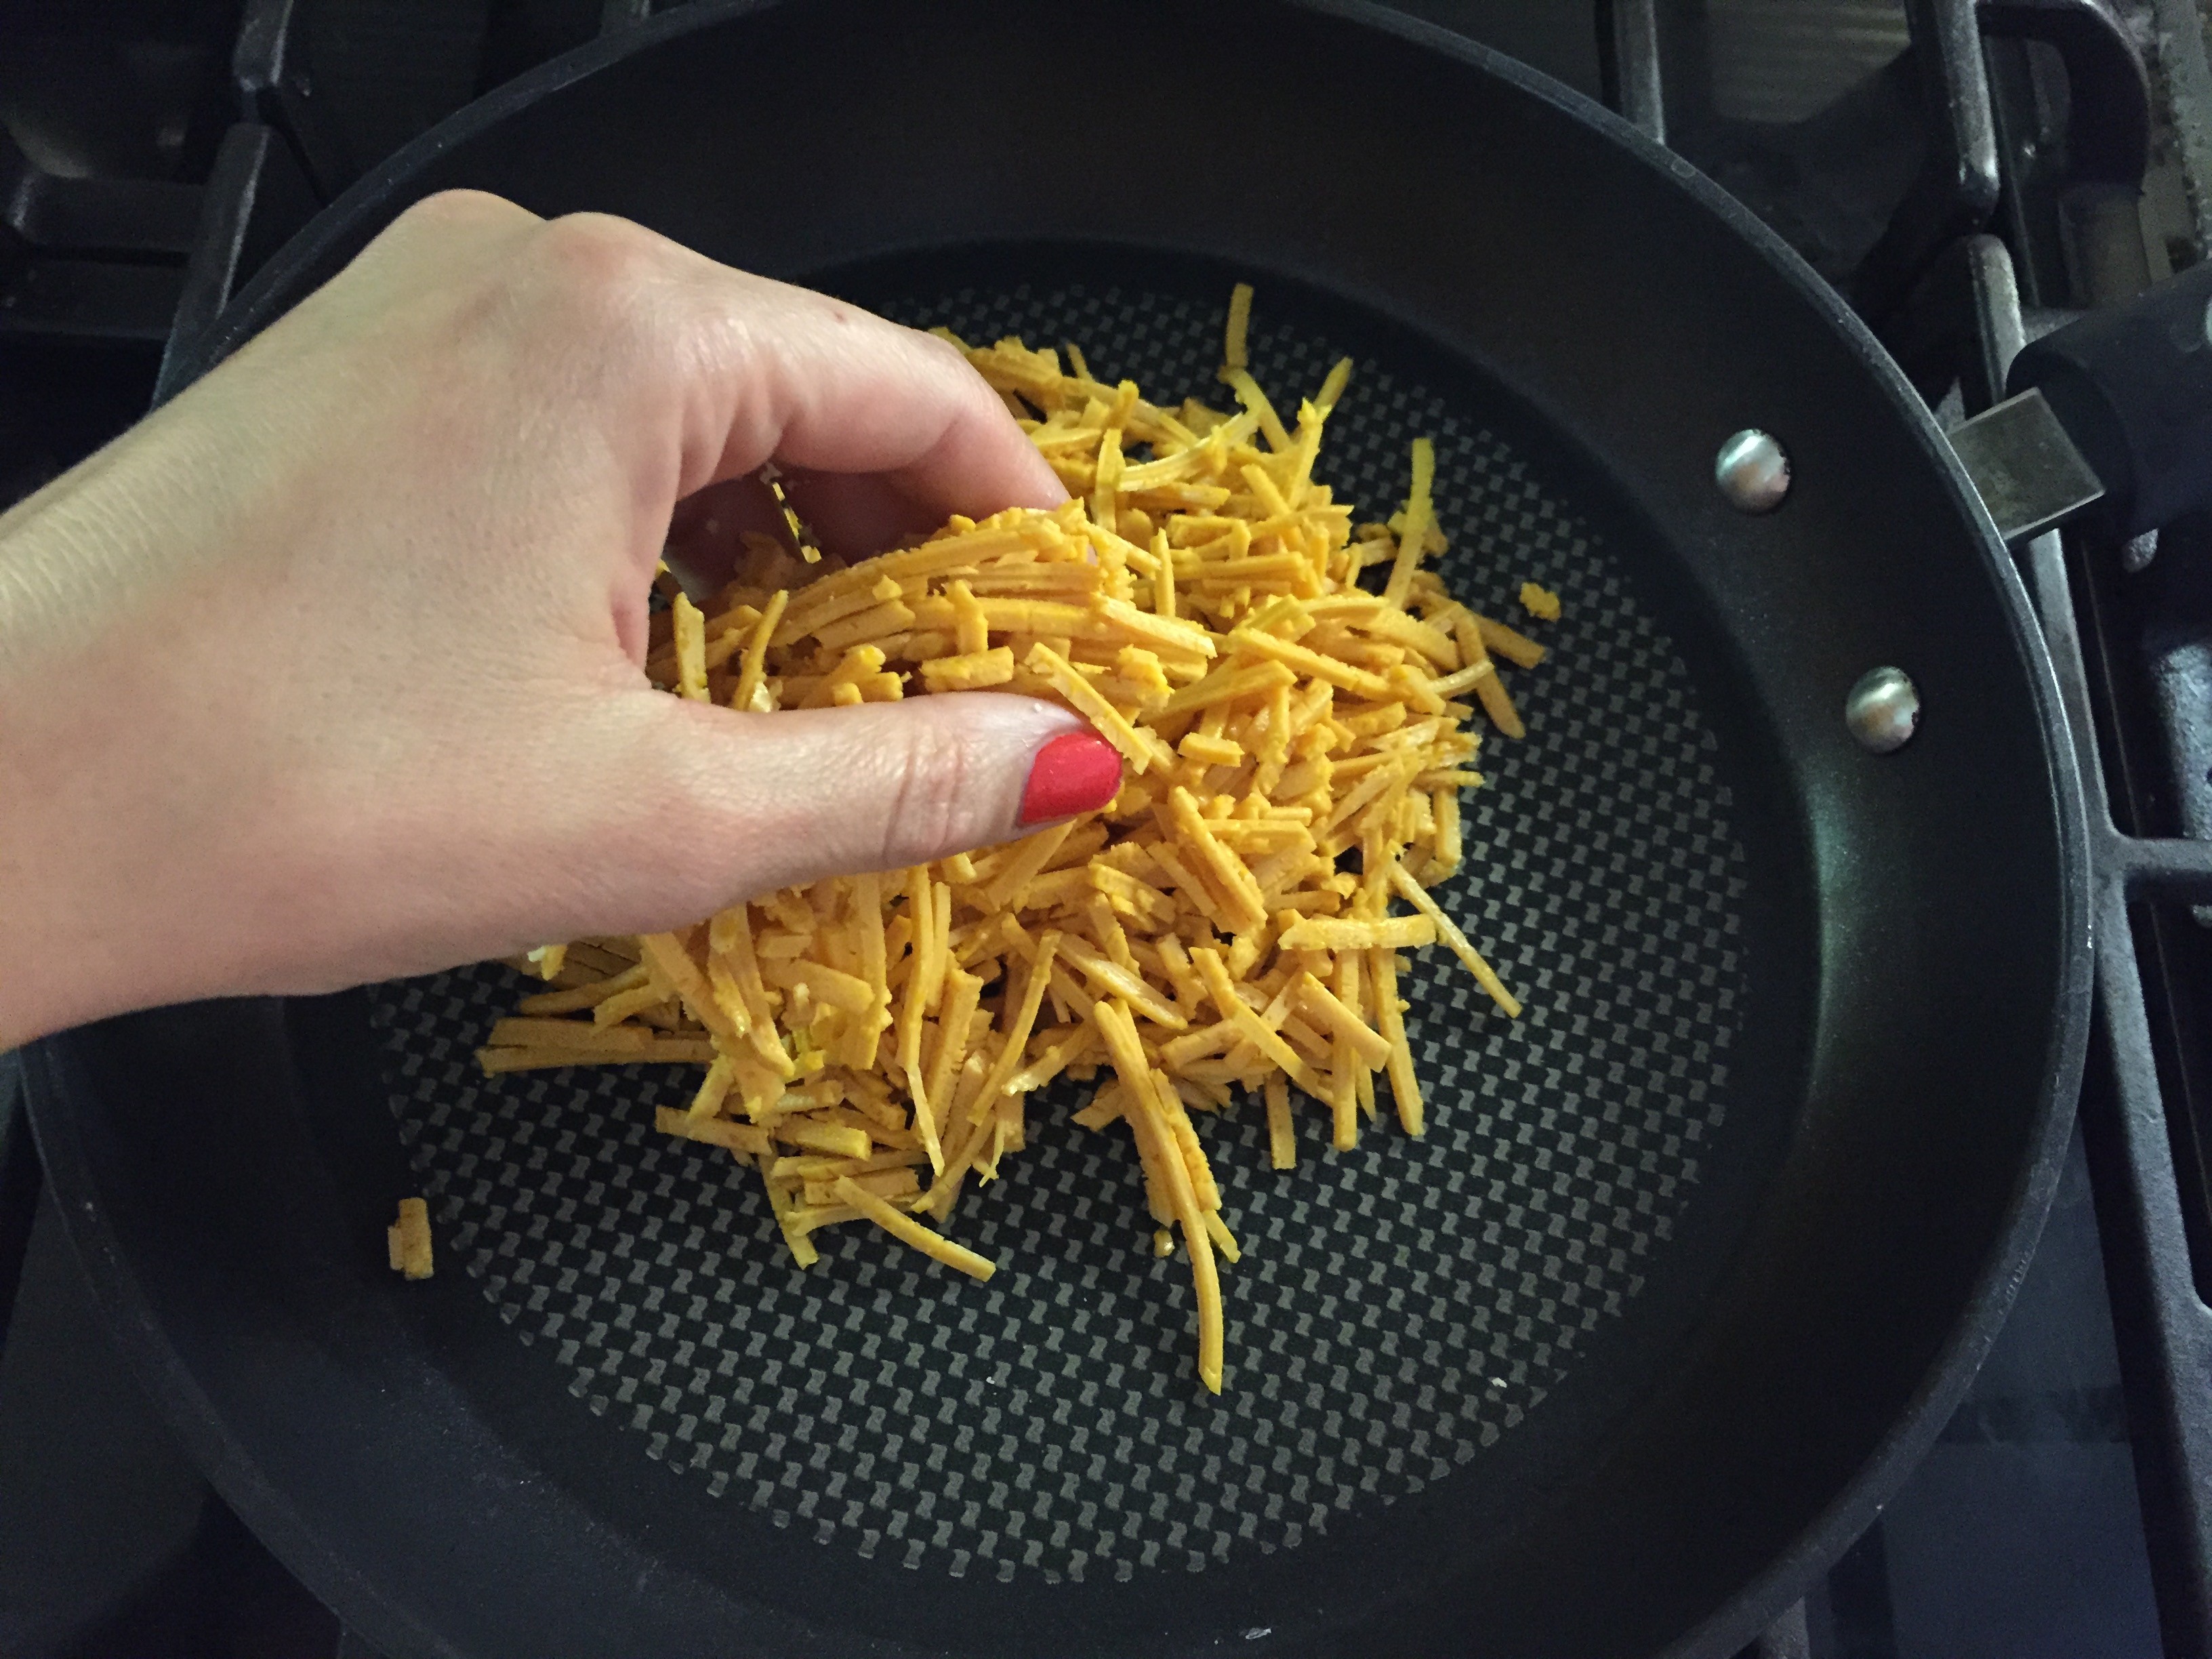
2. Place and evenly spread 1 cup of cheese shreds at a time into a pan and cook on high heat until the shreds begin to melt and stick together.
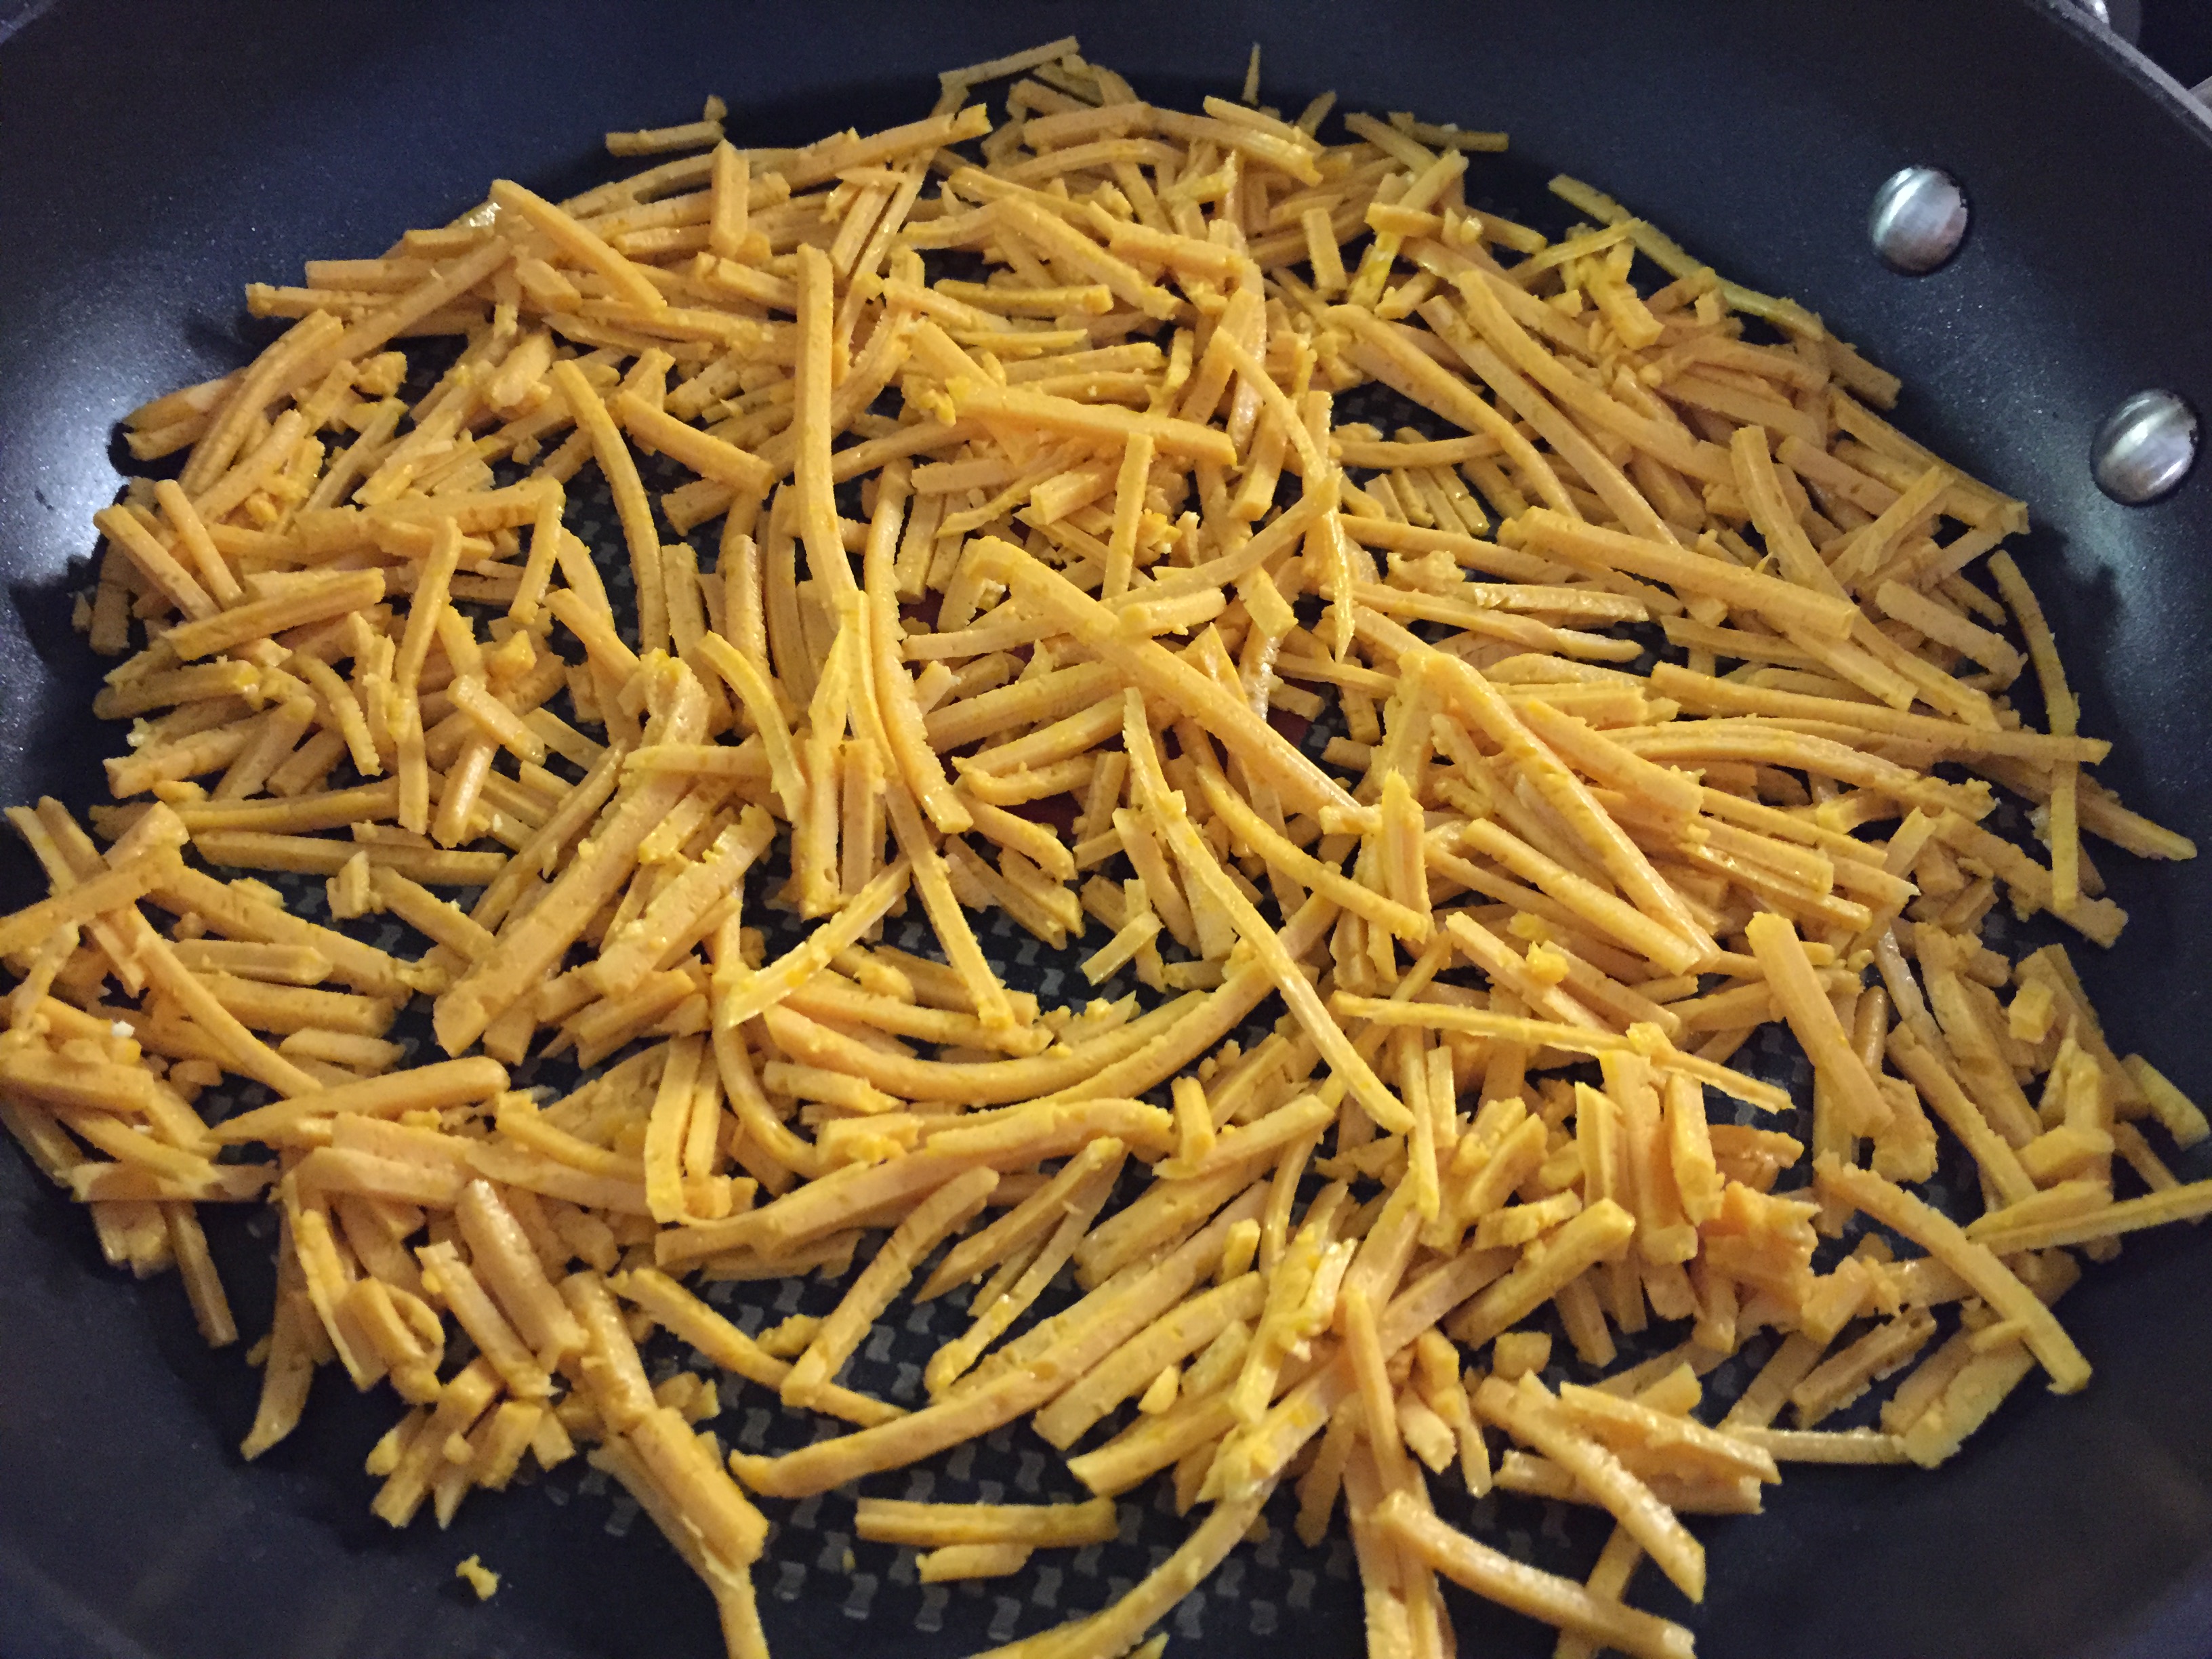
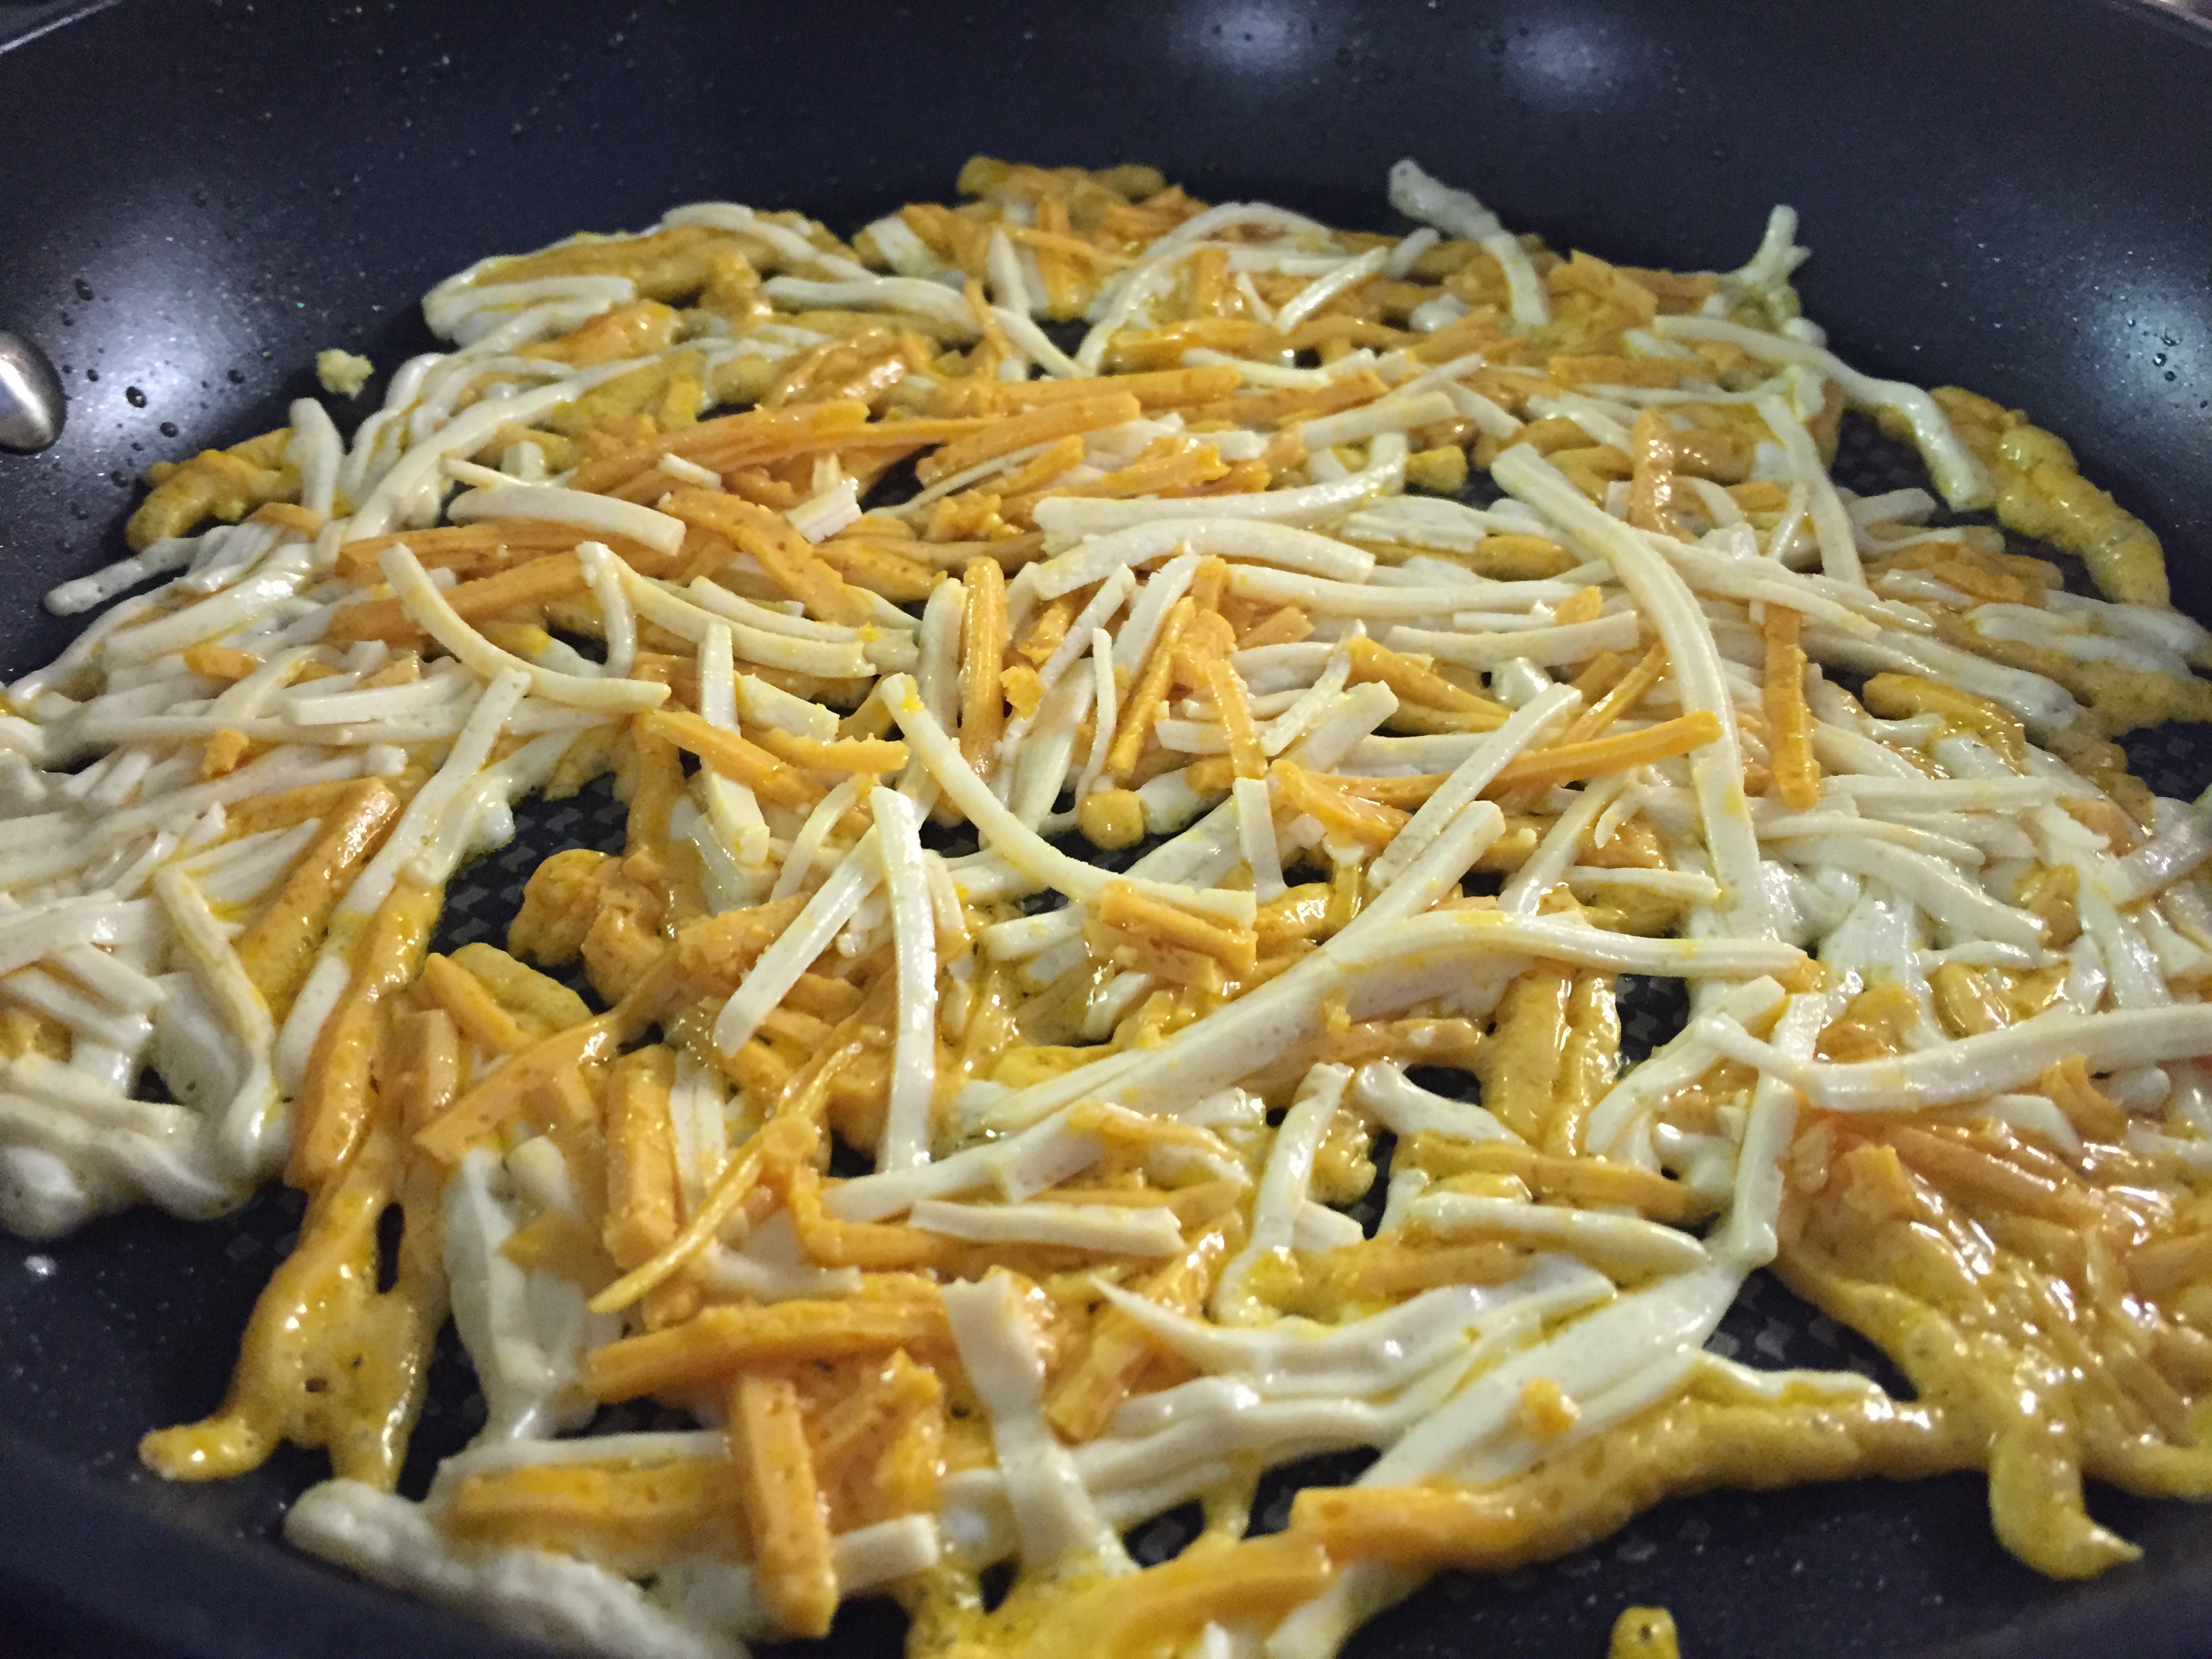
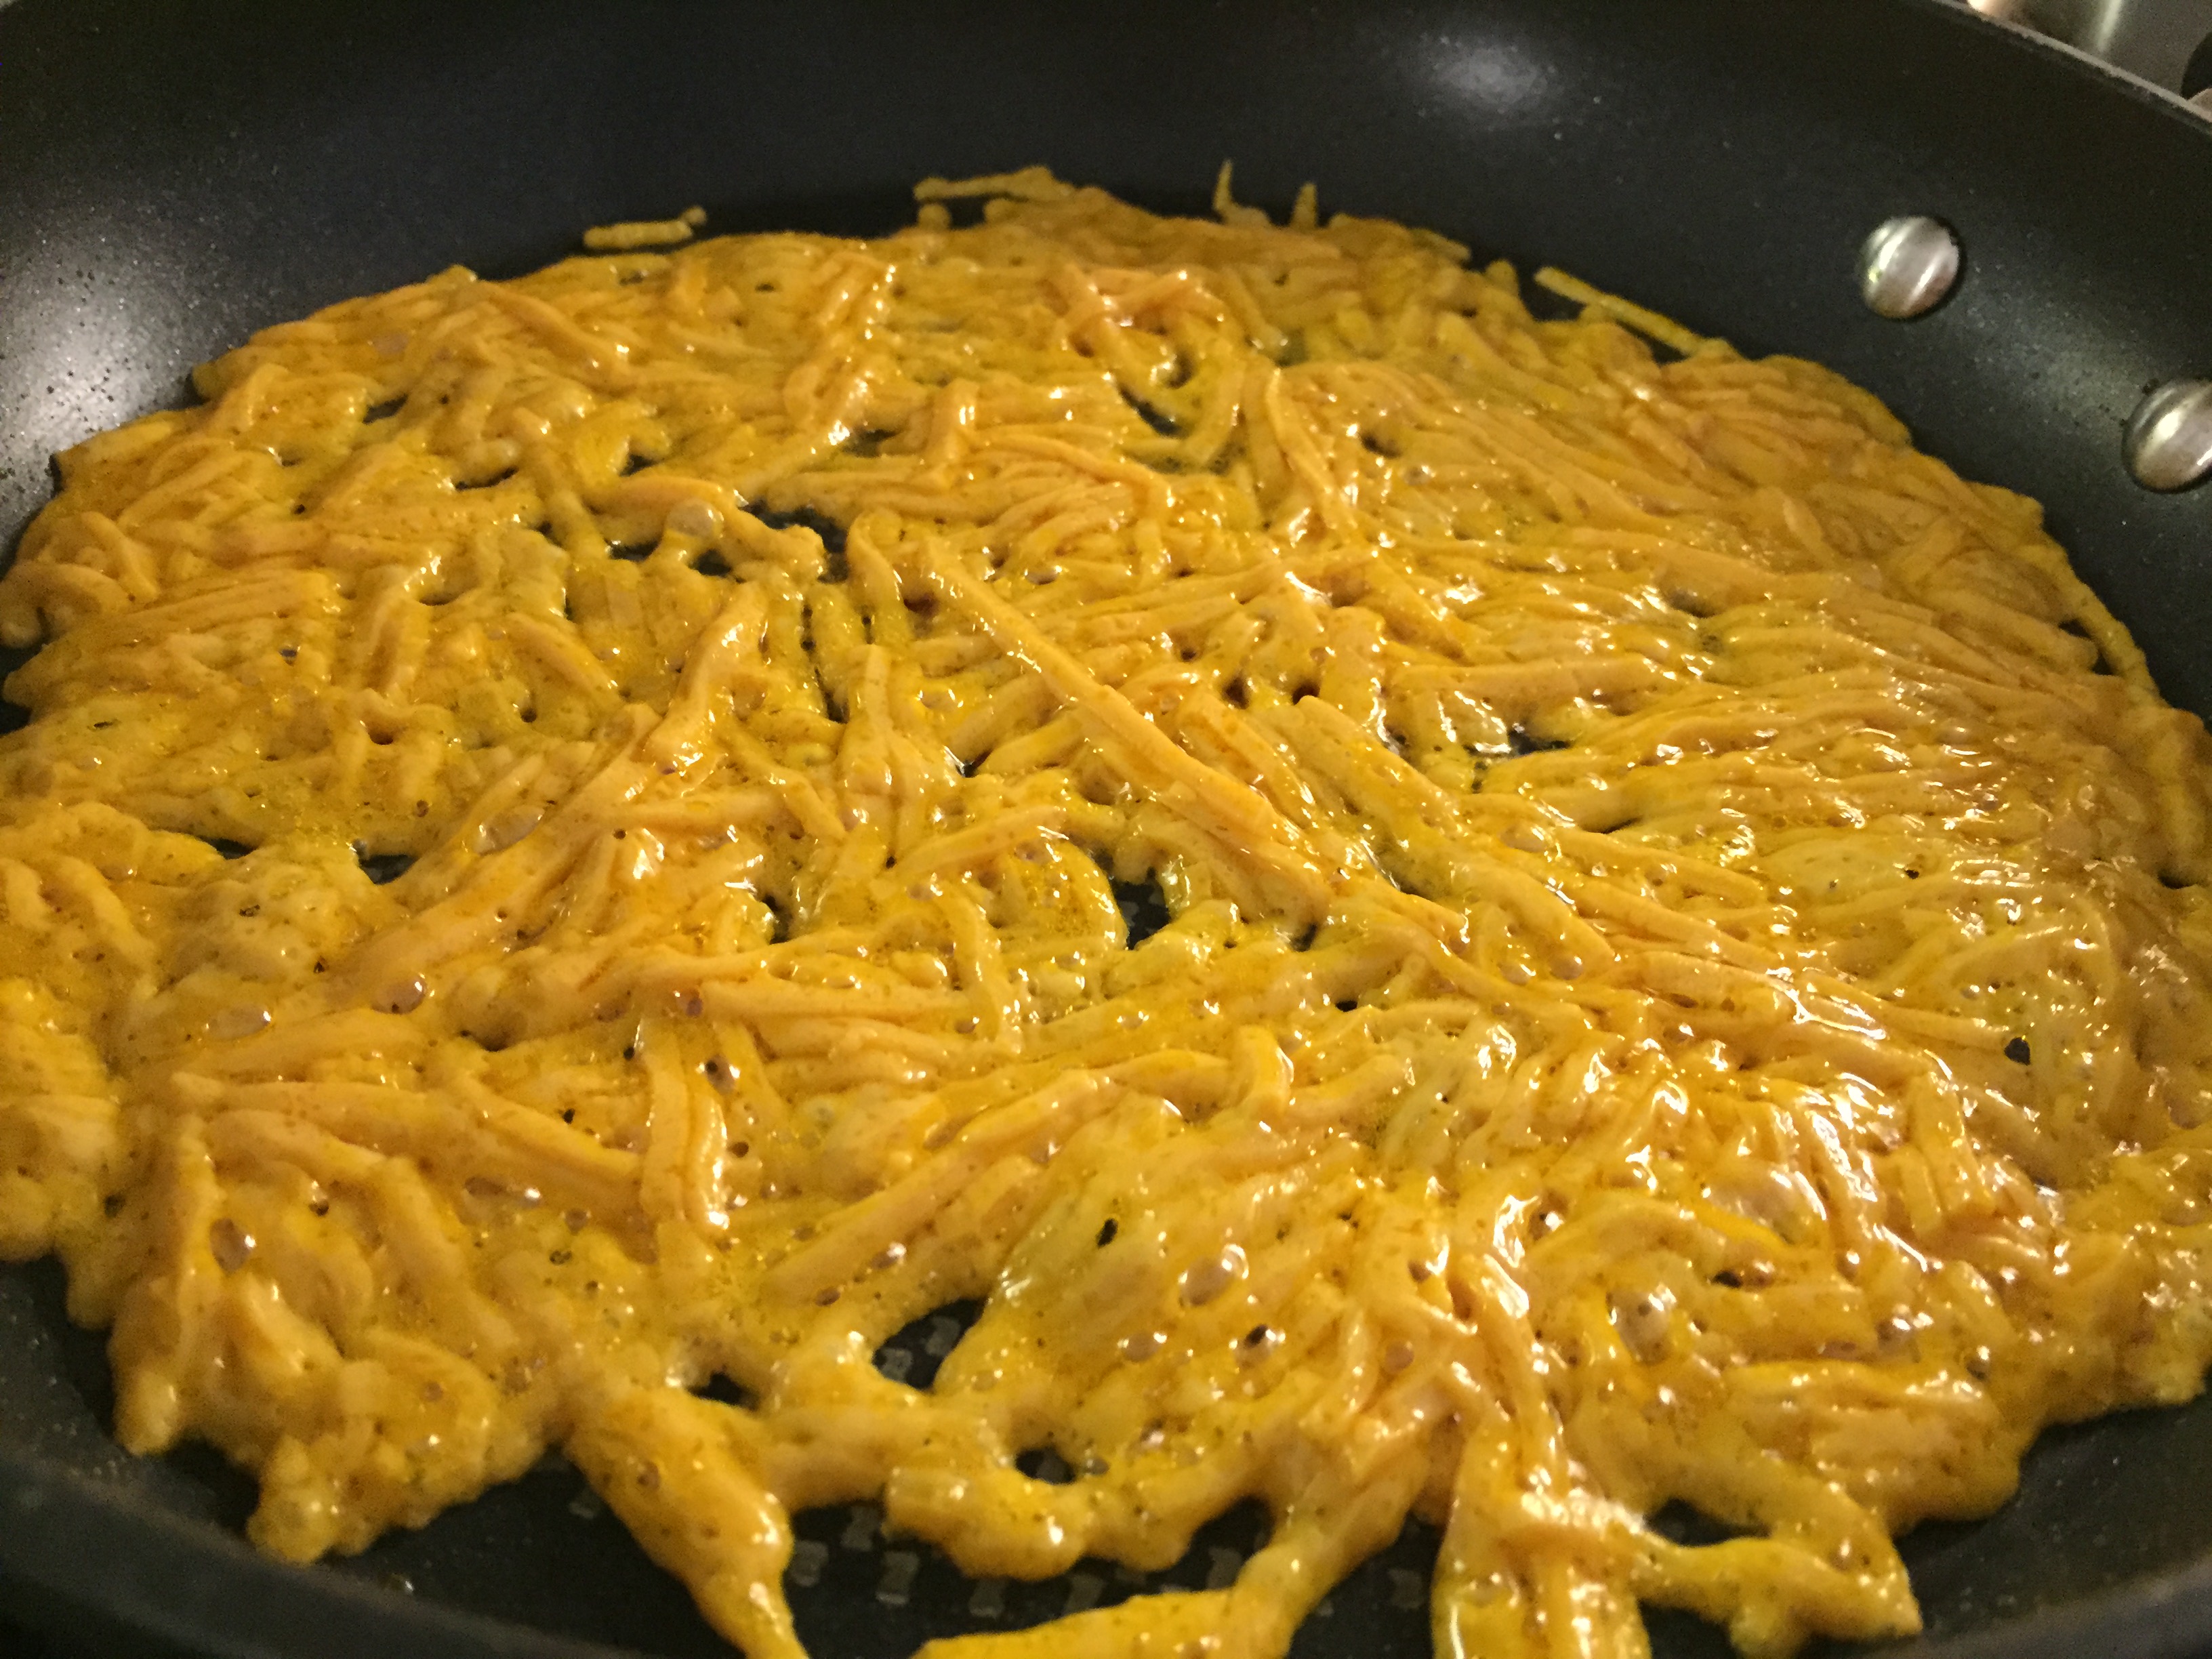
3. Remove and place on a clean work surface.
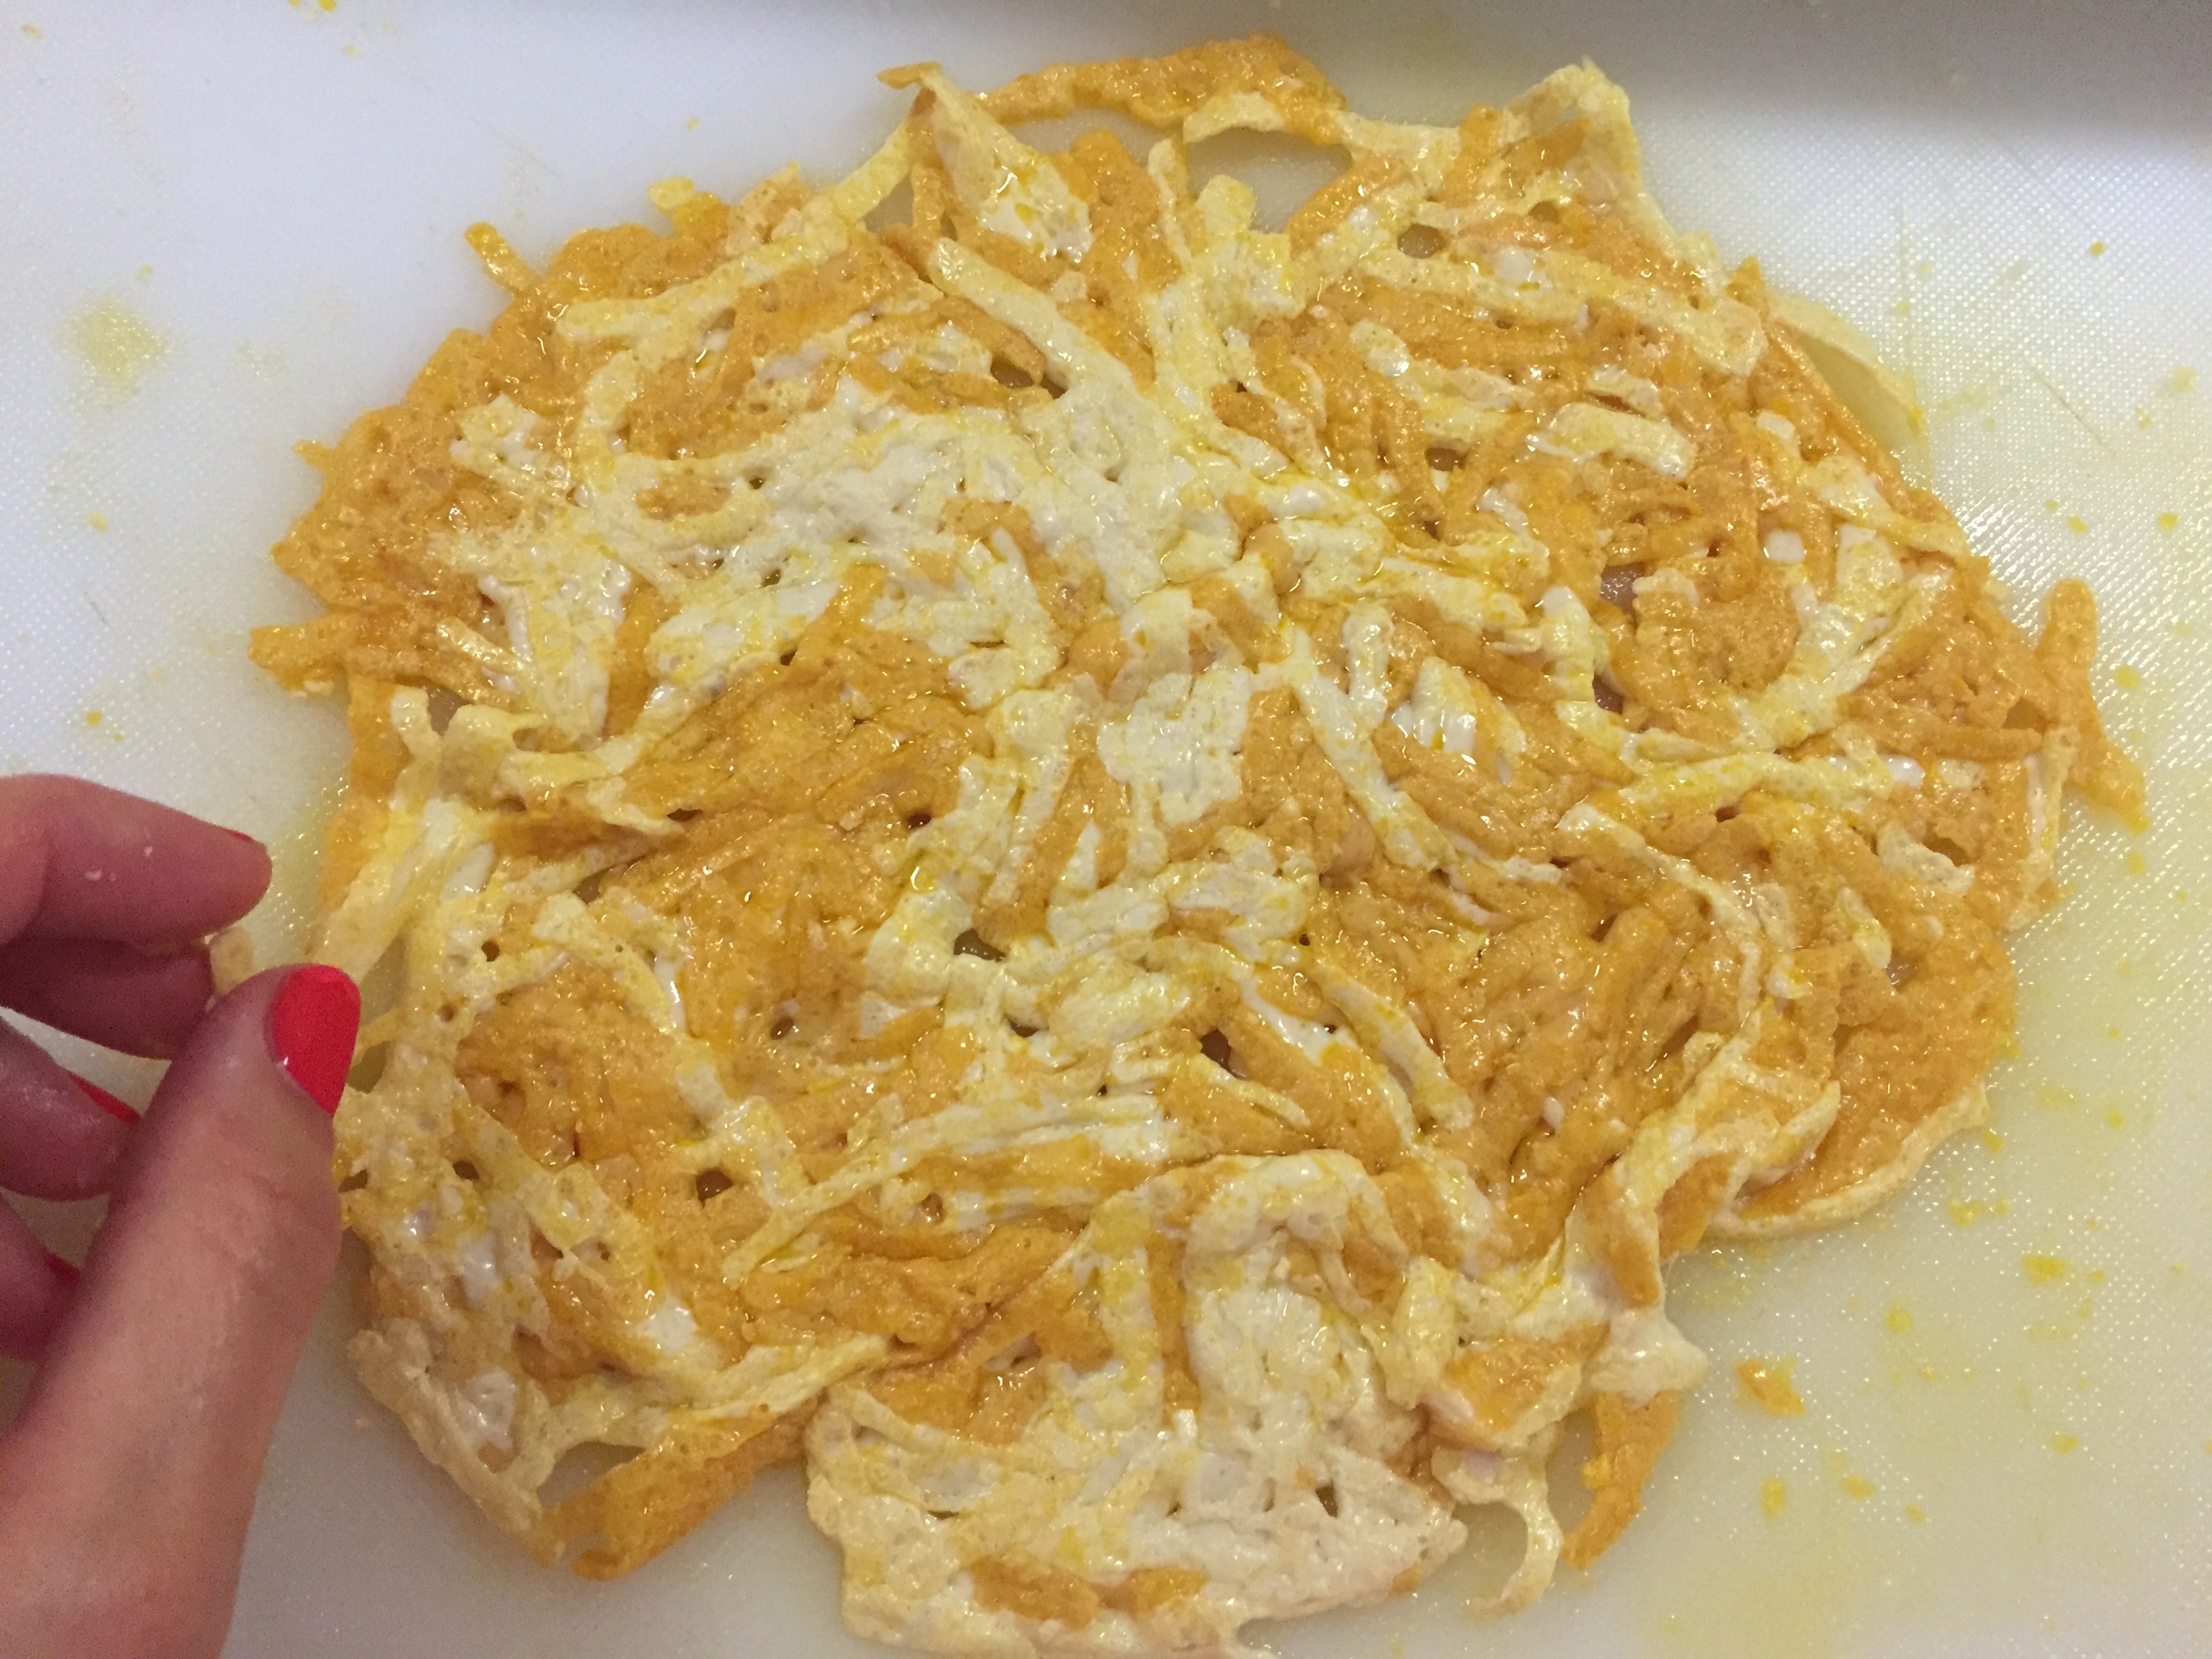
4. Handling the hot cheese with care, take about 1 tablespoon of melted cheese into the palm of your hands, working to get a nice log formed. (Sorry couldn’t take complete progress pictures of this step but it’s kind of hard when your other hand is in charge of the camera….)
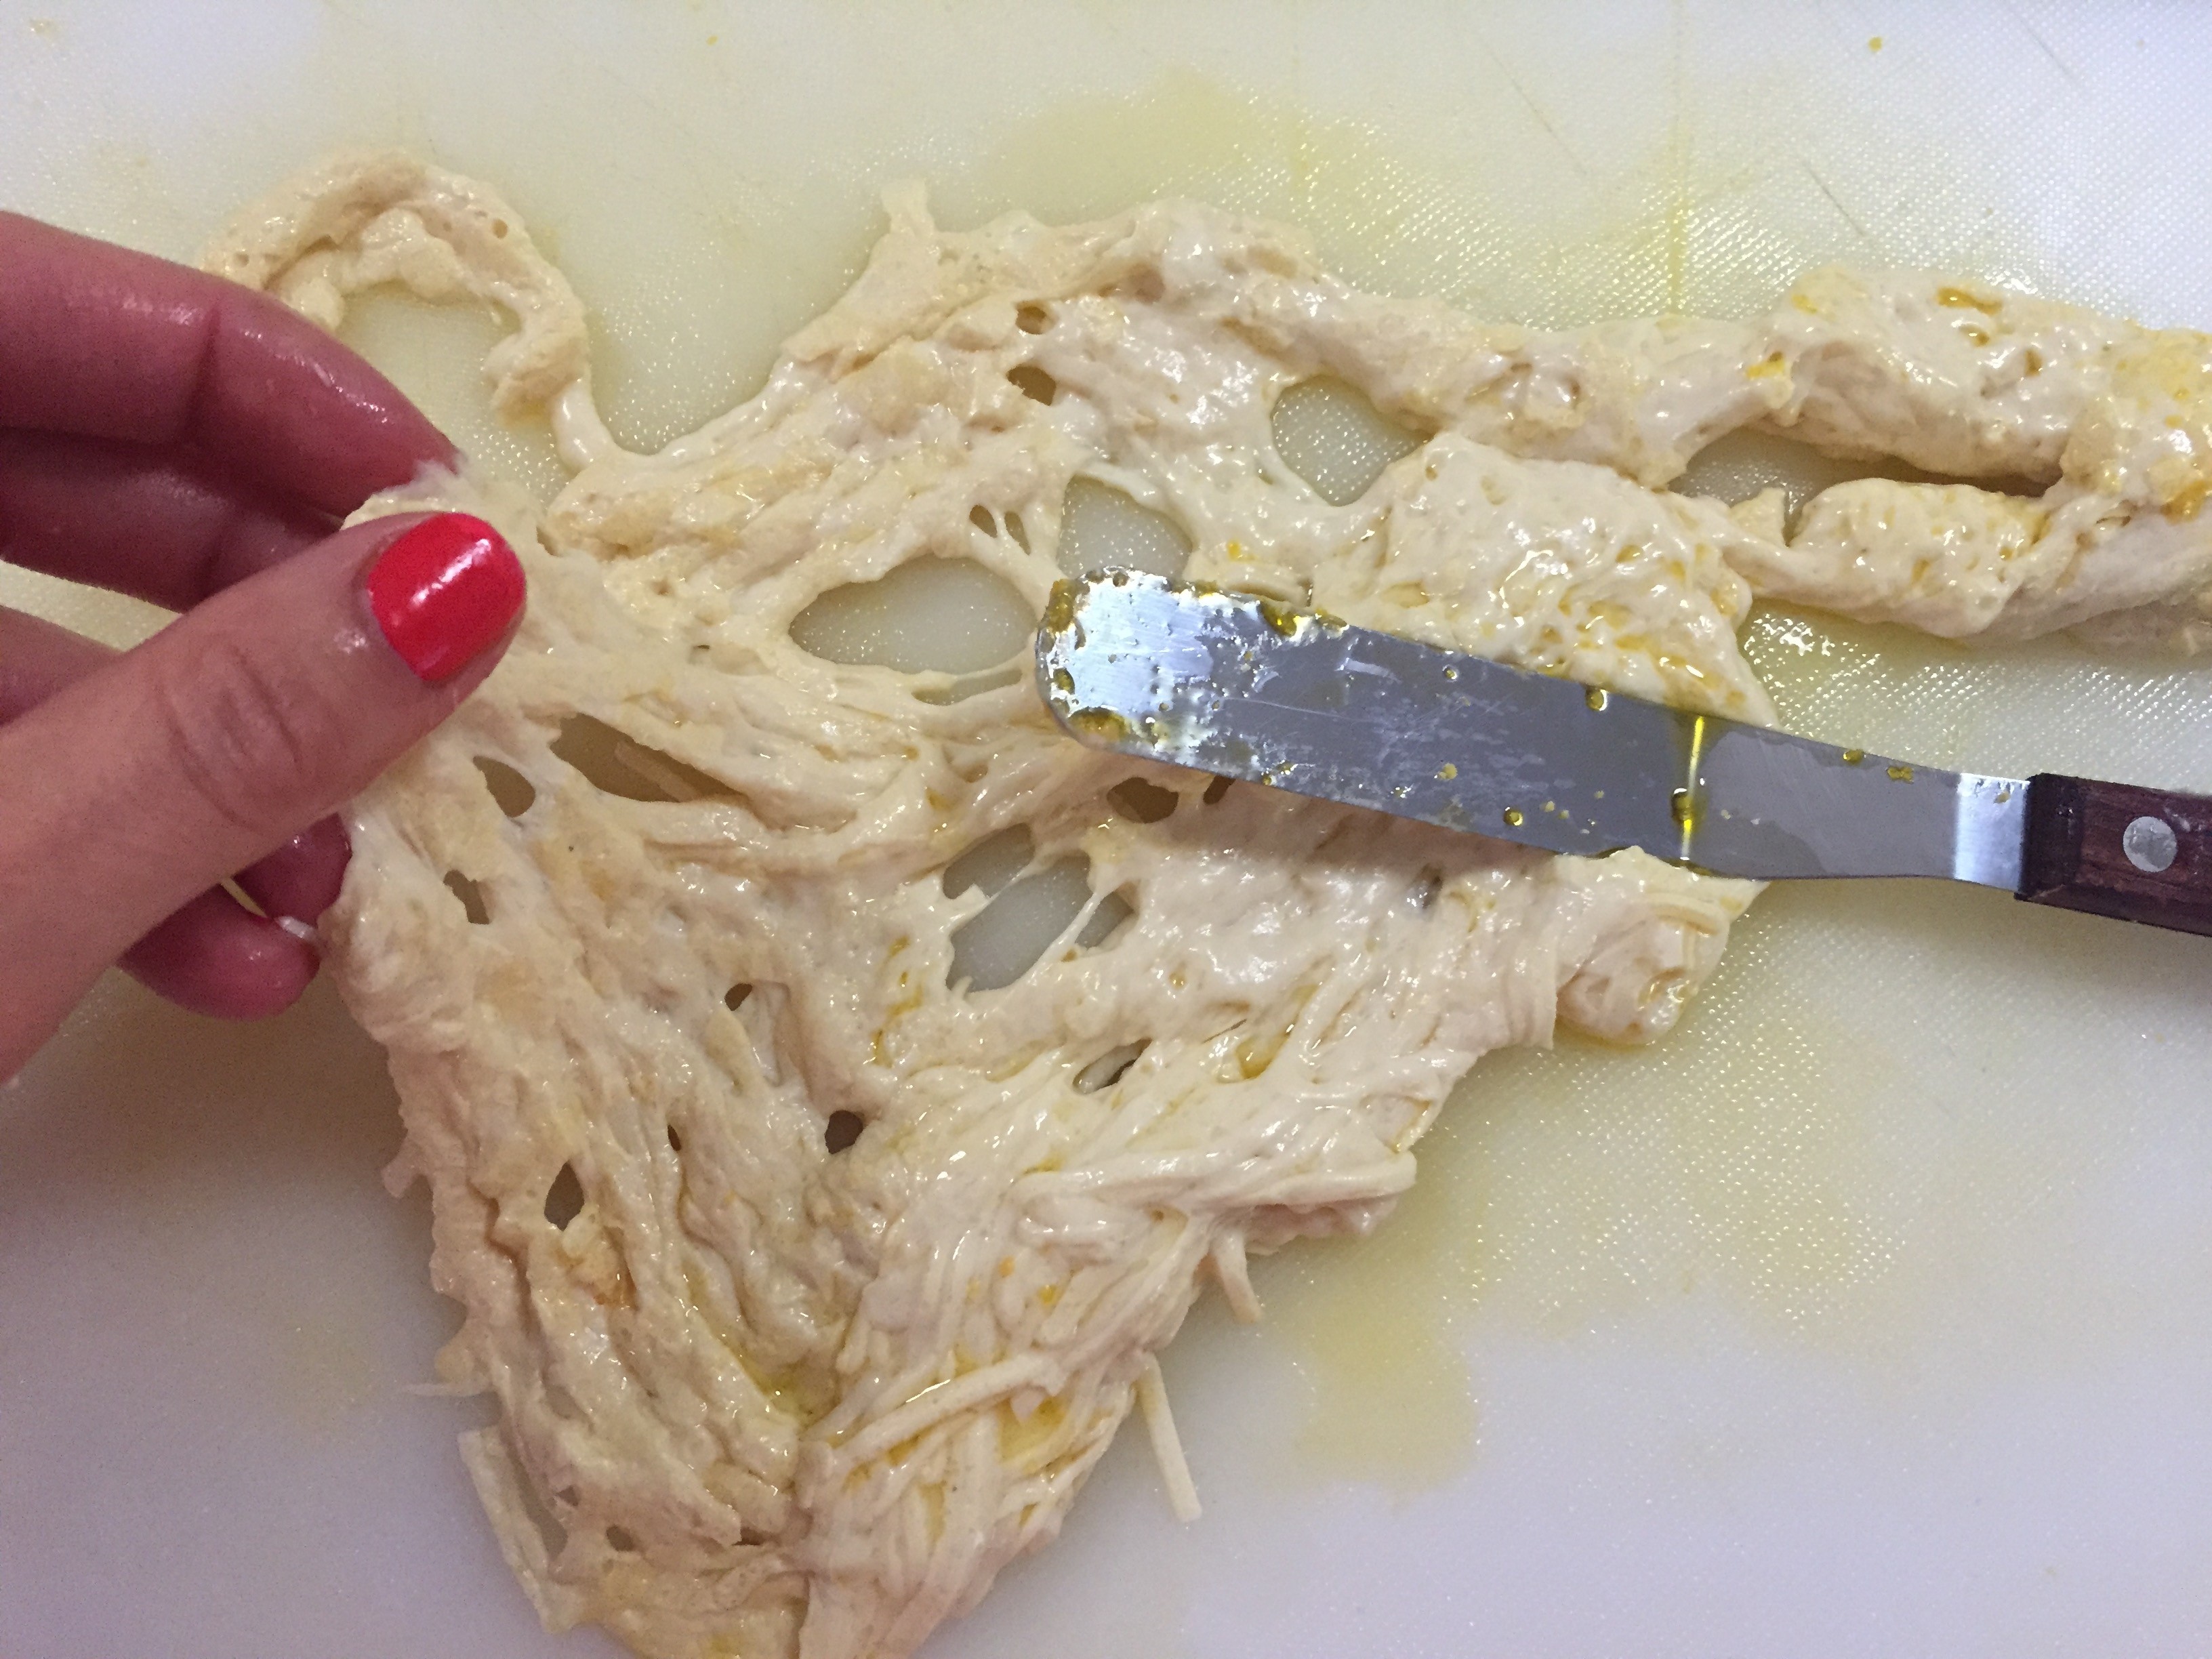
5. Place in prepared bread crumbs and roll cheese until entirely covered. Repeat.
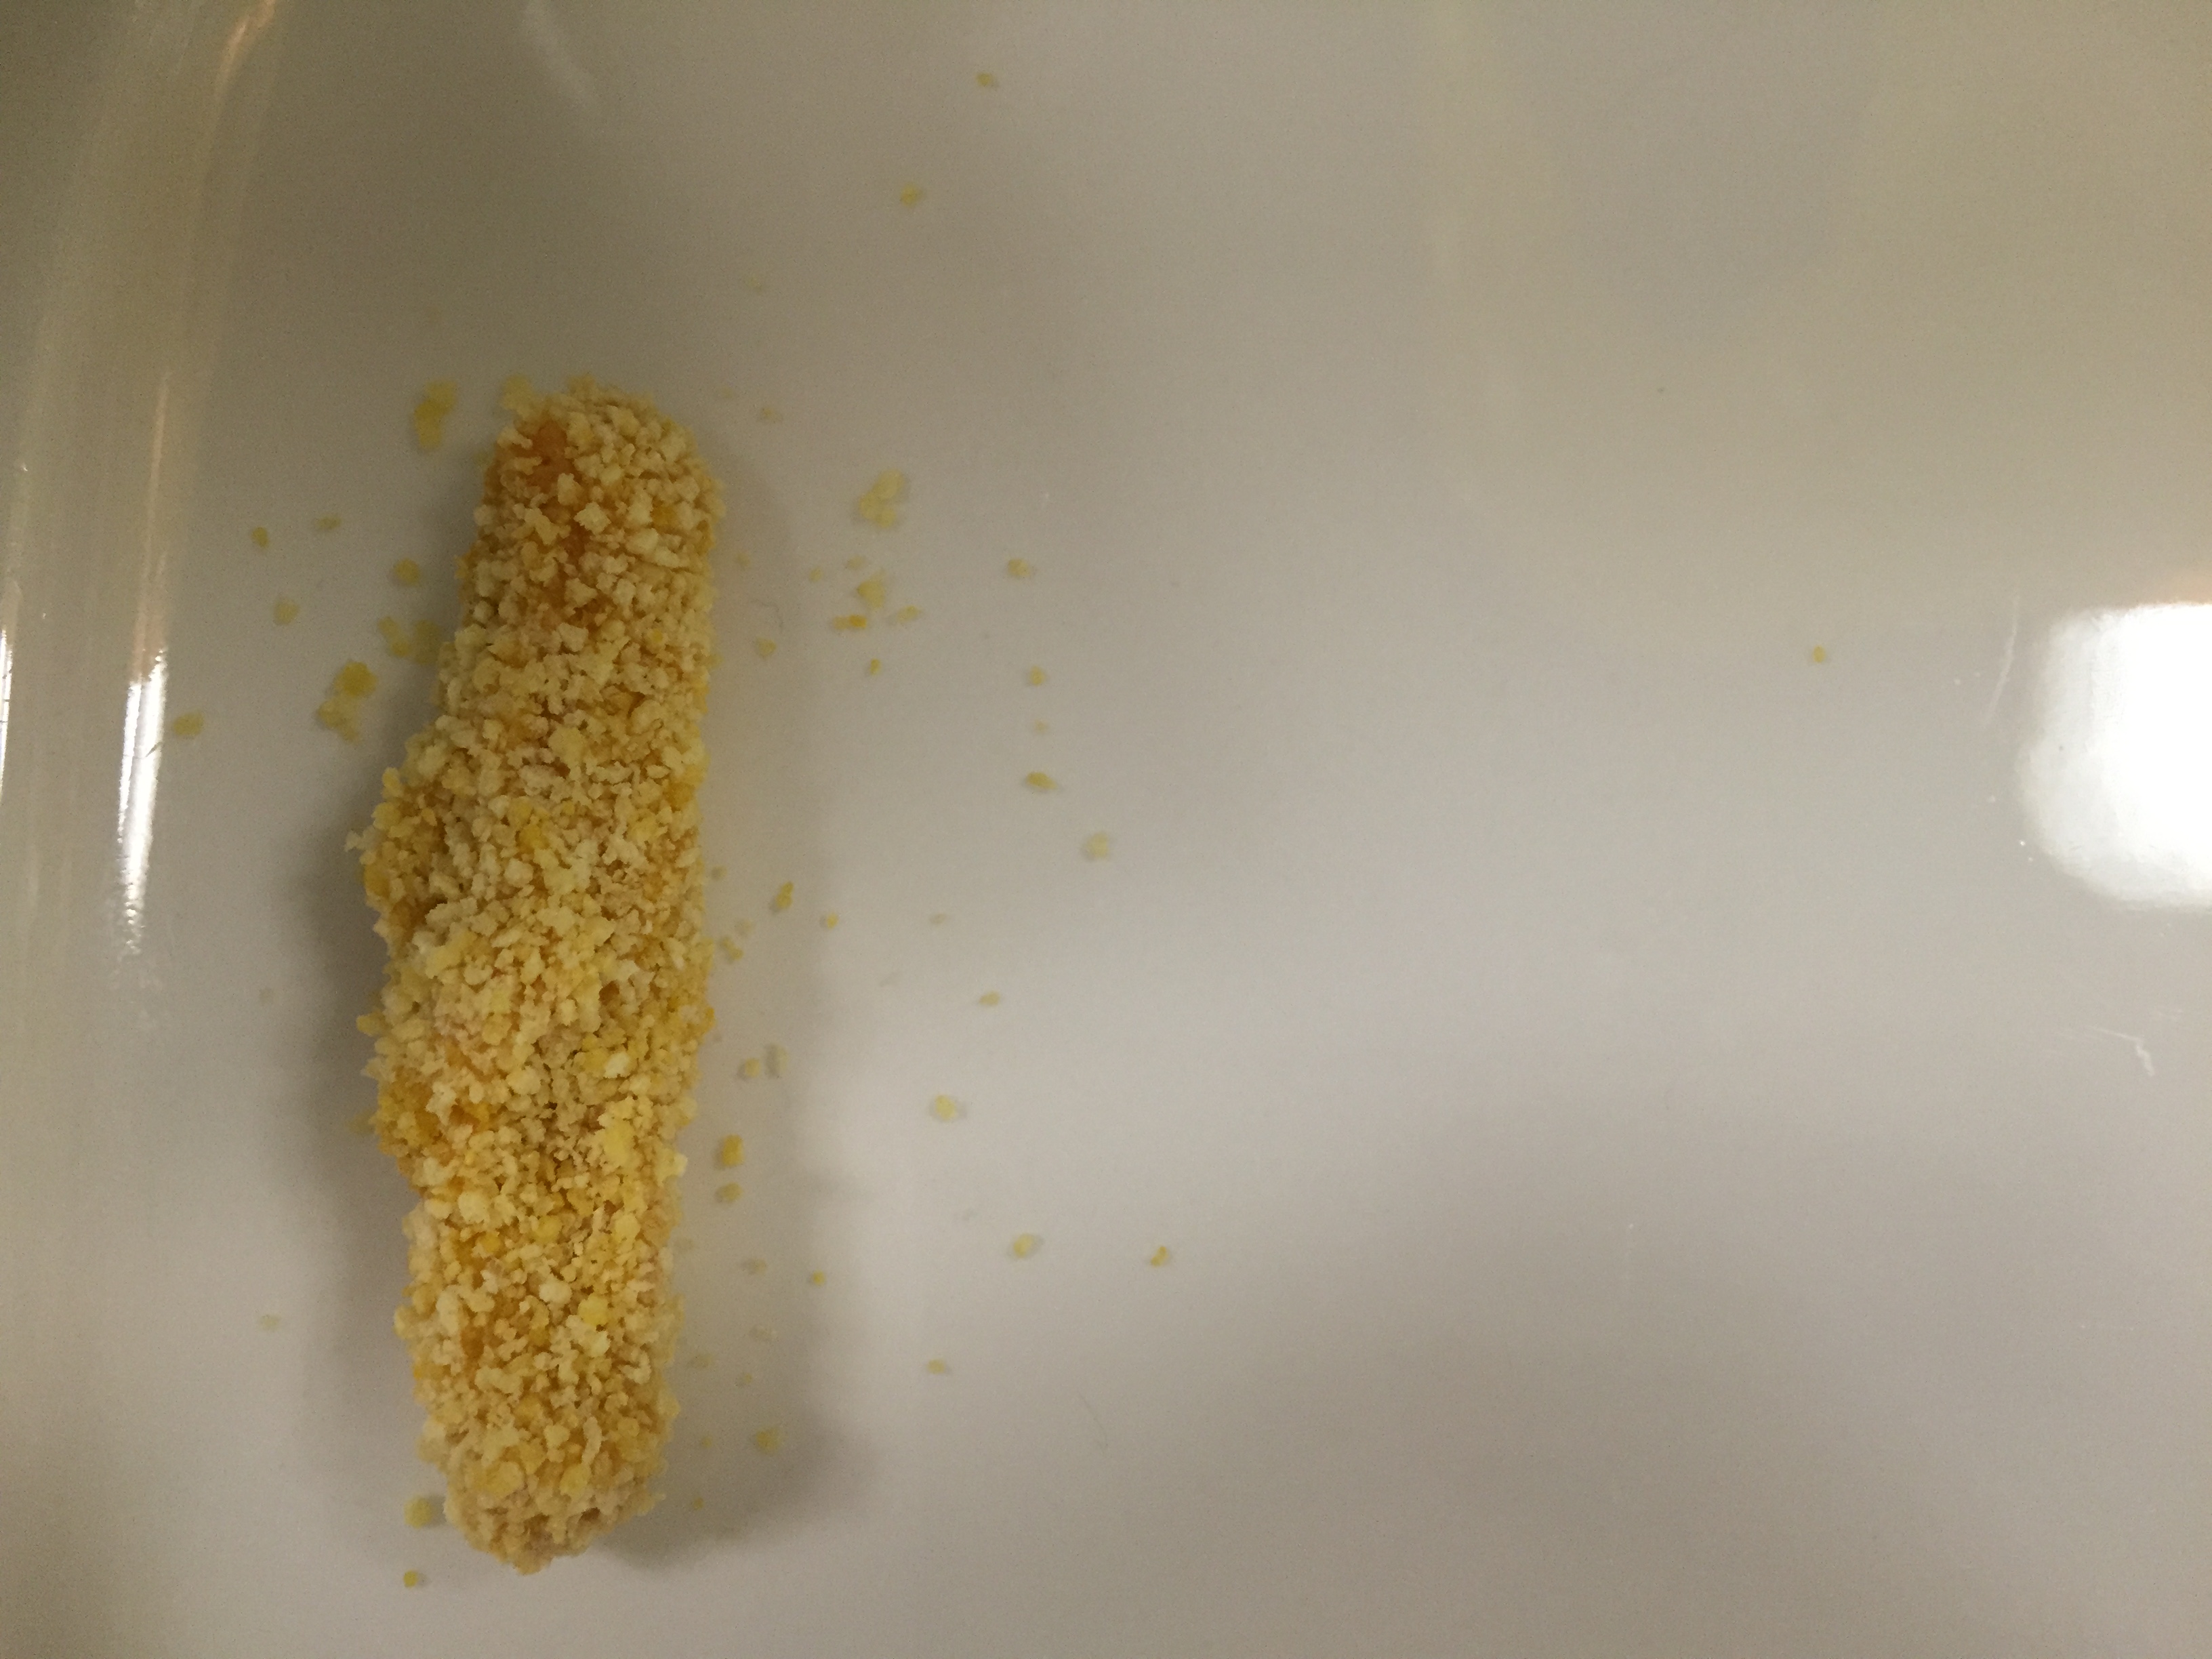
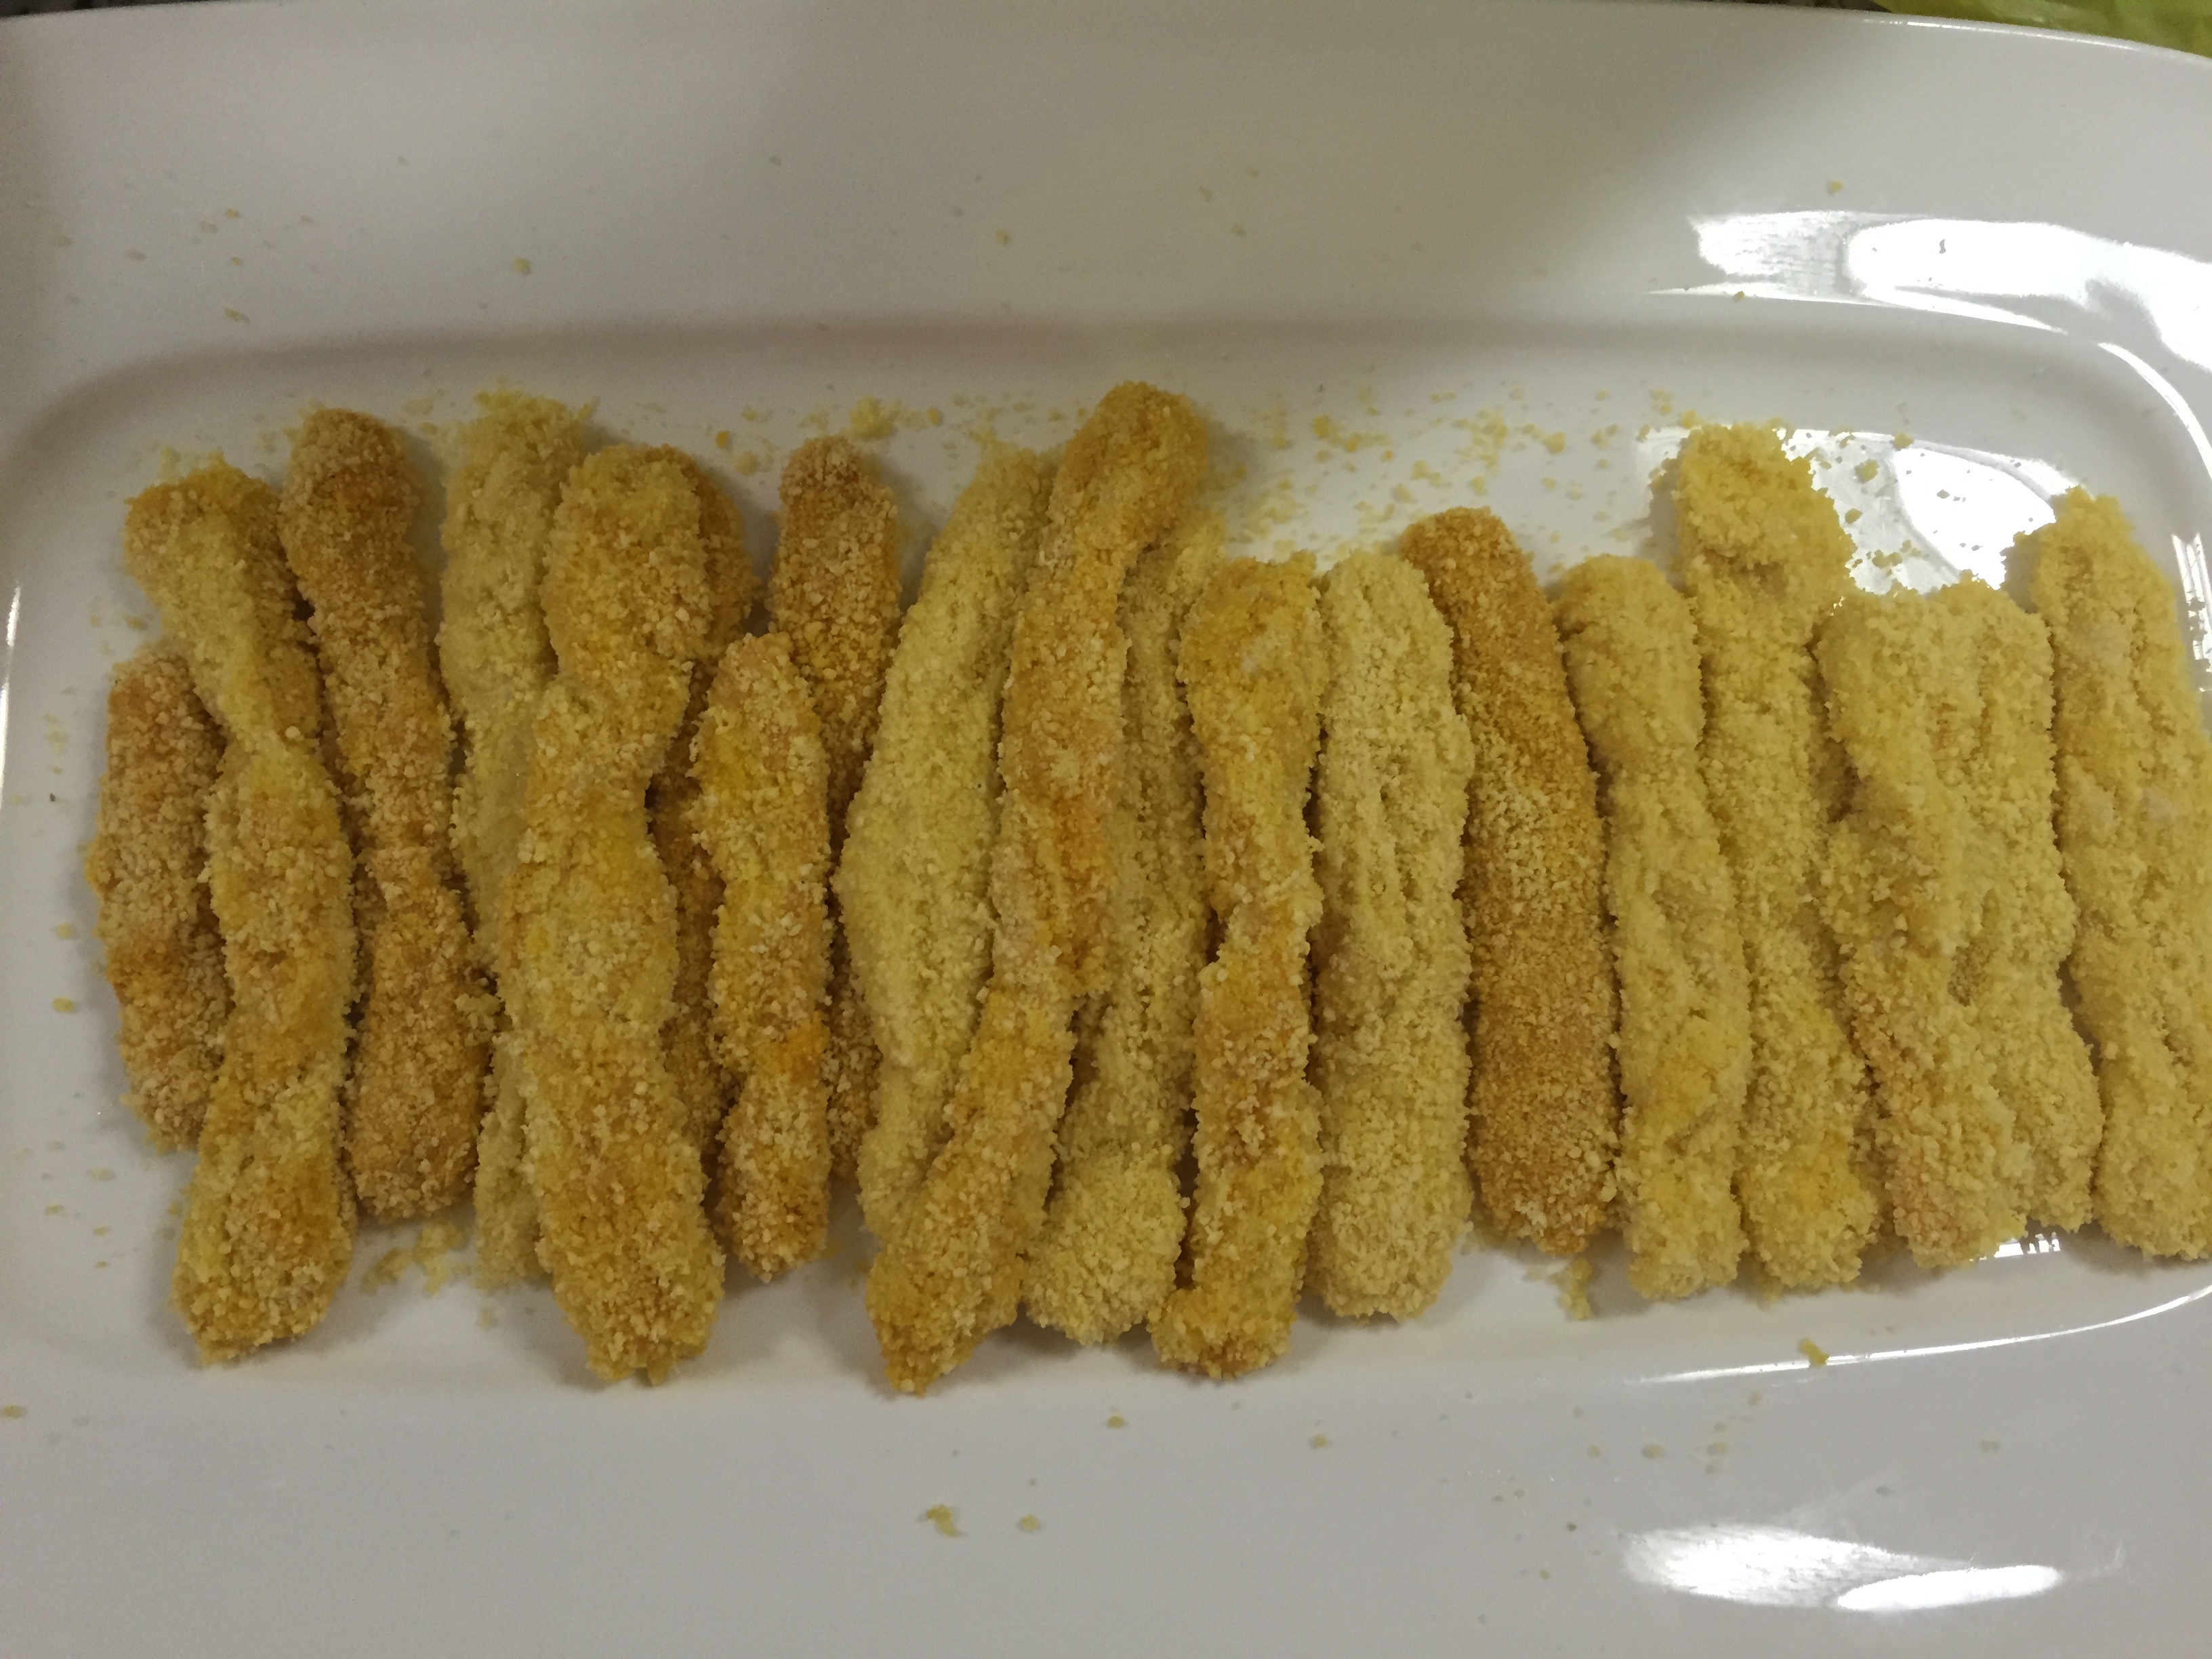
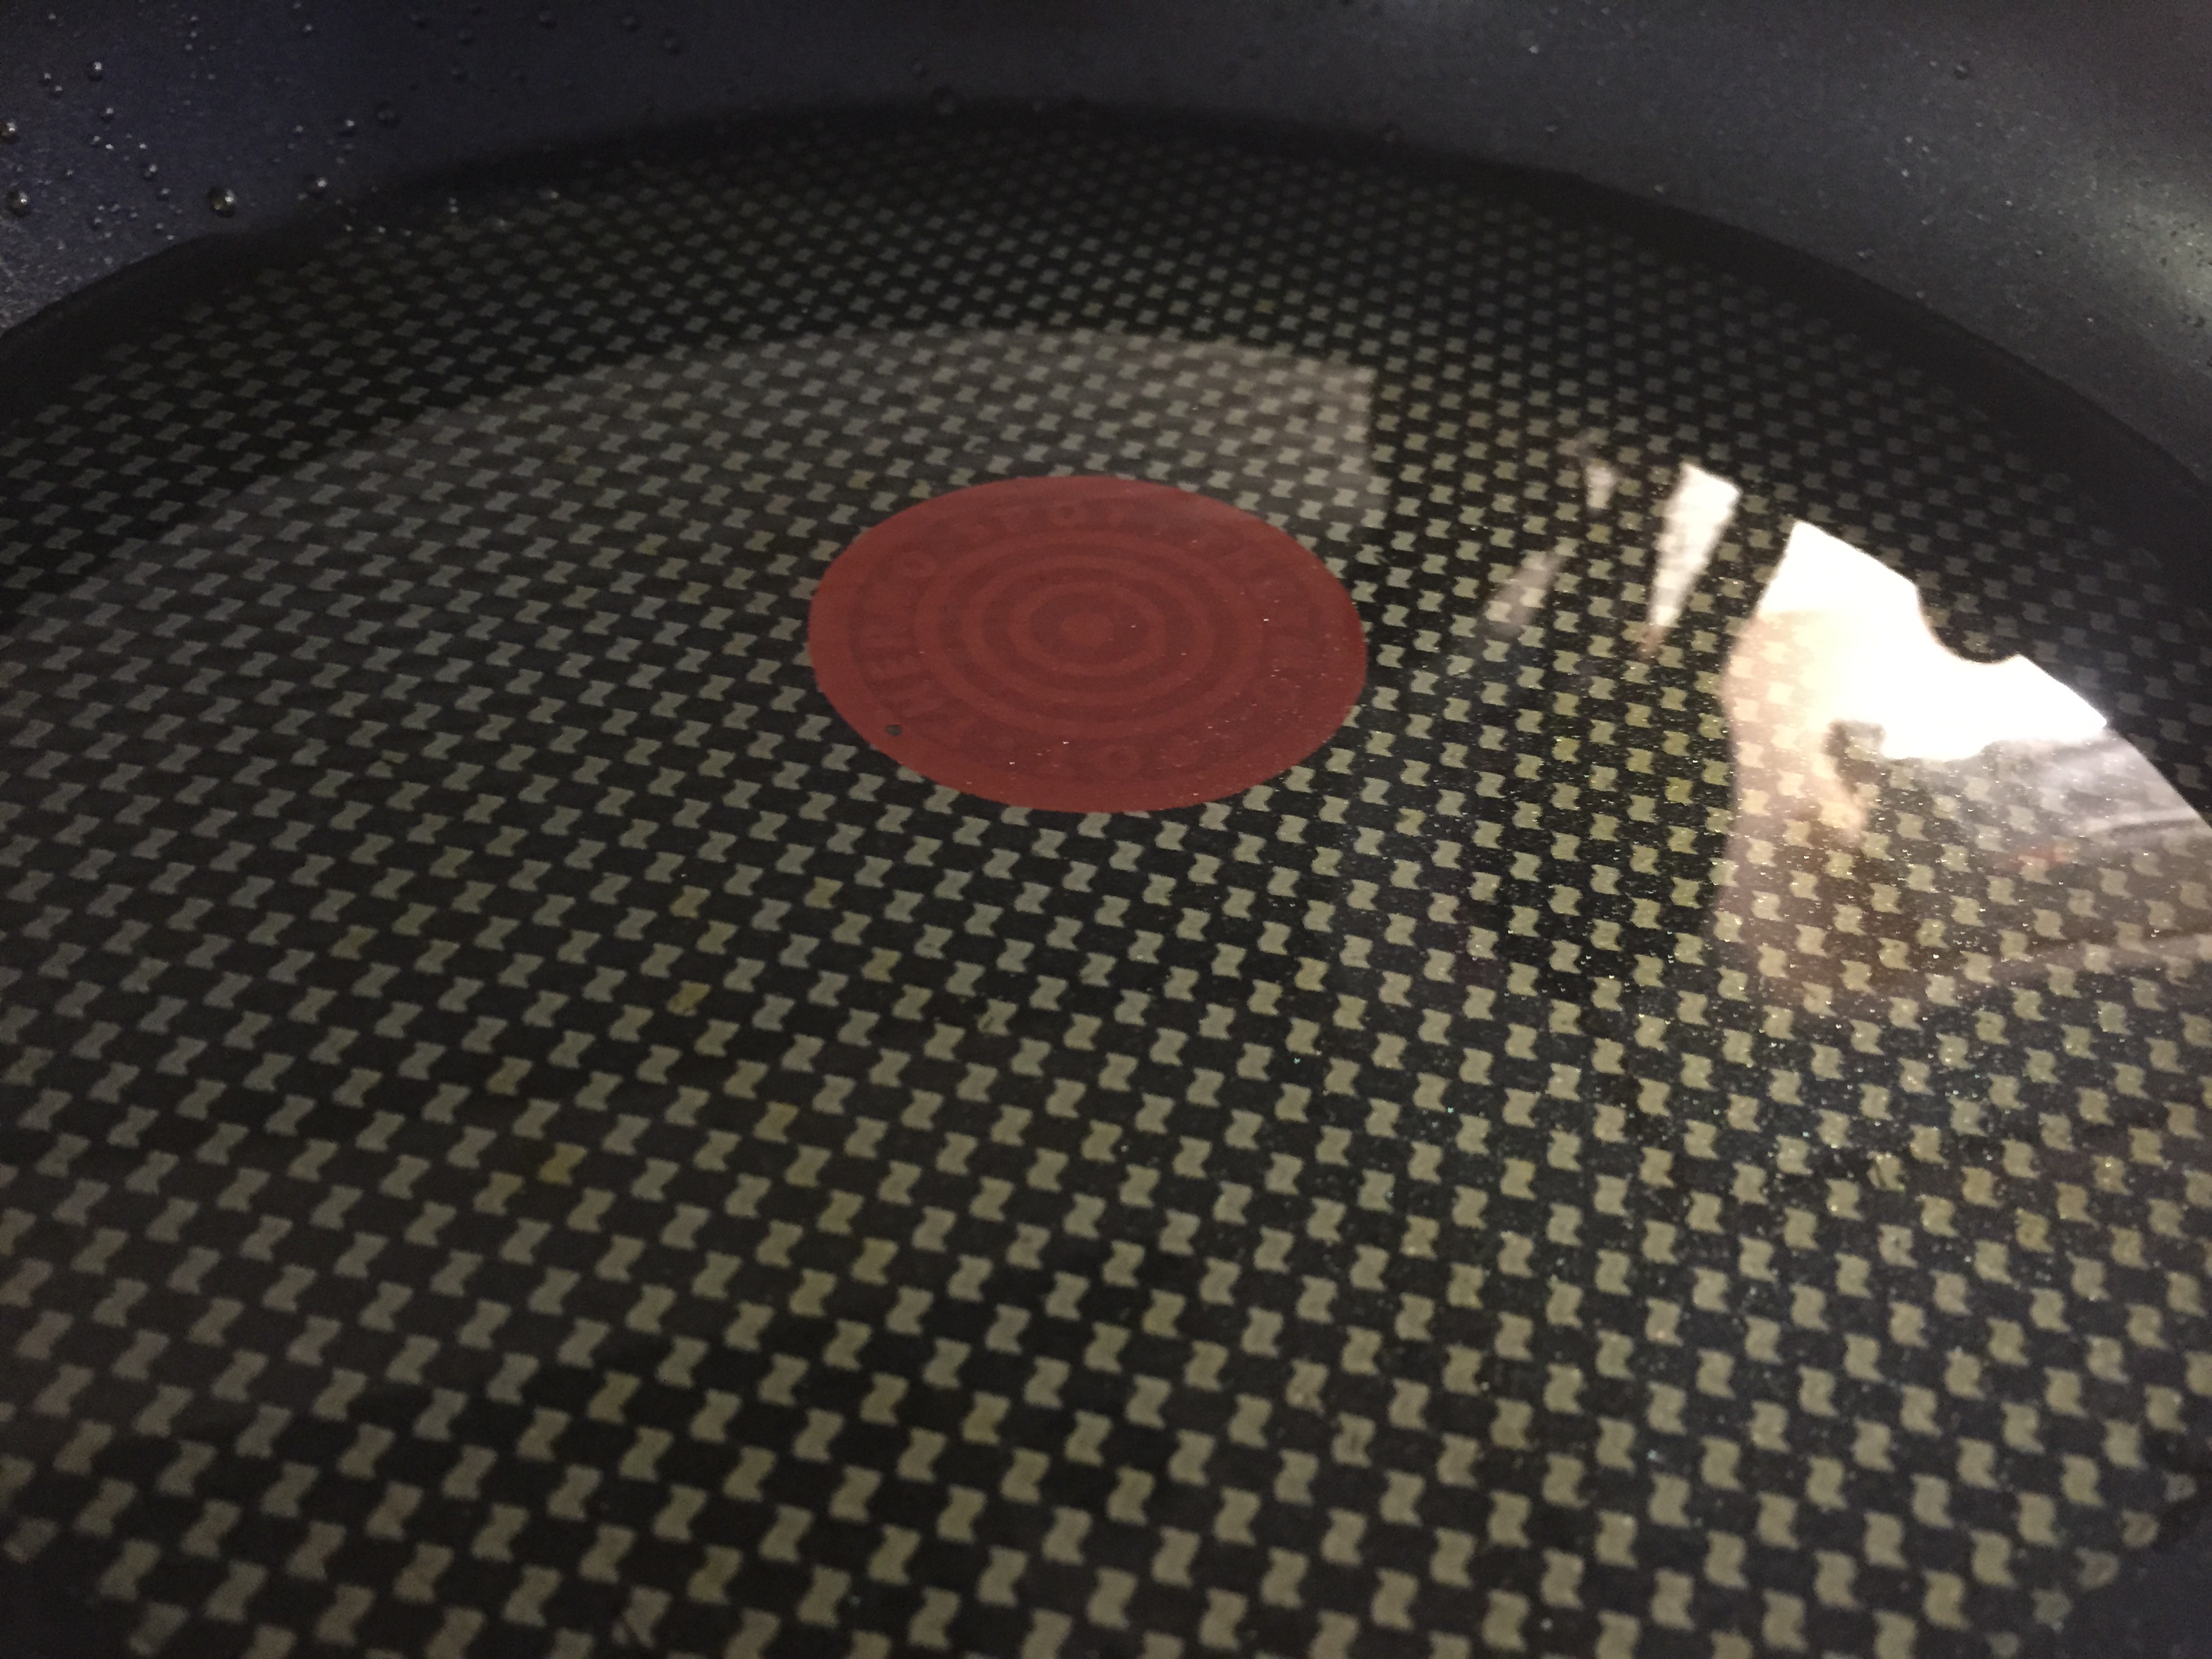
6.(a) Once all of the cheese sticks are formed, place oil in pan and heat on high at first, then drop to medium high once the oil is very hot.
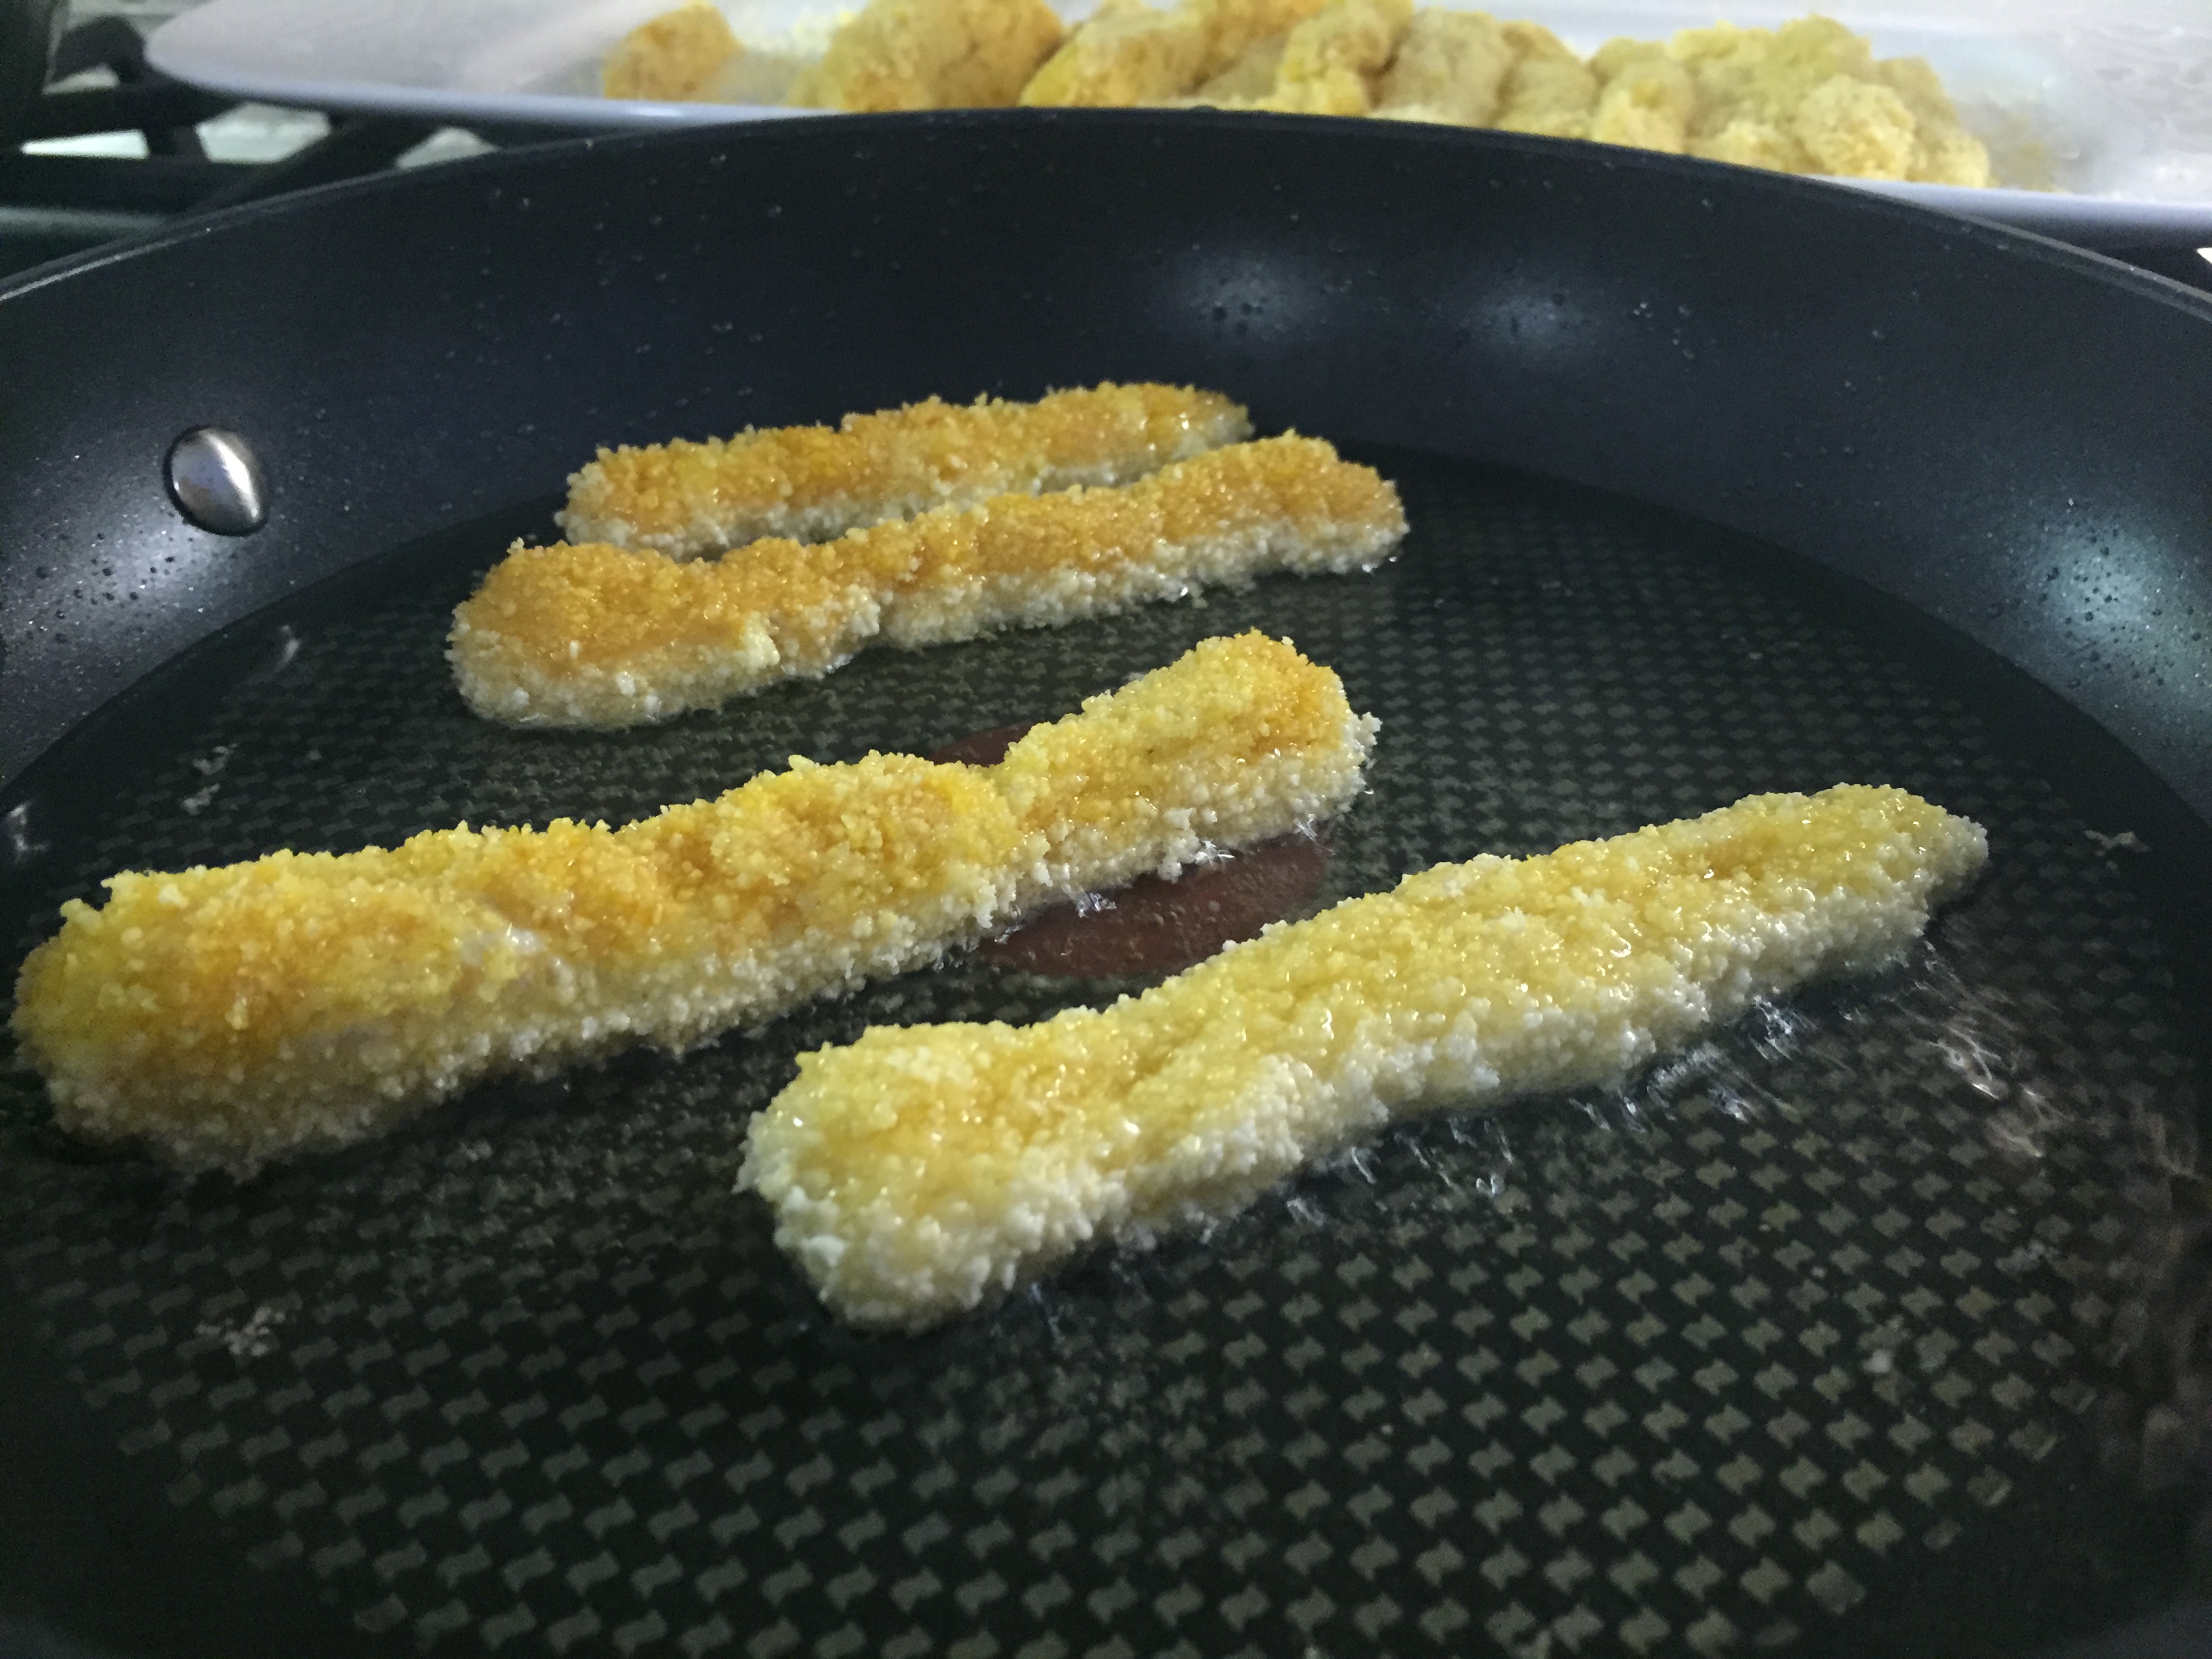
6.(b) Drop sticks in pan and lightly cook in oil until just light golden in colour. Approximately 30 seconds.
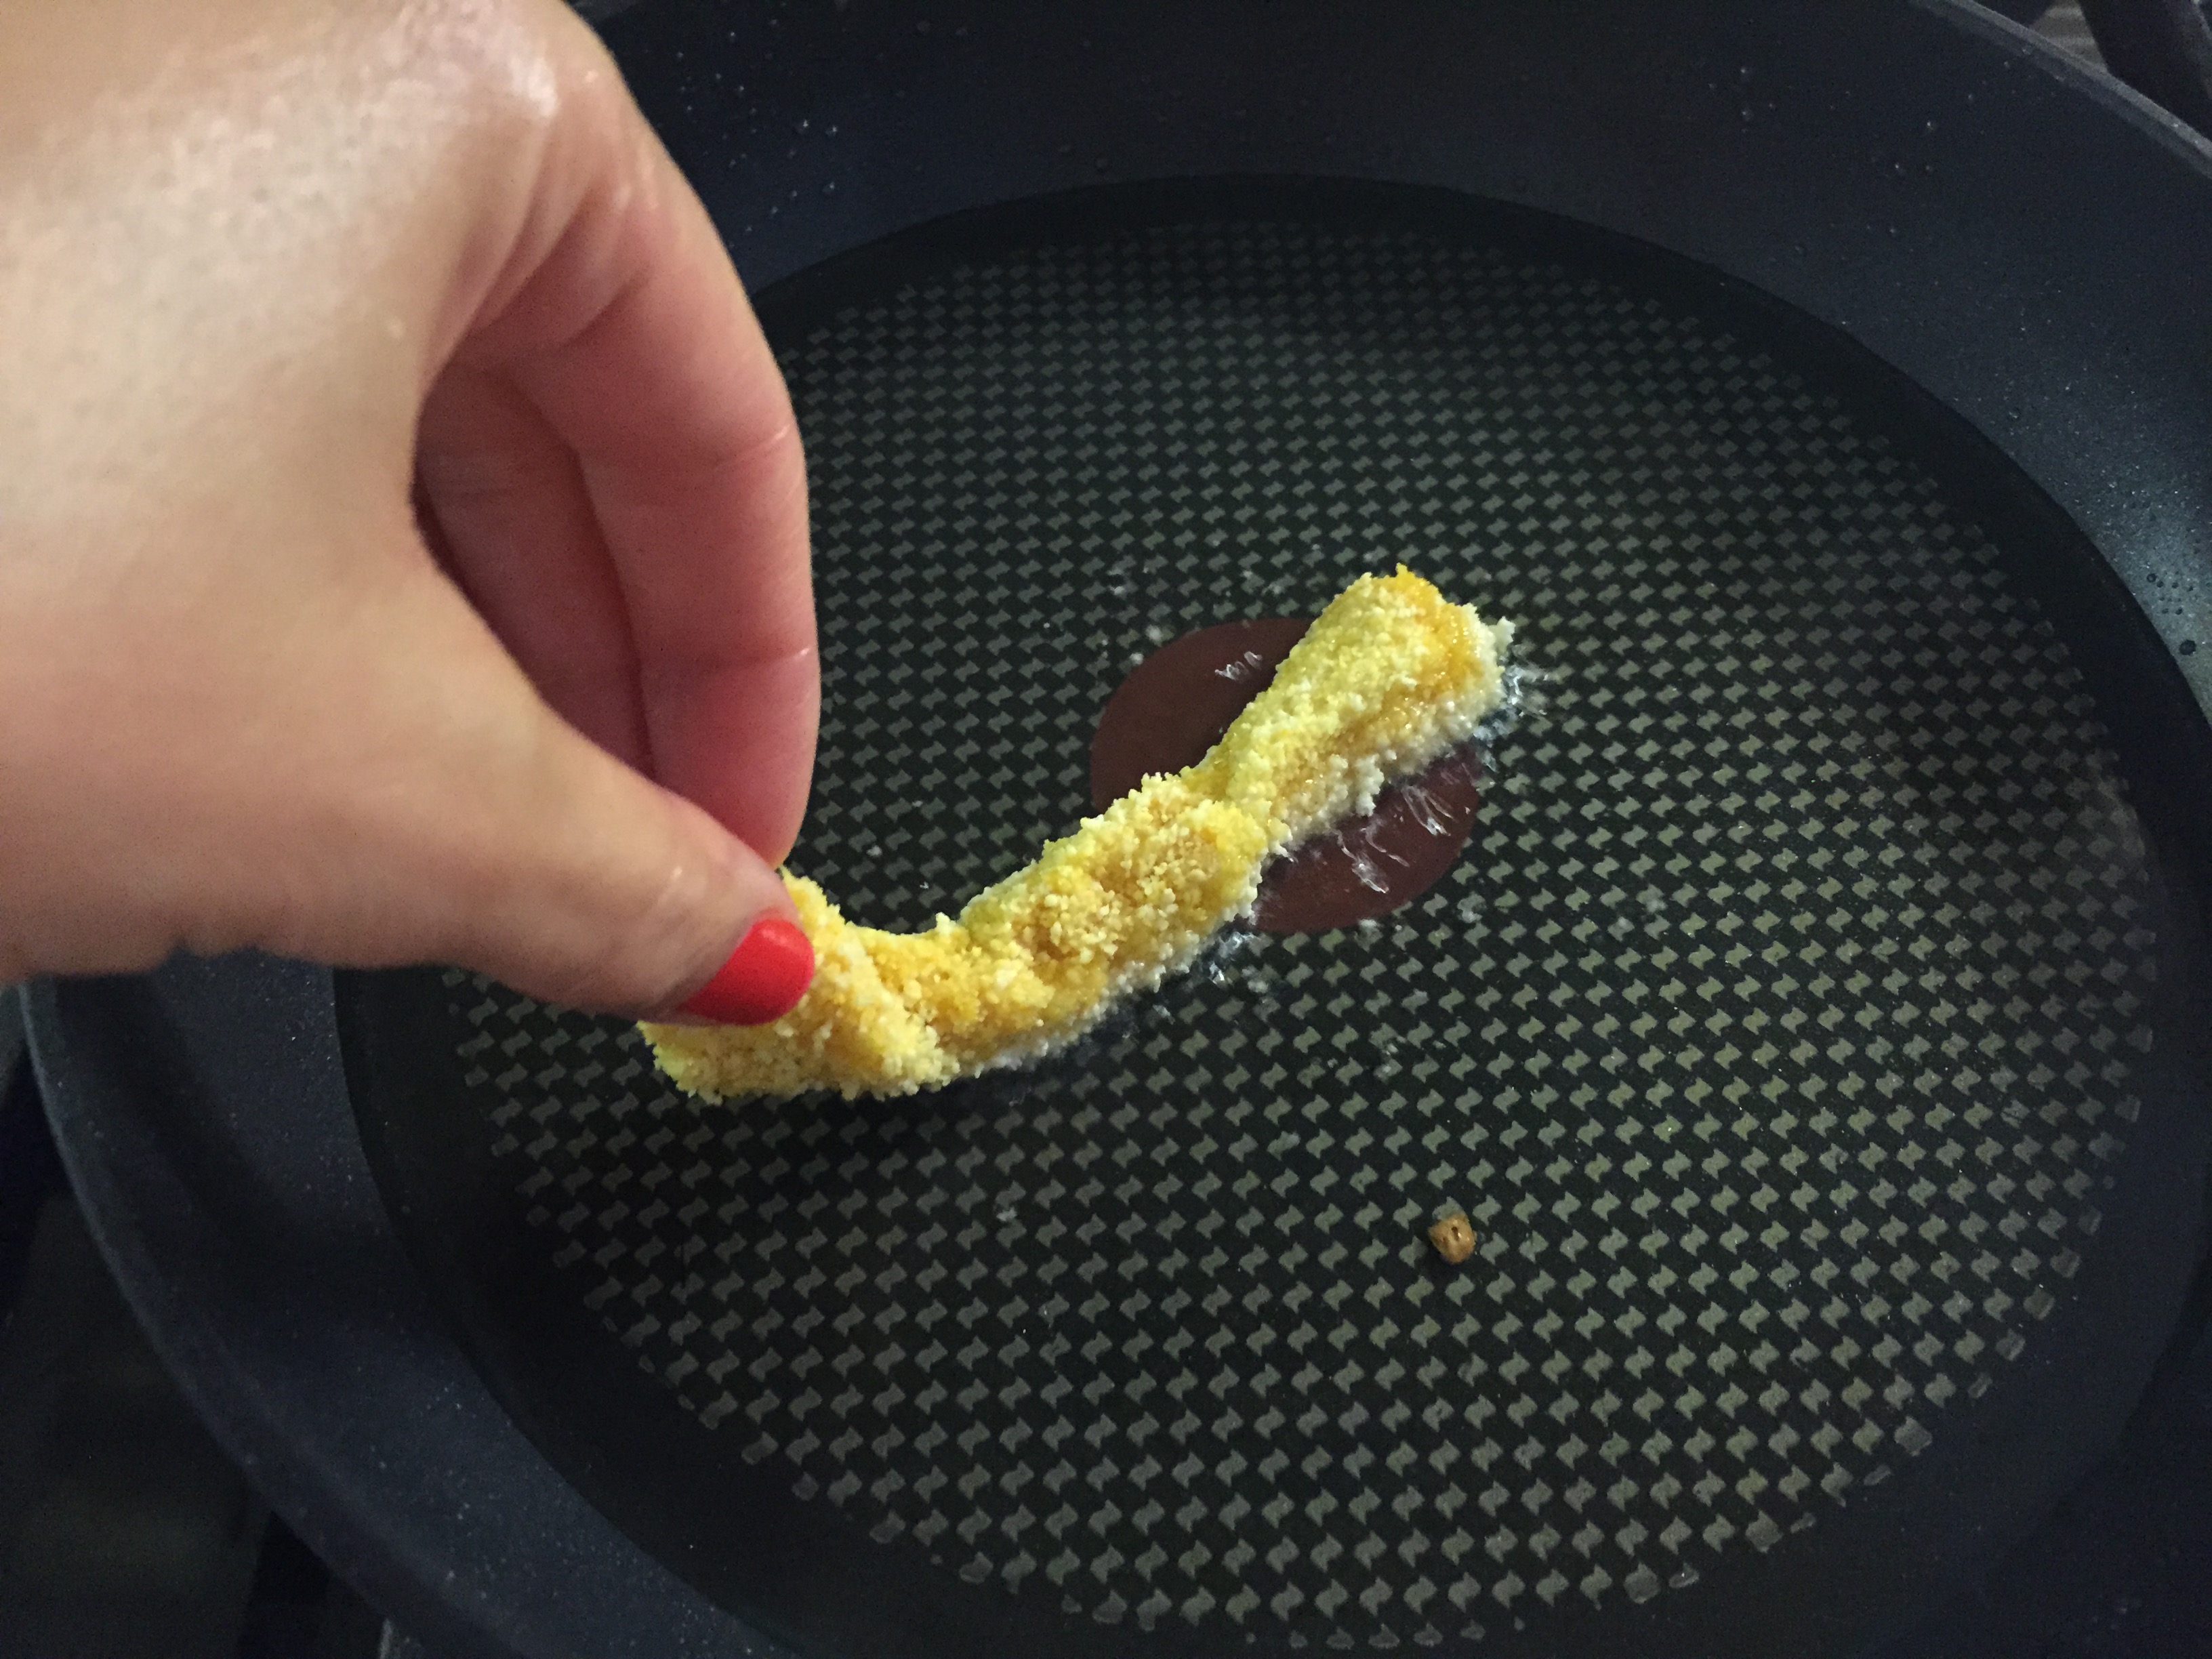
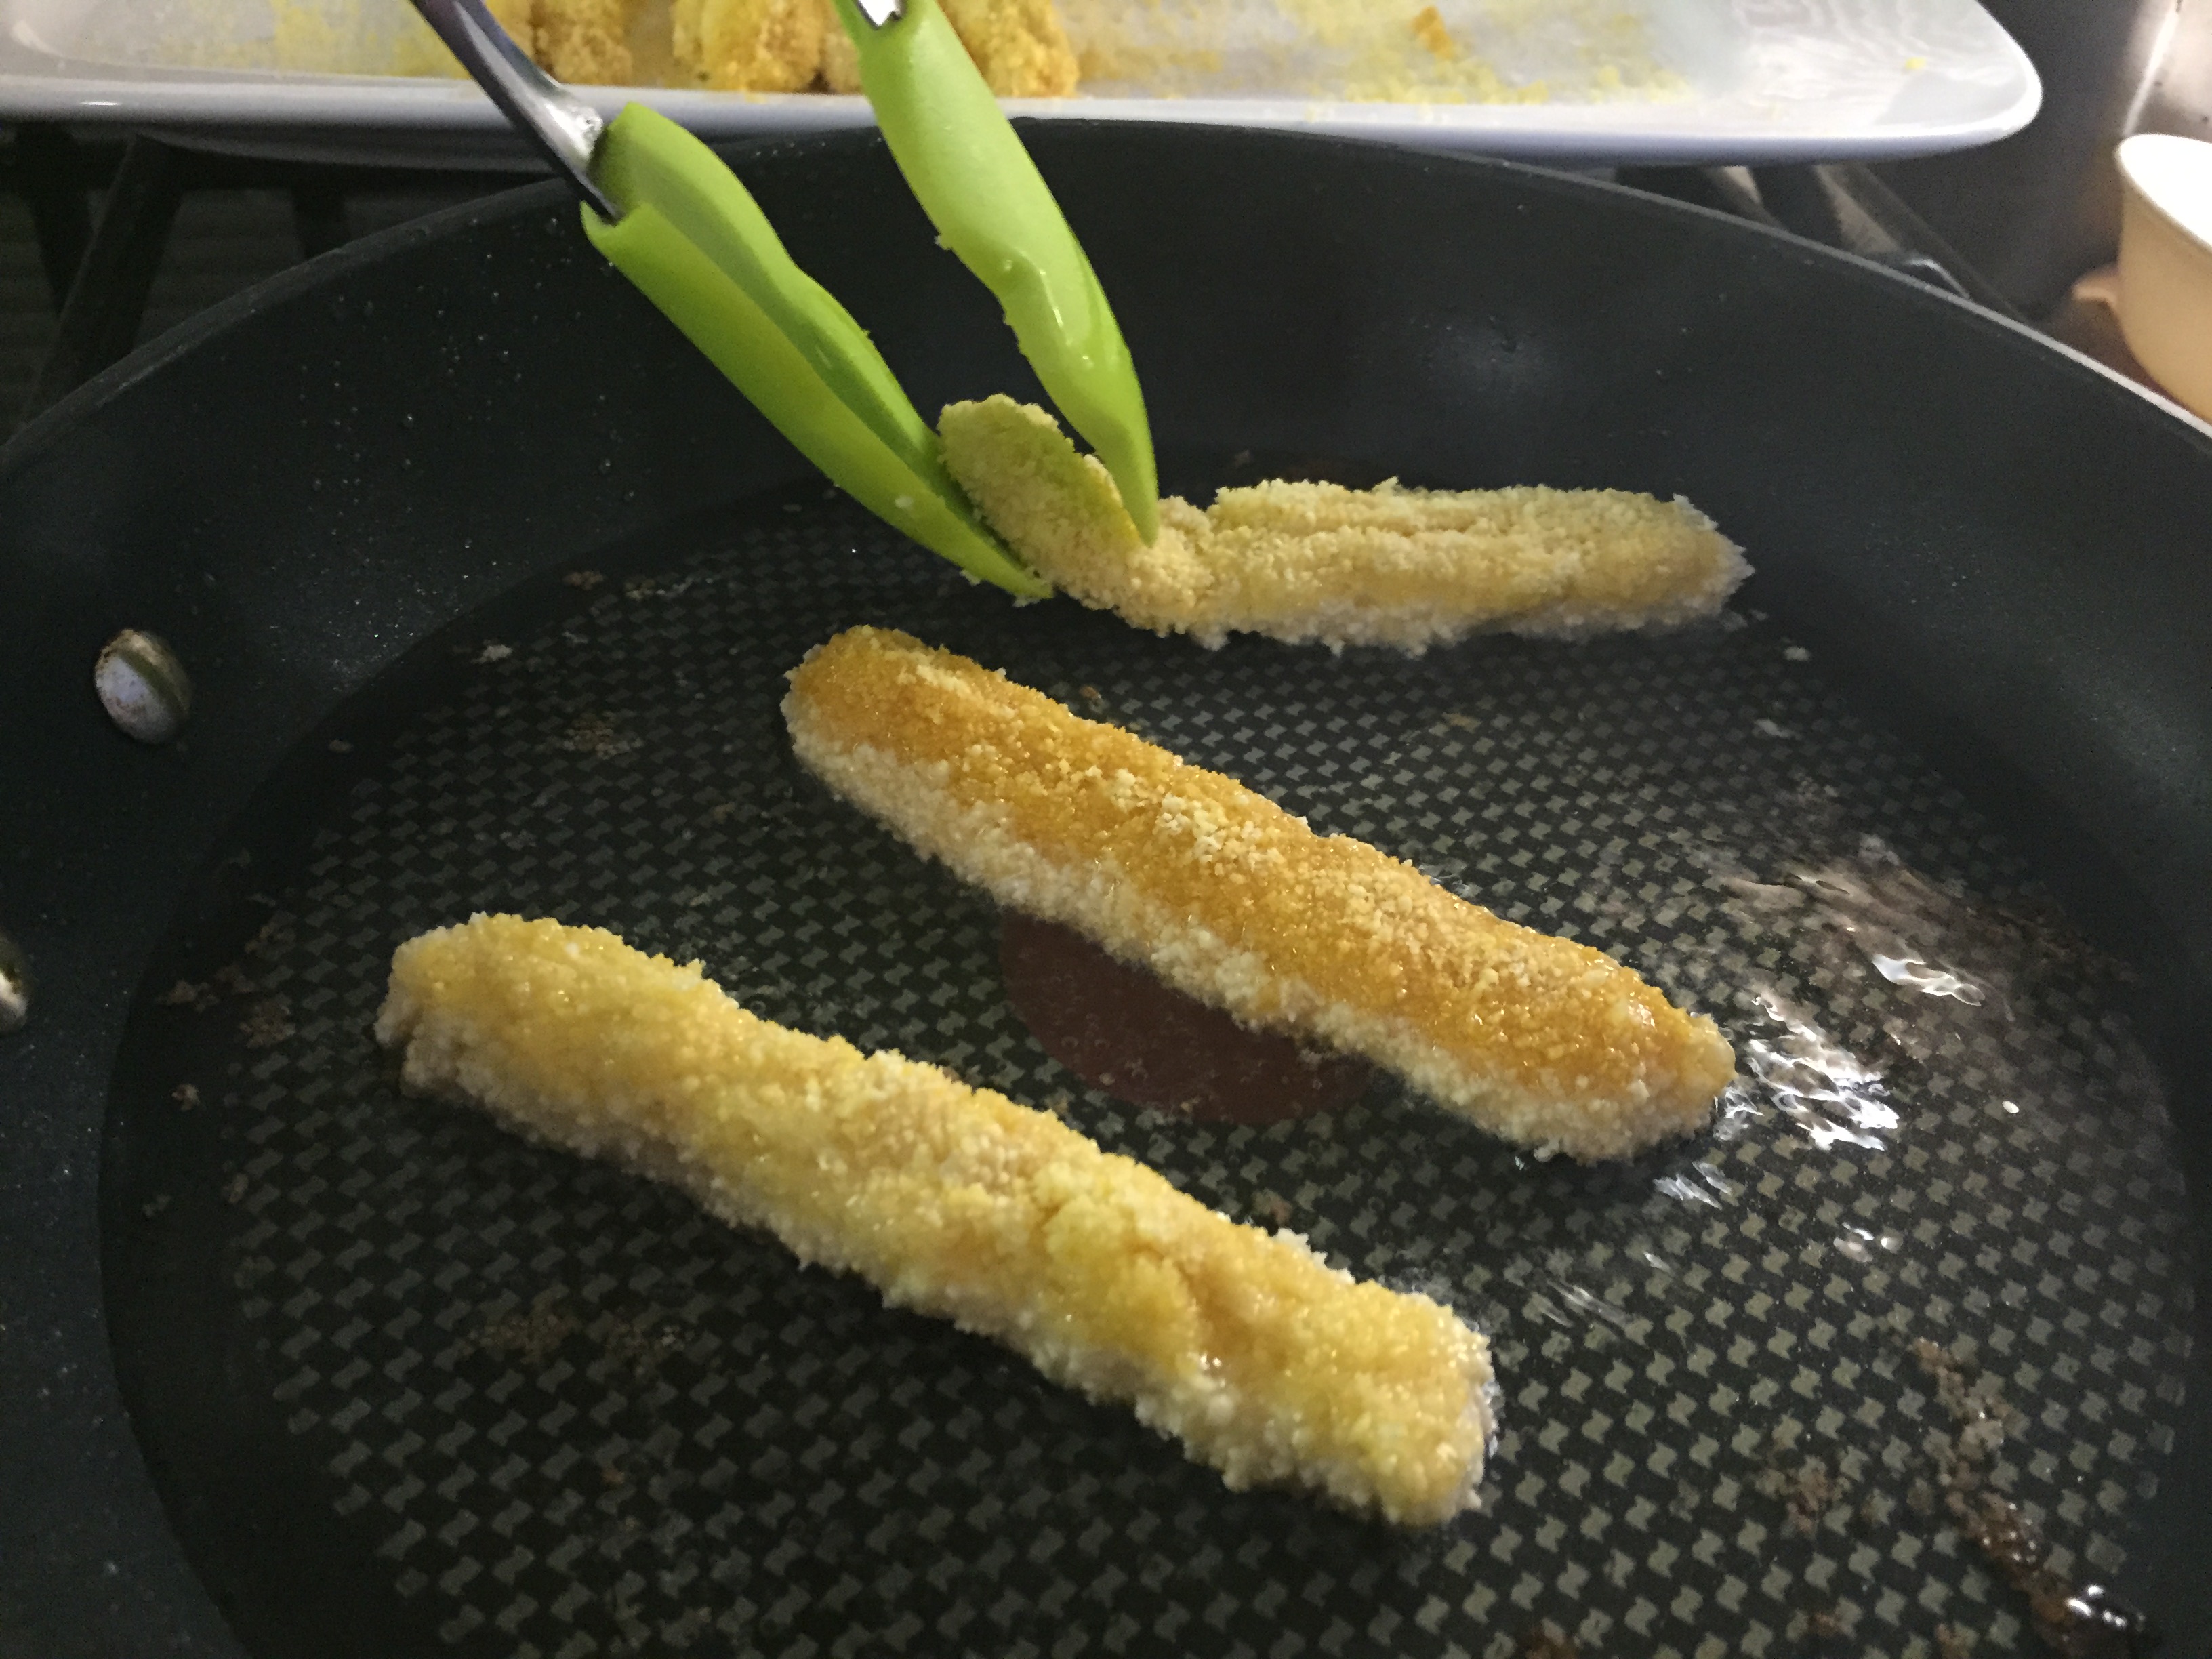
6.(c) Turn sticks over and cook a further 20 seconds or so until cooked and a nice golden colour is achieved all around.
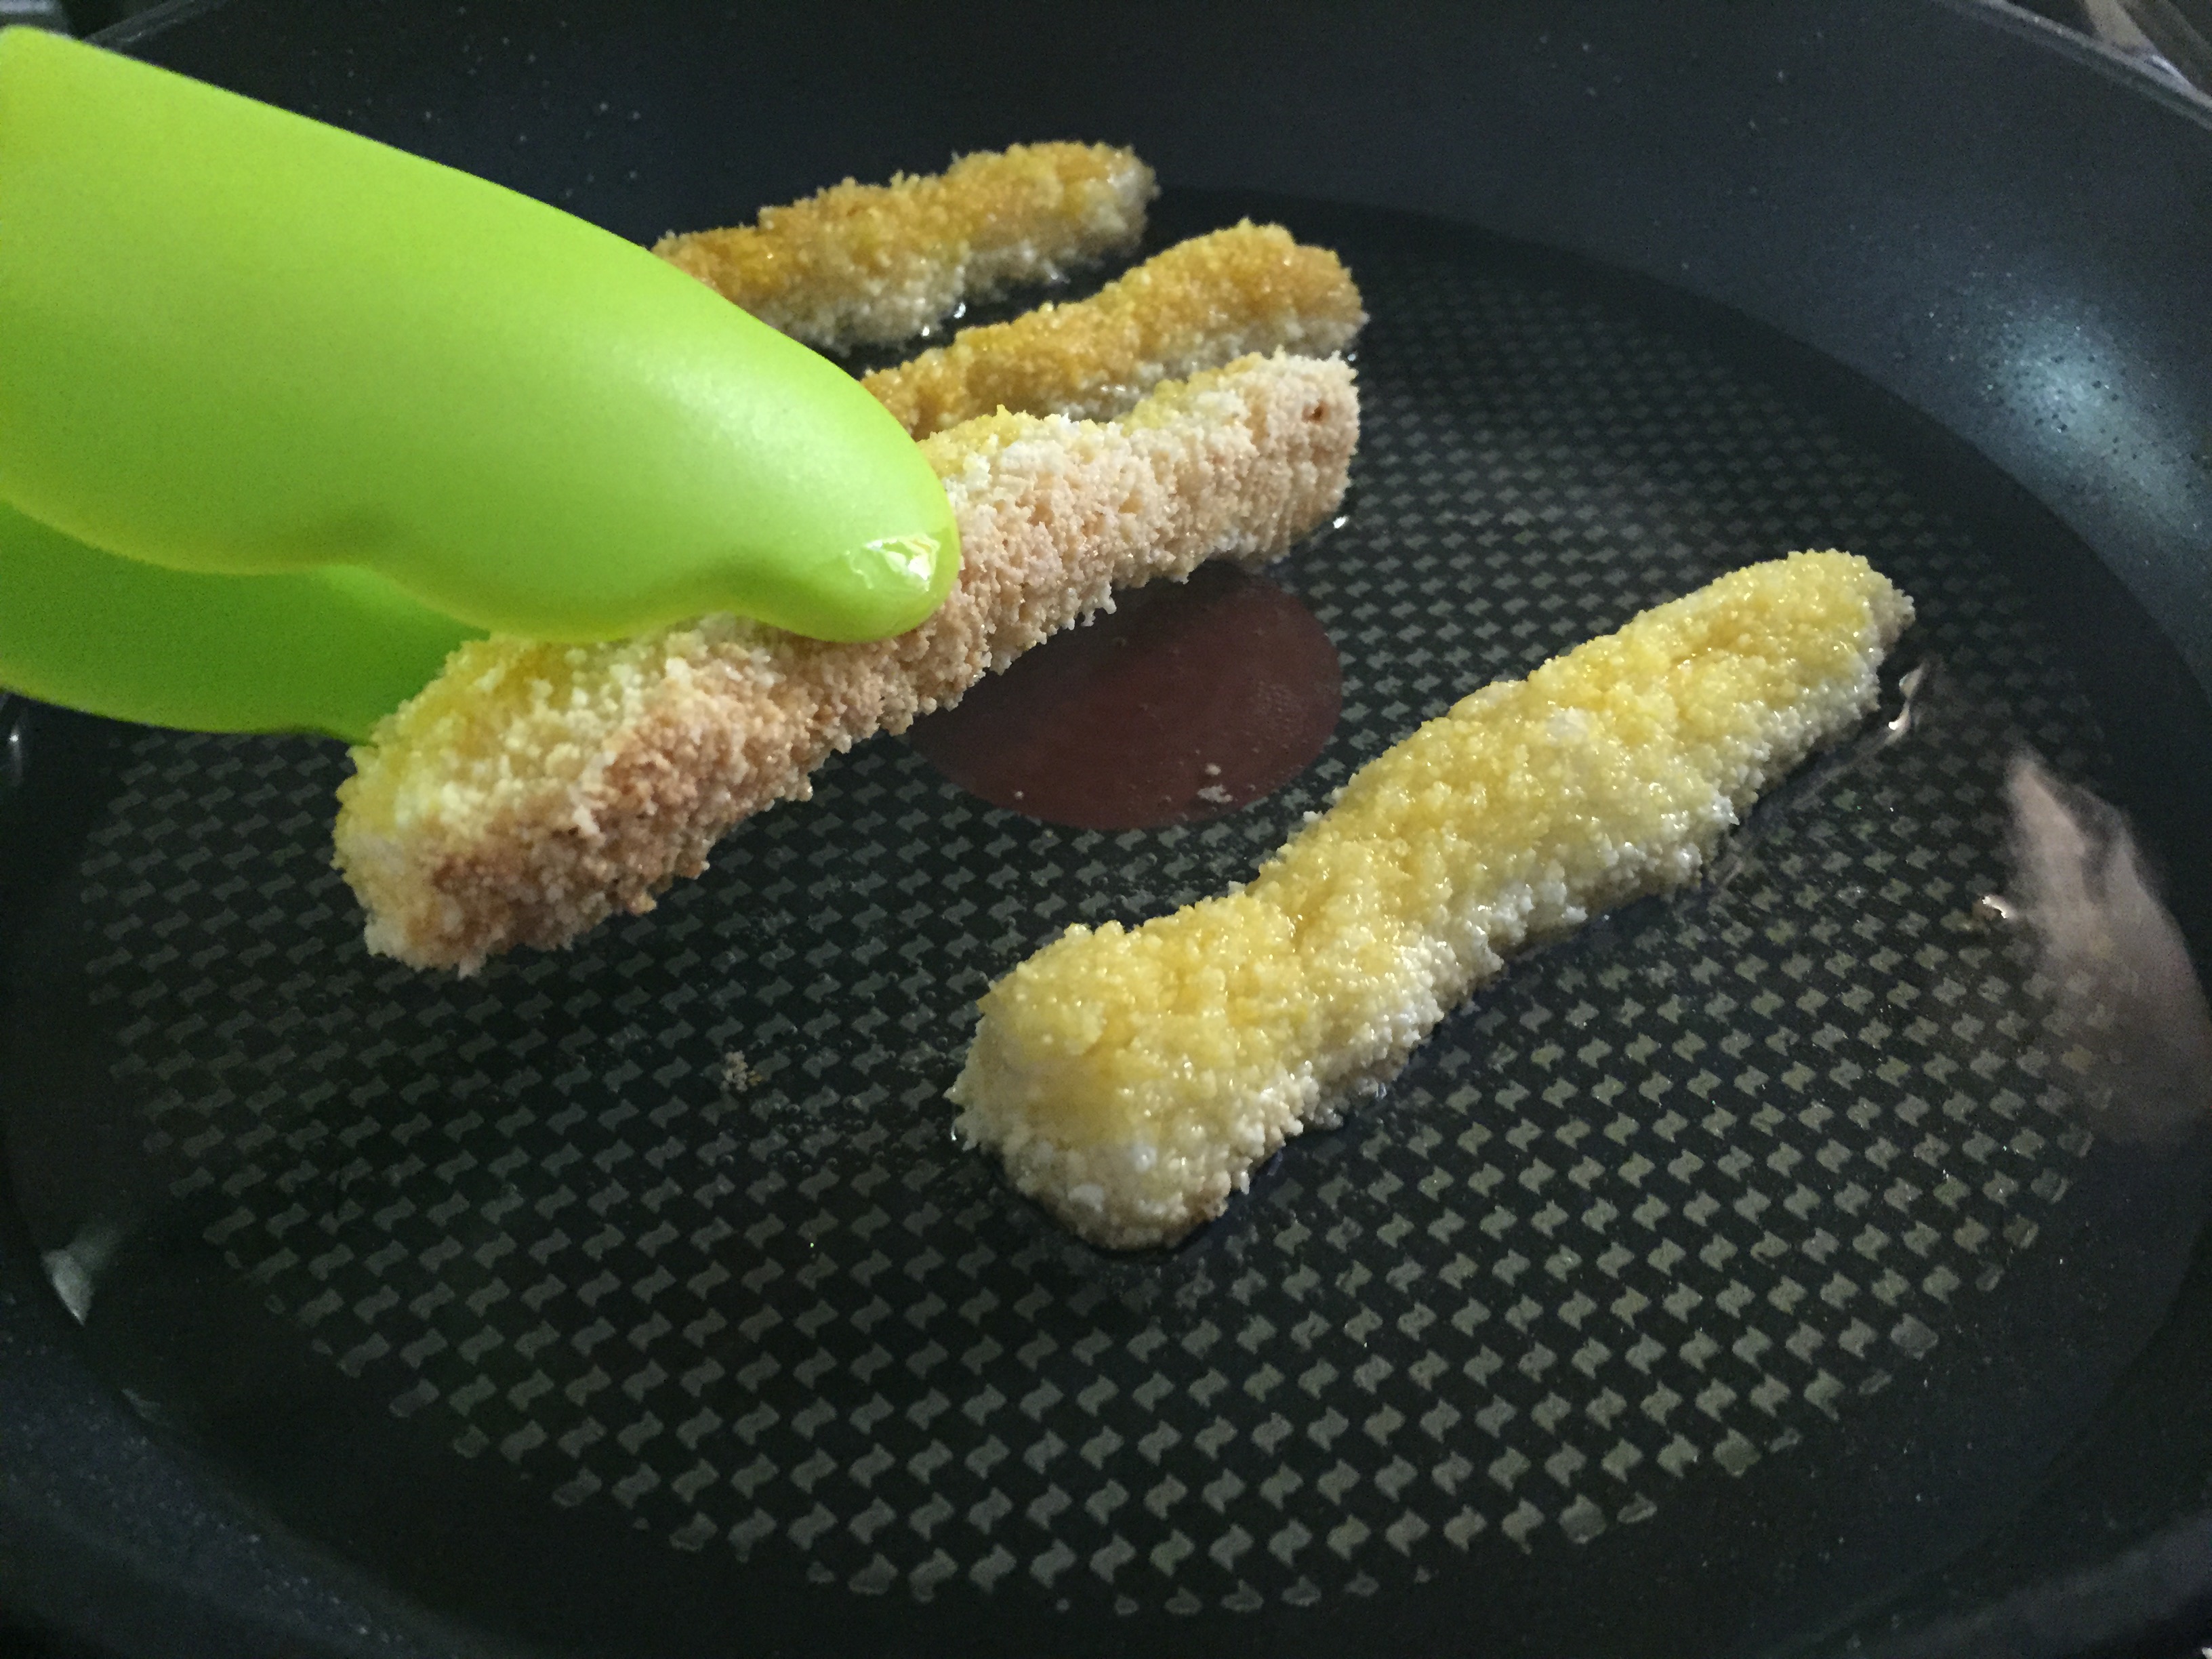
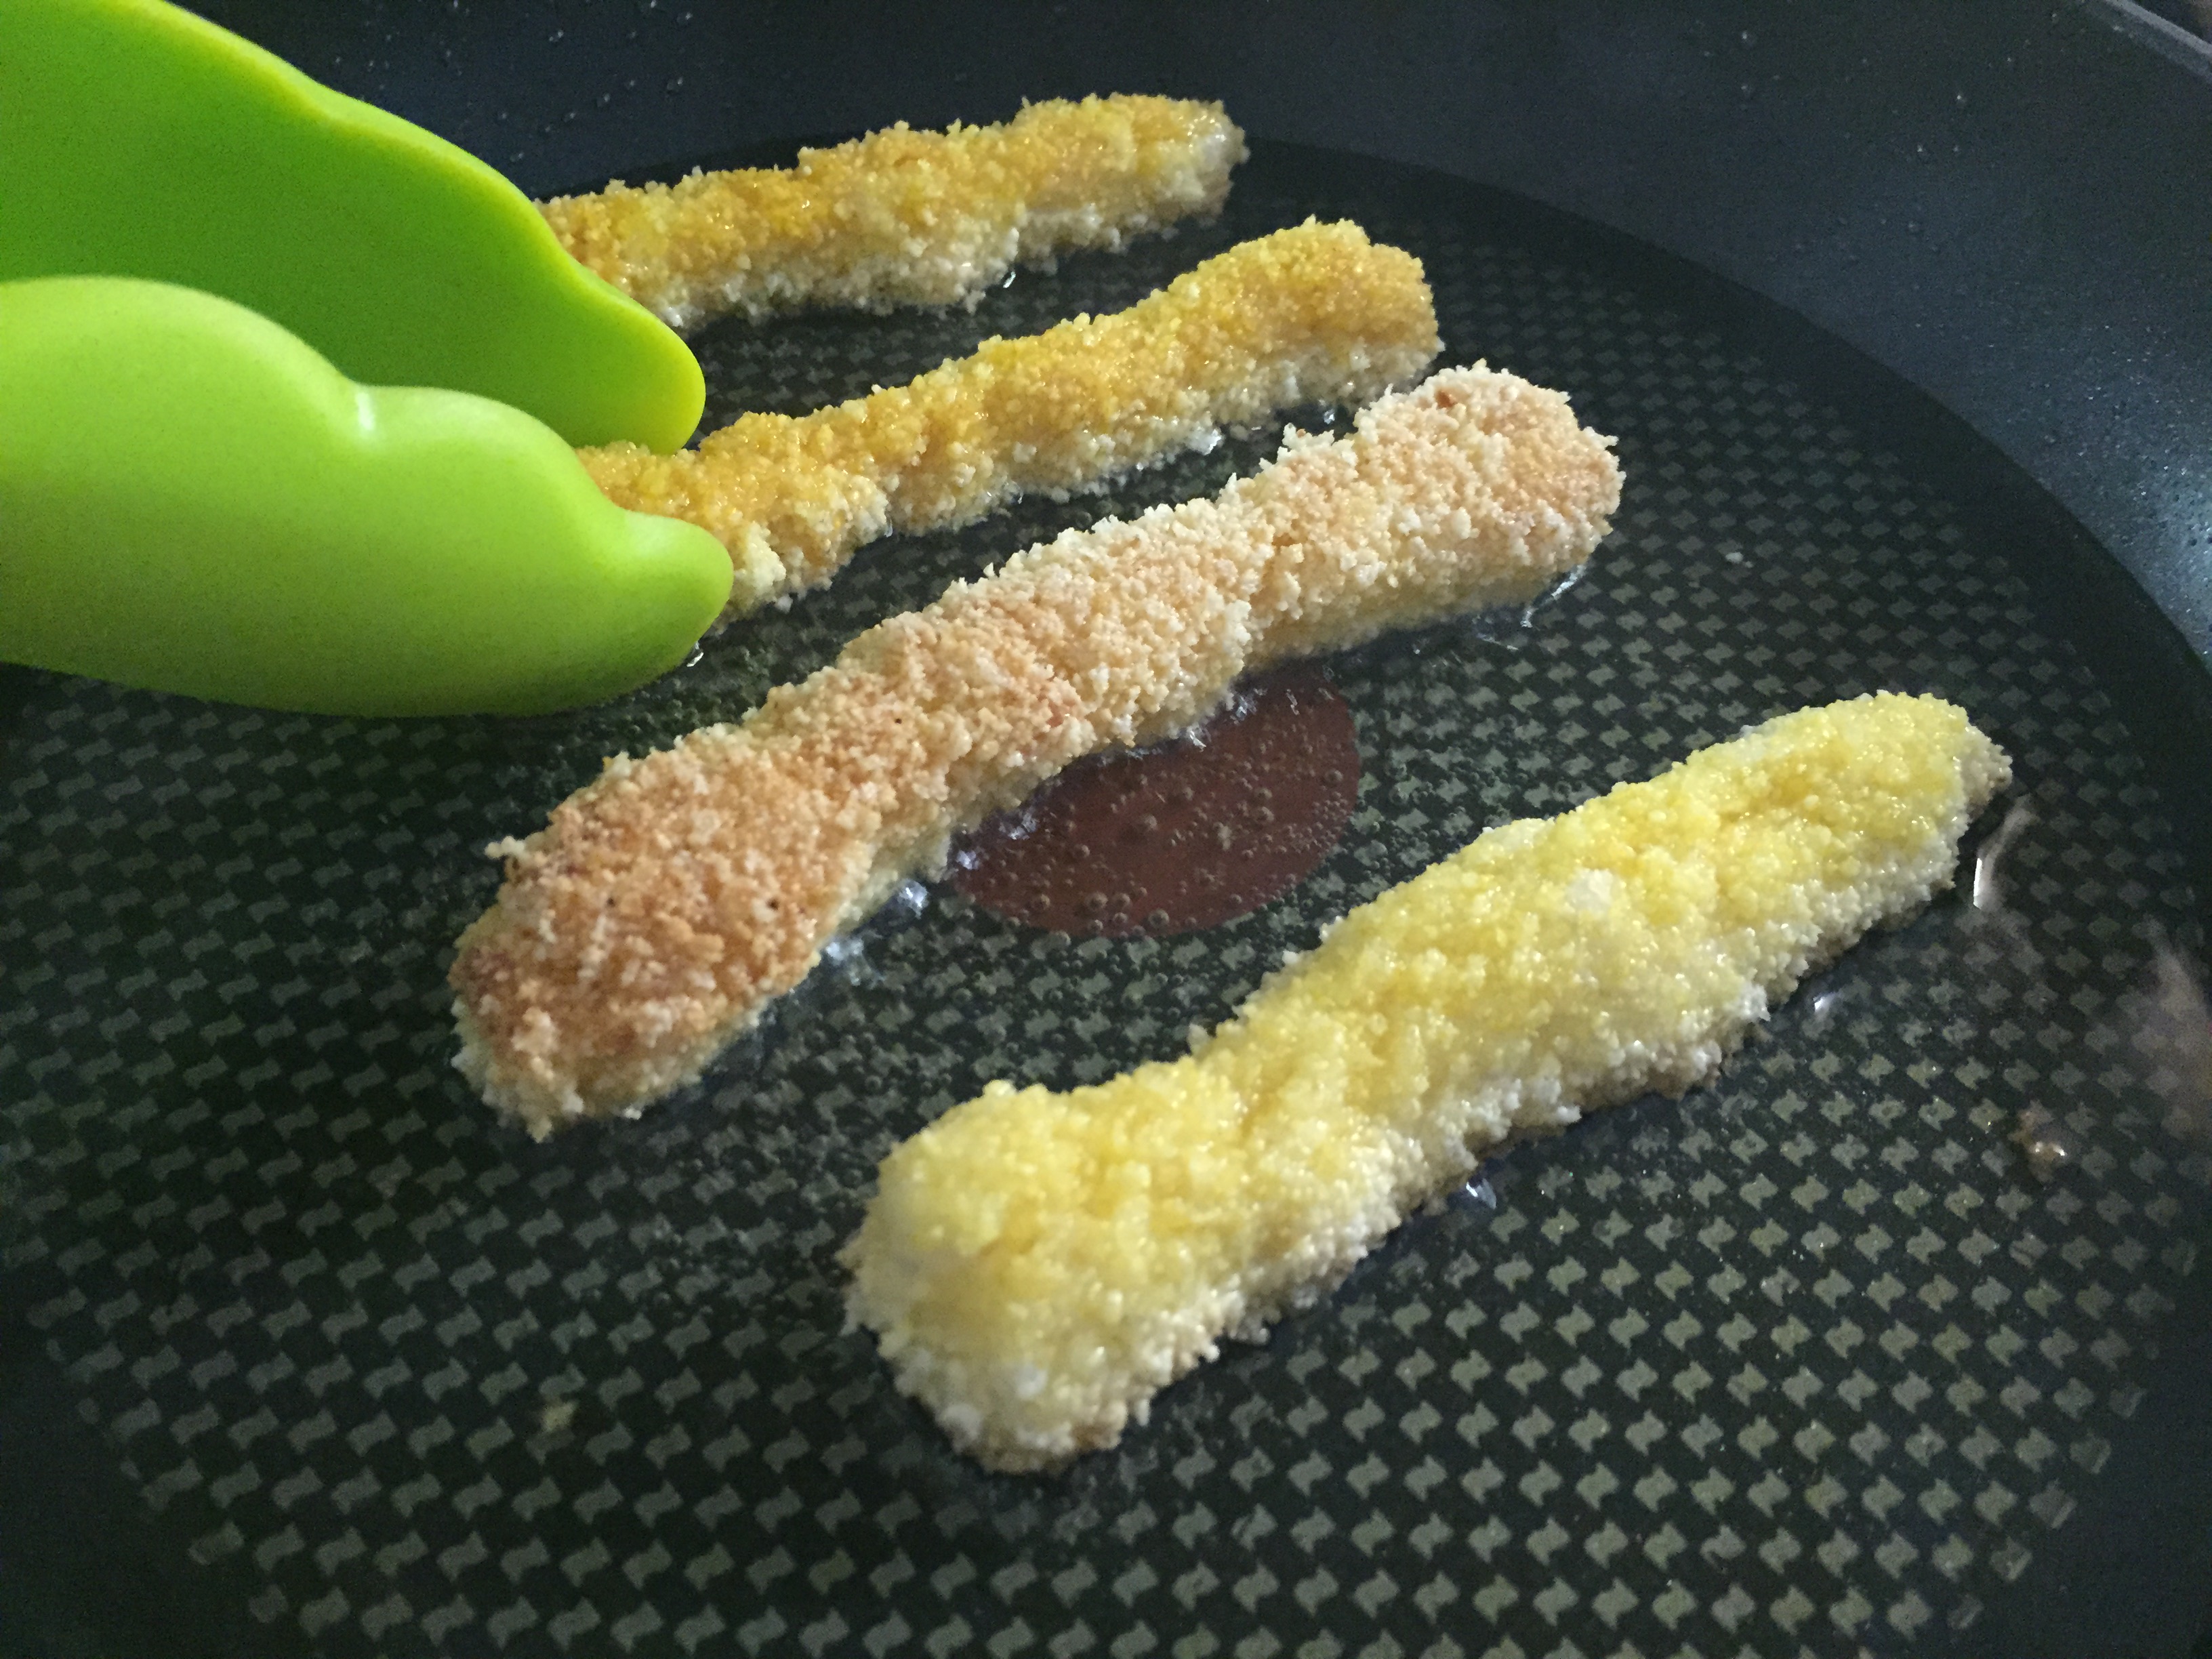
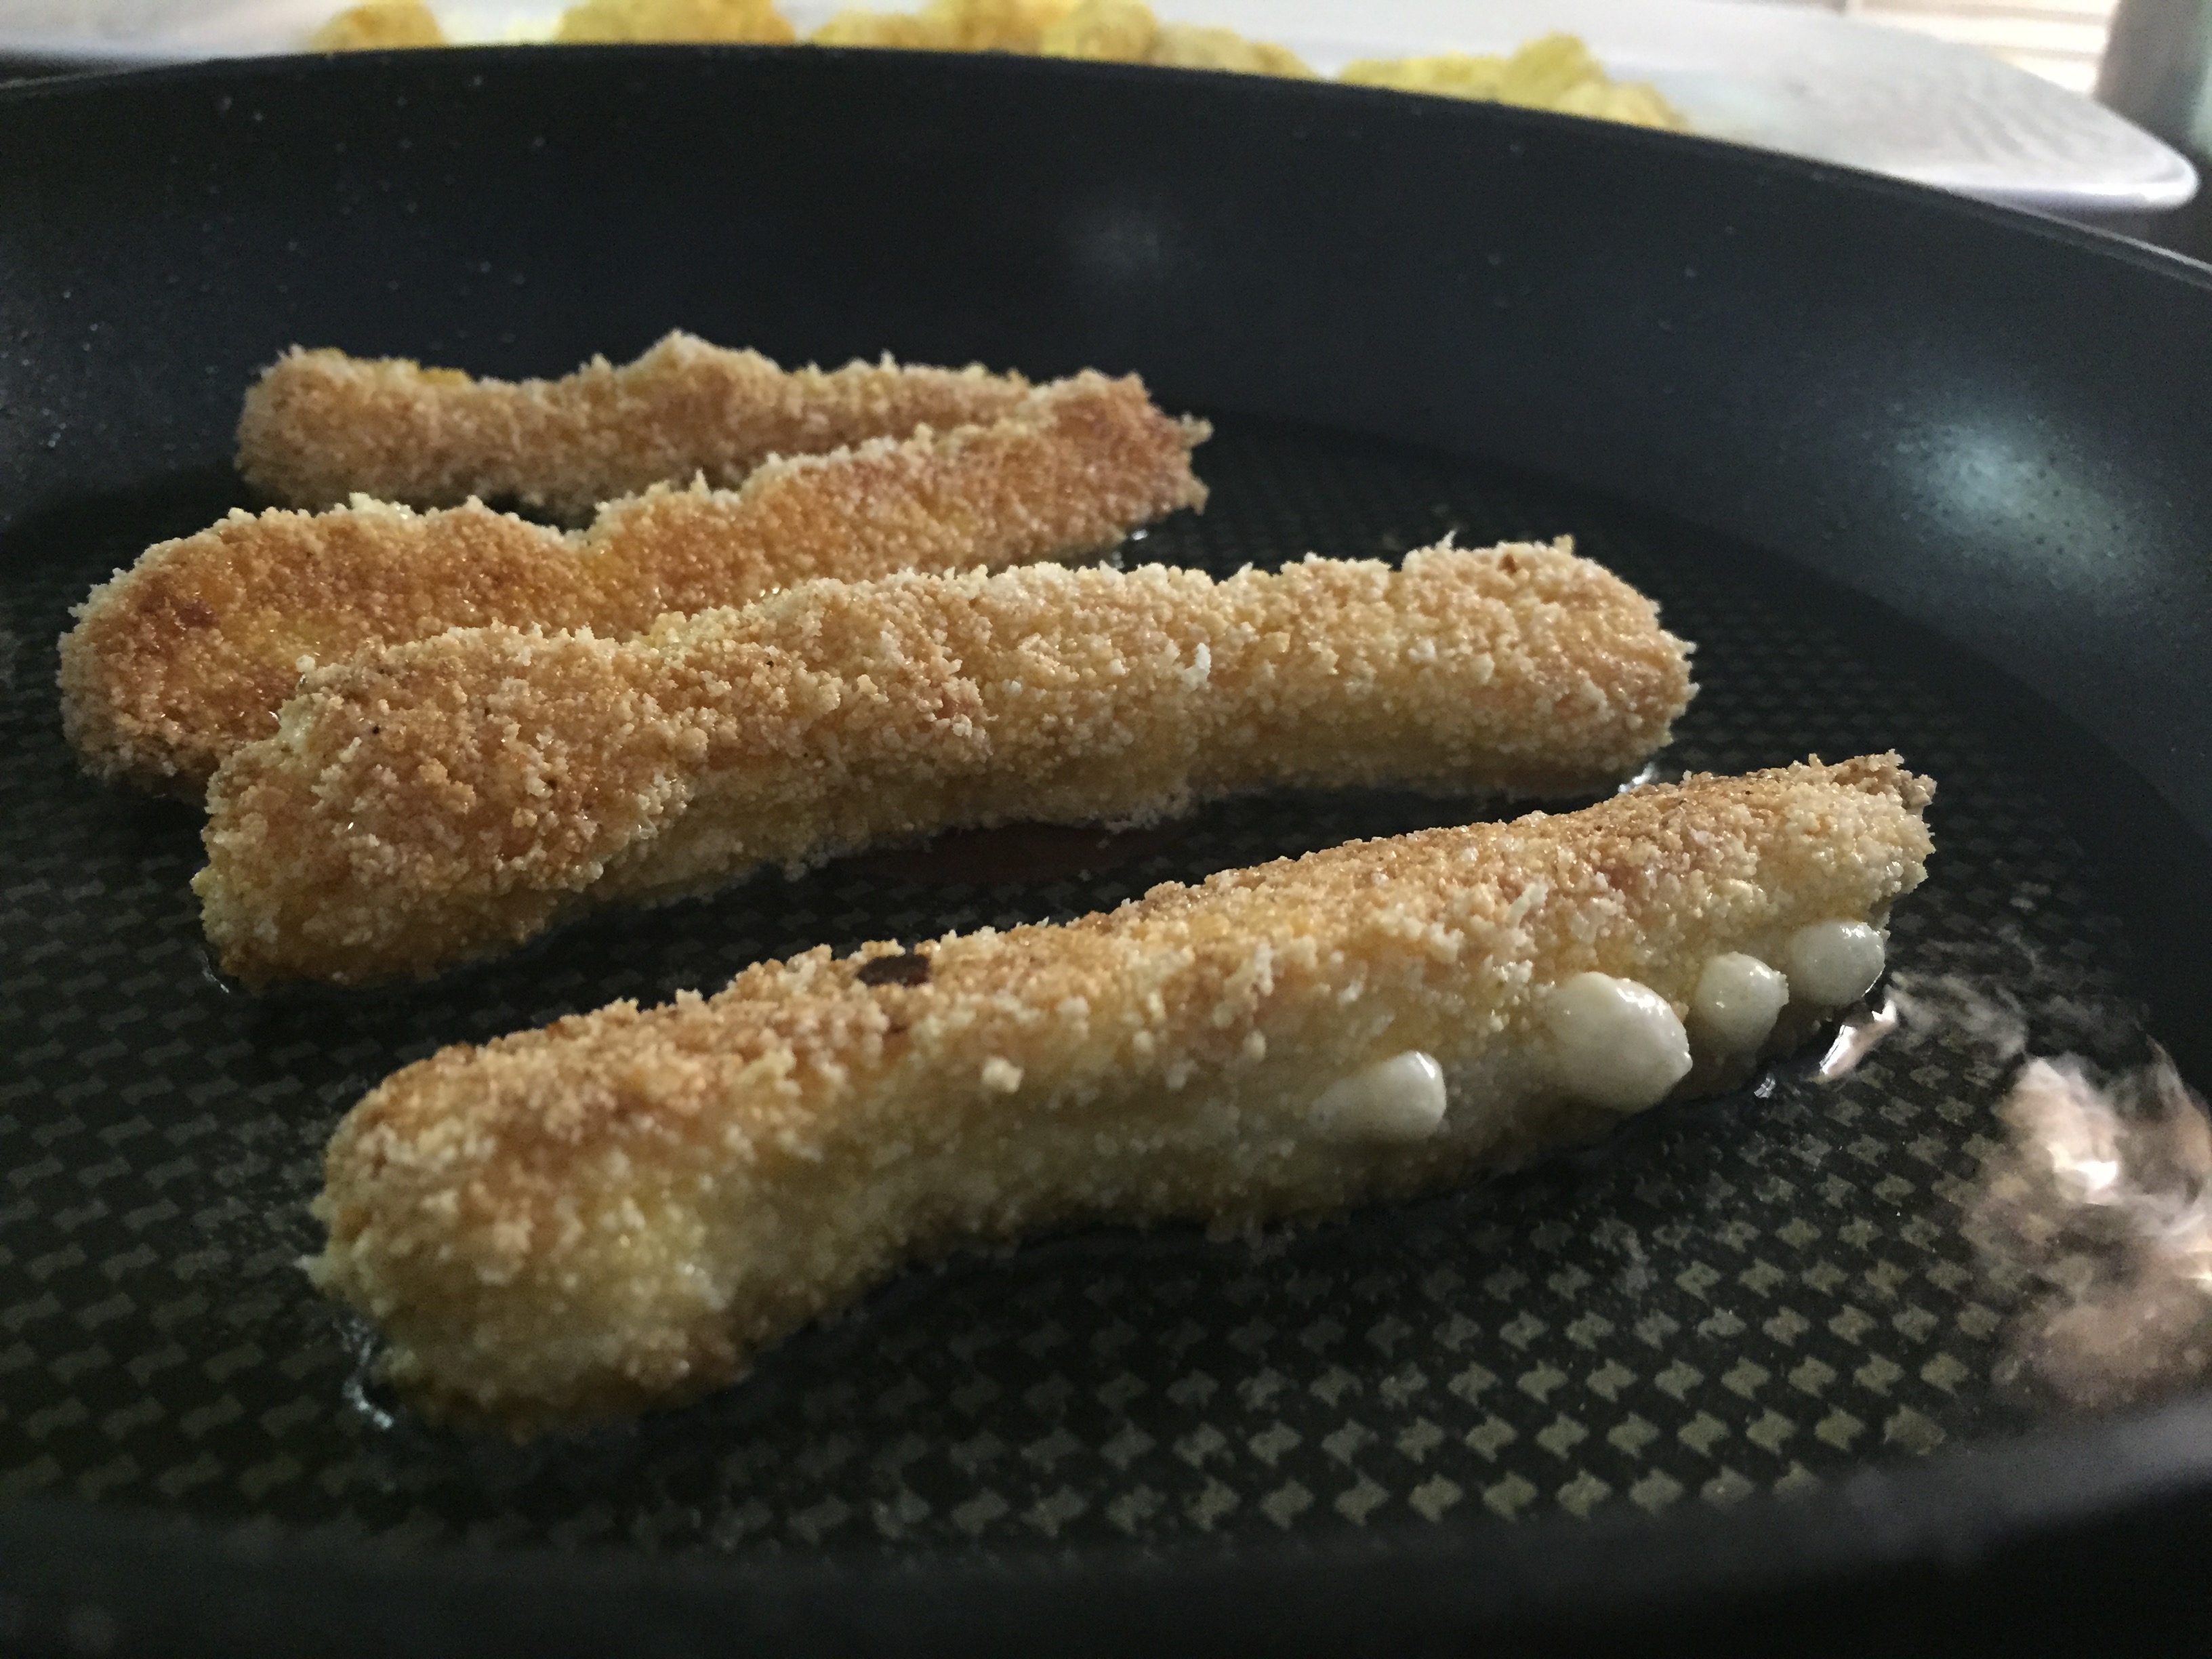
Note: The sticks will take longer to reach the desired colour at first, but you will find that as you continue to cook the cheese sticks, it will take you less time than mentioned to turn them over and remove. So keep that in mind.
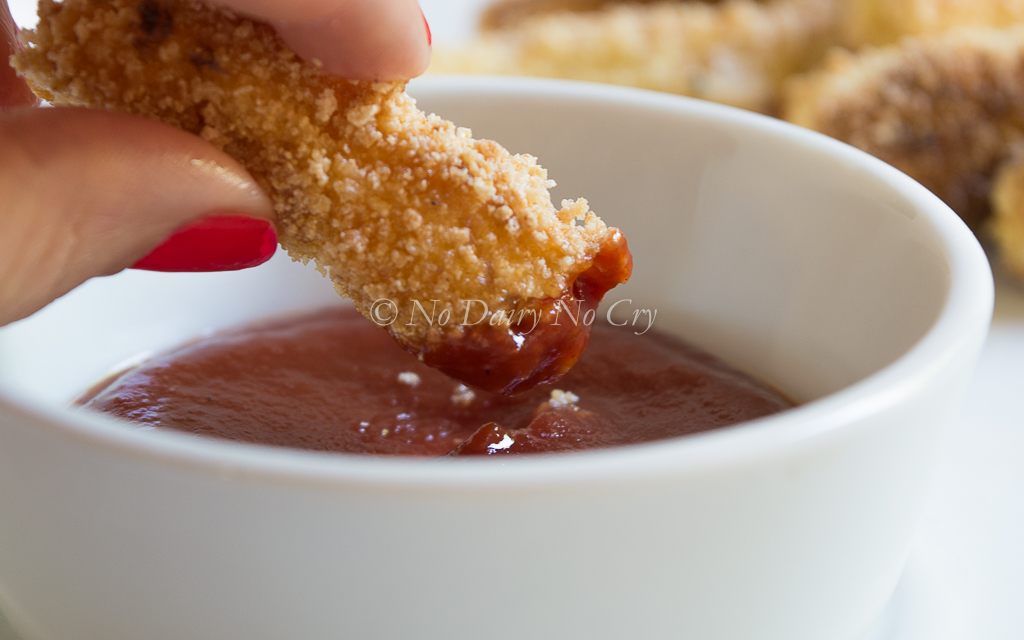
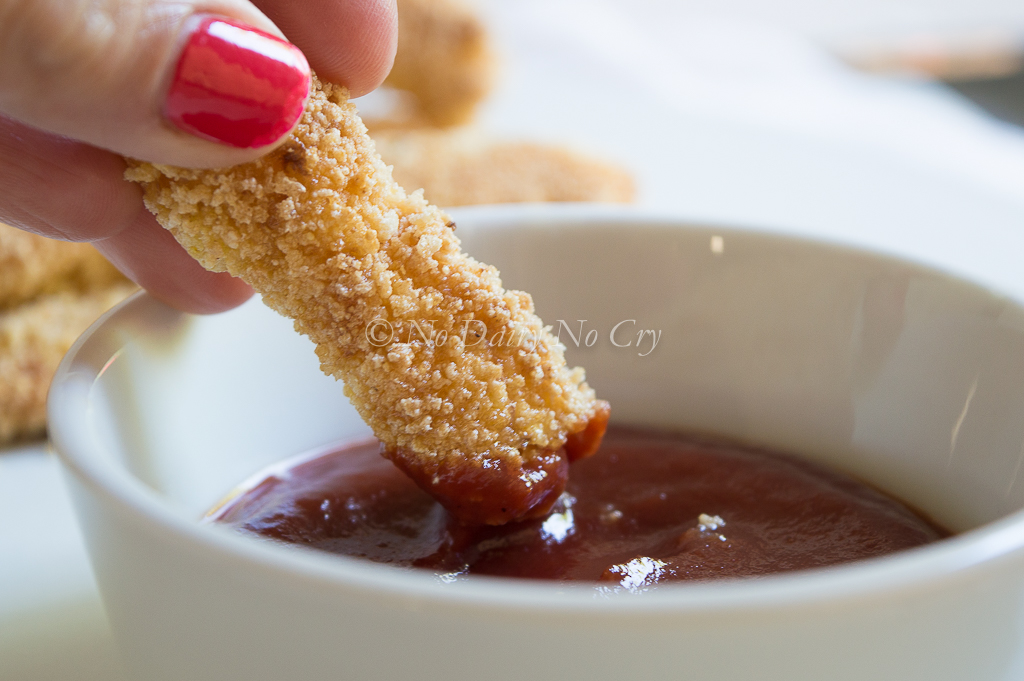
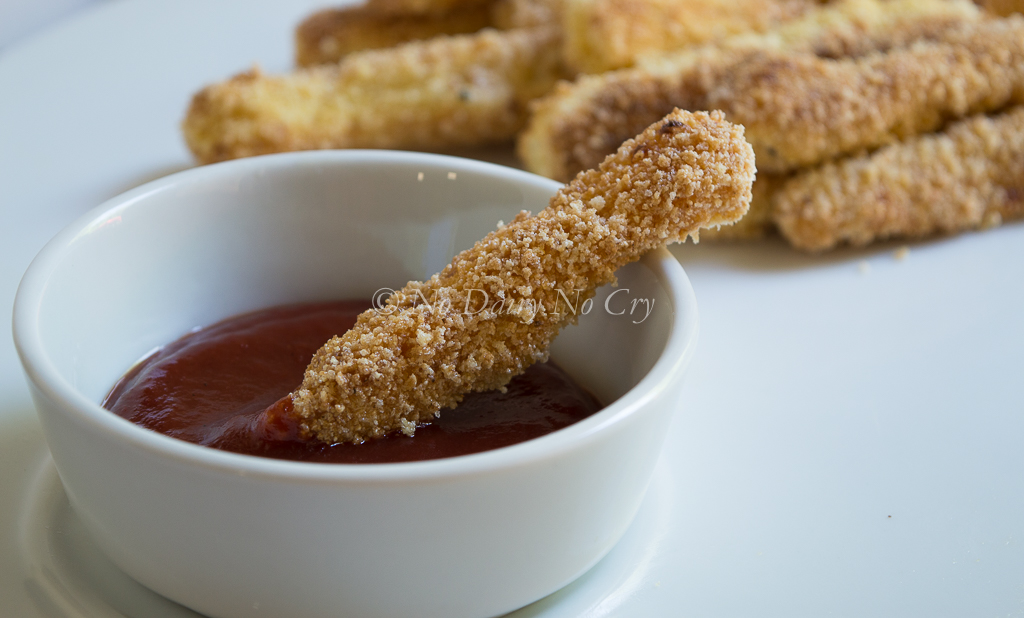
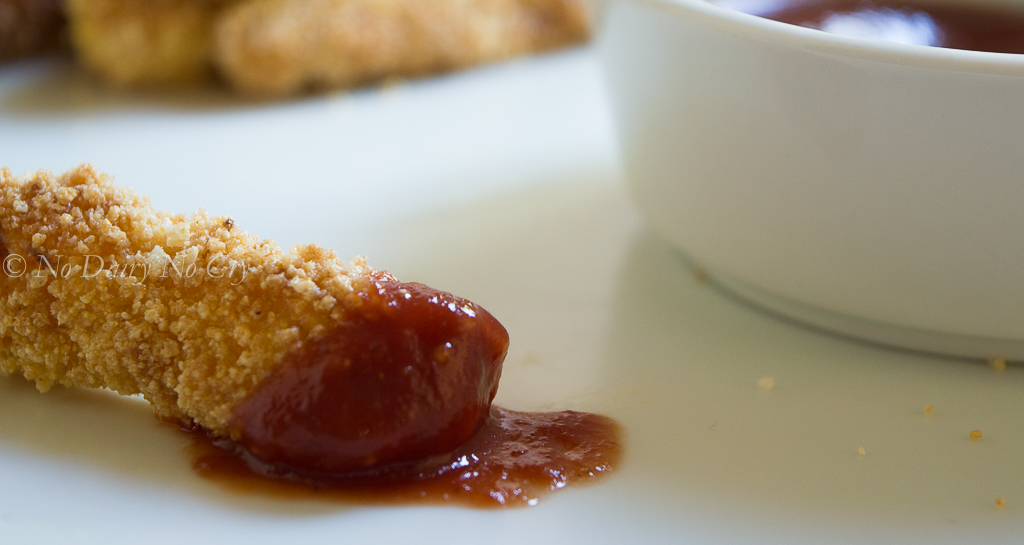
Remove and enjoy hot alone or dipped in your favourite sauce. I used ketchup for one of my kids.
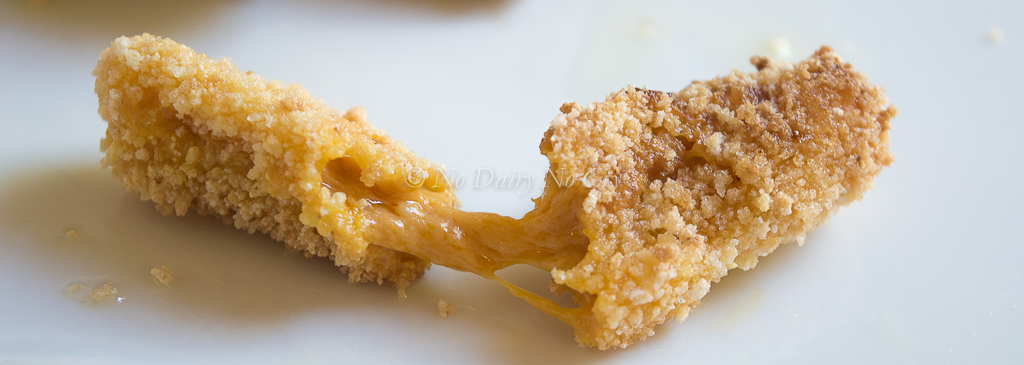
These cheese sticks taste great and will still stretch at room temp. You may refrigerate any leftovers in a lidded tupperware and just reheat before consuming again.
Absolutely a delicious healthy snack that you can make on the spot and one your entire family will marvel at and devour!
Bon appétit! xo