Squash Chips
By Laila ·
A much healthier alternative to chips. Squash chips are delicious and have a slightly sweet taste to them which is balanced out by the sea salt. A must make!
Free from: dairy, egg, peanut, tree nuts, soy, sesame, wheat, gluten, fish, shellfish, animal product, animal by-product.
Hi friends! Hope you’ve all had a great weekend. And for those who celebrate Good Friday and Easter Sunday, hope your long weekend was filled with love, great company, and delicious food. Ours was fun. The only thing I lacked this past weekend was sleep. No one got enough of it. I wish that my kids knew the concept of sleeping in but unfortunately there’s no such thing in my house. They’re both up just after 6 in the morning – like clockwork – whether it’s on a Monday or a Sunday — with some exceptions of course – like when I need them to be up early, they secretly shake hands the night before and decide to sleep long enough to mess up my plans for the day.
To top it off, today’s weather had me bummed out — yesterday was absolutely a summer-like day. The temperature was perfect, the sun was smiling, and the wind was gentle and warm. Not the case today: cold, miserable, snow, rain, wind. Ugh! I had plans to go out with the kids but what ended up happening was, we stayed home, in our pjs {I’m still in mine}, baked ammmaaaazing buns that we ate way too much of , and played. We built a ‘house’ using blankets and chairs… my kids are still in there pretending they’re dining at a fancy restaurant that apparently also caters to stuffed elephants and eagles. Now that I think about it, today’s been amazing! The house is a mess but who cares about that…for now.
Besides making freshly baked, fill-your-entire-house-with-warmth bread, these Butternut Squash Chips are exactly what’s needed to cure the Monday blues and the horrible un-spring like weather. They’re perfect for the soul – full of vitamins and minerals, tasty, and healthy(er) than anything you’ll ever buy outside. First of all, you don’t know how old their oil is. You shouldn’t be using the same oil to fry more than a couple of times – three tops. As oil ages, it becomes rancid and that’s not what we want. And second, you made it yourself, so that in itself beats anything bought.
When we were on a very restricted diet – back when Munsur had just been diagnosed with colitis and his allergies – starch was out of the question. So I had to think of a way to make something that he would enjoy that tasted great and was easy enough to make. And we consumed a lot of butternut squash back then so it was only a matter of time before I thought to make chips out of them. I tried a few ways to cut up the squash but what I found to be the best way to get them perfectly crispy and not oily tasting was to use the vegetable peeler and make long thin strips and fry them that way. They were an immediate hit. Don’t mind the fact that they’re fried. Once in a while is OK. You have to have balance to make anything enjoyable. My life’s motto anyway.
These chips are slightly sweet but with the addition of the sea salt, the taste is perfectly balanced. Within minutes, you have a great snack for the kids and for yourself to enjoy. They also make a great side to burgers and pizza. Make them today and thank me later.
xo, Laila
Recipe
Squash Chips
- Vegan
- Dairy-Free
- Gluten-Free
- Egg-Free
- Nut-Free
A much healthier alternative to chips. Squash chips are delicious and have a slightly sweet taste to them which is balanced out by the sea salt. A must make!
- Prep
- 5 mins
- Cook
- 5 mins
- Total
- 10 mins
- Serves
- 4
Ingredients
Instructions
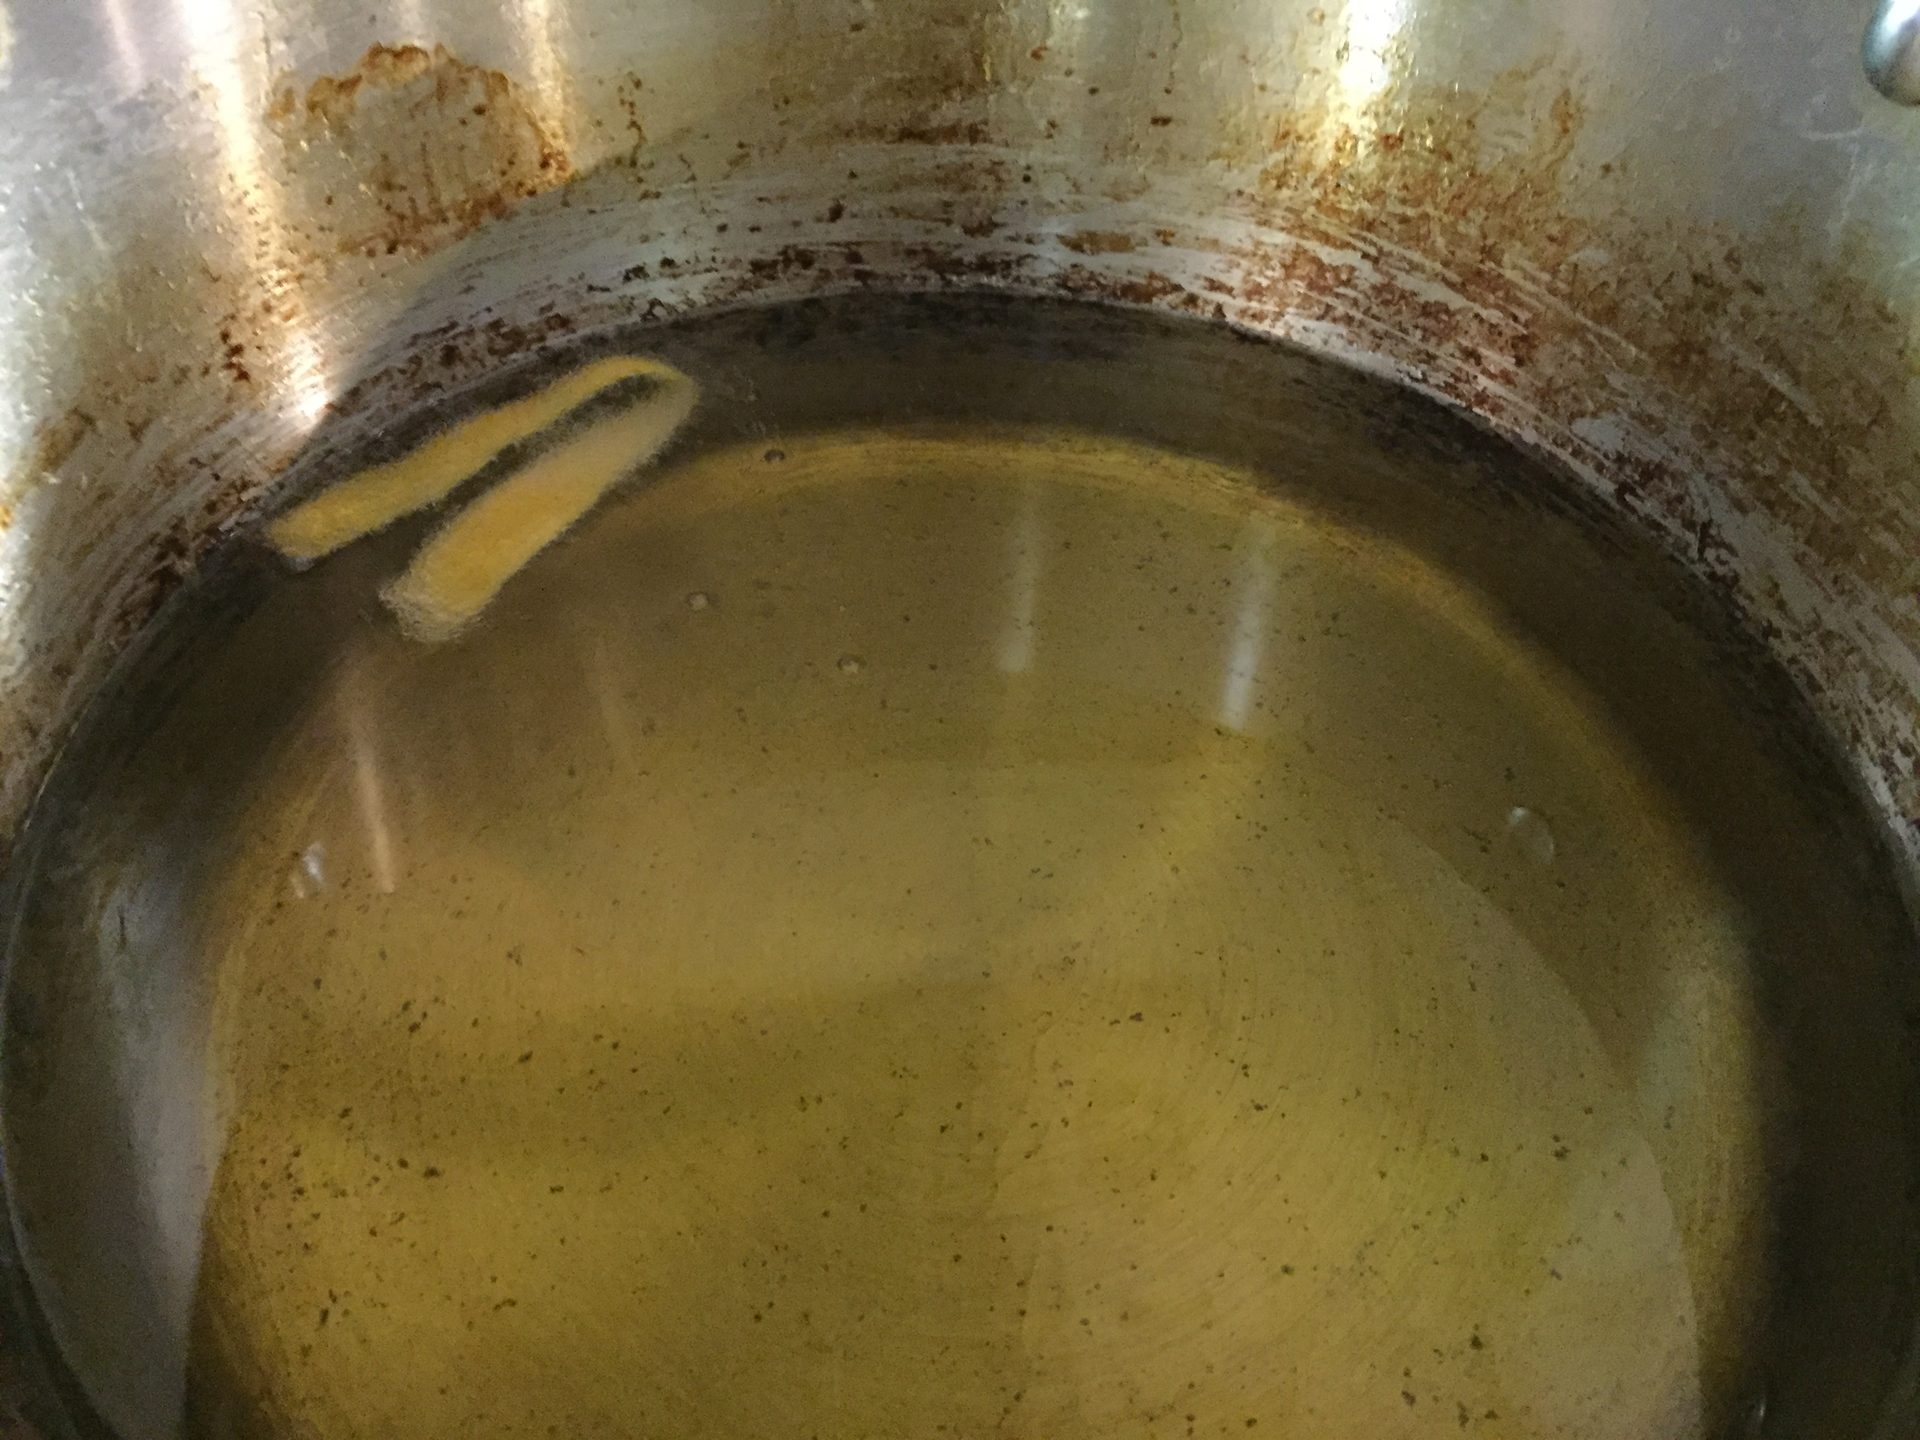
- 1Pour enough oil into a pot until it fills about 2-3 inches from the bottom. Heat oil on the stove on medium high heat to start.
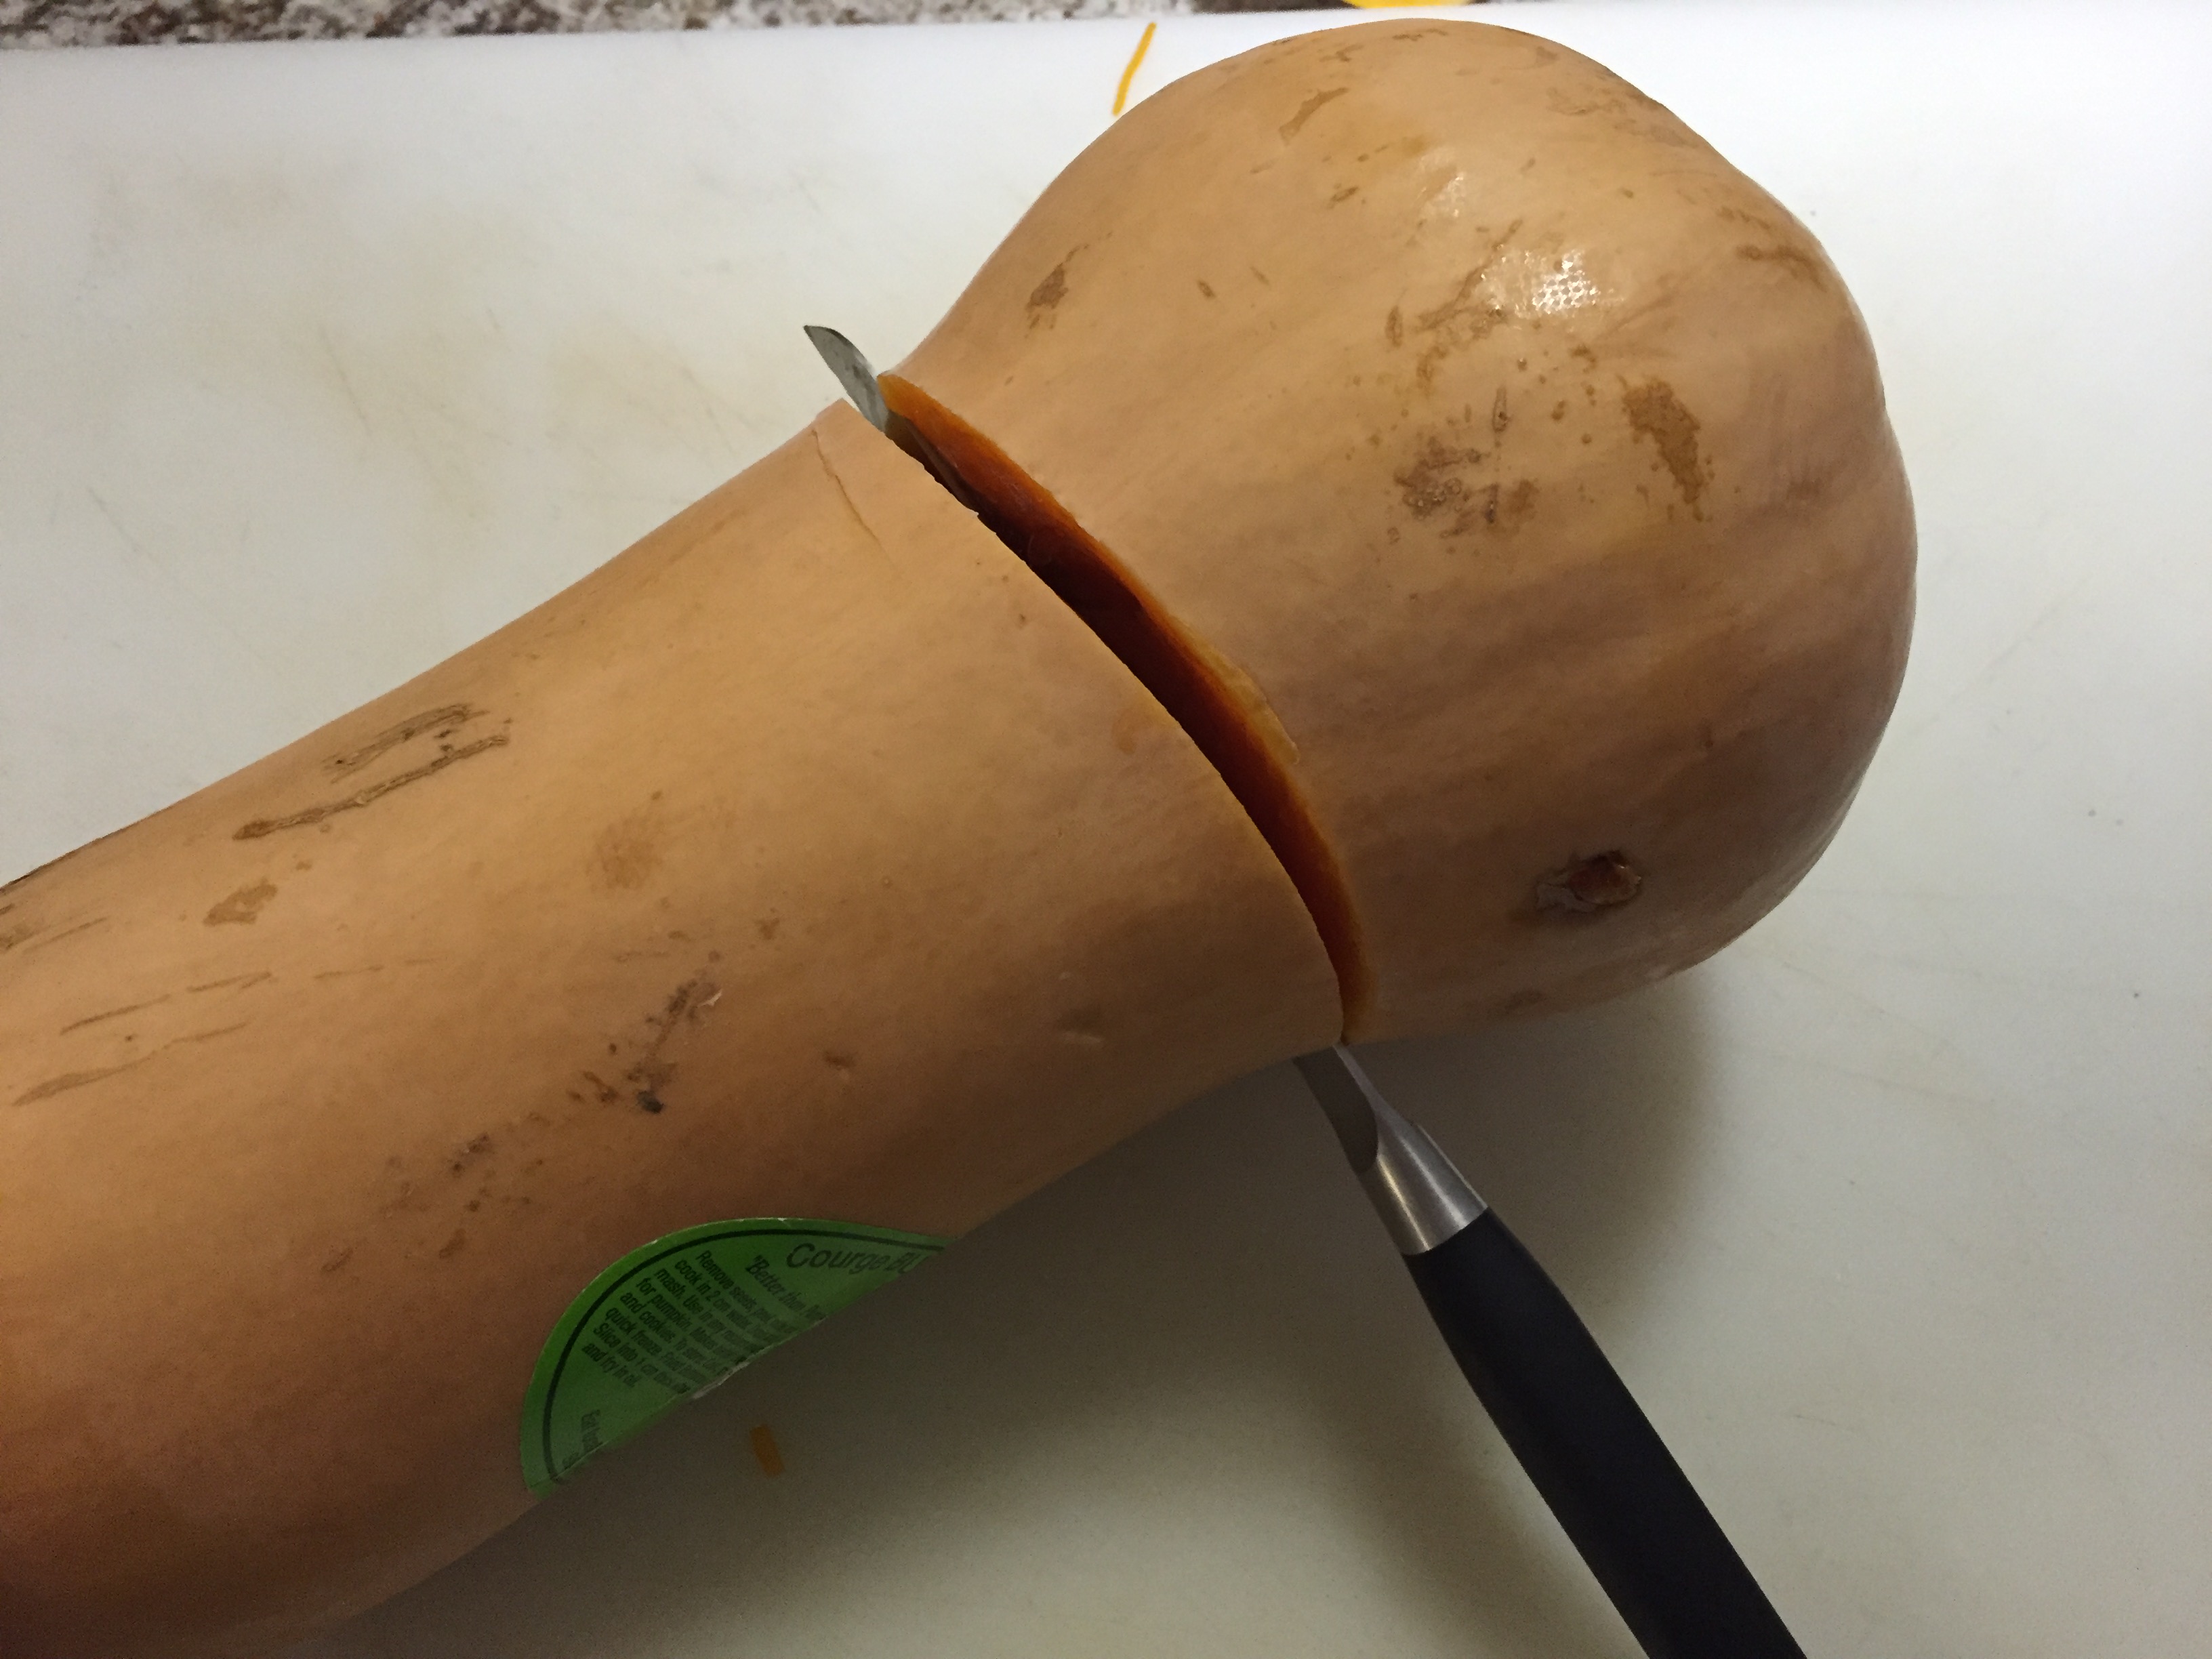
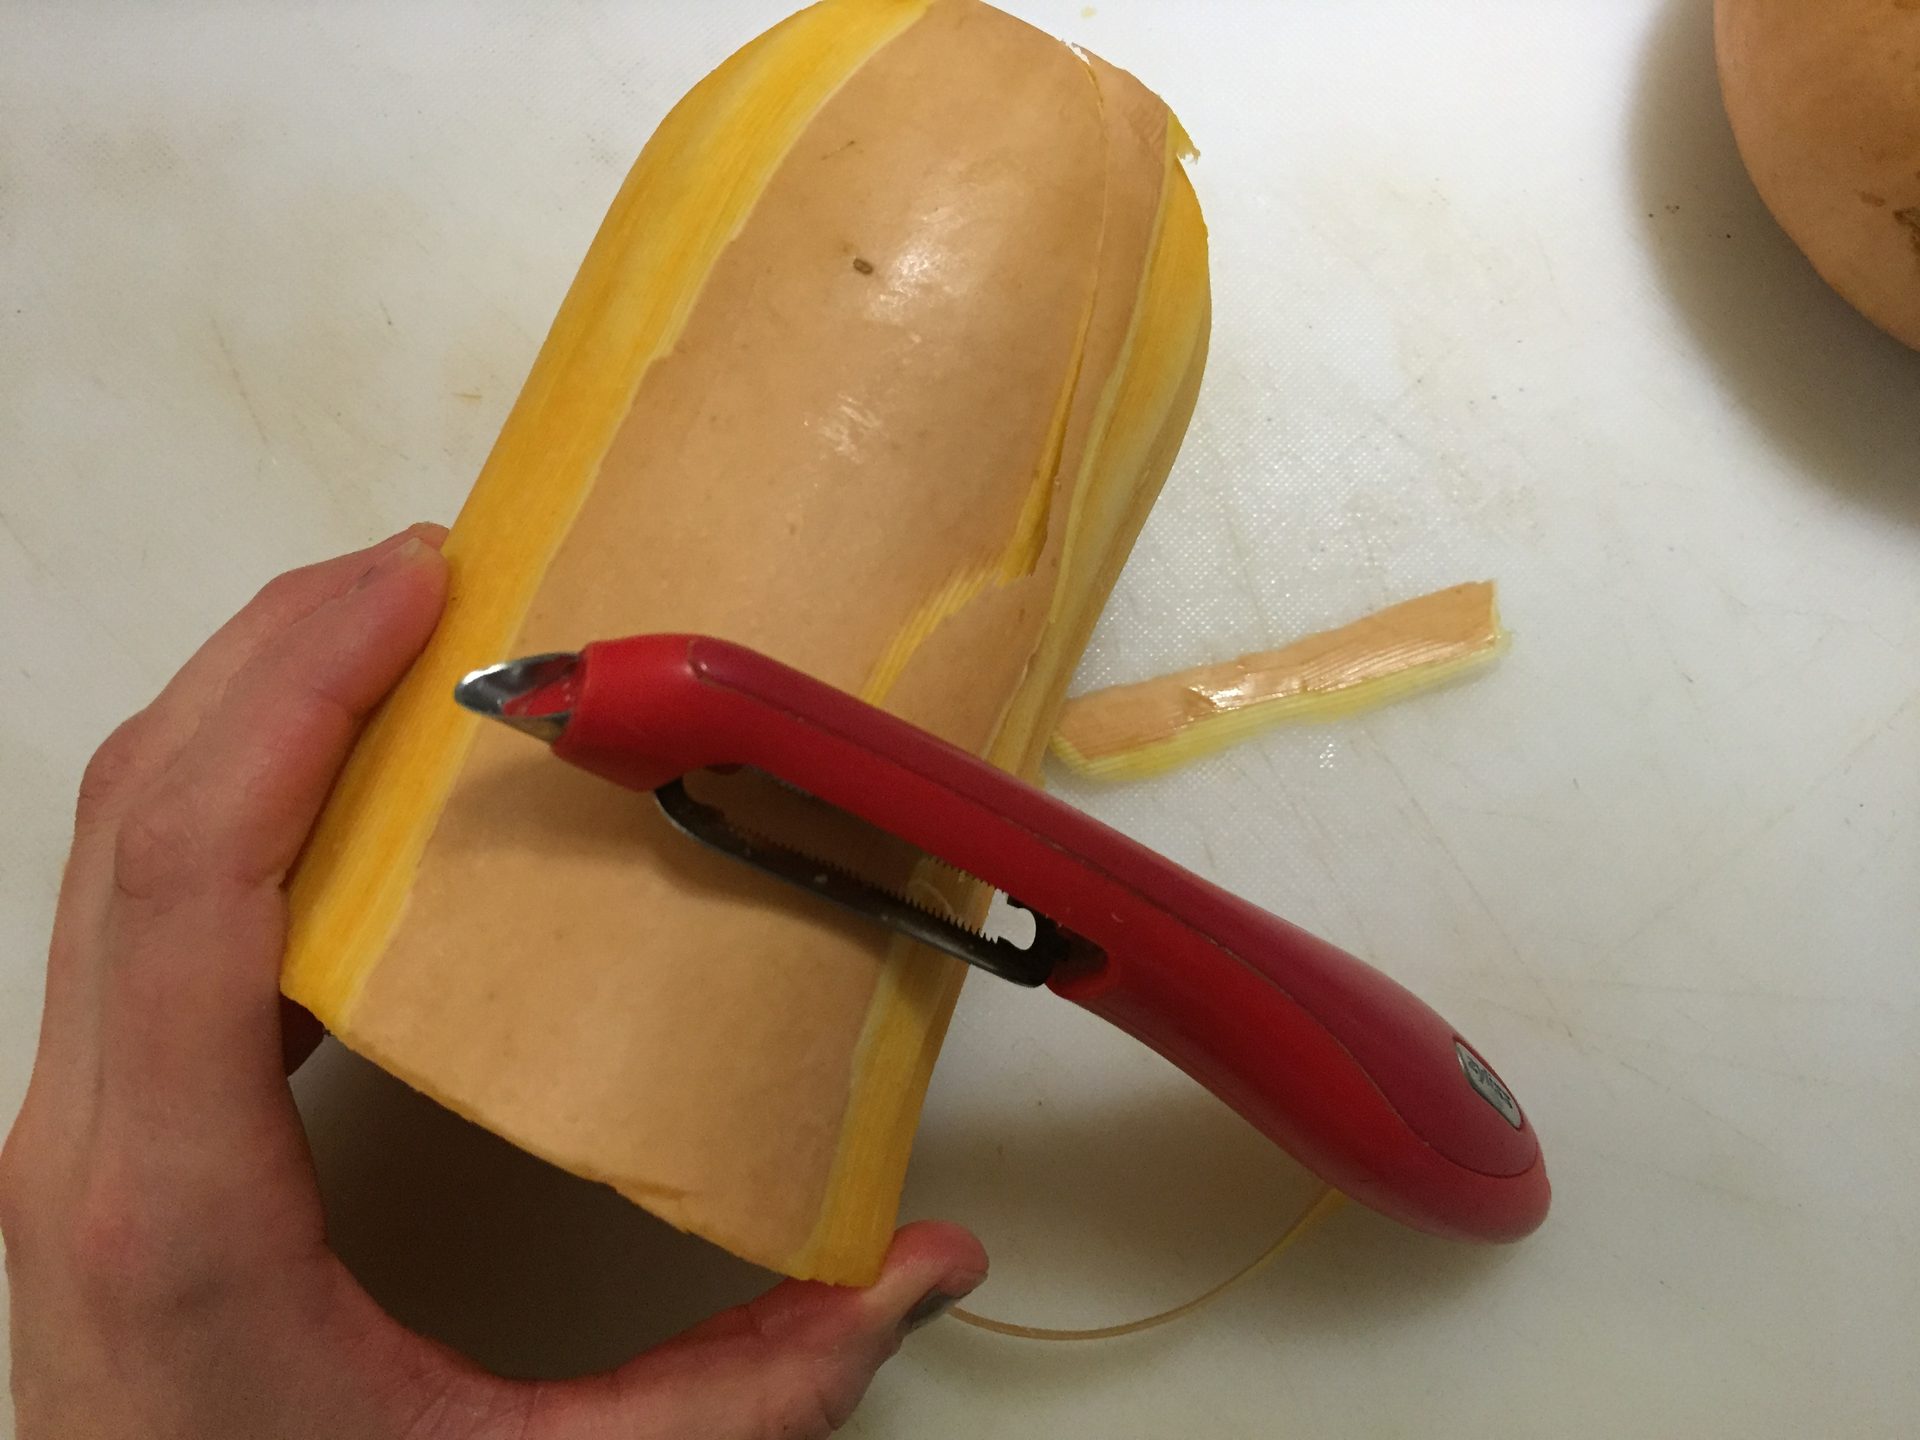
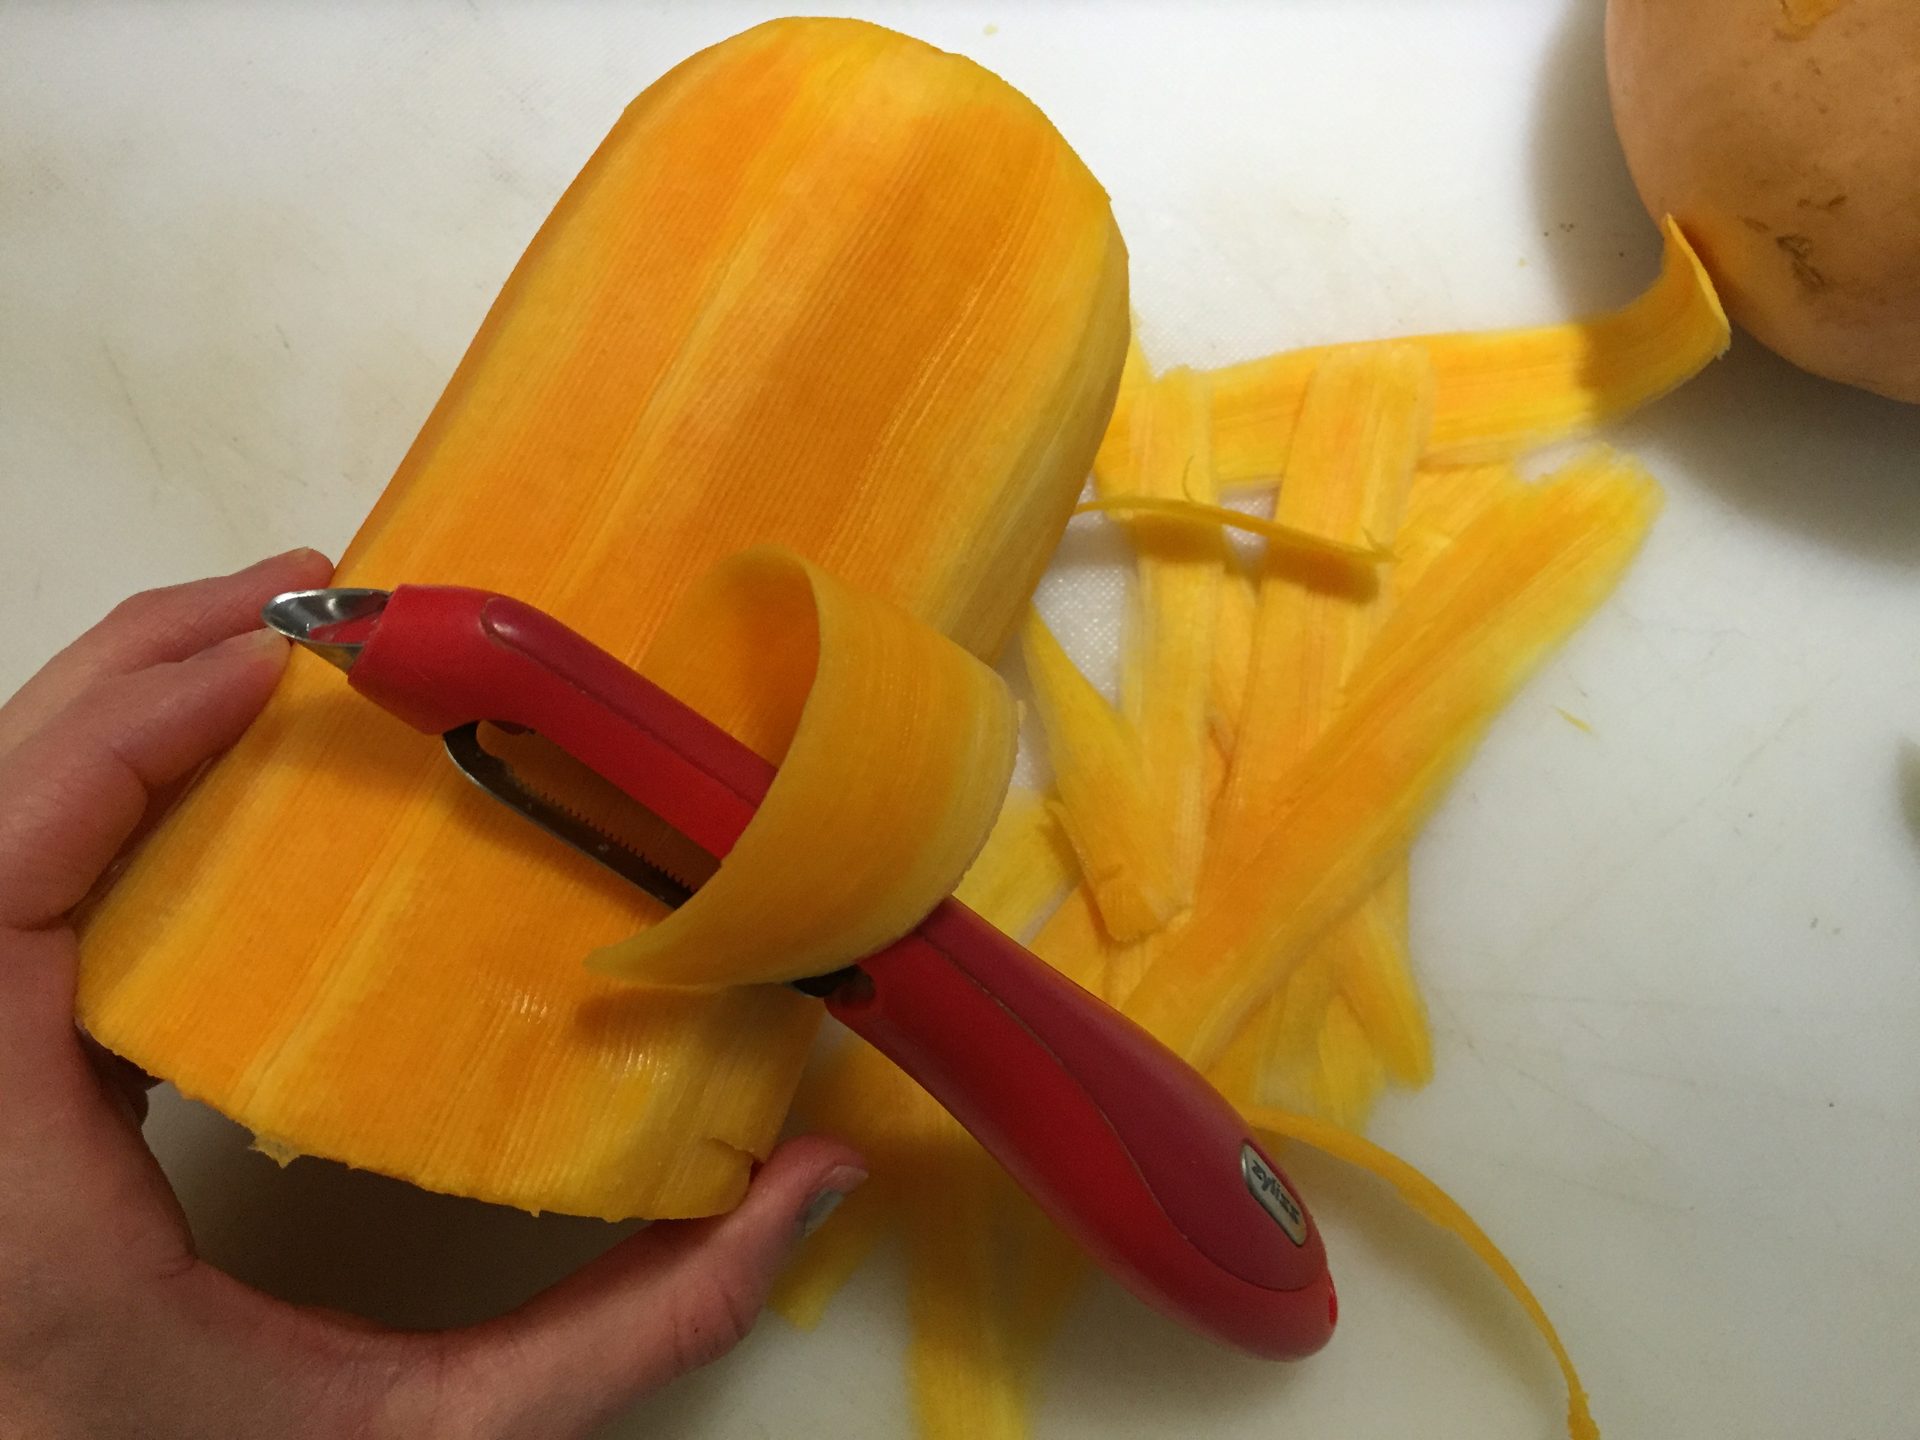
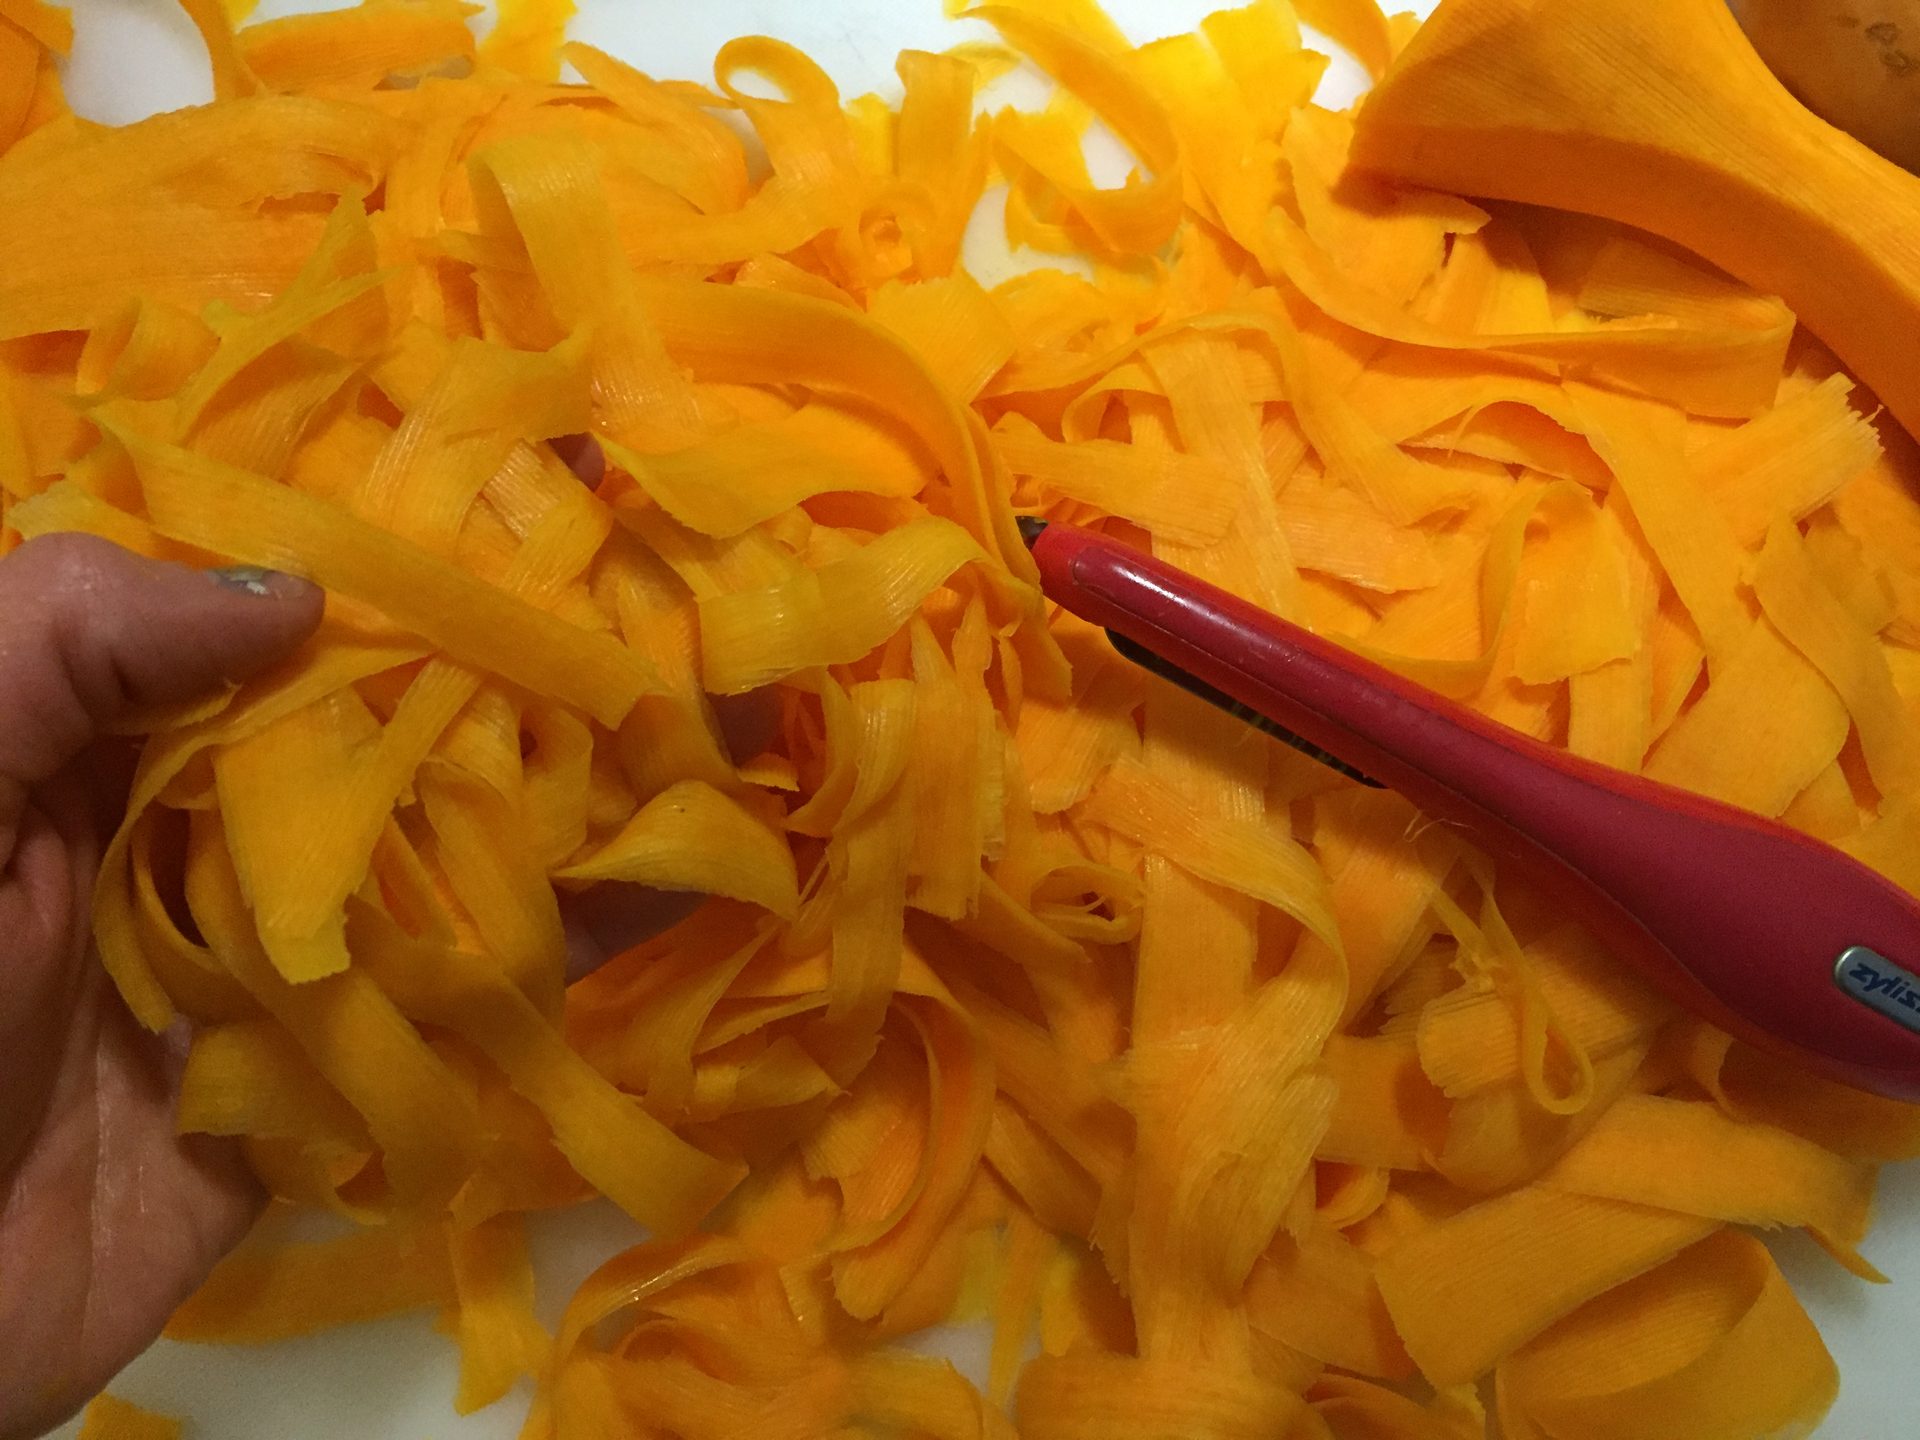
- 2While the oil is heating, and using a vegetable peeler, make long strokes and peel as much of the squash as possible.
- 3Test how hot the oil is by placing a small squash strip to see if it begins to fry quickly. If you don't notice tiny bubbles around the strip, the oil isn't ready. Wait until you notice the bubbles appear before you begin to fry your squash strips.
- 4Once oil is hot, drop a handful of strips at a time. Using a wooden or strainer spoon, loosen the pieces slightly and then leave the strips alone until they turn a nice dark gold colour.
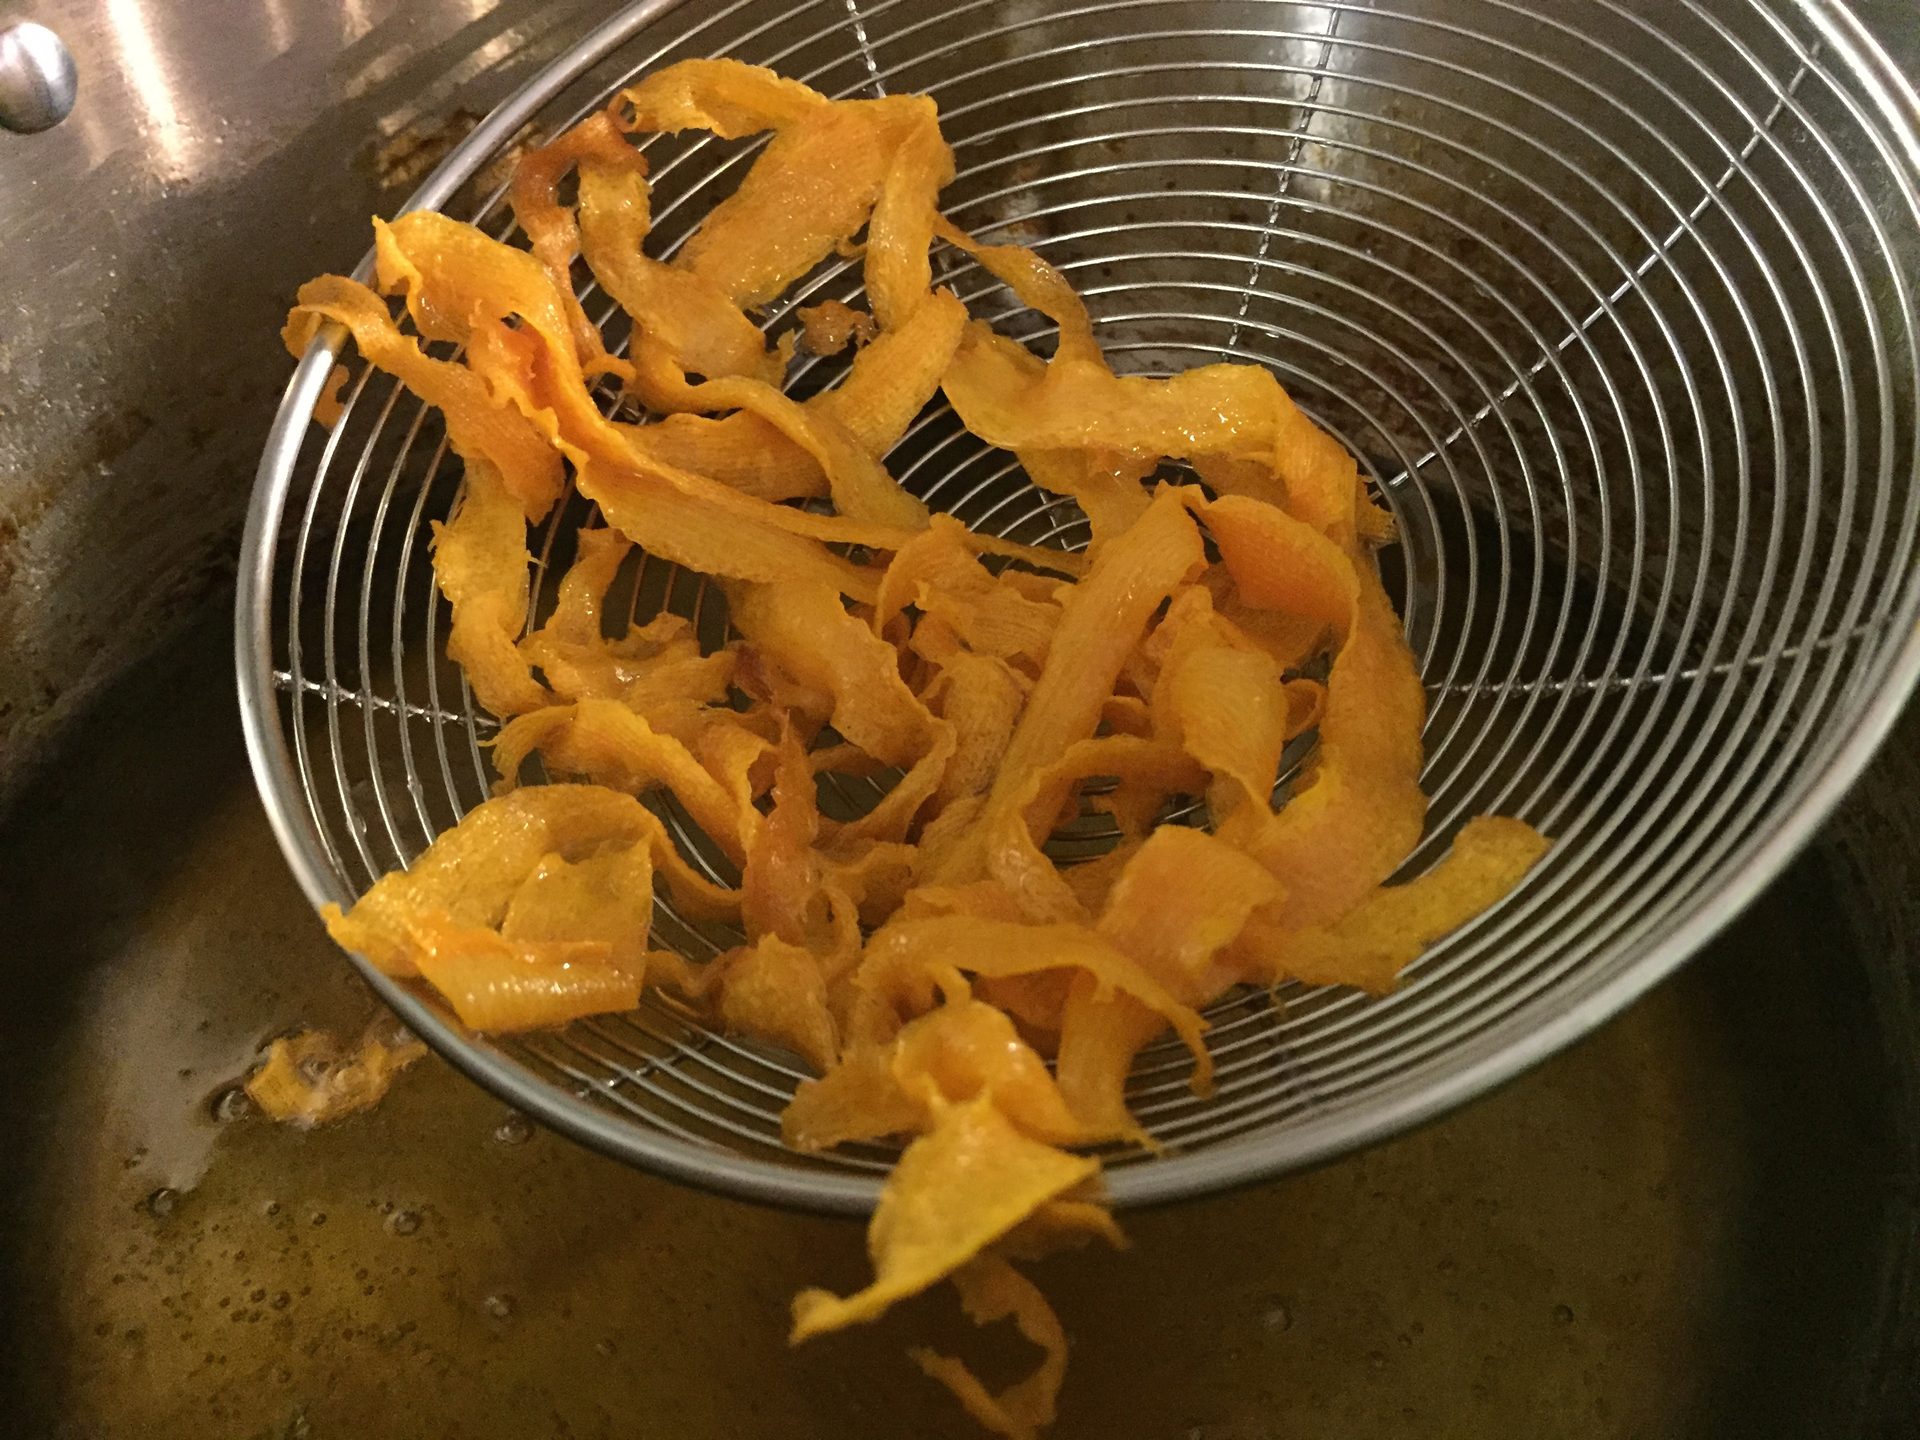
- 5Remove using a strainer spoon (see pic for reference) and place on pan covered with parchment paper or napkins to absorb excess oil.
- 6Immediately sprinkle sea salt to taste and let slightly cool before enjoying. The chips will harden as they cool and become extra crunchy!
- 7Repeat steps 4 - 6.
- 8Enjoy immediately for best results.
Notes
The remaining bottom part of the butternut squash can be saved for soup or a stew. These chips are best enjoyed when you make them. It's been my experience that they don't maintain their crunch very well when stored. The best way to remove the tough skin from the butternut squash is to peel it! Don't bother using a knife. This is easier and better :) Very important: As you continue to drop handfuls of the squash strips, turn the heat to medium so as to not burn the chips. The longer that the oil is being heated, the hotter it gets and so it's necessary to drop the heat to control the oil's temperature and allow the chips to cook properly.
Instructions
1. Pour enough oil into a pot until it reaches about 2-3 inches from the bottom. Heat oil on the stove on medium high heat to start.
2. While the oil is heating, and using a vegetable peeler, make long strokes and peel as much of the squash as possible.
3. Test how hot the oil is by placing a small squash strip to see if it begins to fry quickly. If you don’t notice tiny bubbles around the strip, the oil isn’t ready. Wait until you notice the bubbles appear before you begin to fry your squash strips.
4. Once oil is hot, drop a handful of strips at a time. Using a wooden or strainer spoon, loosen the pieces slightly and then leave the strips alone until they turn a nice dark gold colour.
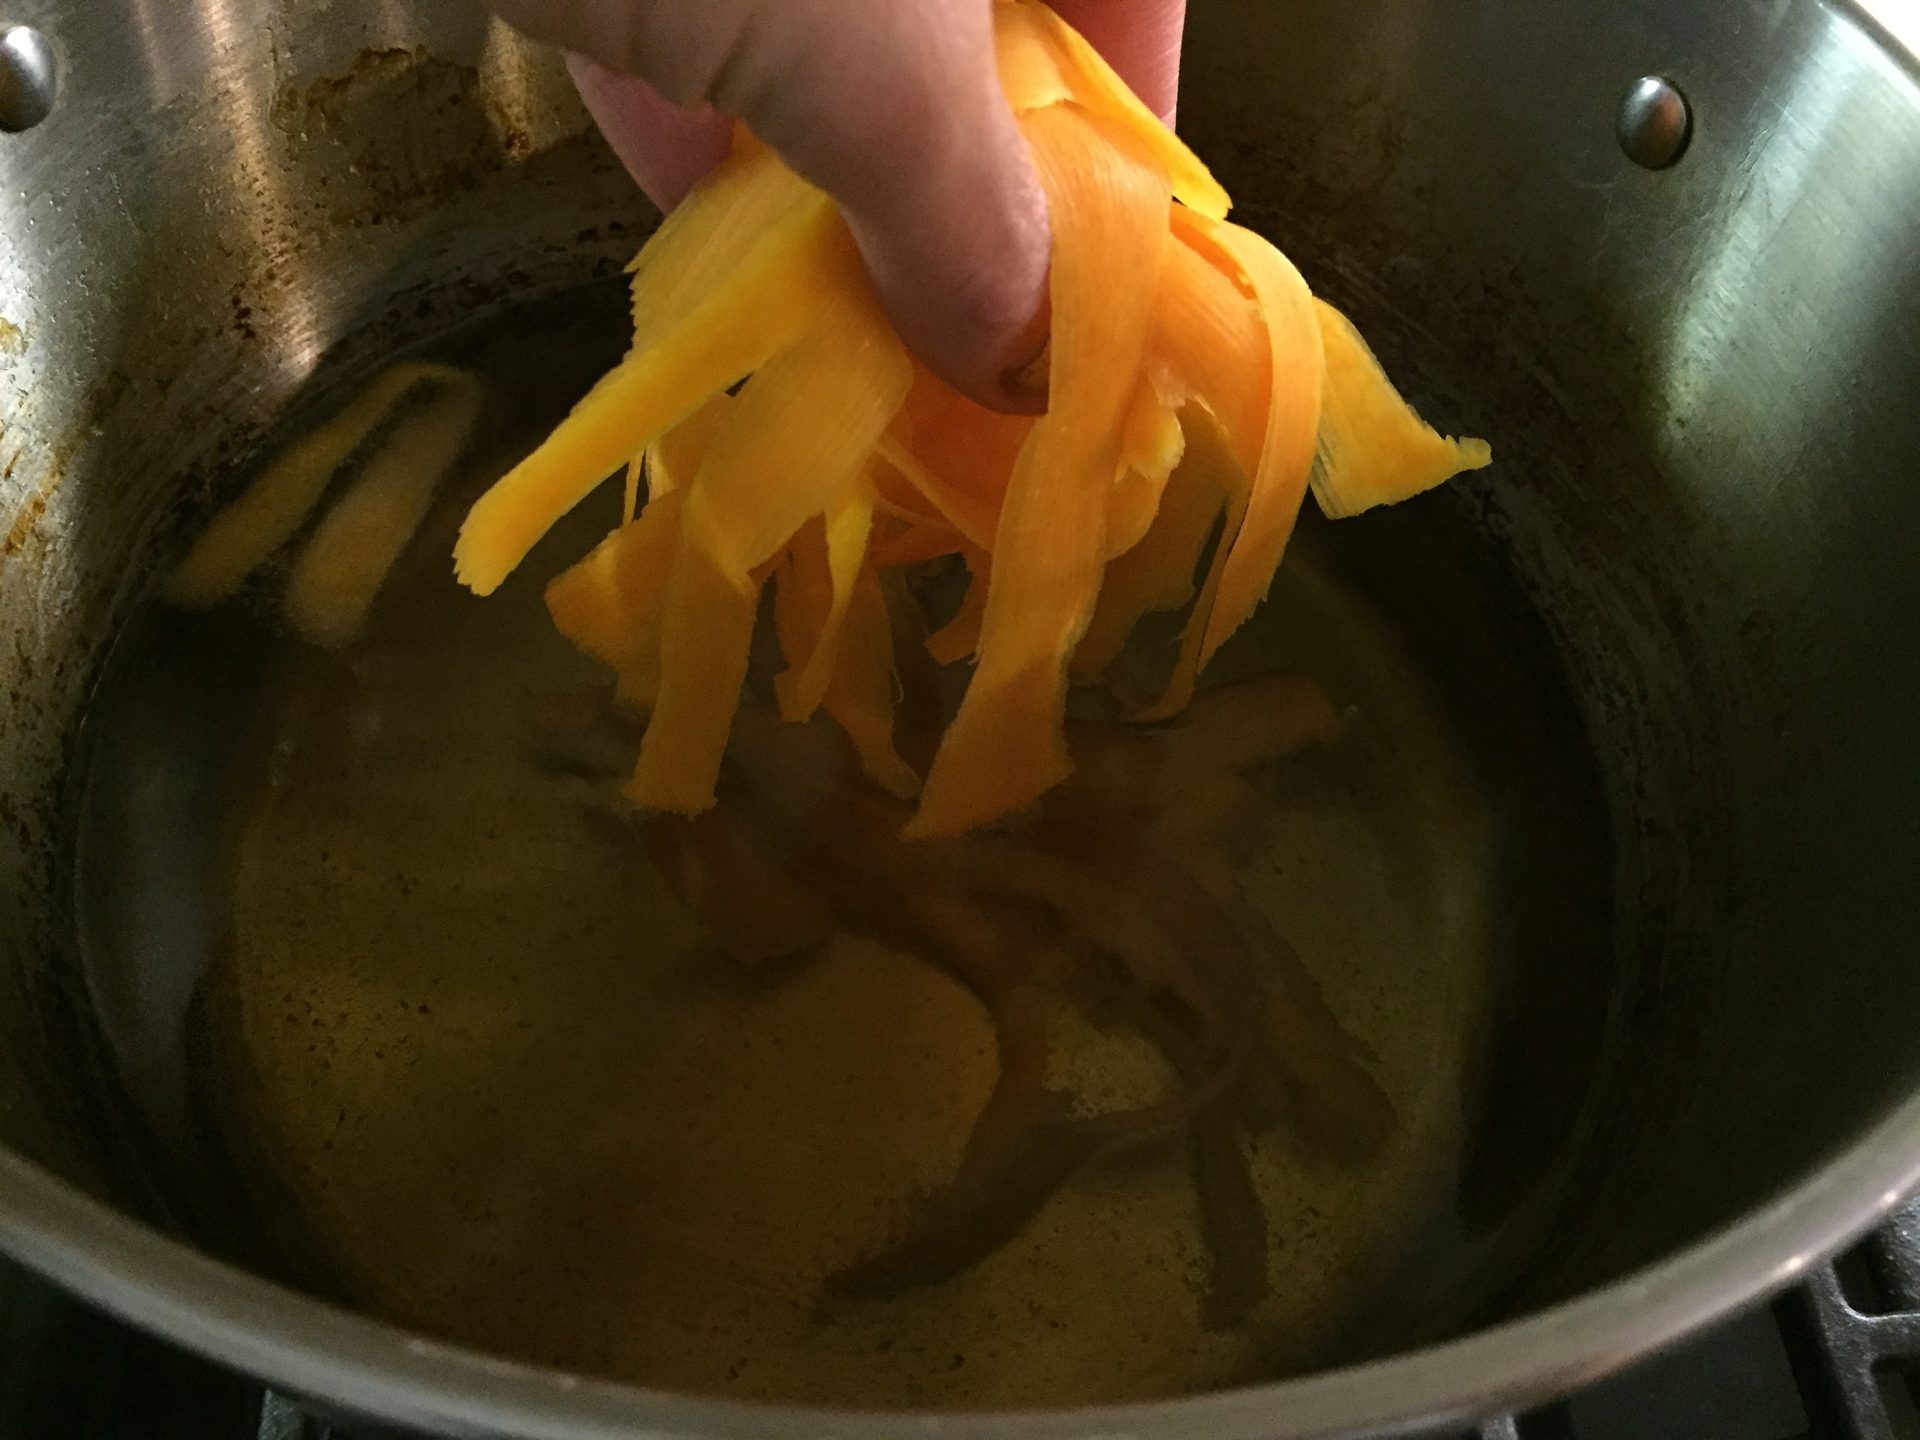
5. Remove using a strainer spoon and place on pan covered with parchment paper or napkins to absorb excess oil. You could also use a cooling rack and place your chips on top to allow the excess oil to drip off of them.
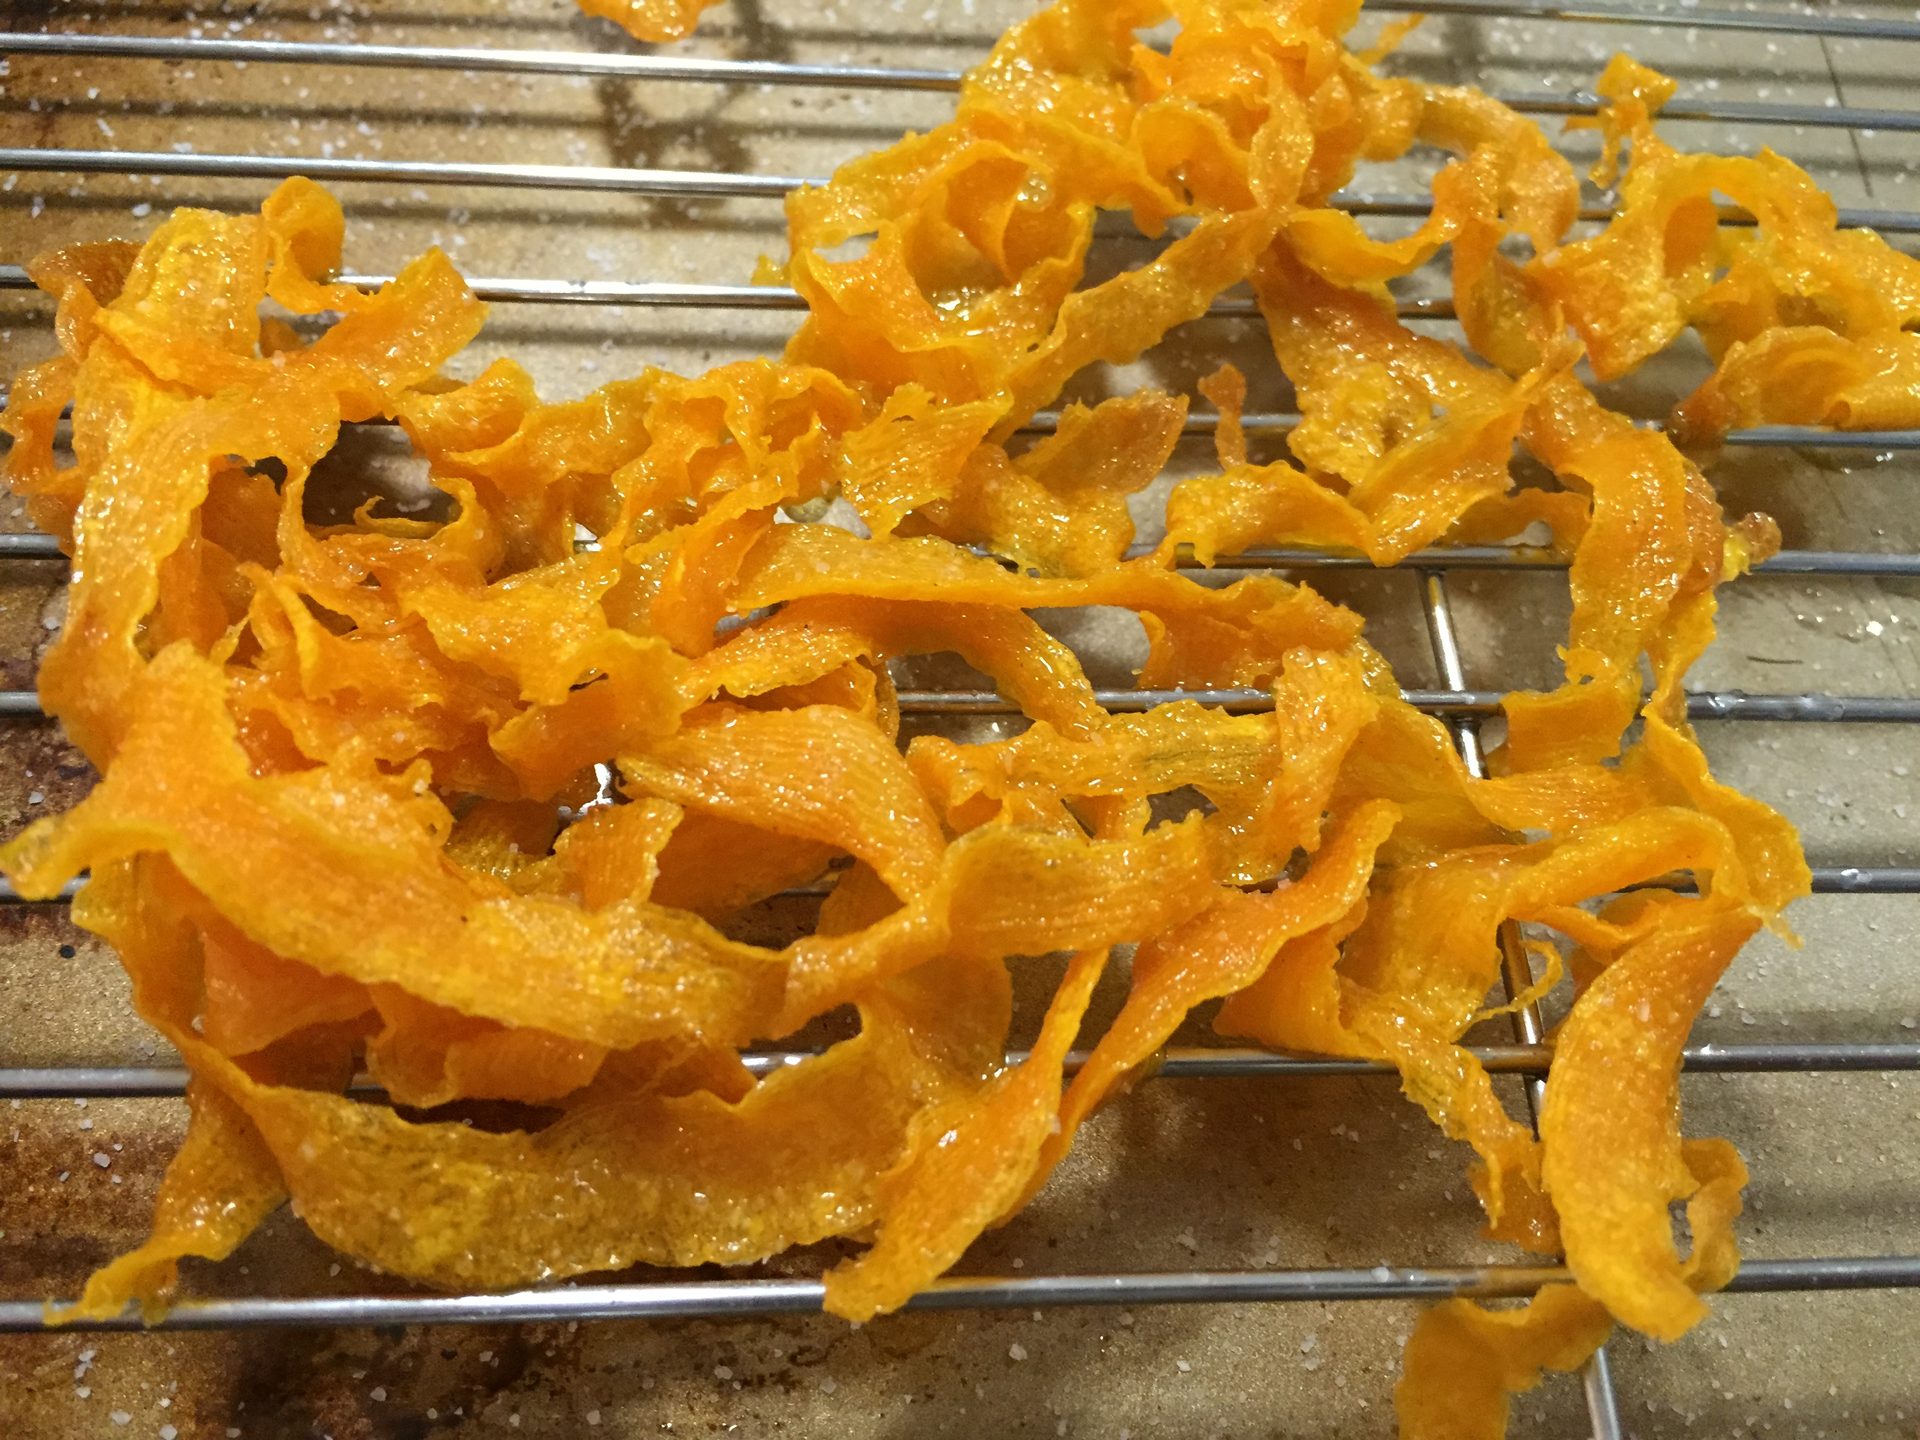
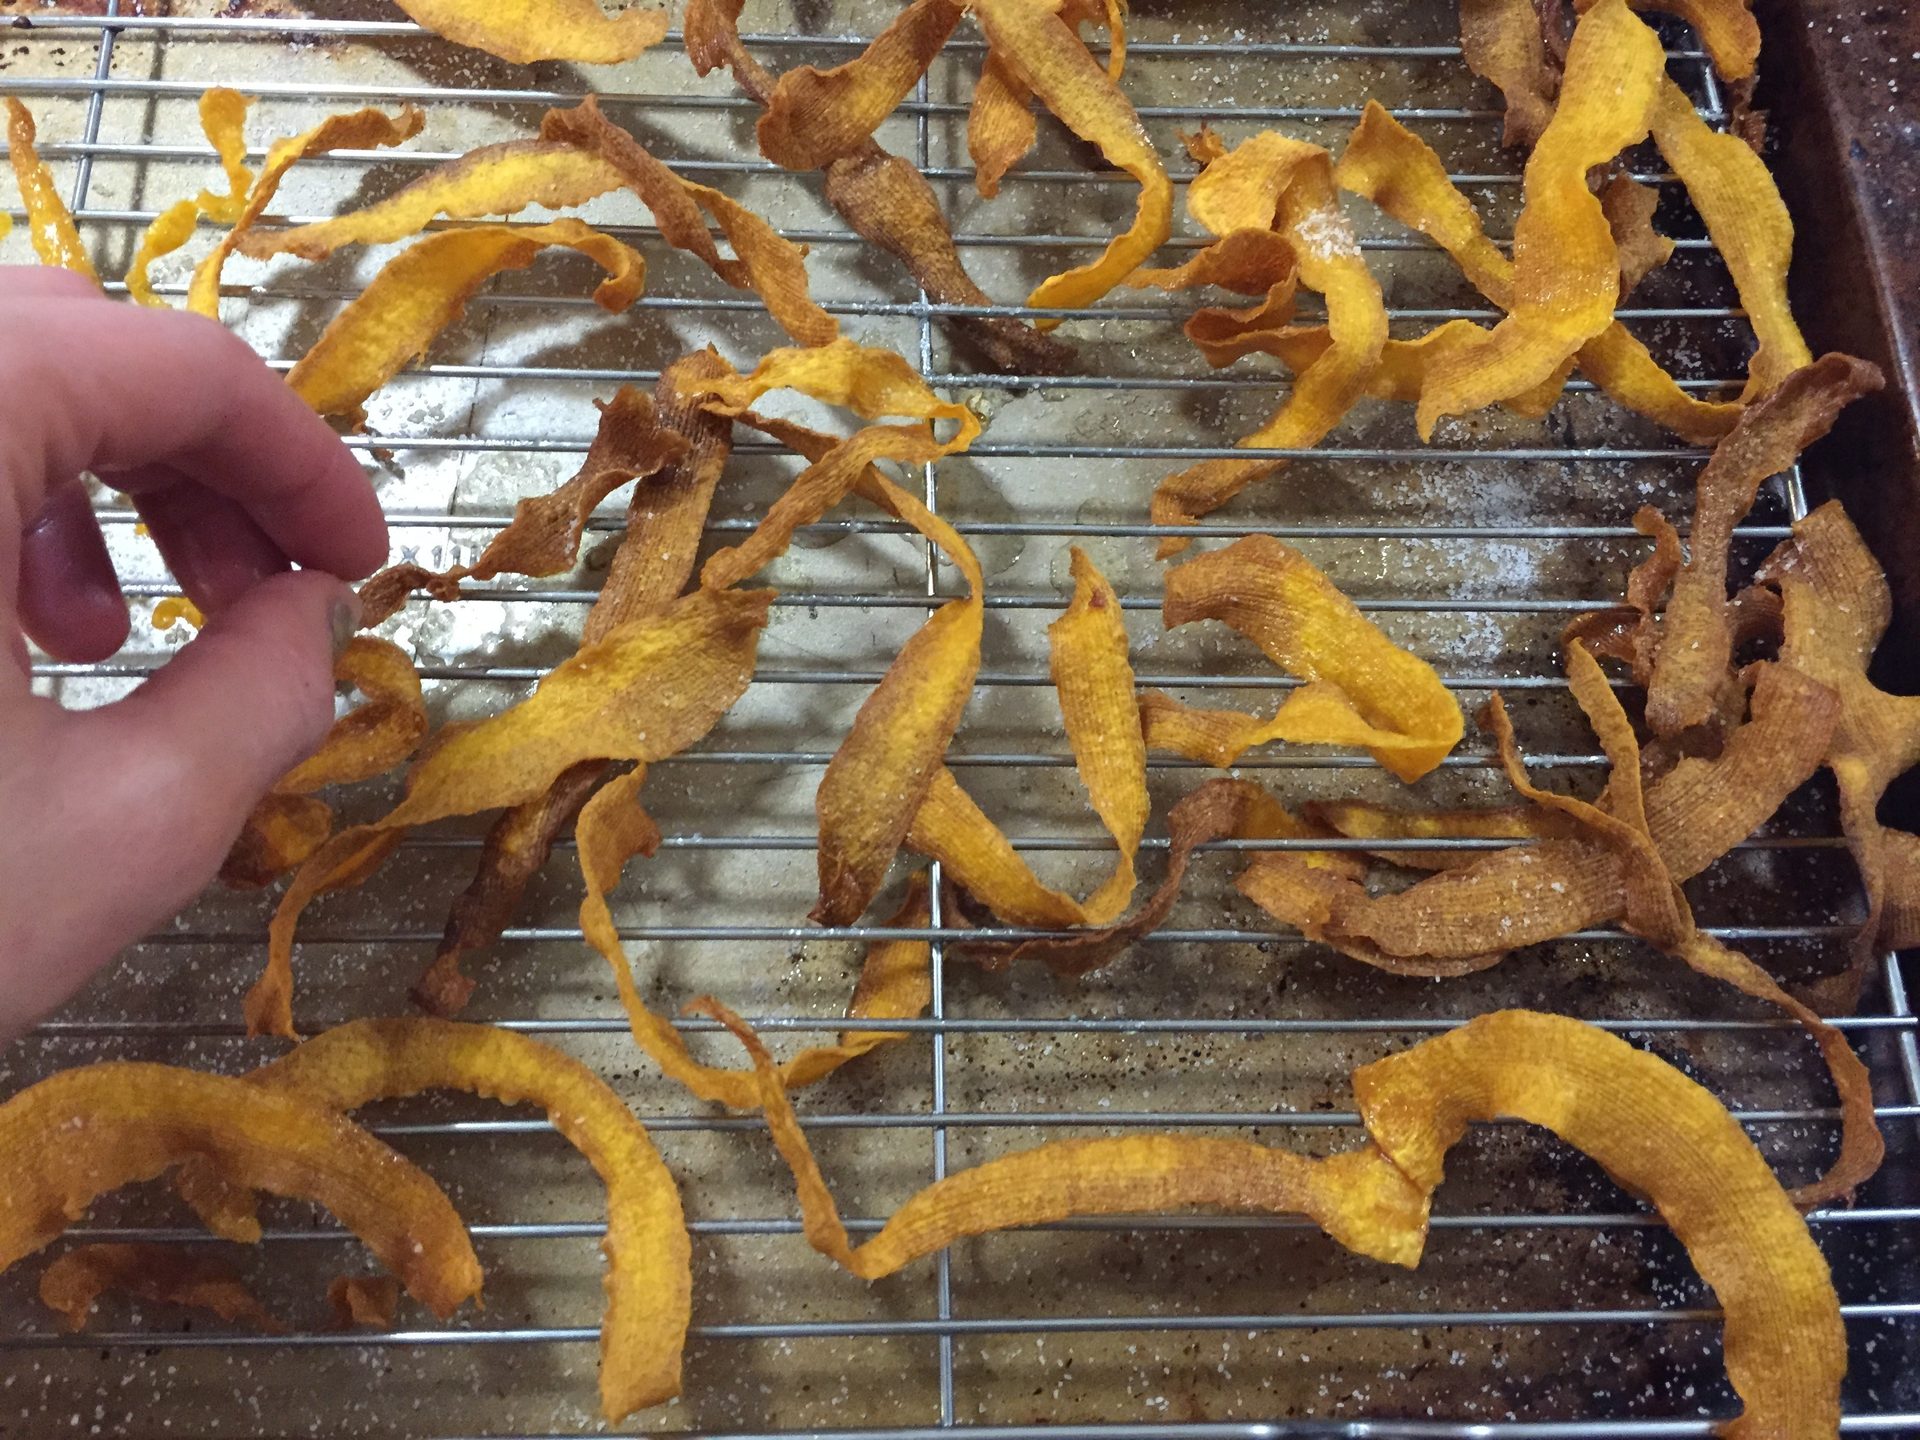
6. Immediately sprinkle sea salt to taste and let slightly cool before enjoying. The chips will harden as they cool and become extra crunchy!
7. Repeat steps 4 – 6.
Enjoy immediately. Bon appétit! xo